Lemon Pear Jam Delight

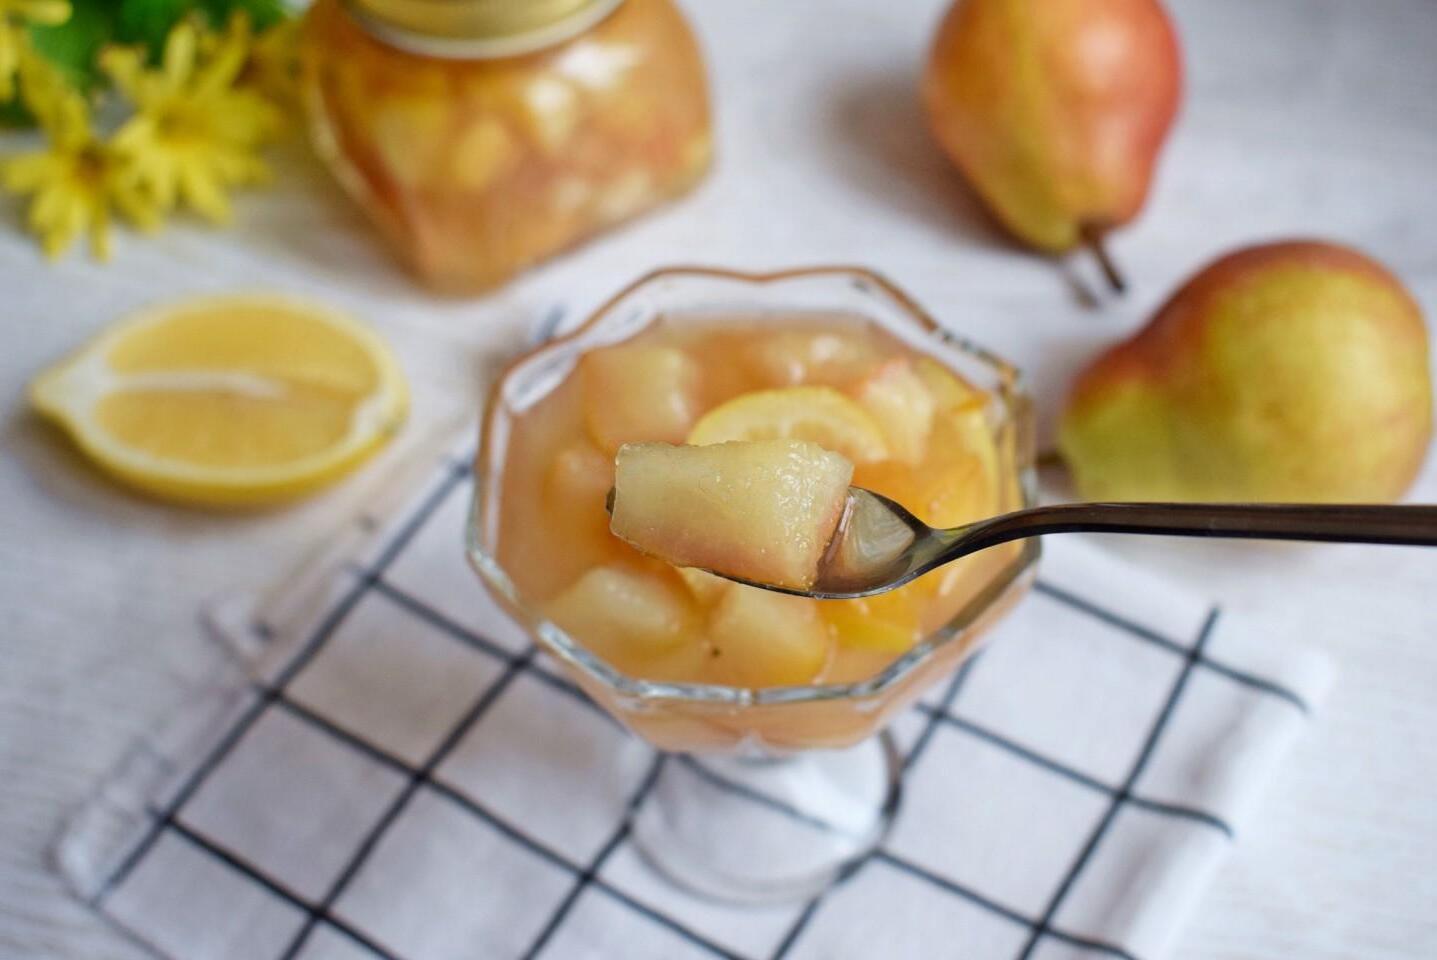
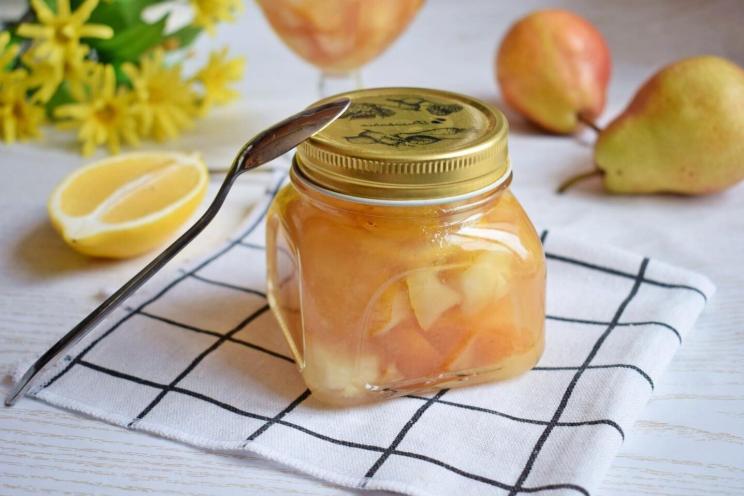
With a bright and unusual taste — love from the first spoon! If you havenʼt tried jam and pears with lemon yet, then itʼs time to fill that gap. This is a very tasty and delicate dessert that will remind you of a bright summer in winter. And it’s very easy to prepare, see for yourself!
cook time: 4h
Isla Thatcher
Lemon Pear Jam Delight

Nutrition Facts (per serving)

150
Calories
38g
Carbs

Ingredients (12 portions)

Basic:

Sugar 500 g
Lemons 1 pc
Pears 1 kg

Recipe instructions

Step 1
Step 1
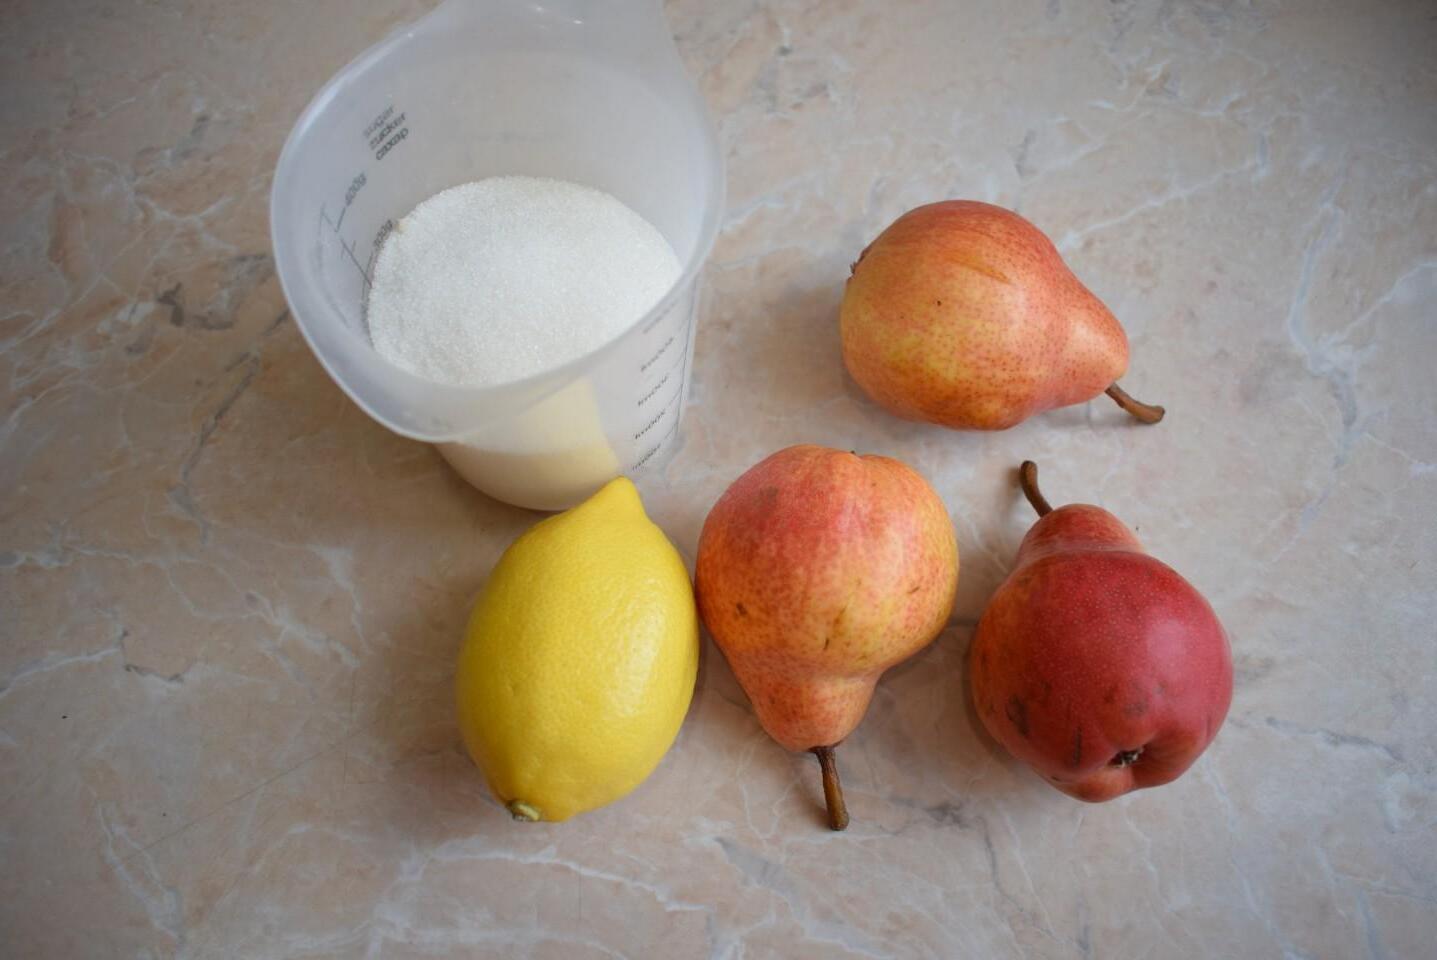
How to make pear jam with lemon for the winter? Prepare all the necessary ingredients. Choose pears that are ripe, but strong, so that when cooking they do not become mushy, but remain in pieces. Take the fruits whole, without damage. Rinse the pears and lemon well under running water to remove any dirt. If the pears themselves are sweet, then less sugar may be needed.

Step 2

Step 2
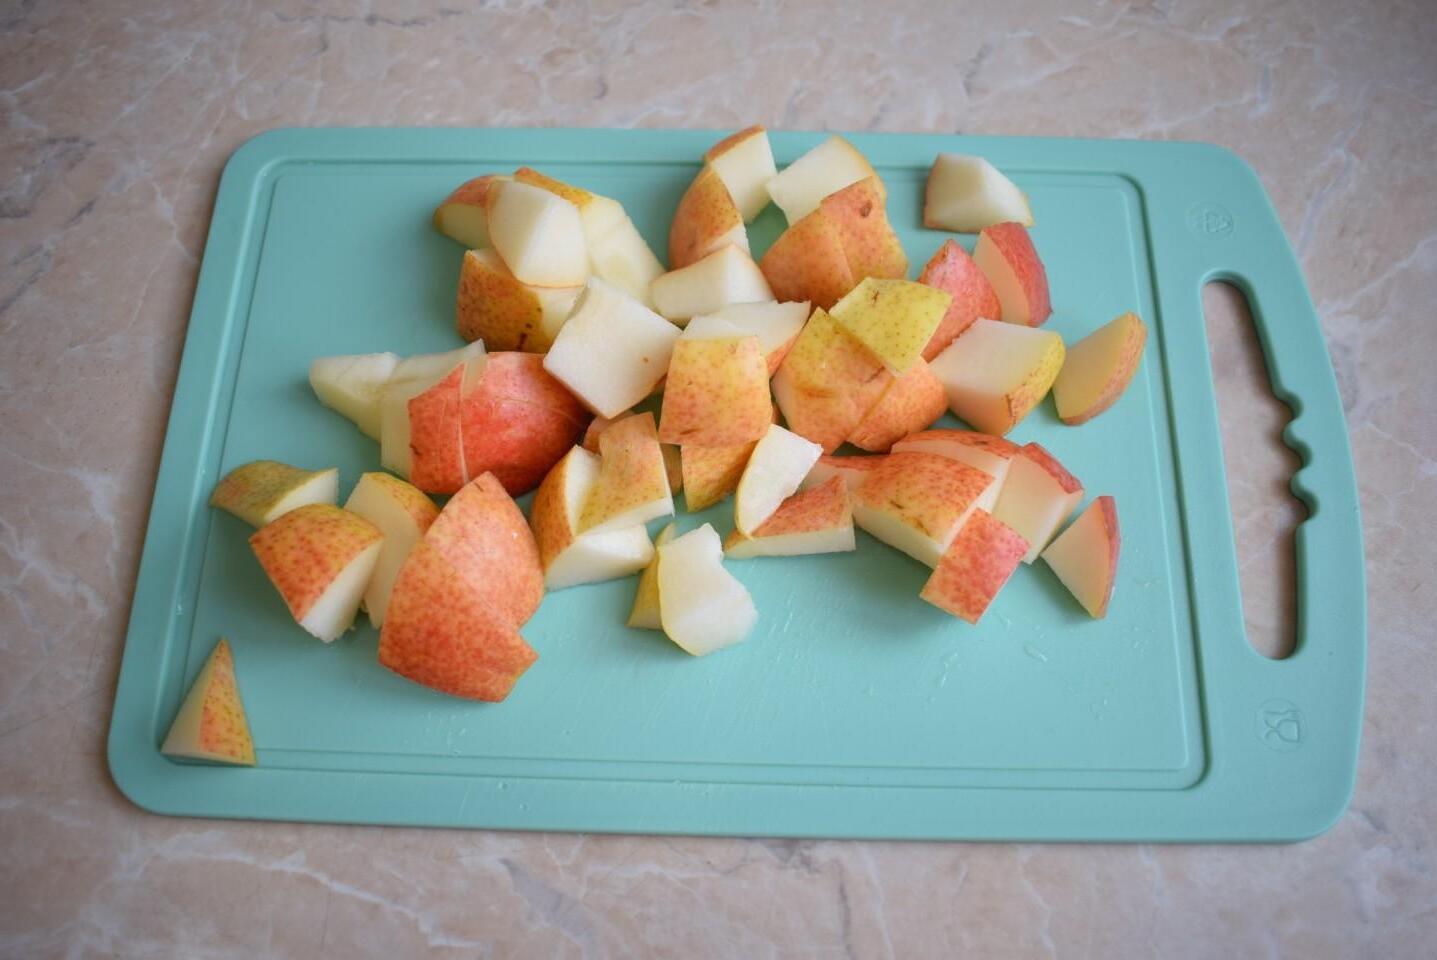
Cut the pears into 4 pieces and remove the core. If the skin of pears is thin and soft, then it is not necessary to peel it. Cut the pears into small cubes or slices.

Step 3

Step 3
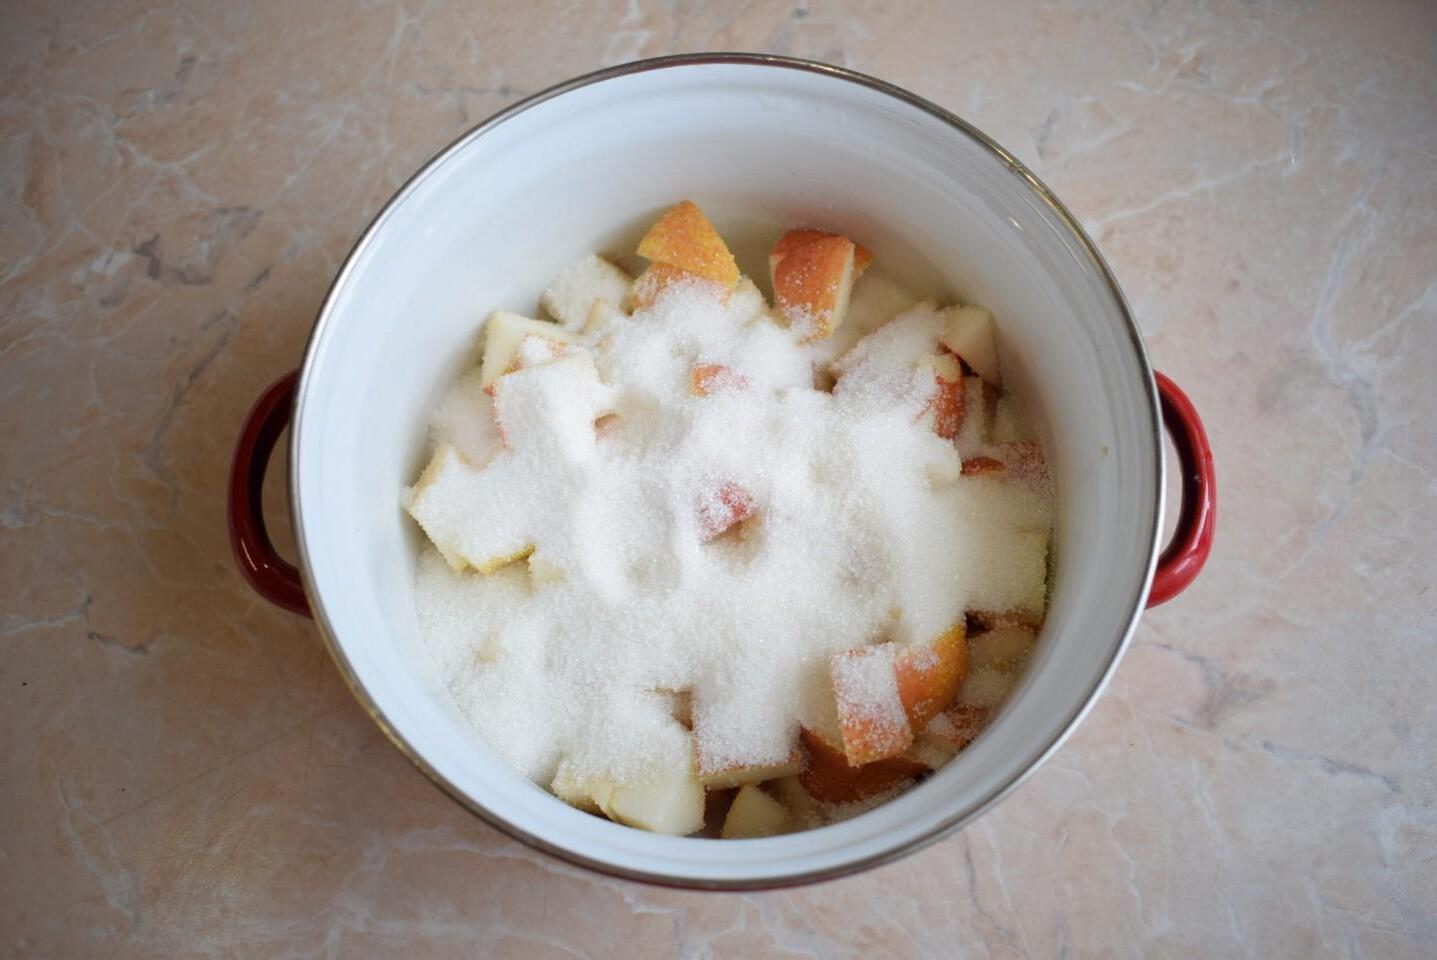
Place the chopped pears in a saucepan and add sugar. Leave to stand for several hours to allow the pears to release their juice. Glass or enamel dishes are suitable for this. You should not use metal or aluminum to prevent oxidation of the metal. The article at the link at the end of the recipe will help you with choosing a pan. There is no need to add all the sugar at once. You will taste the jam the first time you cook it. If necessary, you can top it up later.

Step 4

Step 4
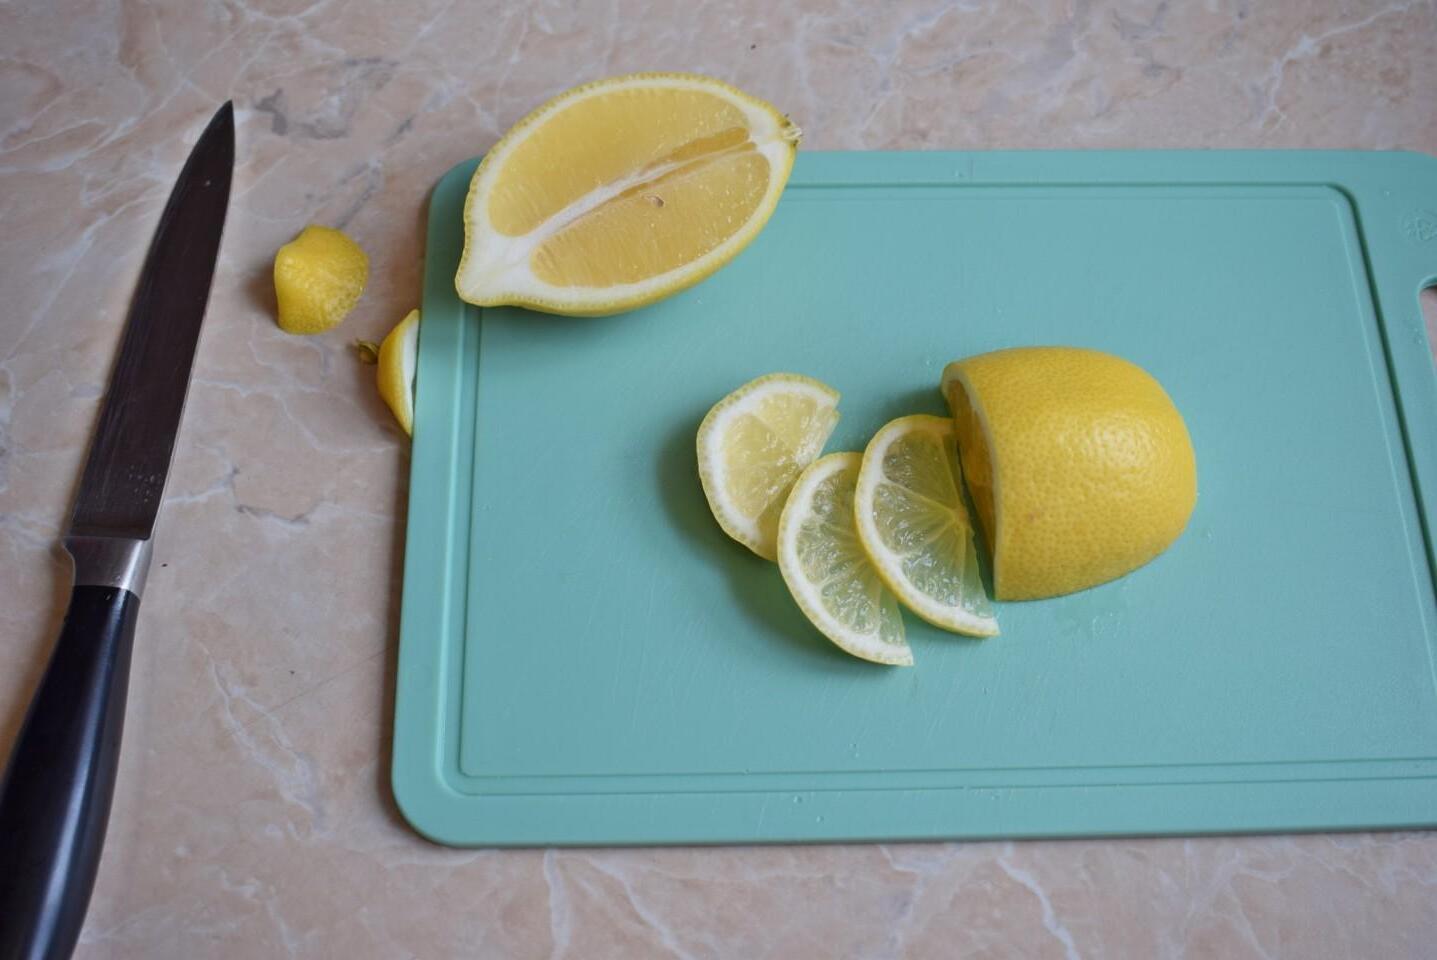
Remove the stems from both sides of the lemon, cut it in half and cut into thin slices. Remove any seeds you find. There is no need to peel the skin.

Step 5

Step 5
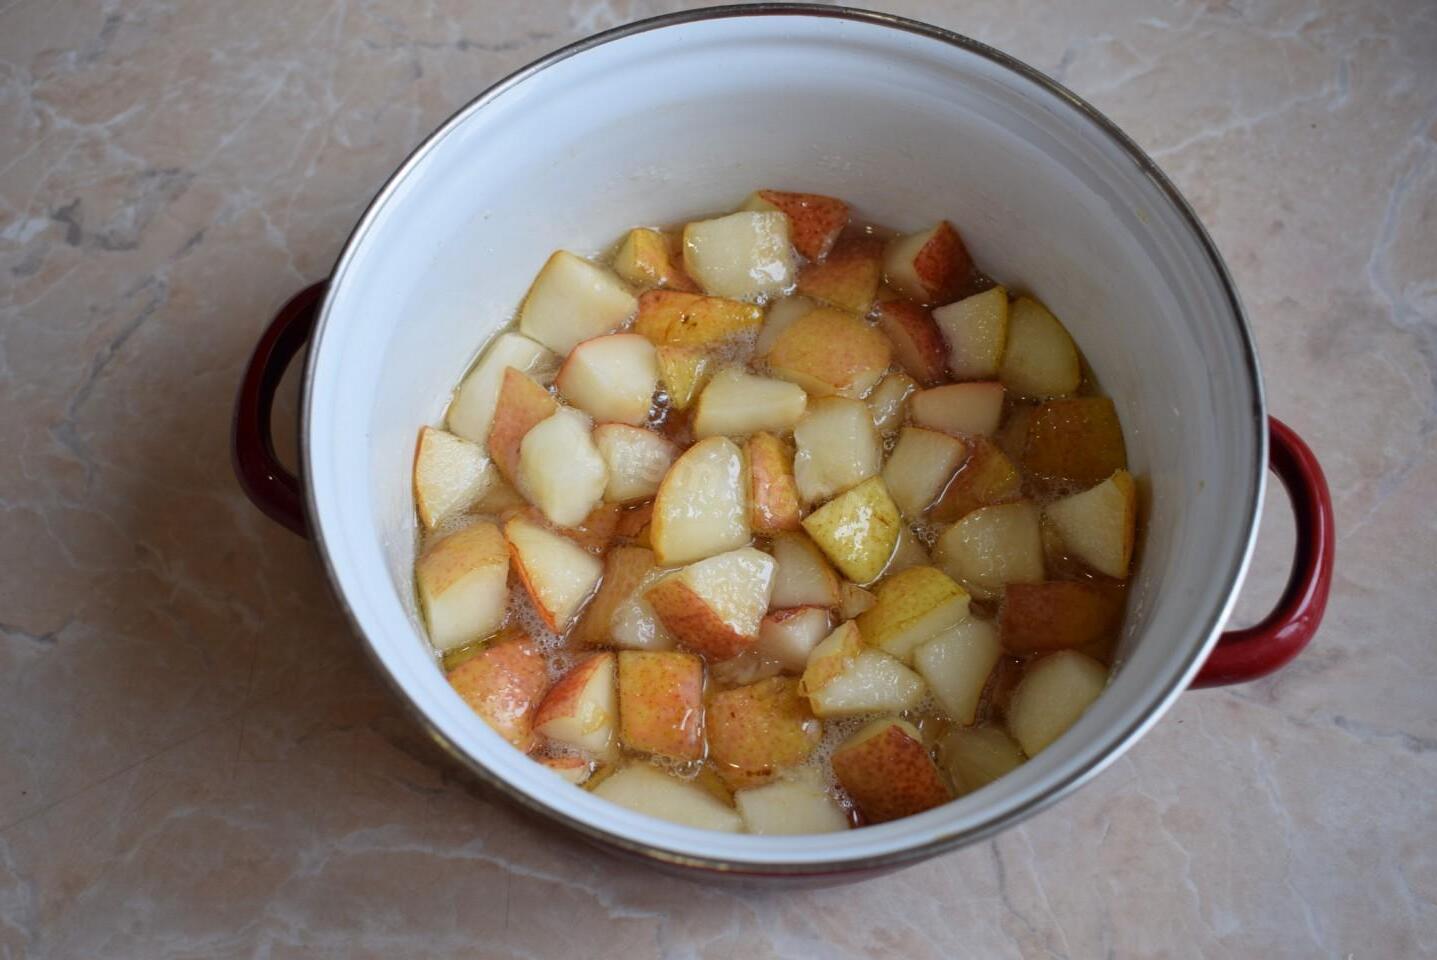
When the pears release their juice, place them on the fire and bring to a boil.

Step 6

Step 6
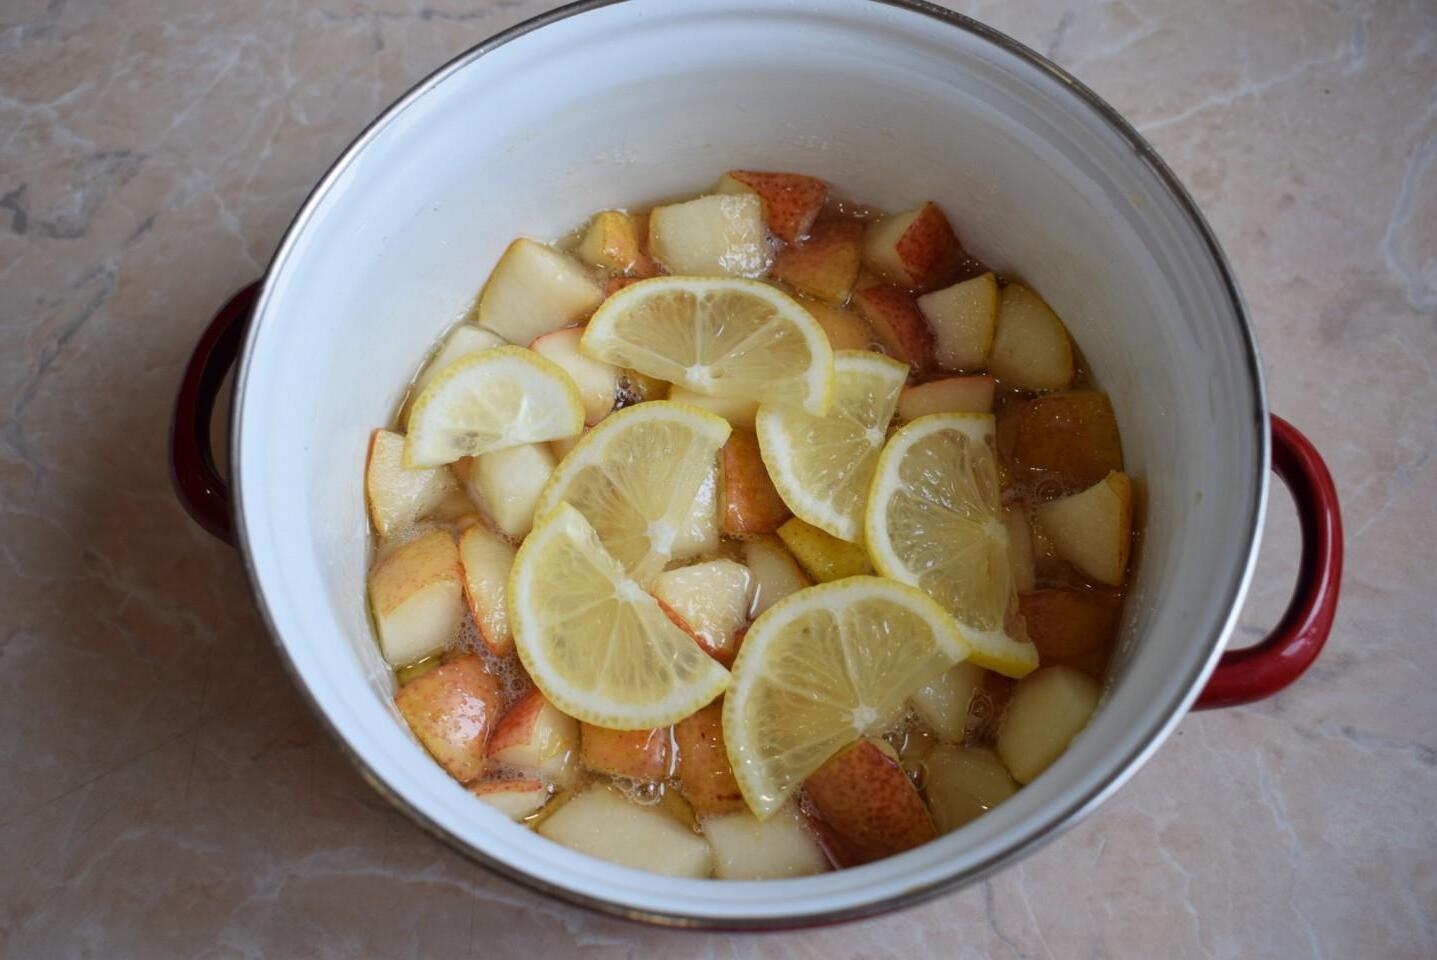
Add lemon slices to the pears in the pan, stir and cook for 1-2 minutes. Then turn off the heat and leave the jam to stand and cool. This is necessary so that the syrup infuses and the fruits themselves do not become overcooked. Sterilize the jars in a way convenient for you. Just pour boiling water over the lids. How to calculate the required number of cans, as well as other interesting information about preservation, read the article about blanks, the link is at the end of the recipe.

Step 7

Step 7
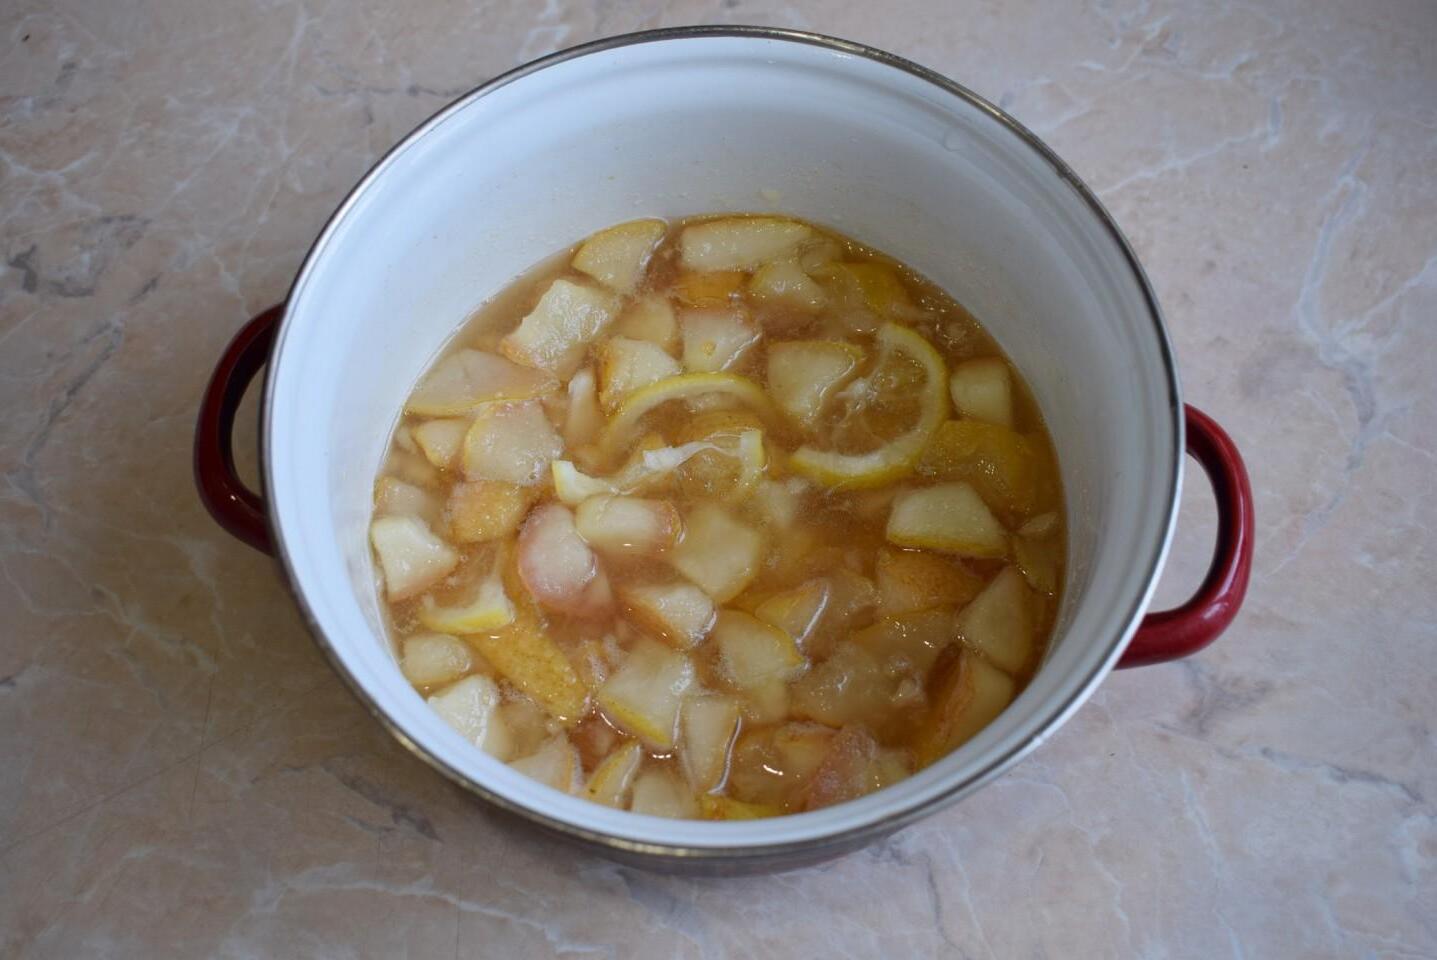
Then bring the jam to a boil again and cook for 4-5 minutes.

Step 8

Step 8
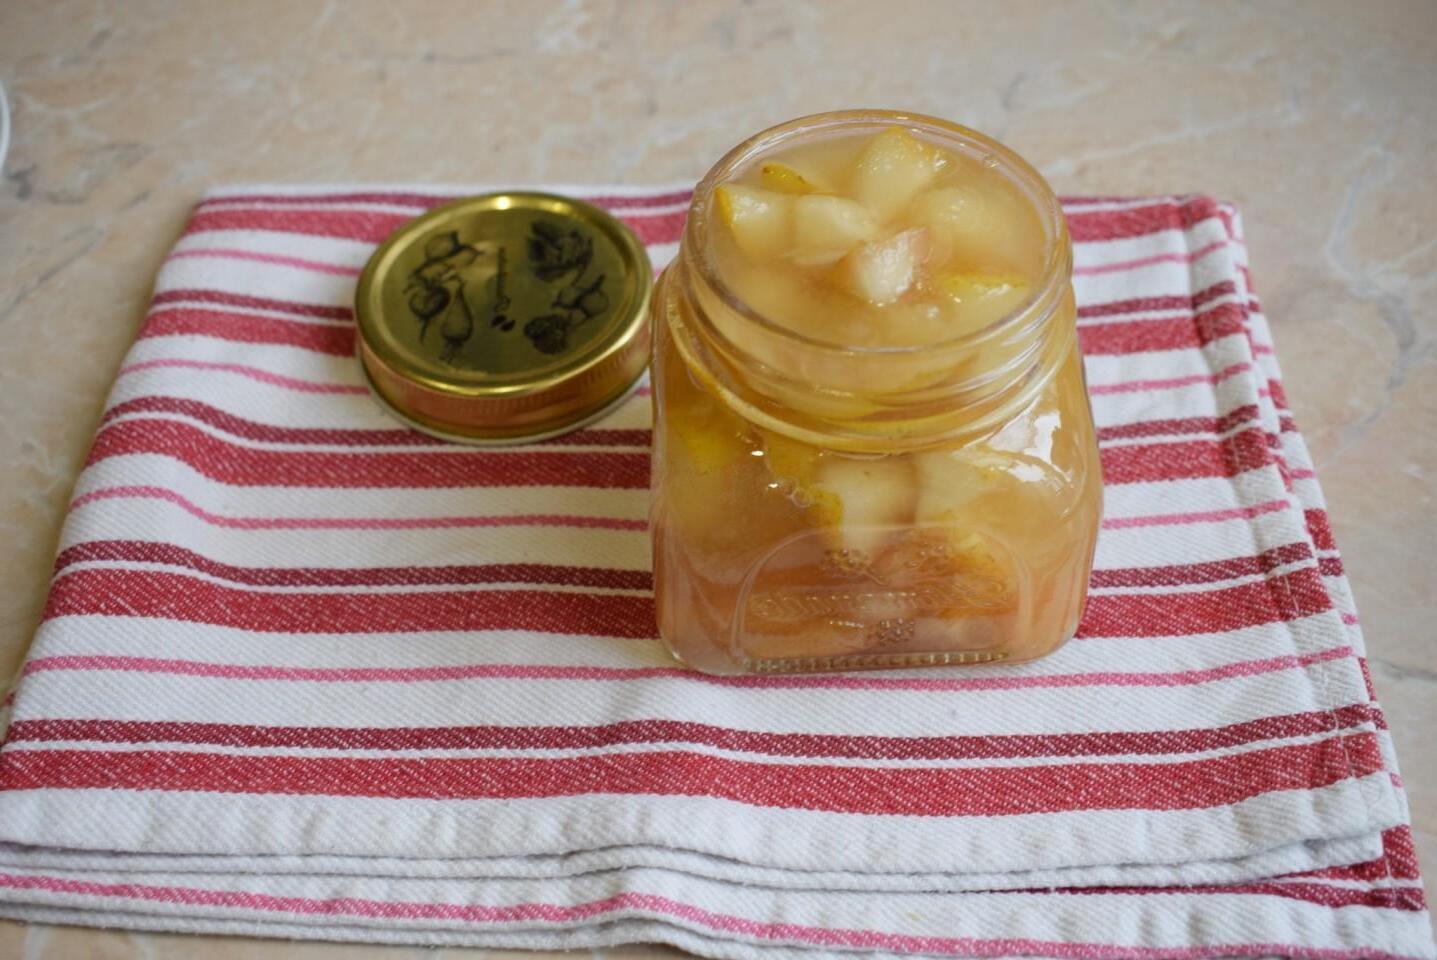
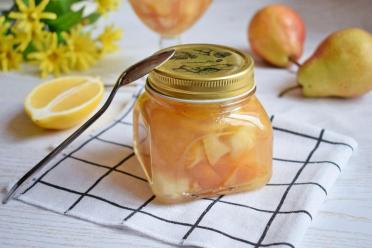
Place the boiling jam into prepared jars and close the lids.

Step 9

Step 9
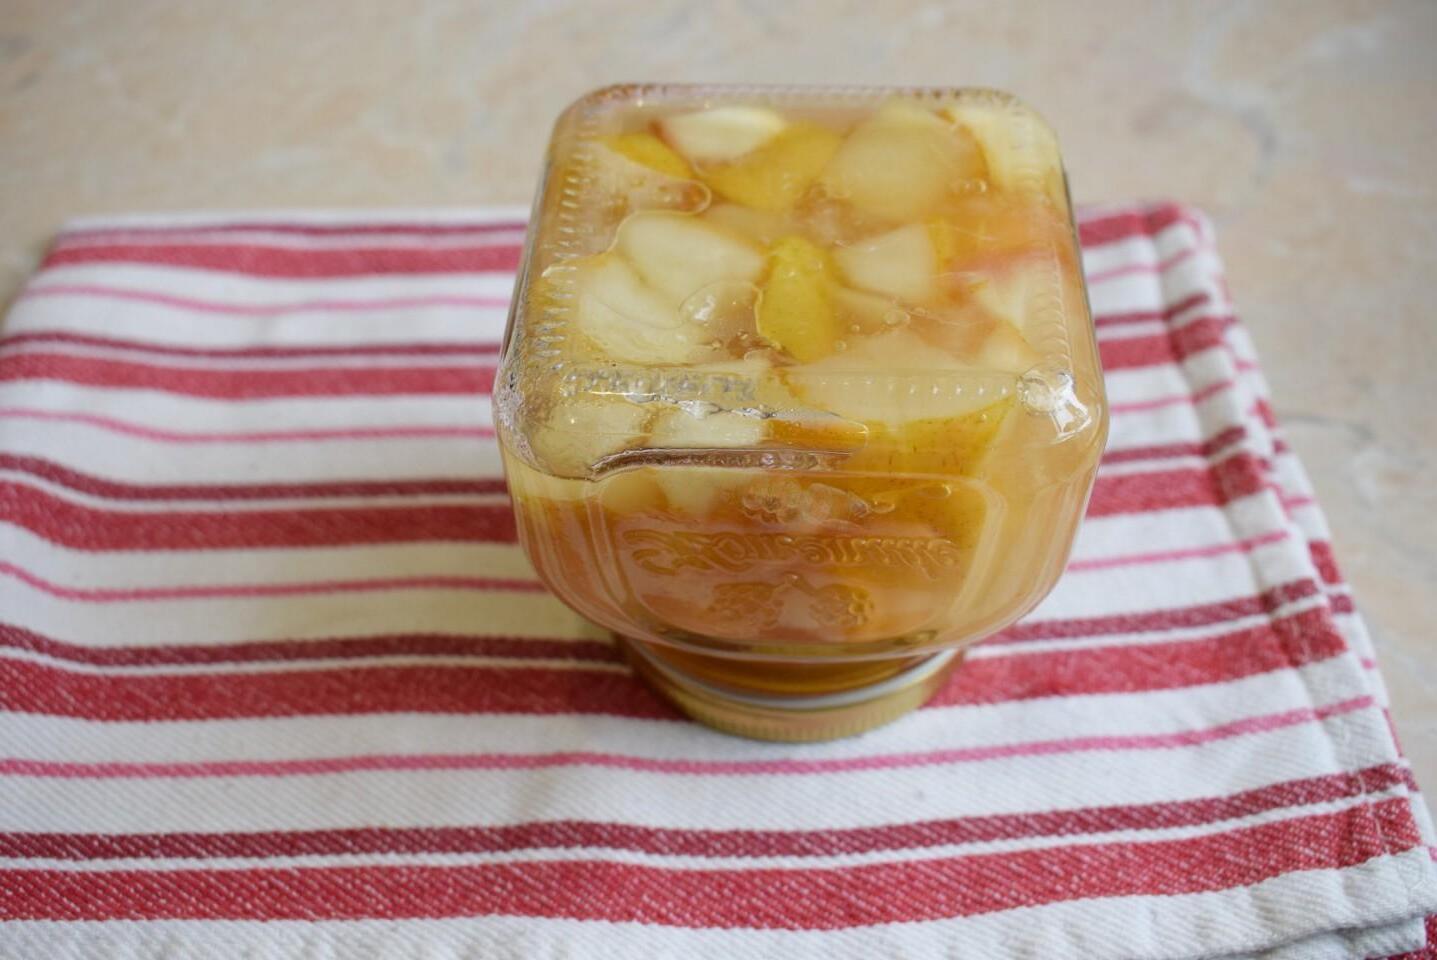
Turn the jam jars upside down, wrap them in a blanket and cool them like that. Why wrap it in a blanket? In this form, the jam will cool much more slowly and will spread as it cools.

Step 10

Step 10
Store the finished jam in a cool place. Enjoy your meal!

Additional rubrics