Pickle Brine Cookies: A Delicious Soviet-Era Treat

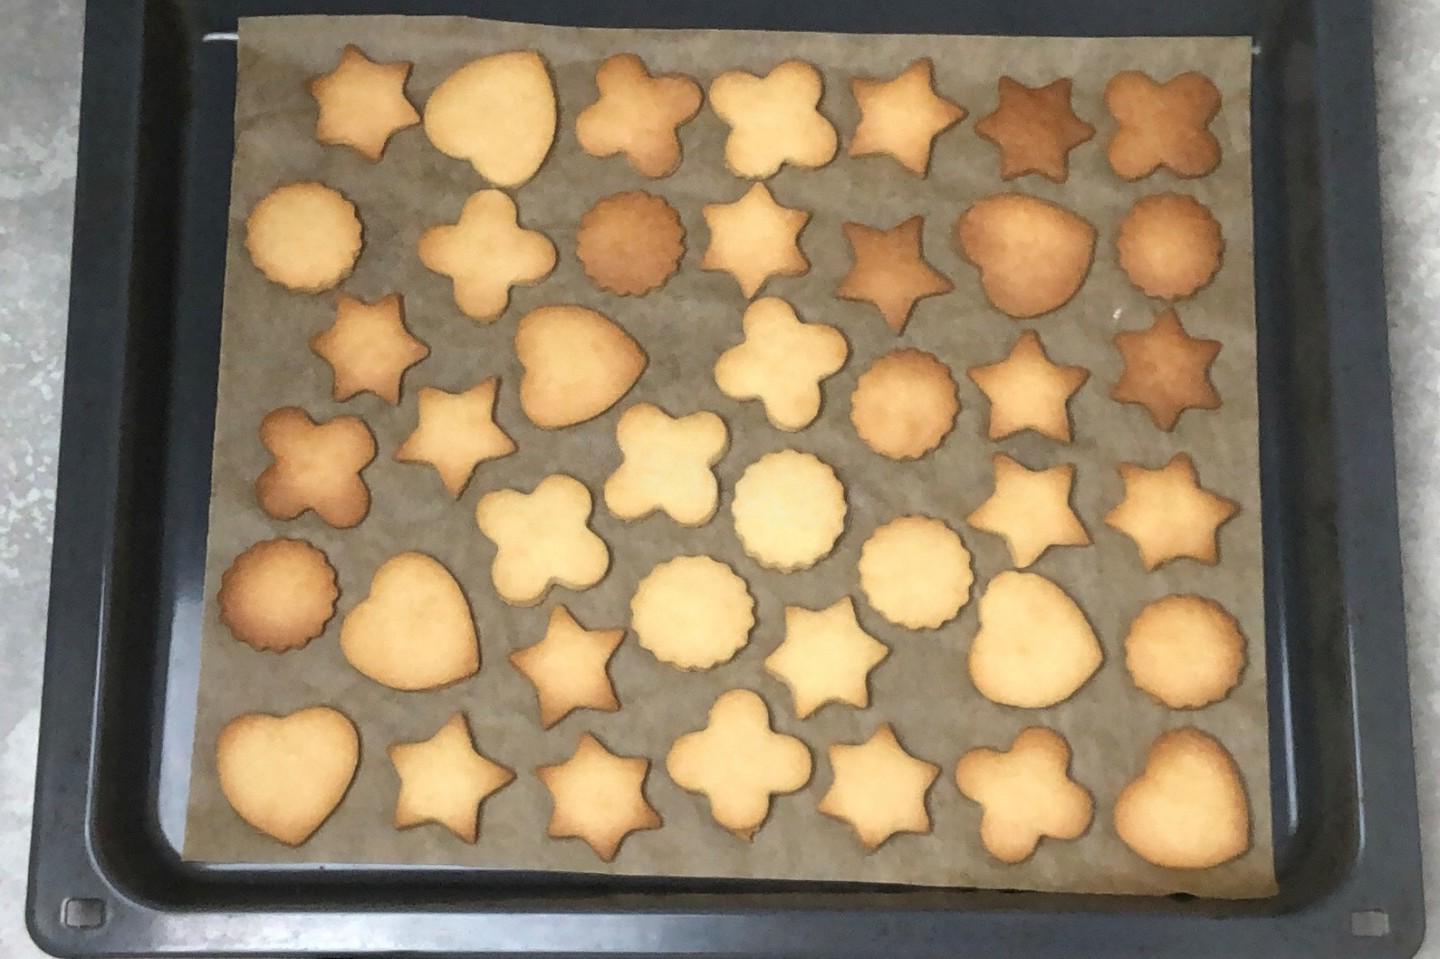
The most budget-friendly, simple and fast, from Soviet times! Our grandmothers baked cookies with cucumber brine. In Soviet times, he helped out when it was necessary to make something for tea from a minimal set of products. I doubted that it would be delicious, but I was wrong — the cookies turned out delicious!
cook time: 30 min
Freya Ashford
Pickle Brine Cookies: A Delicious Soviet-Era Treat

Nutrition Facts (per serving)

394
Calories
18g
Fat
50g
Carbs
6g
Protein

Ingredients (8 portions)

Basic:

Sugar 8 tbsp
Wheat flour 400 g
Vegetable oil 150 ml
Baking powder 1 tsp
Brine (from canned cucumbers) 150 ml

Recipe instructions

Step 1
Step 1
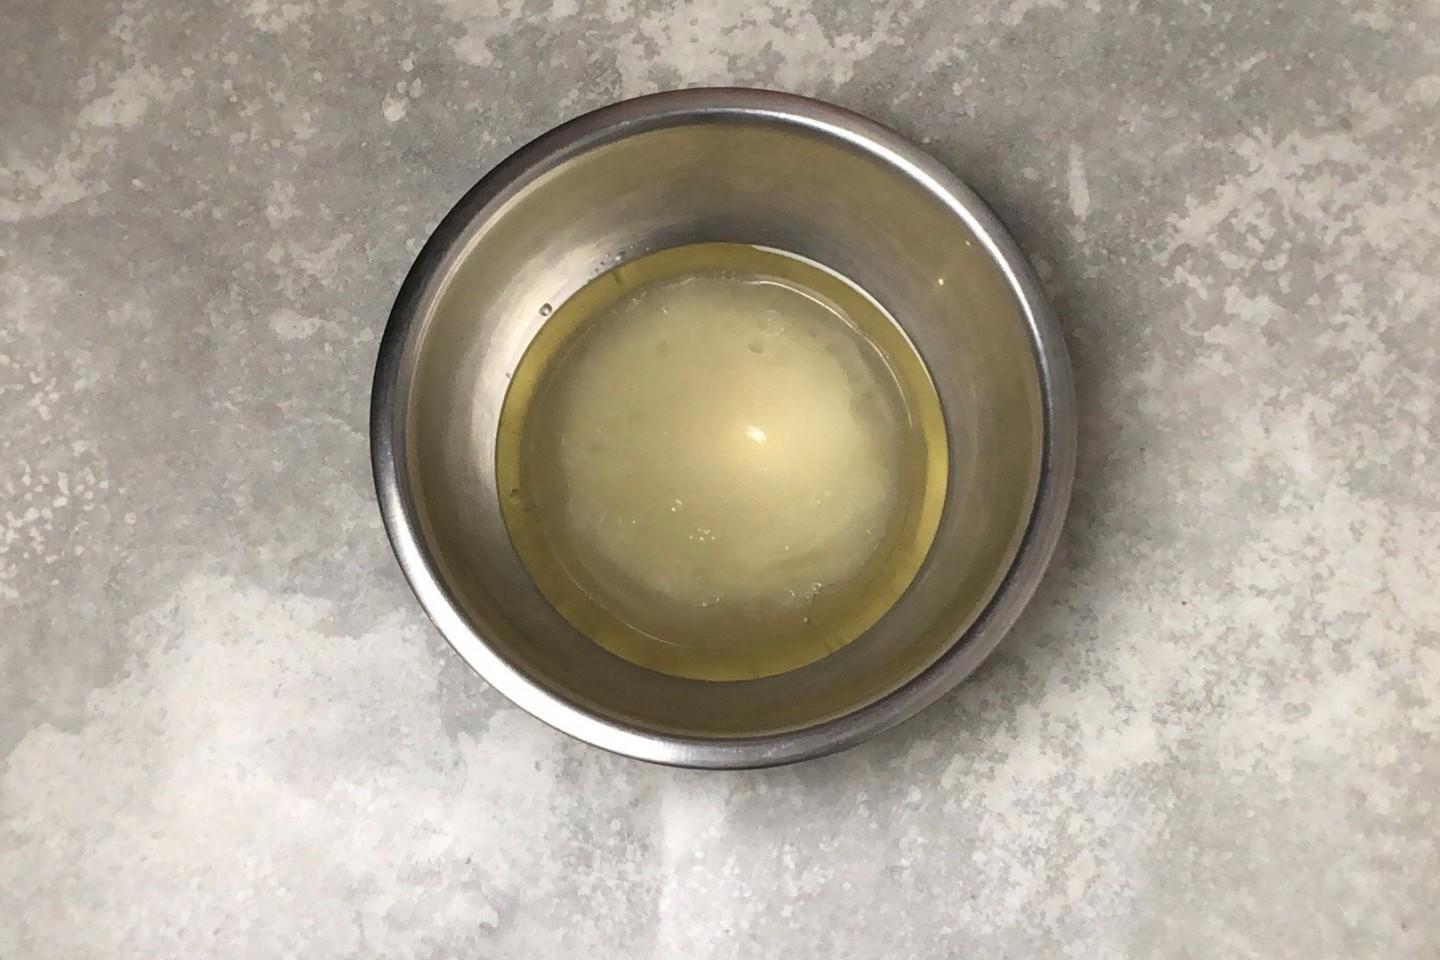
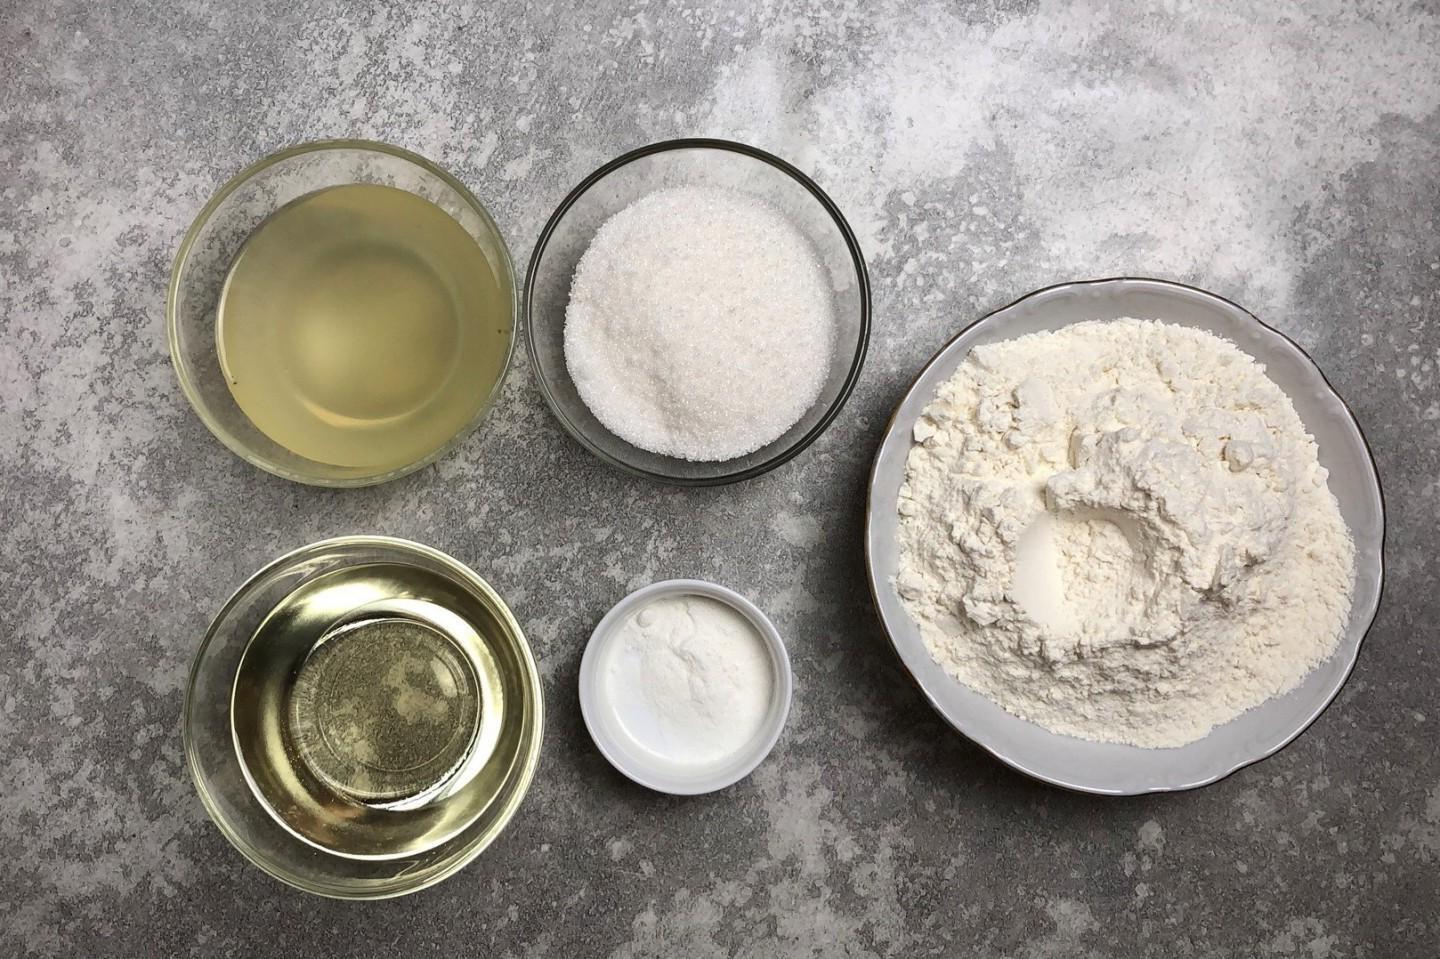
How to make cookies with cucumber pickle? Prepare your food. The main condition when choosing a brine for these cookies is that it must be tasty; too sour or salty will not work. First strain the brine. It is better to take refined, odorless oil. Although our grandmothers baked with aromatic oil. It seems to me that the taste of the oil will compete with the aroma of the brine.

Step 2

Step 2
Take a large bowl to knead the dough. Pour the brine into it, then add sugar. You can reduce the amount of sugar, then you will get a saltier version. Mix the brine with sugar with a whisk. Pour in the vegetable oil, add baking powder and stir again.

Step 3

Step 3
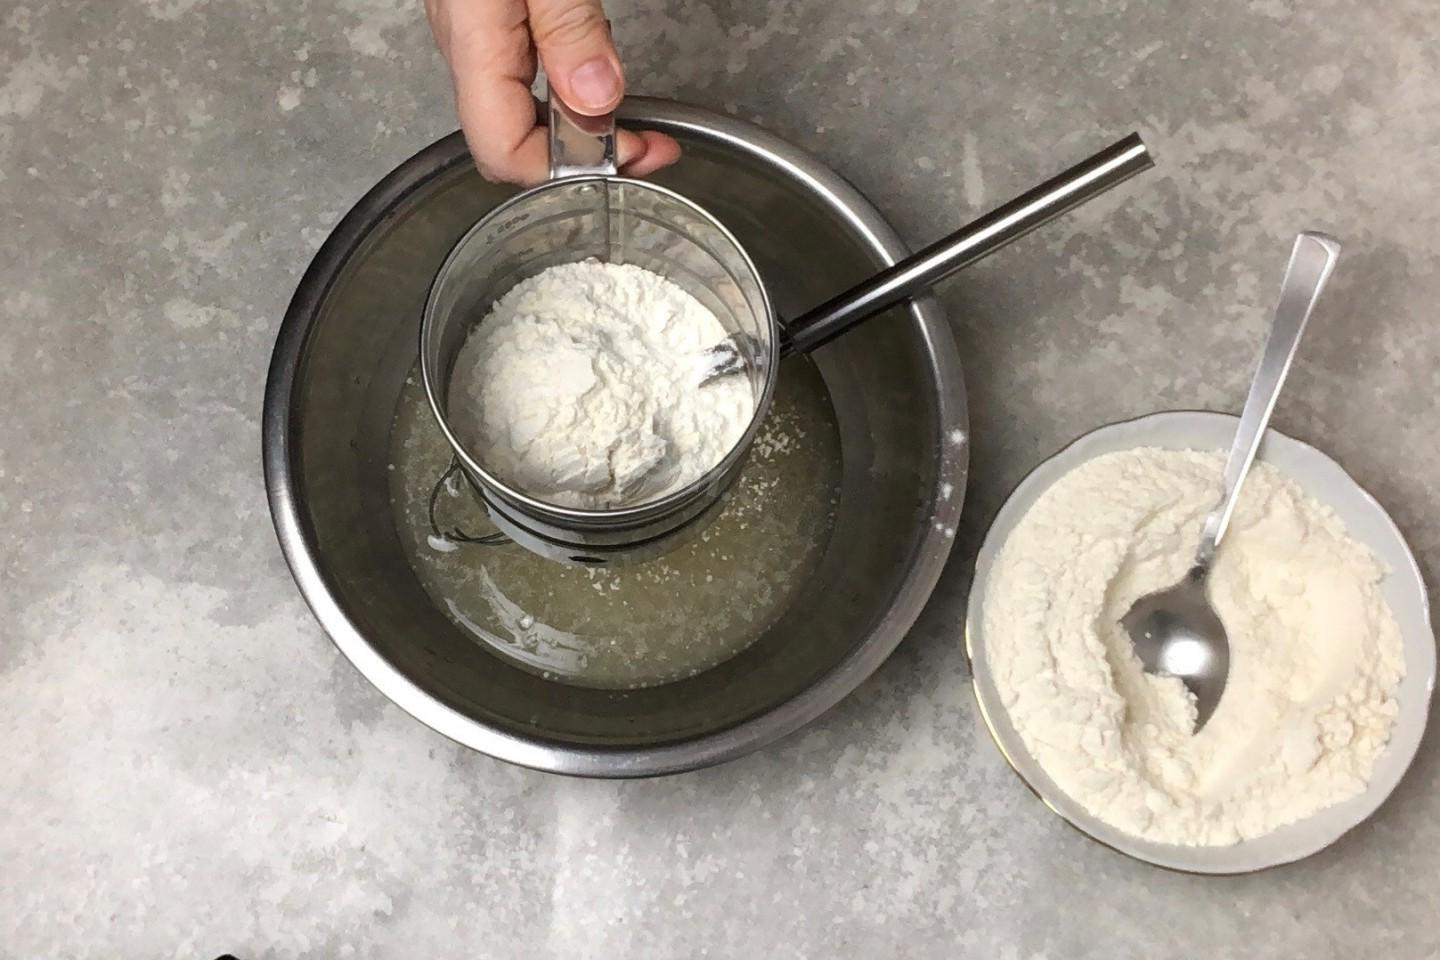
Start adding the sifted flour in portions, kneading the dough after each addition. First stir with a whisk, then with a spoon. Add flour in parts, keeping in mind that it may take you more or less than mine.

Step 4

Step 4
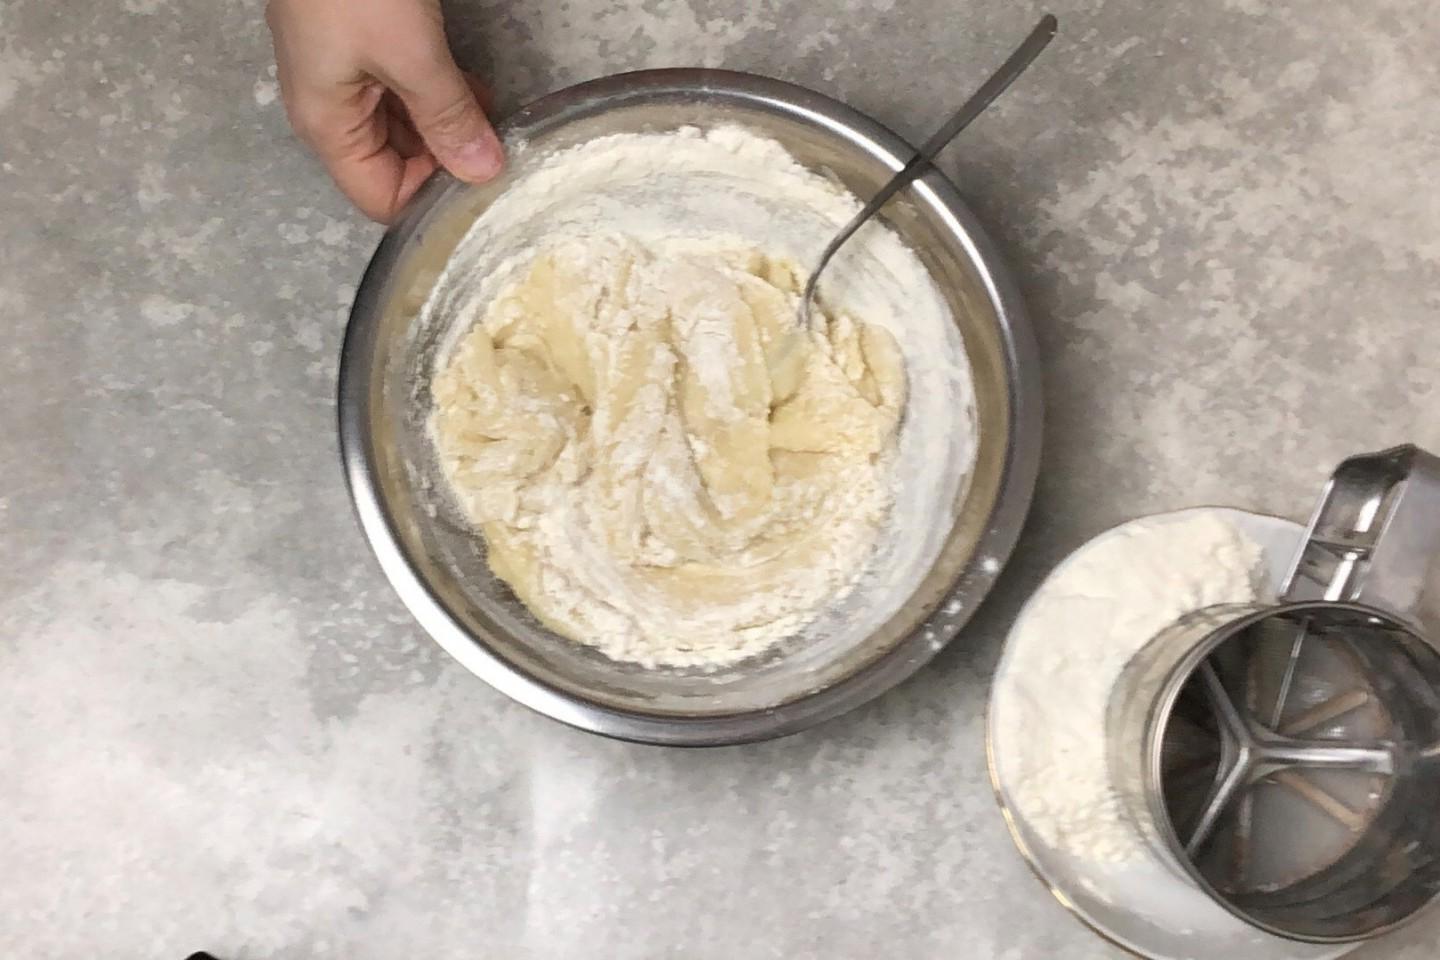
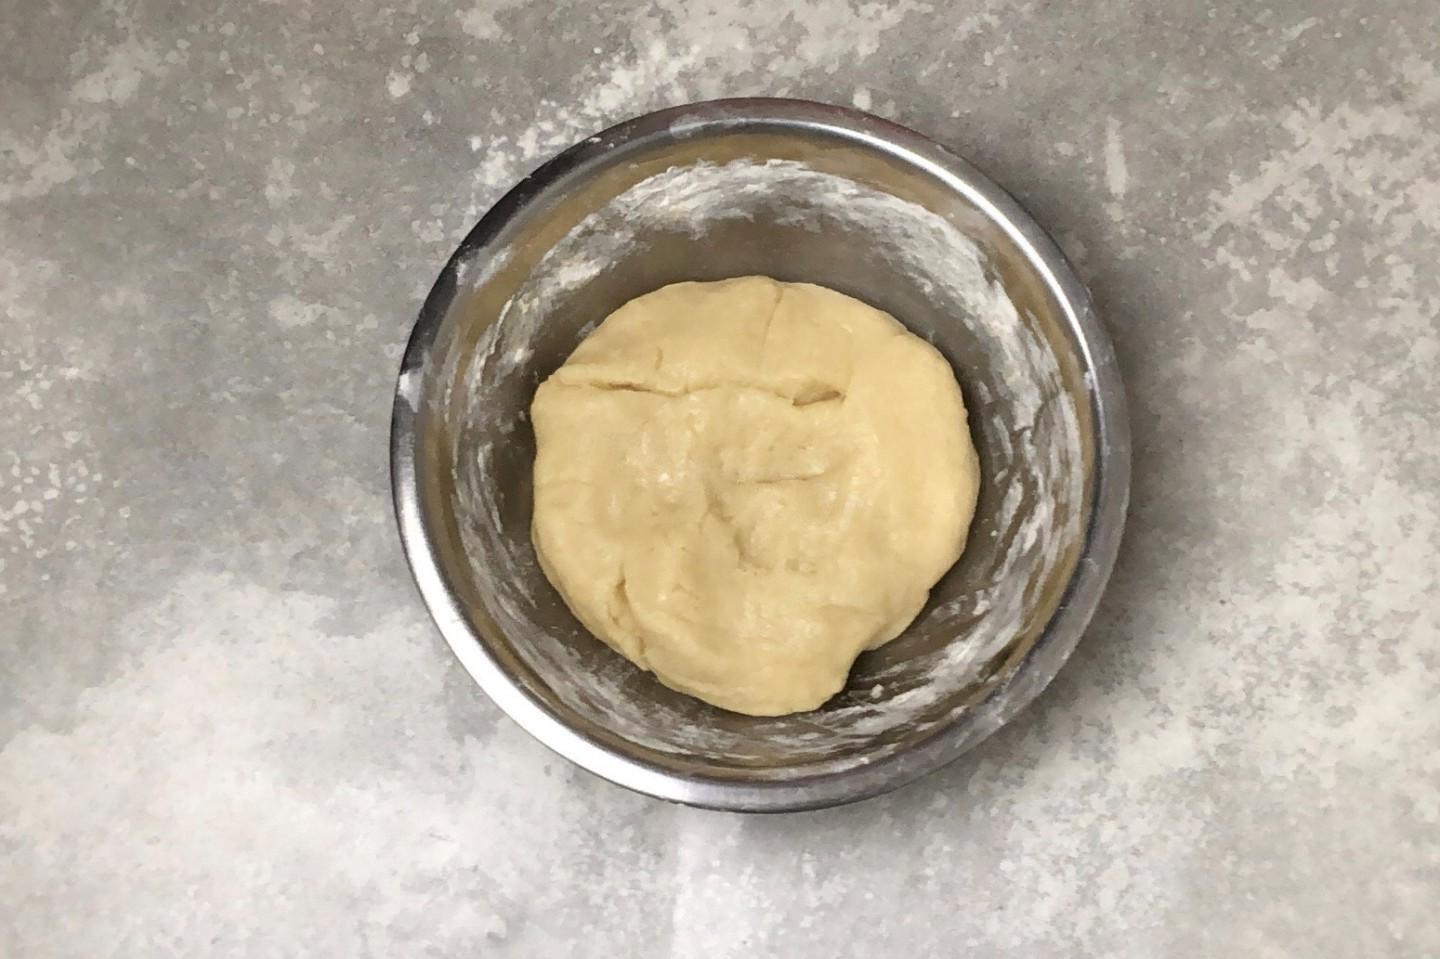
At the very end, when the dough becomes very thick, knead it with your hands. The dough turns out to be very easy to work with, soft, non-sticky and flexible.

Step 5

Step 5
Donʼt knead it for too long, as soon as the dough comes together into a ball, stop.

Step 6

Step 6
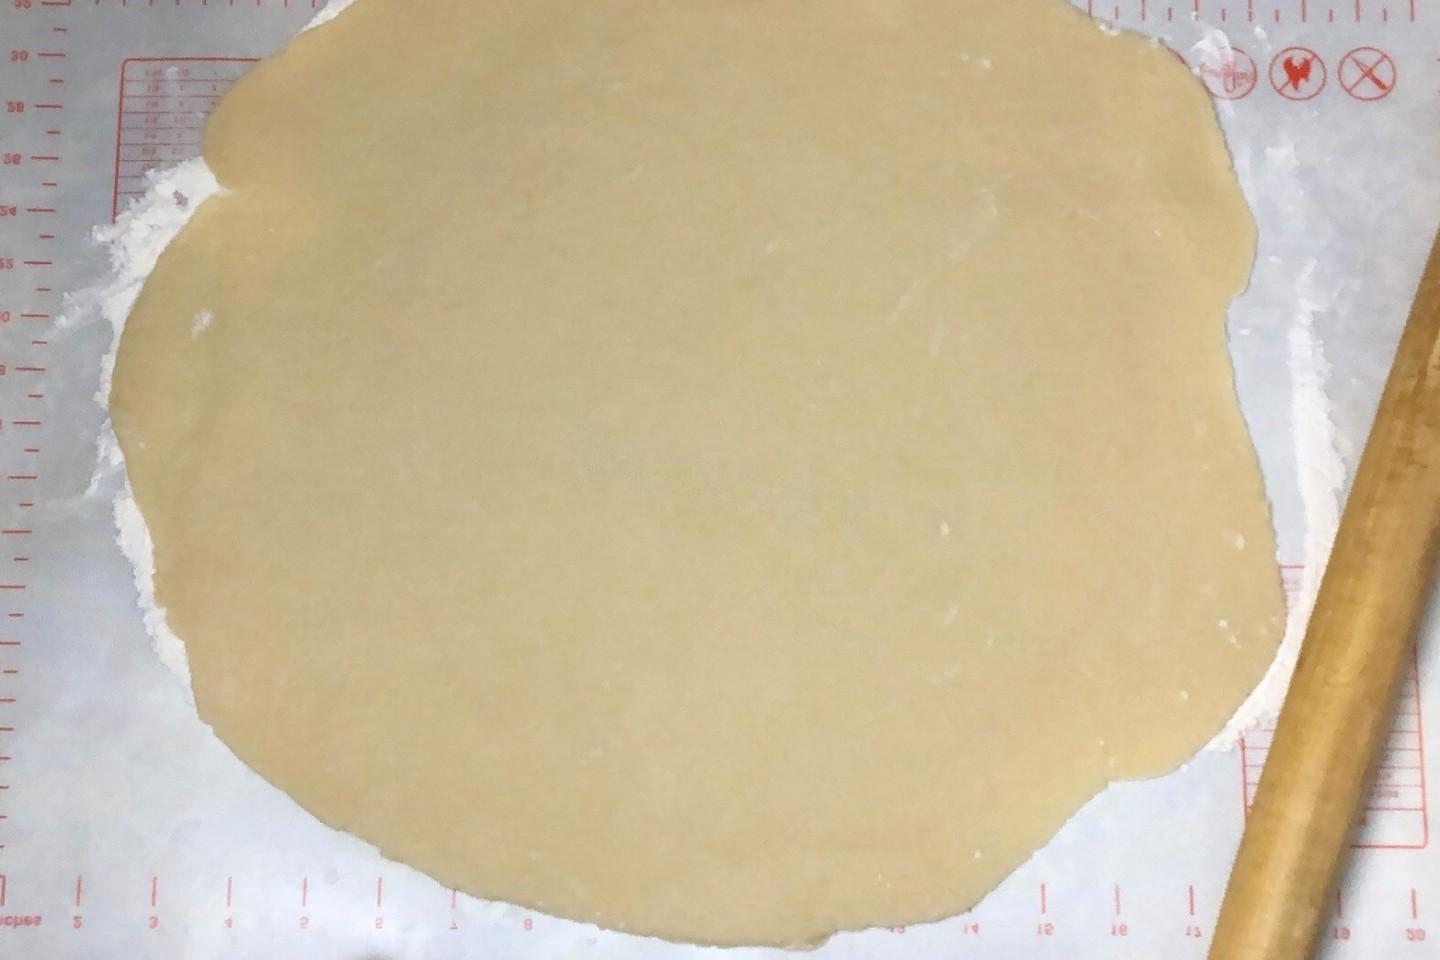
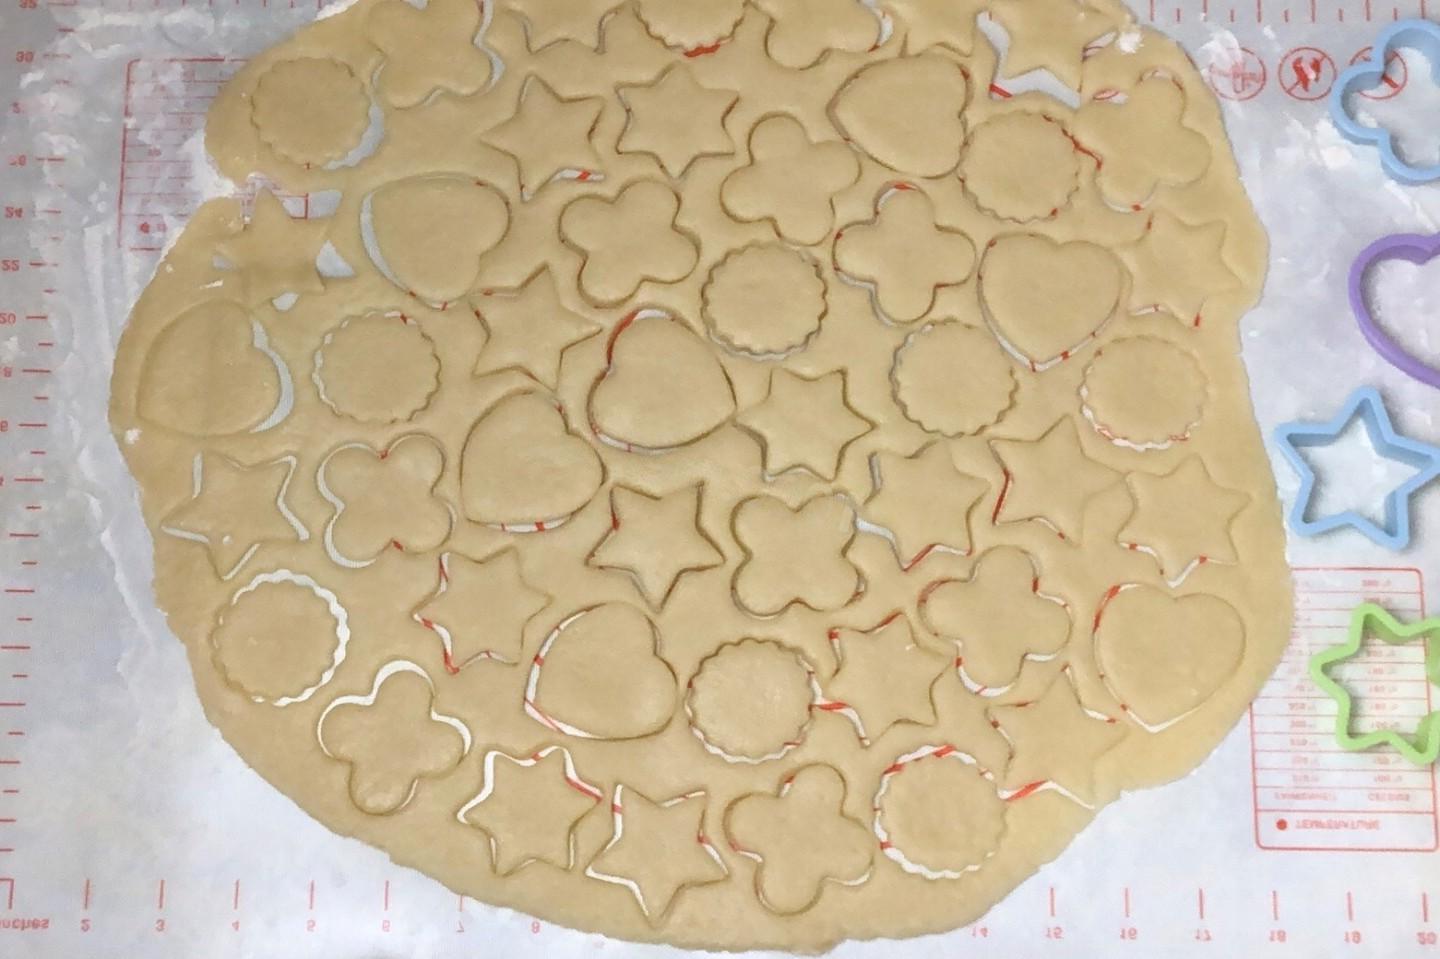
Turn the dough out onto a floured work surface. Roll it out with a rolling pin into a layer about 5 mm thick. Try to roll out evenly so that both the edges and the middle are the same thickness. I didn’t take this into account; it affected me later when baking.

Step 7

Step 7
Cut out cookies from the dough using special cutters.

Step 8

Step 8
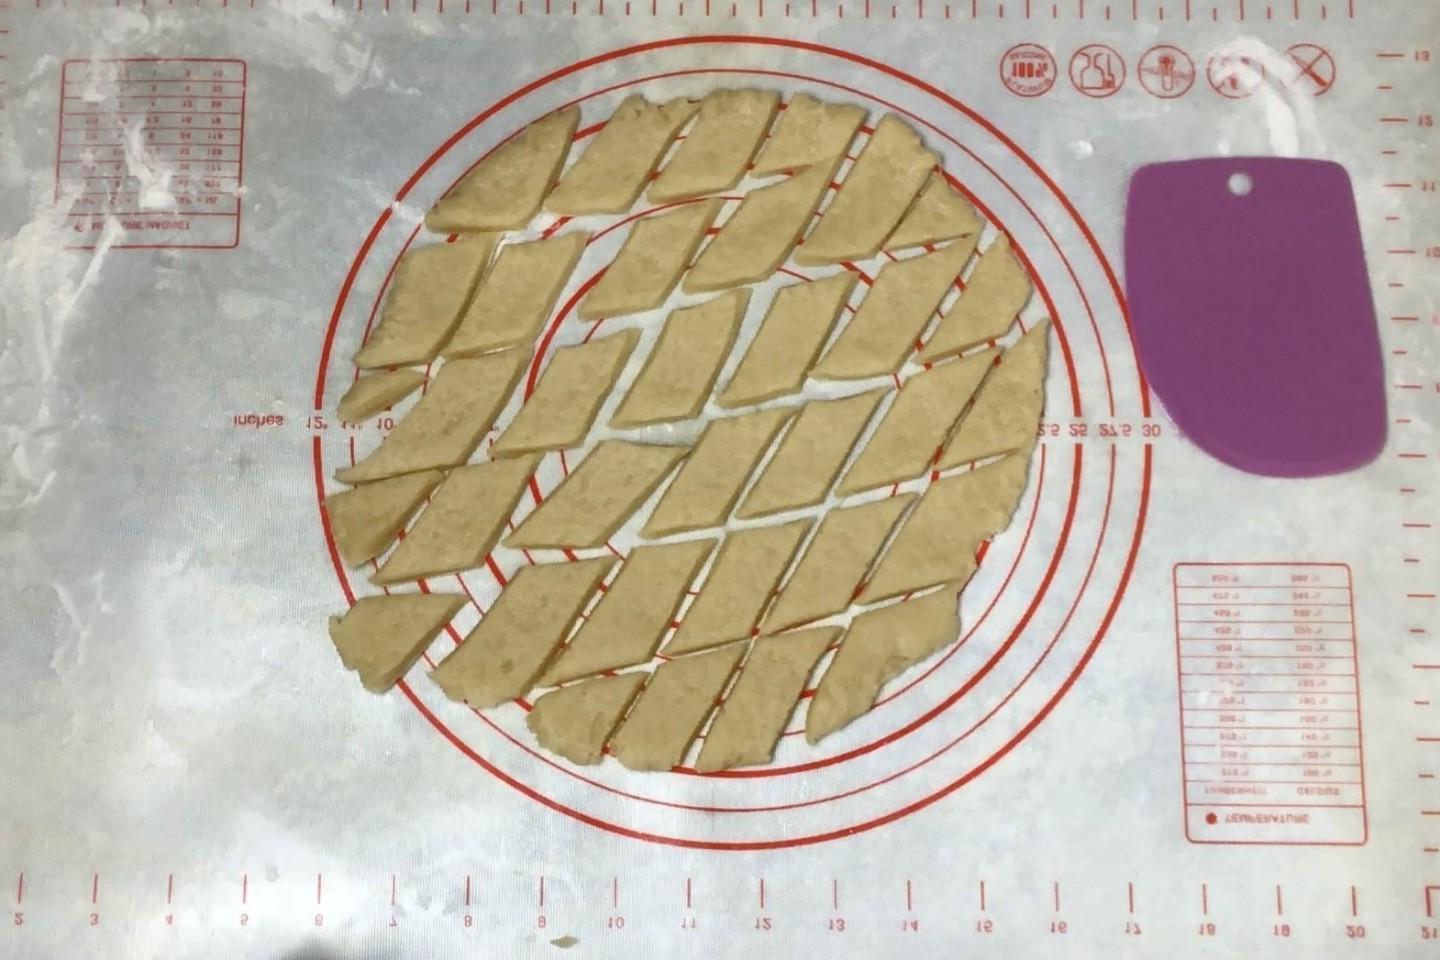
Shape the scraps again and roll them out. You can either cut out the cookies into shapes again, or, like me, cut them into diamonds. In this case there will be no cuttings. In principle, you can cut cookies right away, without molds.

Step 9

Step 9
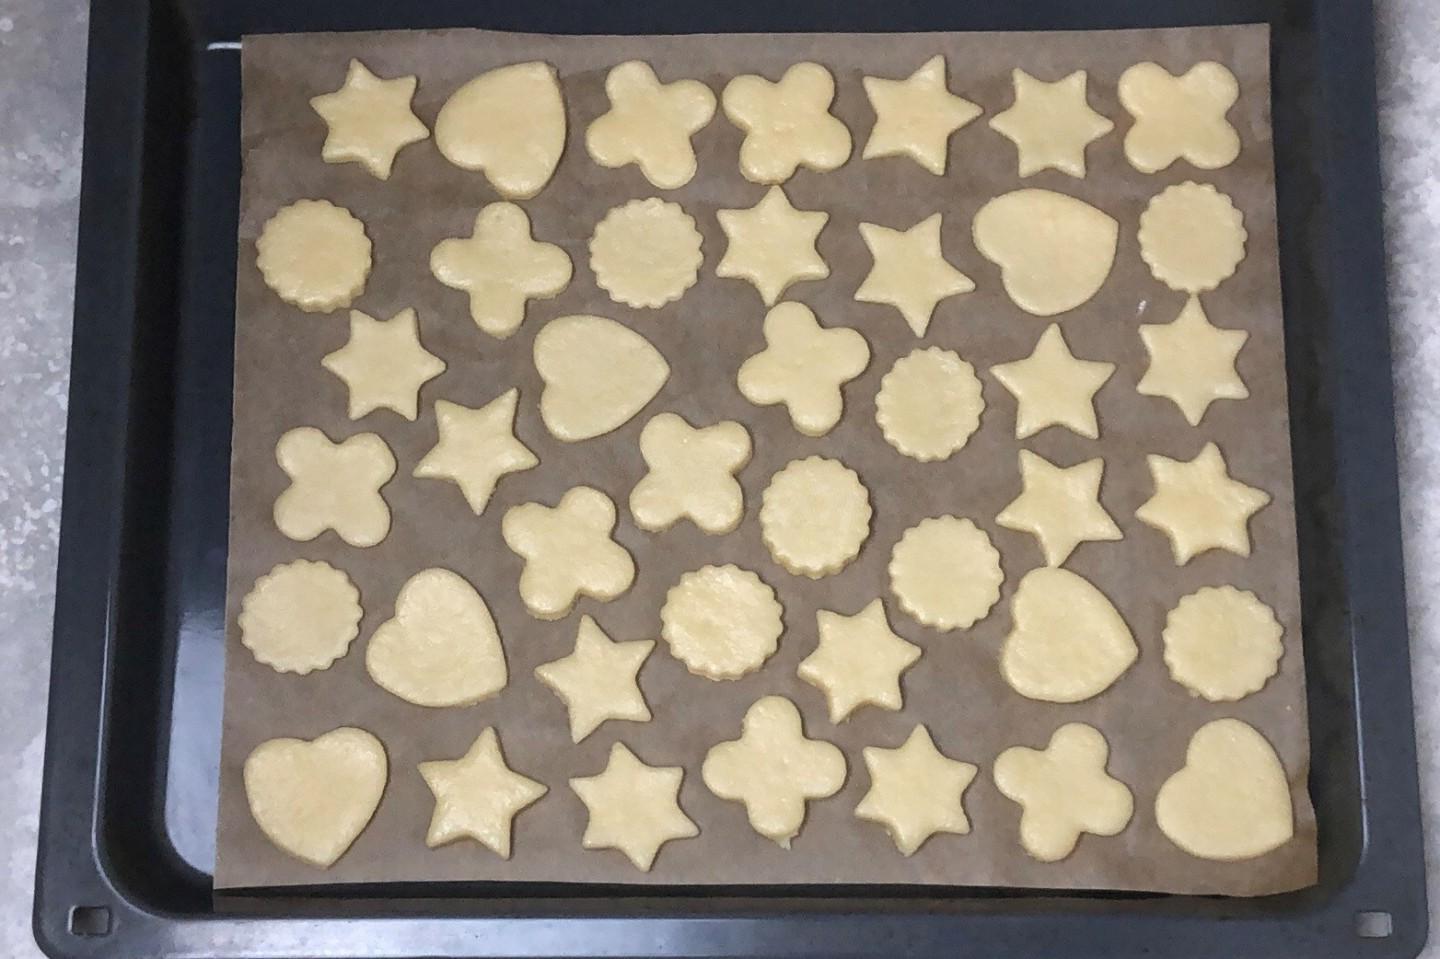
Place the cut out cookies on a baking tray lined with baking paper. I got two baking sheets — one with figures, the other with diamonds.

Step 10

Step 10
Bake the cookies in the oven, preheated to 180°C, for about 15-20 minutes. They should turn golden. As you can see, my cookies browned unevenly. This happened precisely because some of them were thinner — such cookies came out darker. Be guided by your oven.

Step 11

Step 11
Remove the finished cookies to baking sheets, cool and serve. Bon appetit!