Chicken Liver Pechenkin Salad

Very tasty, very simple, very filling — for dinner! Pechenkin salad with chicken liver can be prepared for all occasions. In puff form, it looks good on the holiday table. And if you mix all the ingredients, you get a great salad for a snack for every day!
cook time: 1h
Logan Winslow
Chicken Liver Pechenkin Salad

Nutrition Facts (per serving)

132
Calories
10g
Fat
3g
Carbs
8g
Protein

Ingredients (4 portions)

Basic:

Onion 2 pc
Salt to taste
Eggs 4 pc
Carrot 2 pc
Vegetable oil 20 g
Dry spices to taste
Pickles 3 pc
Mayonnaise 120 g
Chicken liver 300 g

Recipe instructions

Step 1
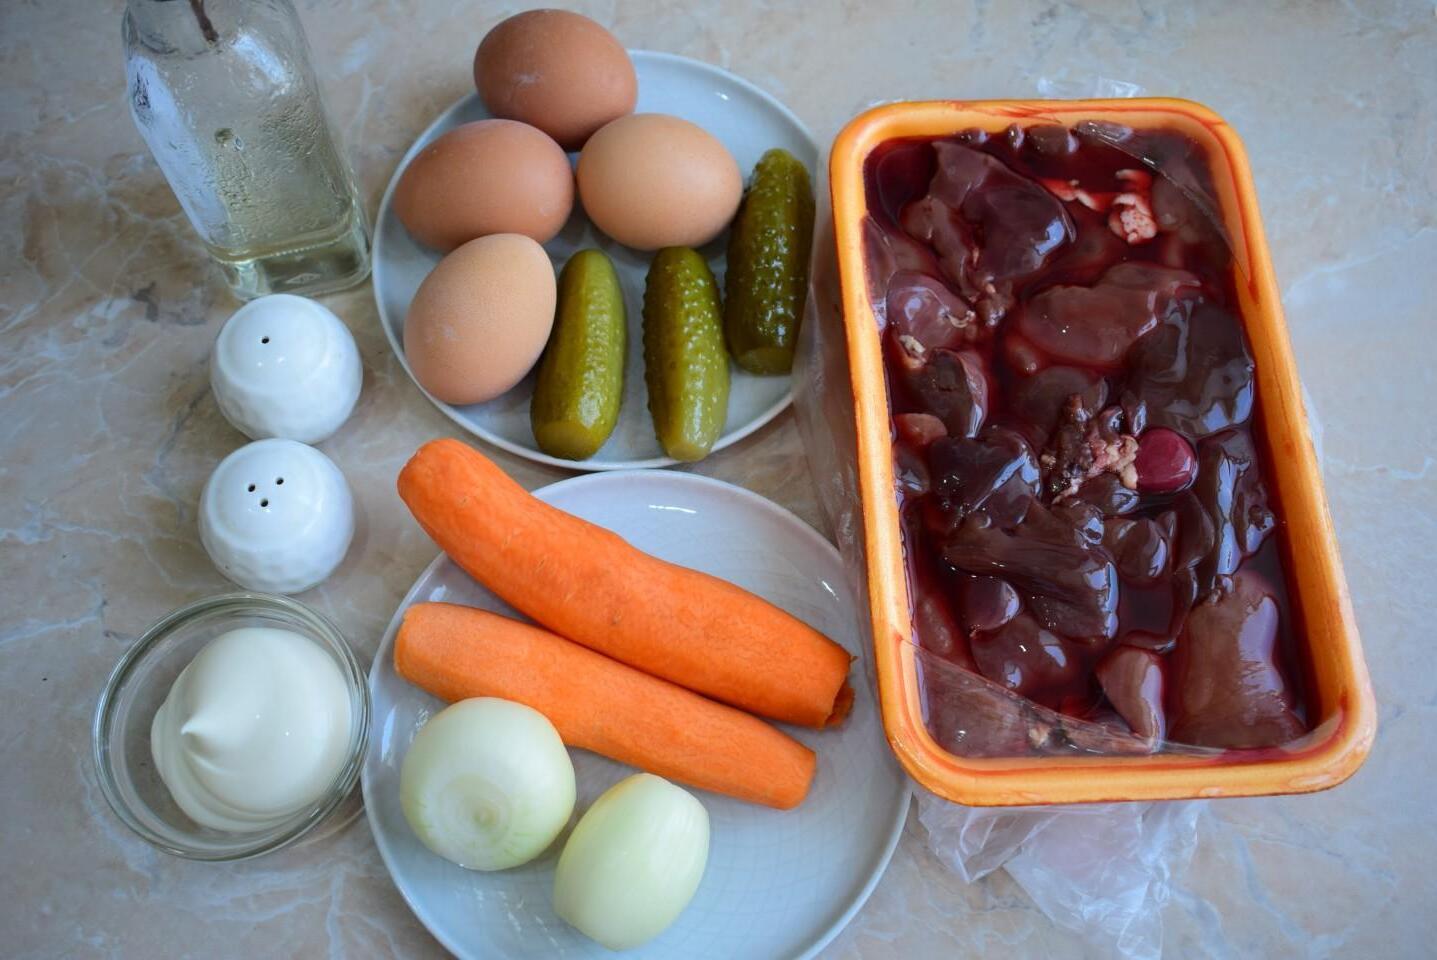
Step 1
How to make salad with chicken liver? Prepare everything you need for this. Chicken liver must be thawed at room temperature in advance. Peel the onions and carrots and rinse. Boil the eggs in boiling water for 7-8 minutes, then drain the hot water and cool them in cold water.

Step 2

Step 2
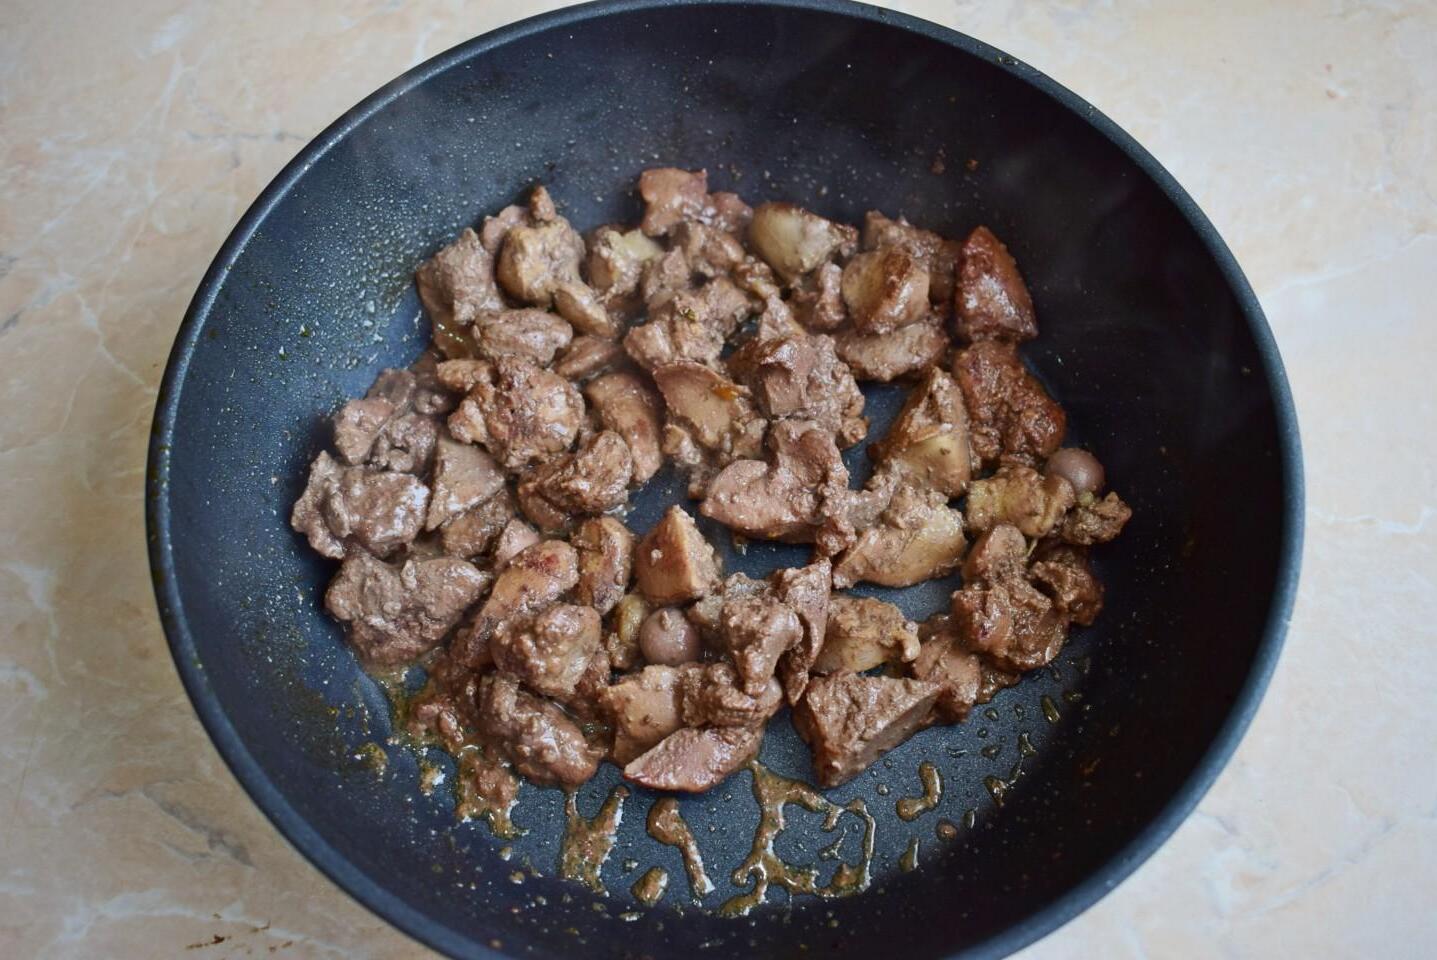
Cut the chicken liver into pieces and fry with a small amount of vegetable oil. Fry it for 7-10 minutes until done. How to check for readiness? Break the largest piece — there should be no pink in the break. The liver should be uniformly gray. Cool the fried liver.

Step 3

Step 3
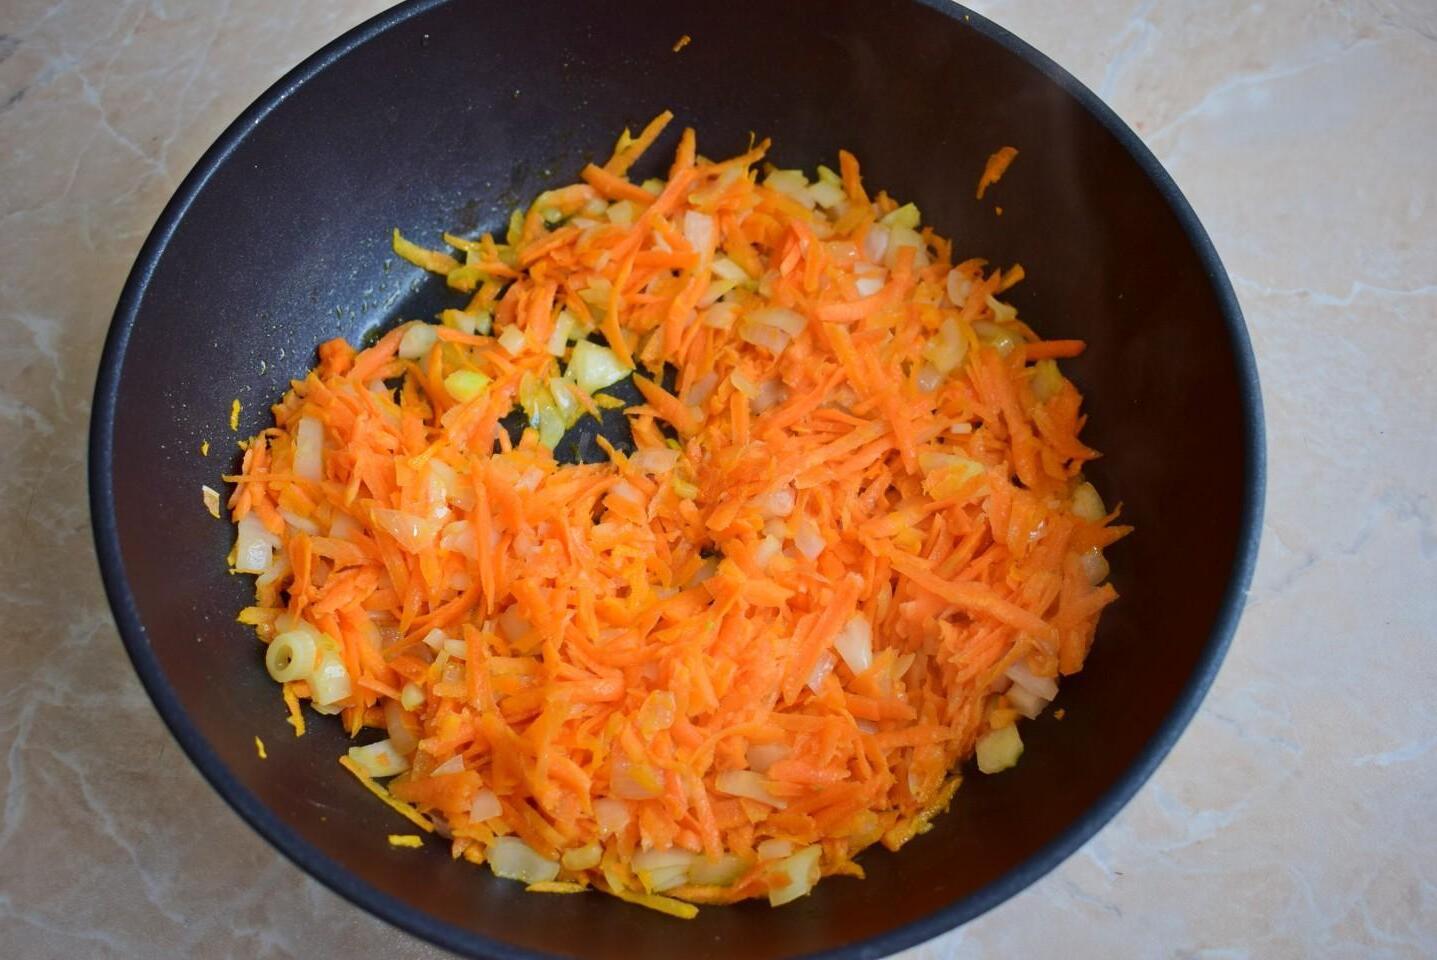
Finely chop the onion. Grate the carrots on a coarse grater. Fry the chopped vegetables for 3-4 minutes over low heat, adding vegetable oil. Cool the fried vegetables as well.

Step 4

Step 4
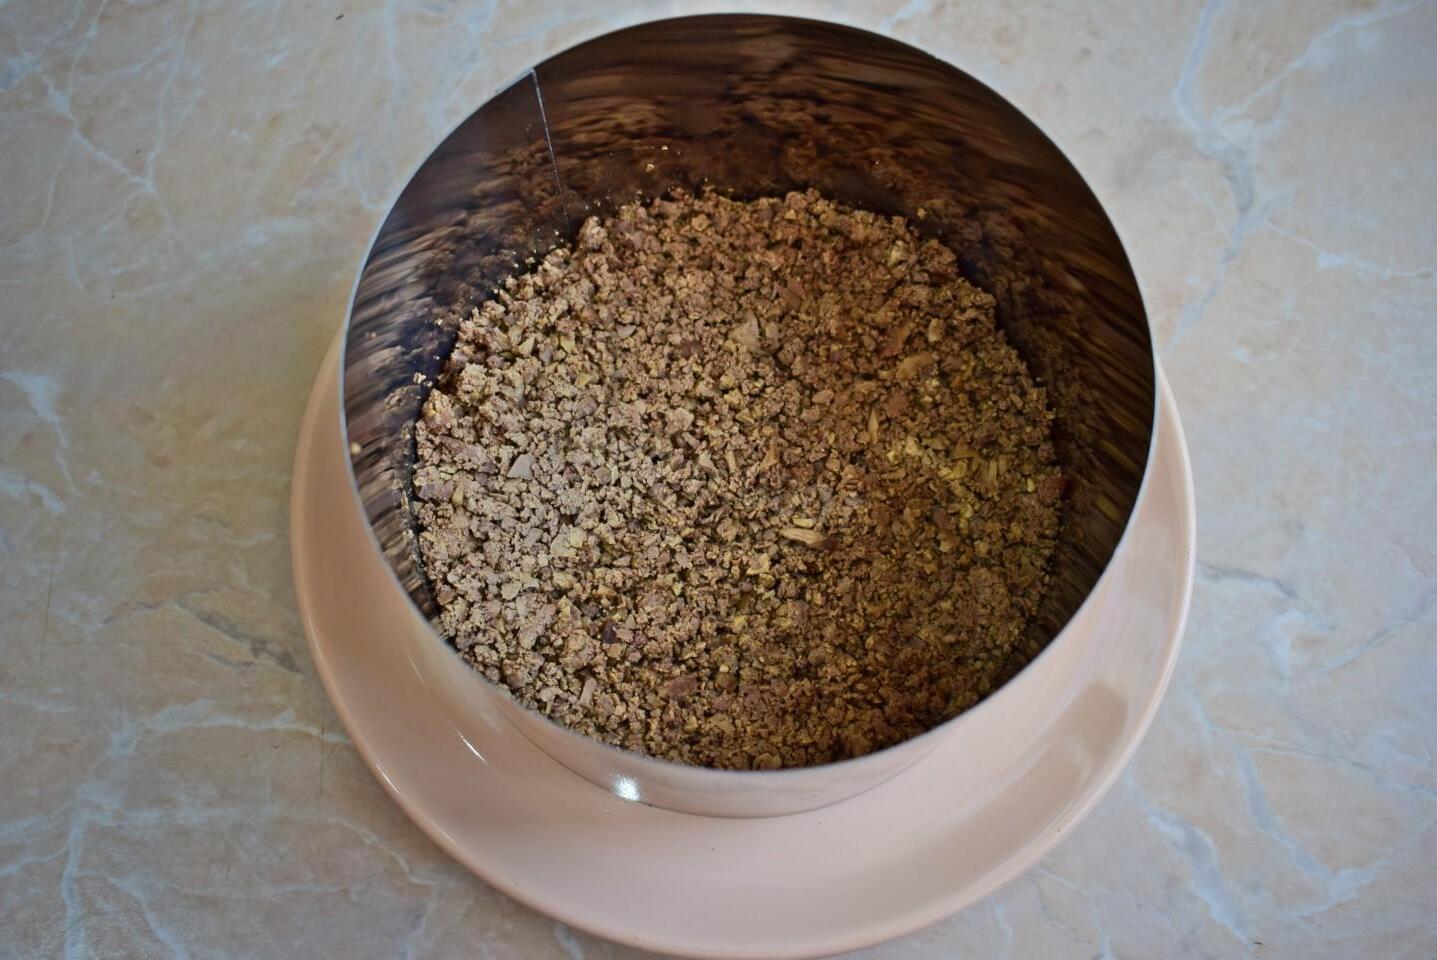
We will collect the salad in layers. An assembly ring or a deep salad bowl is suitable for this. Chop the fried liver and place it in a ring as the first layer of salad. Lubricate this layer and all subsequent ones with mayonnaise.

Step 5

Step 5
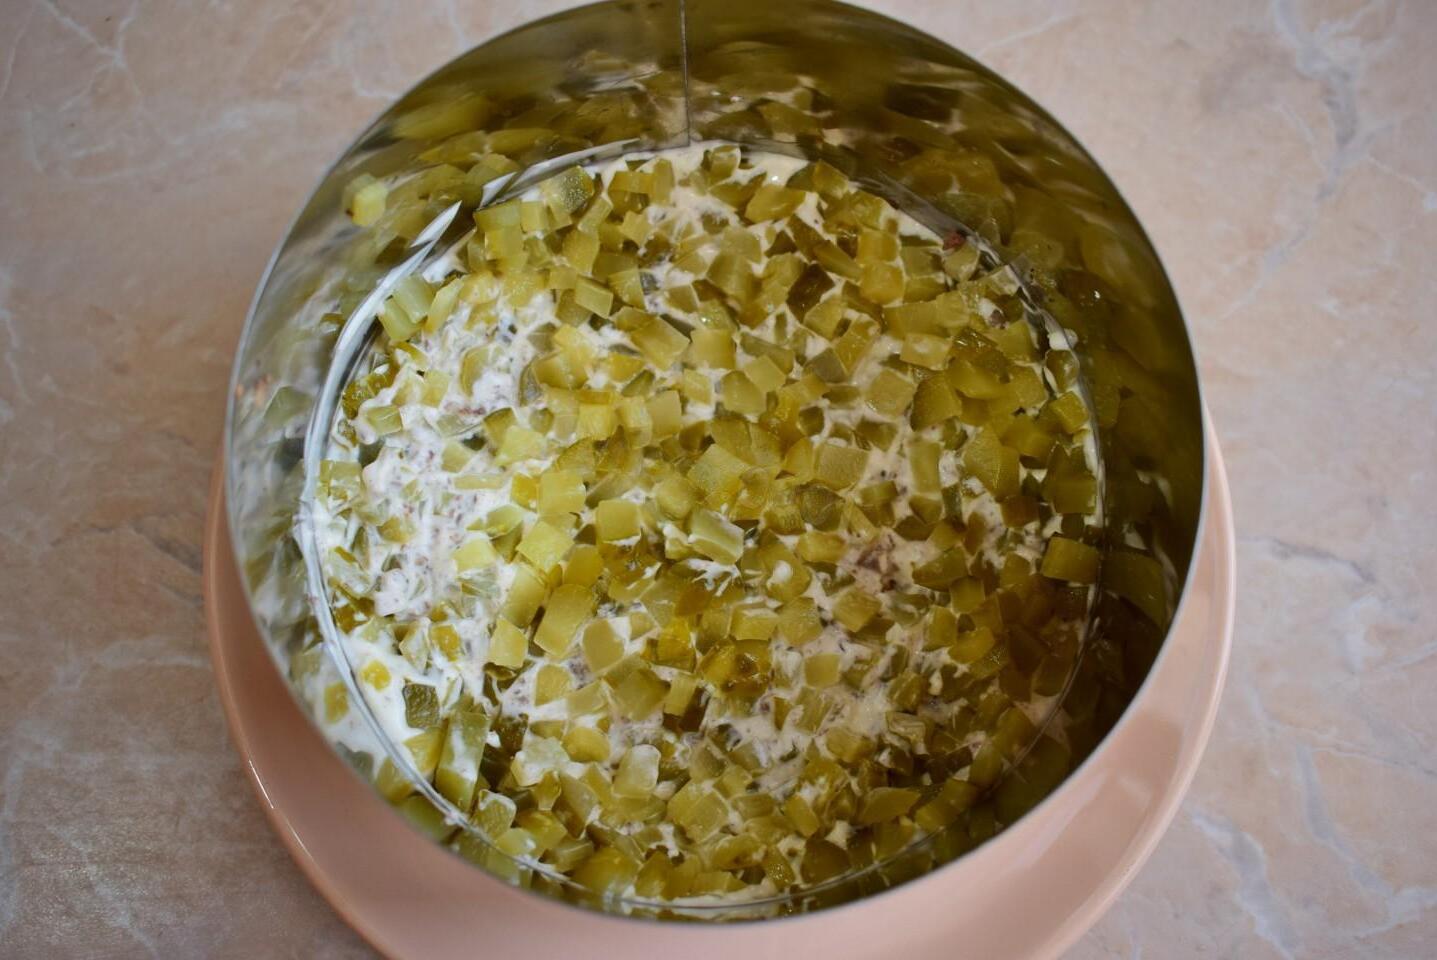
Finely chop the pickled cucumbers and place them on top of the liver.

Step 6

Step 6
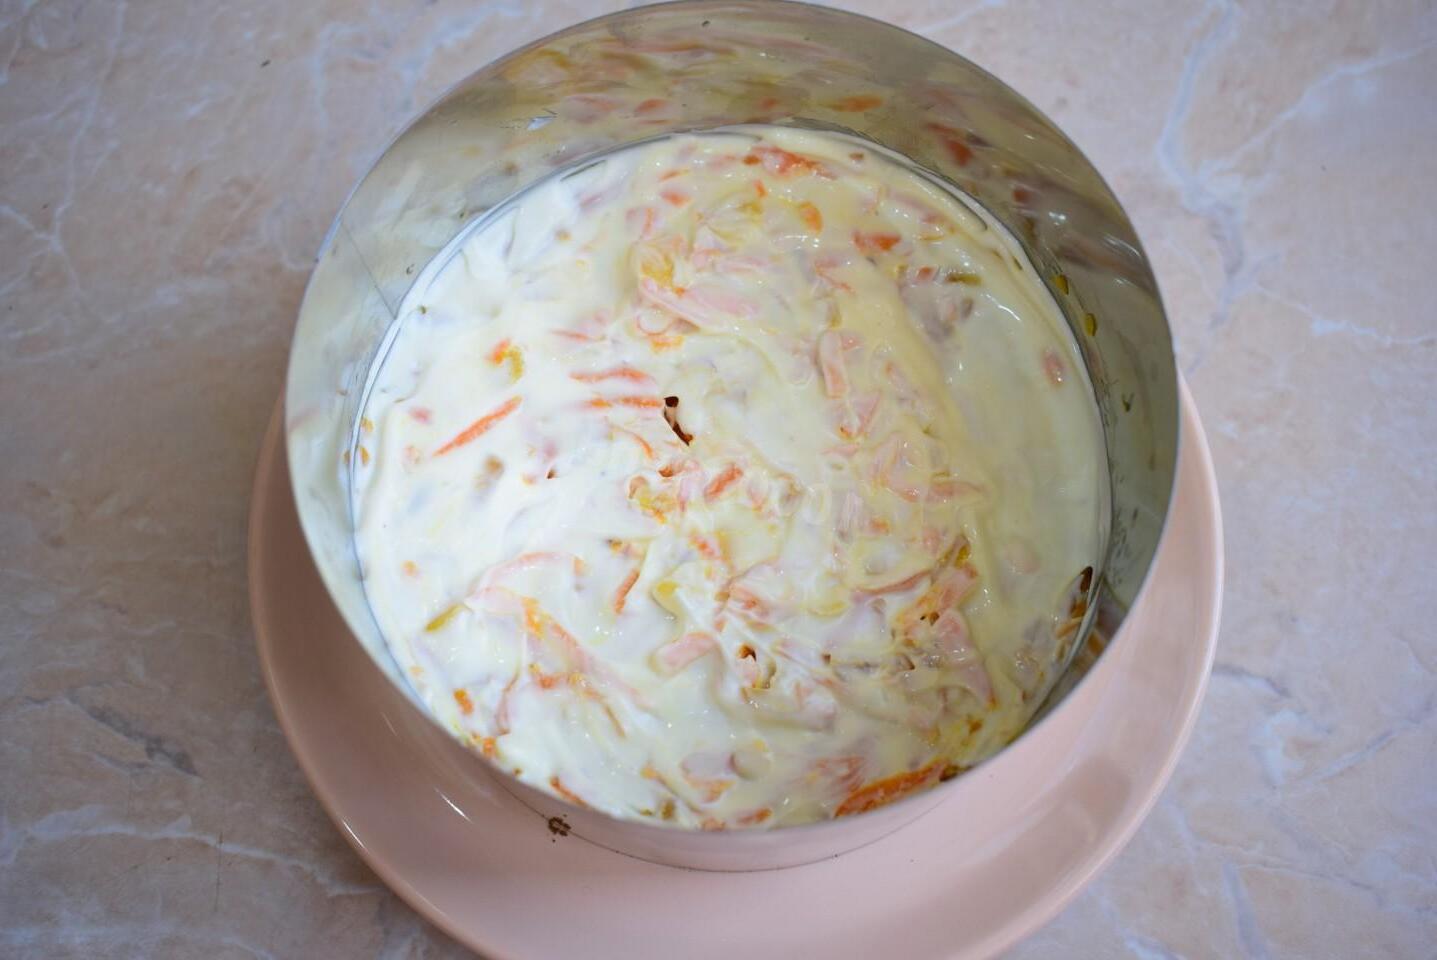
Place the next layer of fried onions and carrots.

Step 7

Step 7
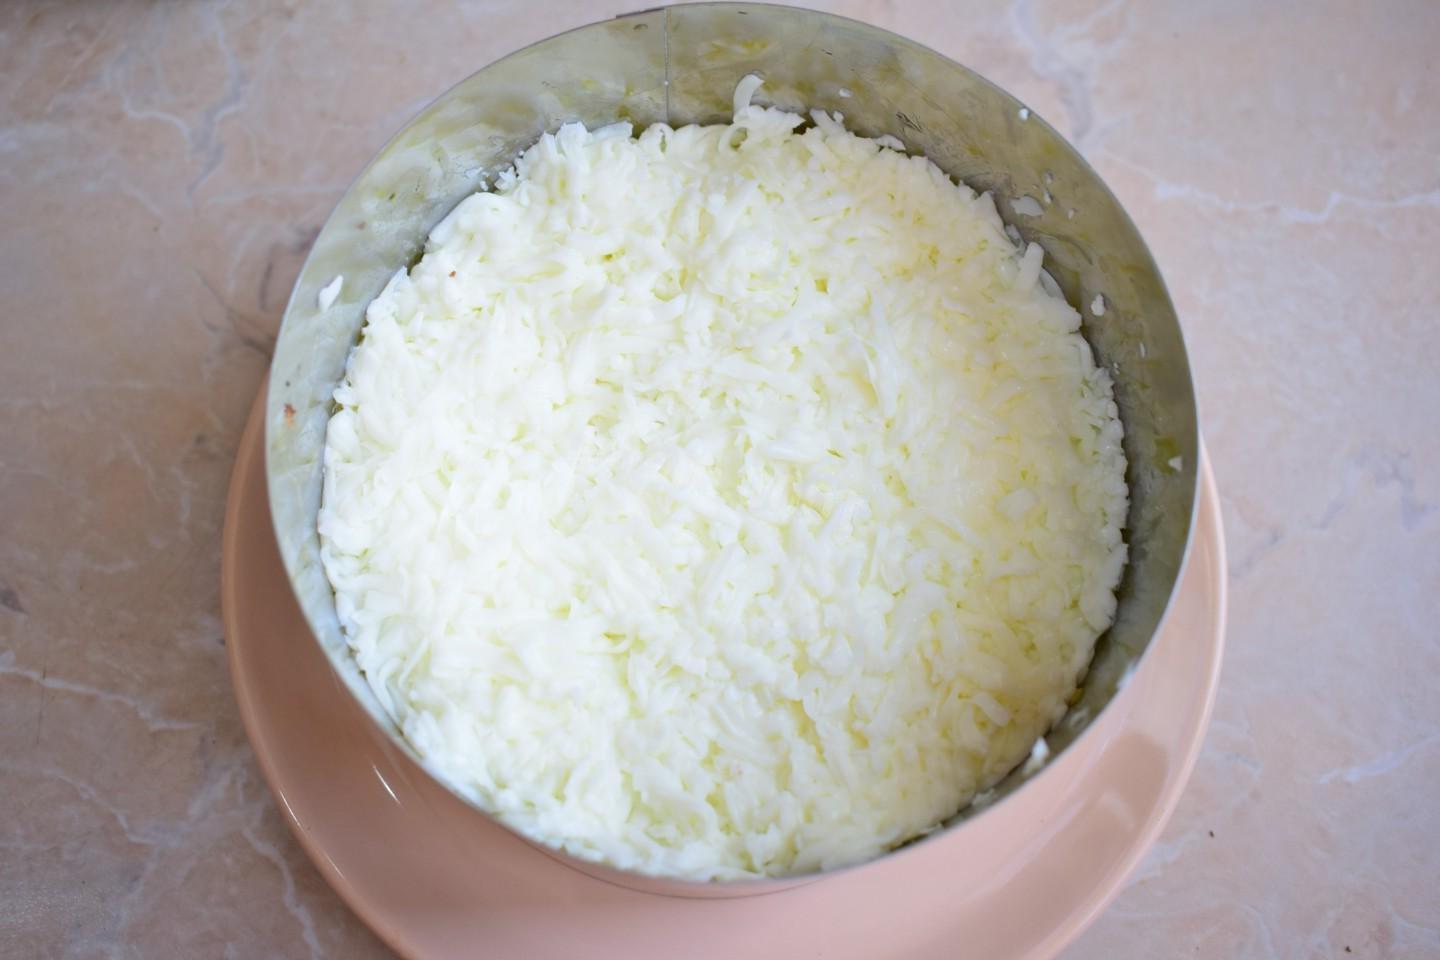
Peel the boiled eggs and separate the whites from the yolks. Grate the whites and place in the next layer of salad. Press them a little tighter.

Step 8

Step 8
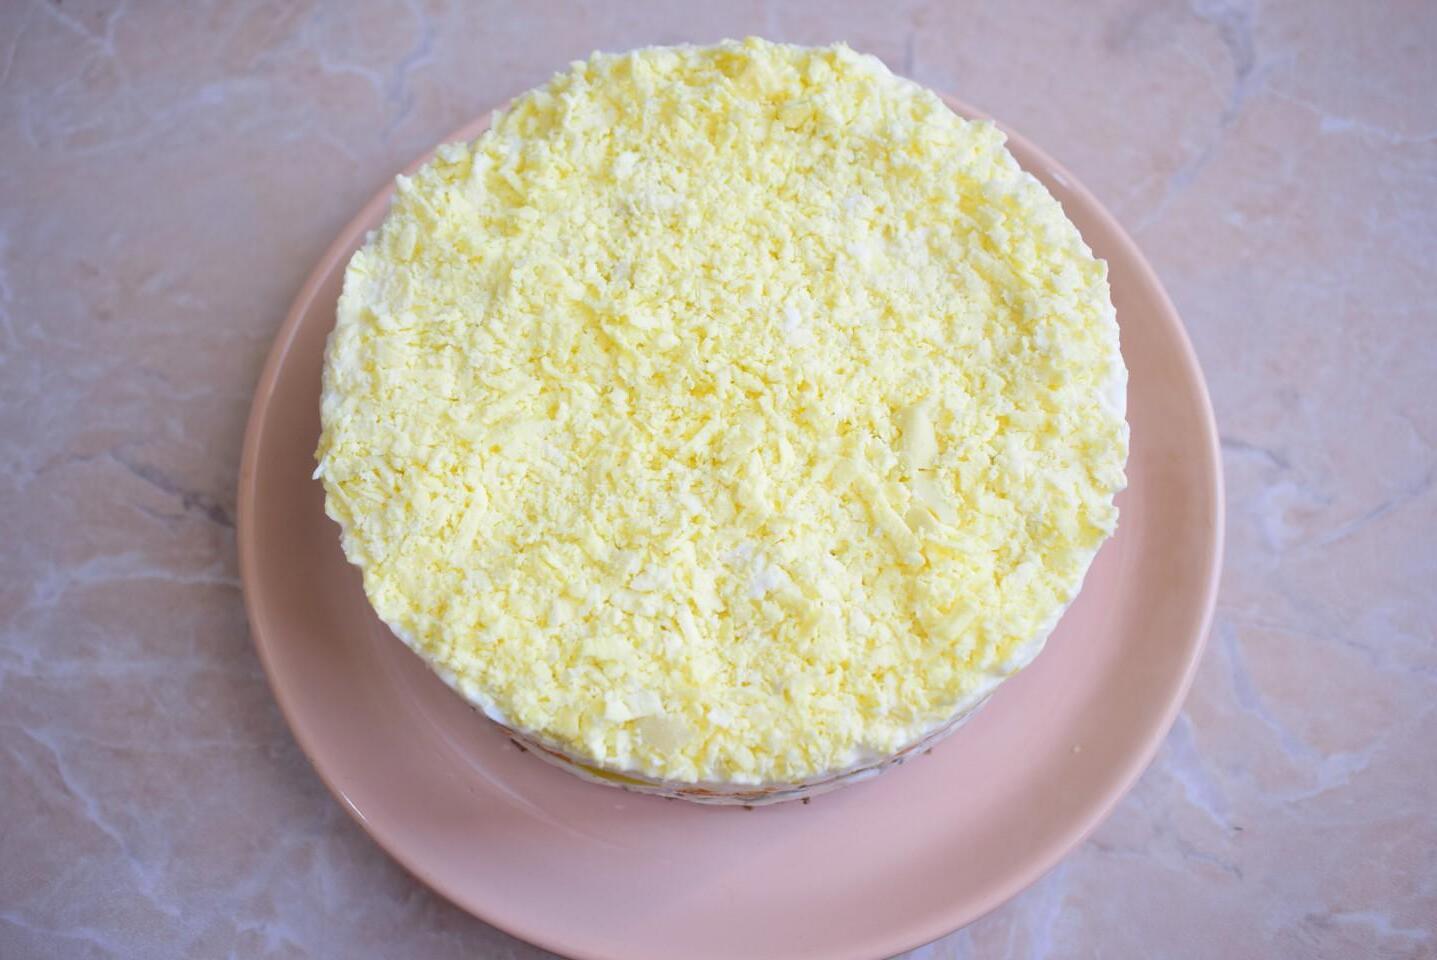
And rub the yolks with the very top layer. Remove the ring from the salad and garnish it to your liking.

Step 9

Step 9
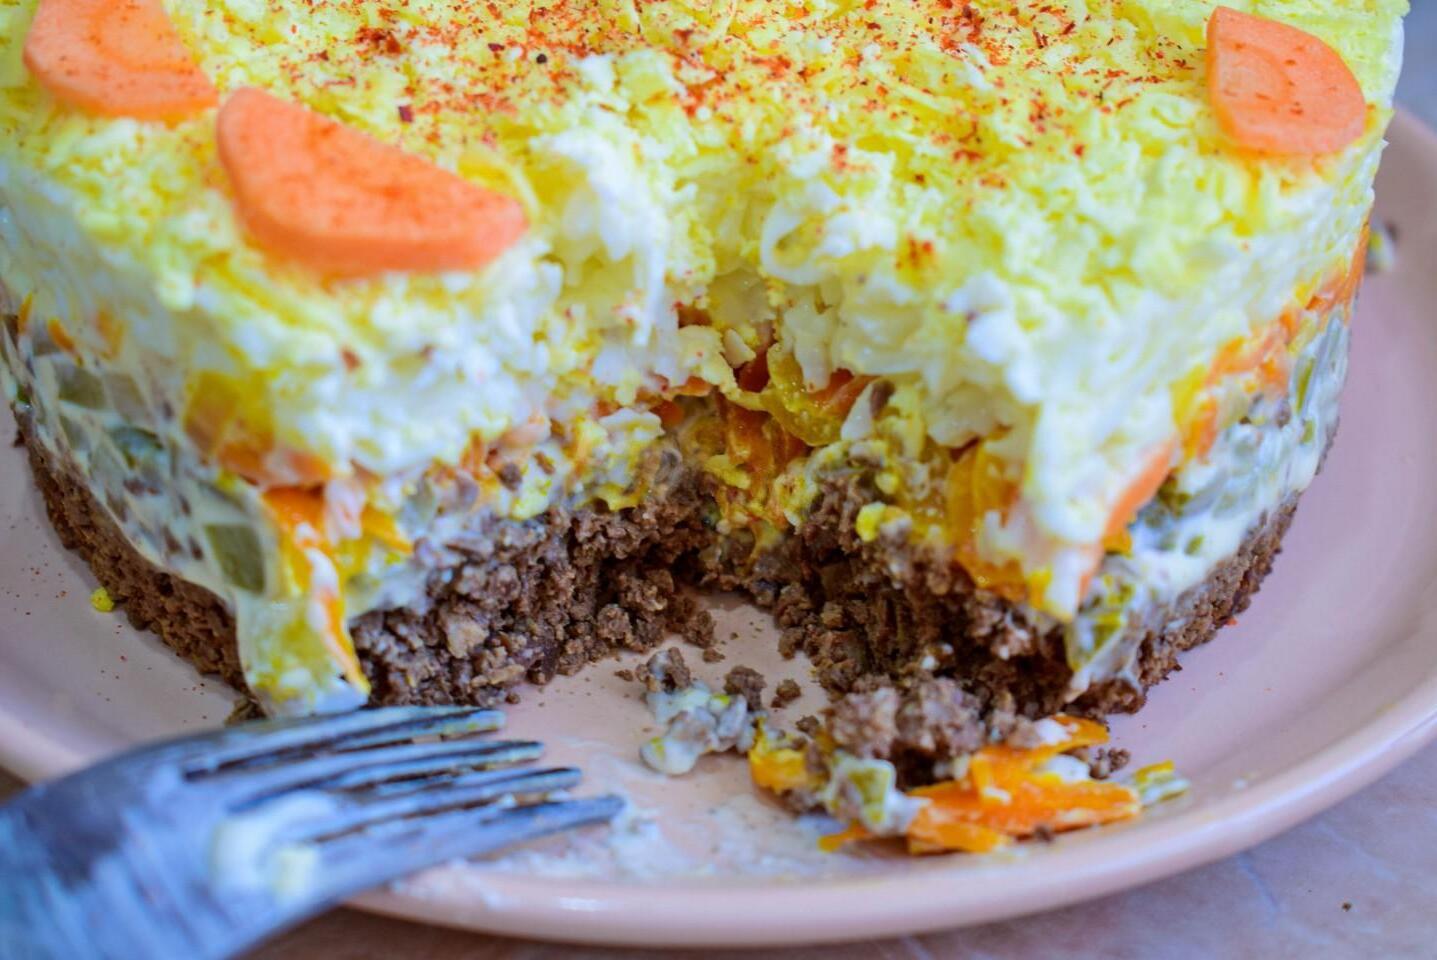
The finished salad turns out very tasty and satisfying. Bon appetit!