Pan-Cooked Pita Bread

A round flatbread with a hole inside for filling. Pita tastes like lavash, and shape is like a round wallet. The process of cooking in a frying pan is like magic — a ball suddenly inflates from a flat cake. A variety of fillings are placed inside the pita or served instead of bread.
cook time: 1h
Ava Prescott
Pan-Cooked Pita Bread

Nutrition Facts (per serving)

268
Calories
7g
Fat
39g
Carbs
7g
Protein

Ingredients (8 portions)

Basic:

Salt 1 tsp
Wheat flour 350 g
Water (very hot, ~ 80°C) 200 ml
Vegetable oil 2 tbsp

Recipe instructions

Step 1
Step 1
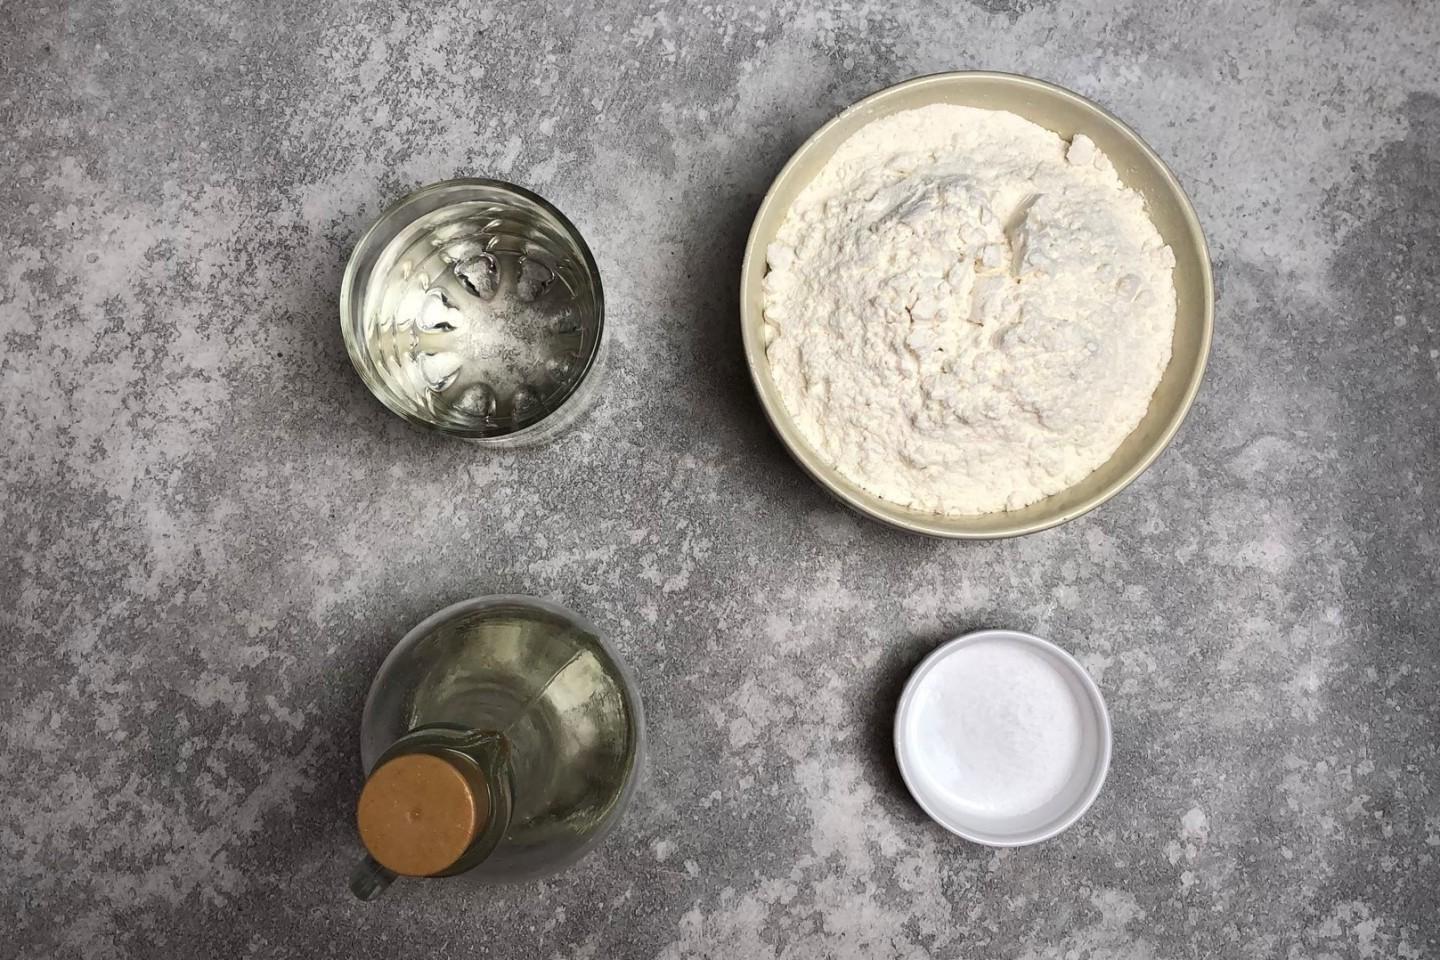
How to make pita in a frying pan? Take the products from the list. You will need the amount of flour indicated in the recipe plus a little more for dusting the work surface. It is better to take odorless, ordinary vegetable oil.

Step 2

Step 2
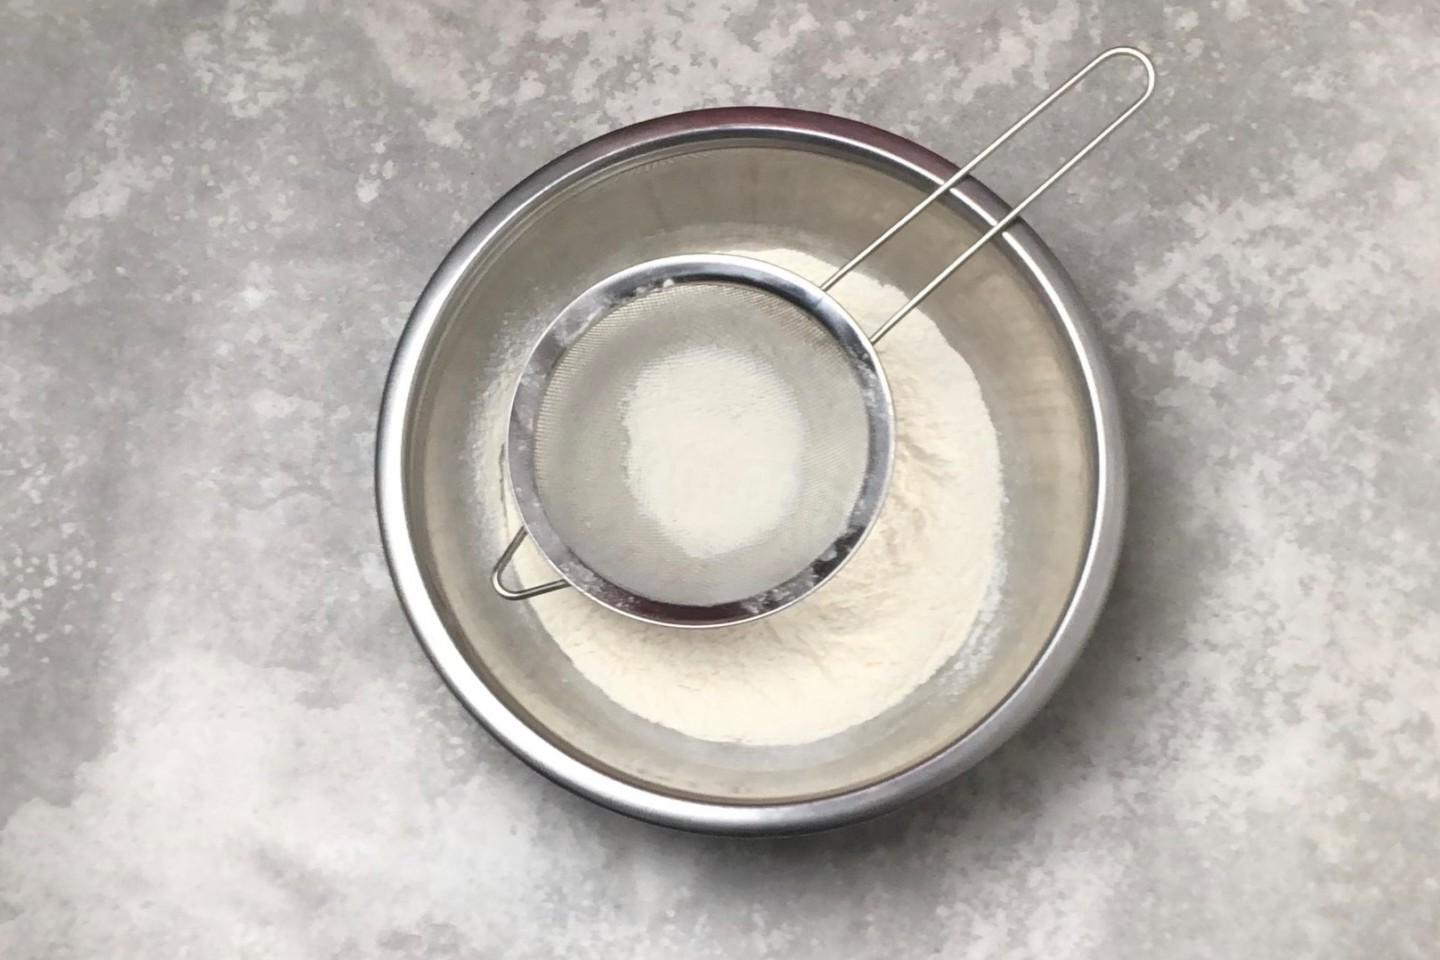
Take a large bowl and sift the flour into it. This way you will saturate it with air and get rid of unnecessary lumps. Dough made from sifted flour is much more elastic, and products made from it are fluffier and airier.

Step 3

Step 3
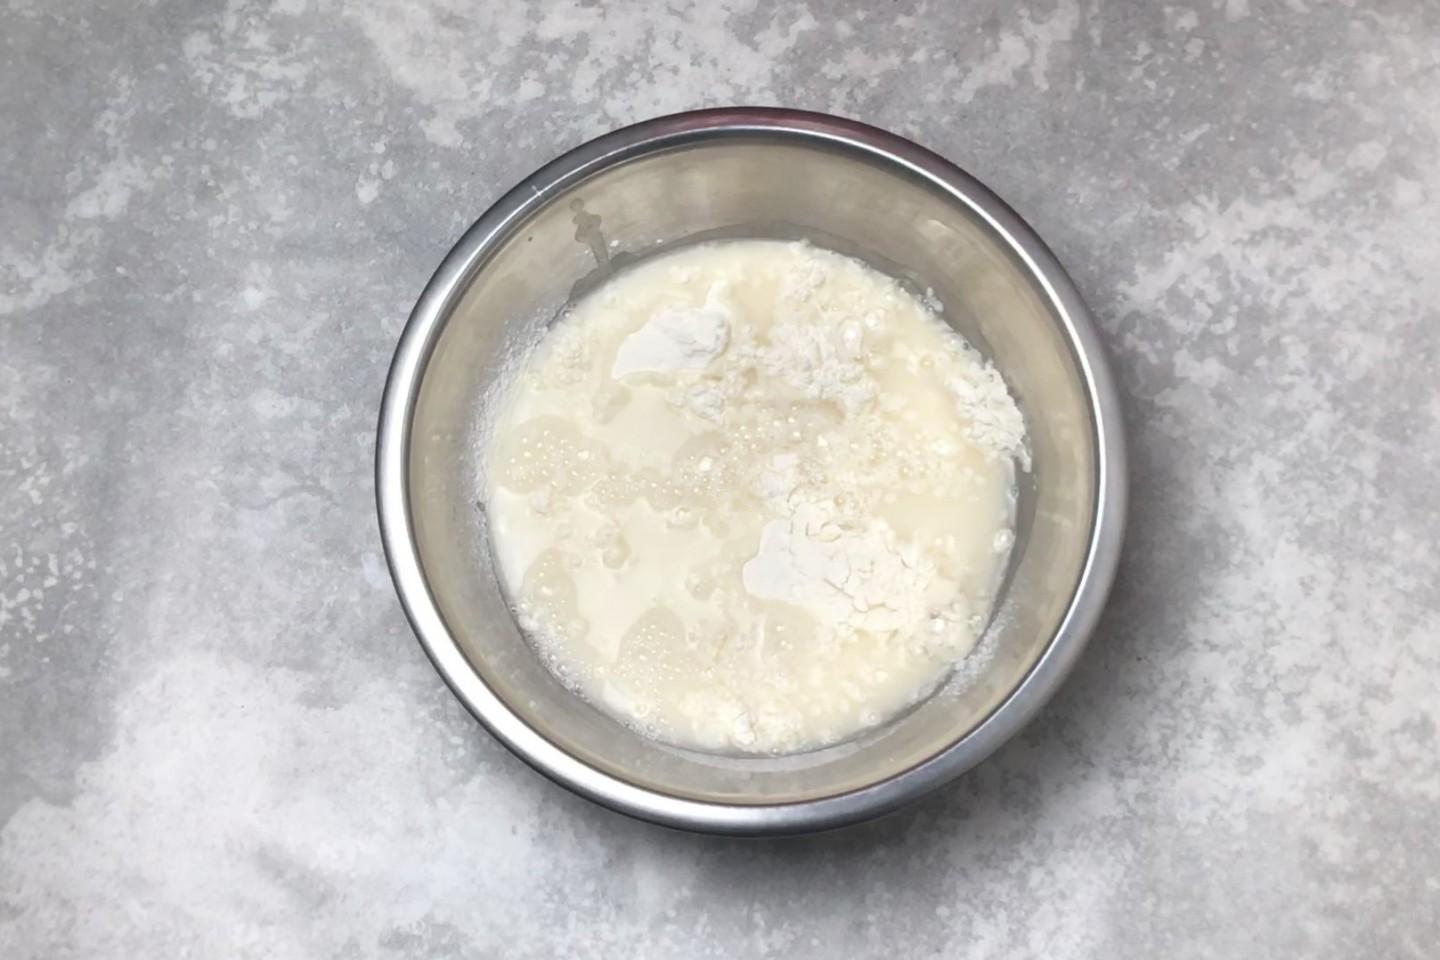
Boil water and cool slightly to a temperature of about 80°C. Add salt to the water and stir. Pour the water into the flour.

Step 4

Step 4
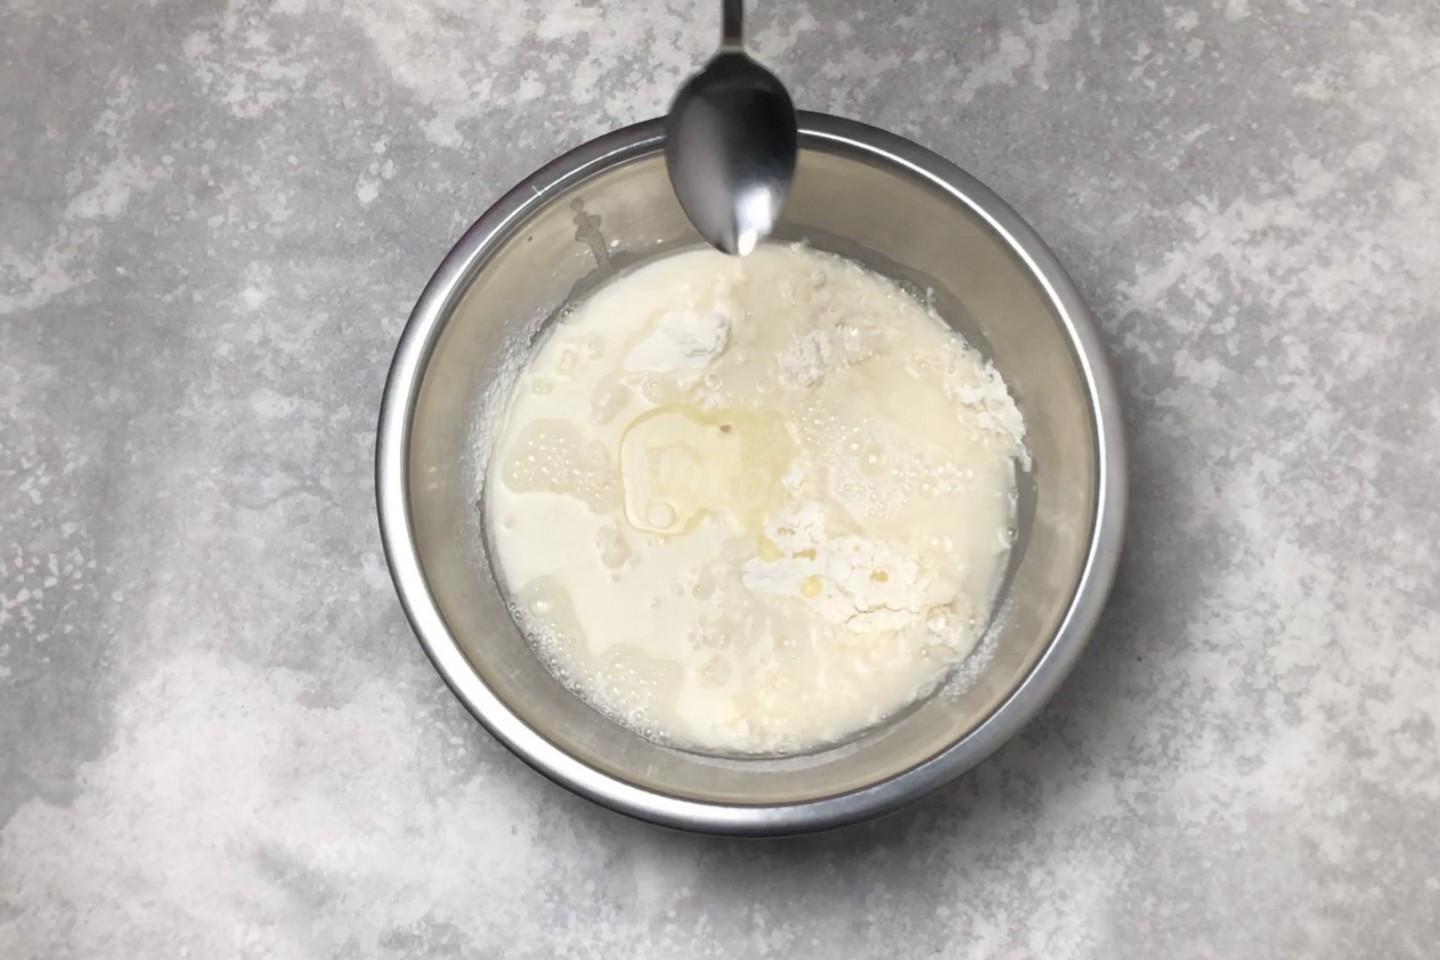
Immediately add vegetable oil there. Stir the dough quickly with a spoon as it is quite hot. Why do we use boiling water? Under its influence, the gluten contained in the flour becomes denser and during baking does not allow water vapor to escape, so voids form inside the dough. Thatʼs why we get a "pocket" inside the pita.

Step 5

Step 5
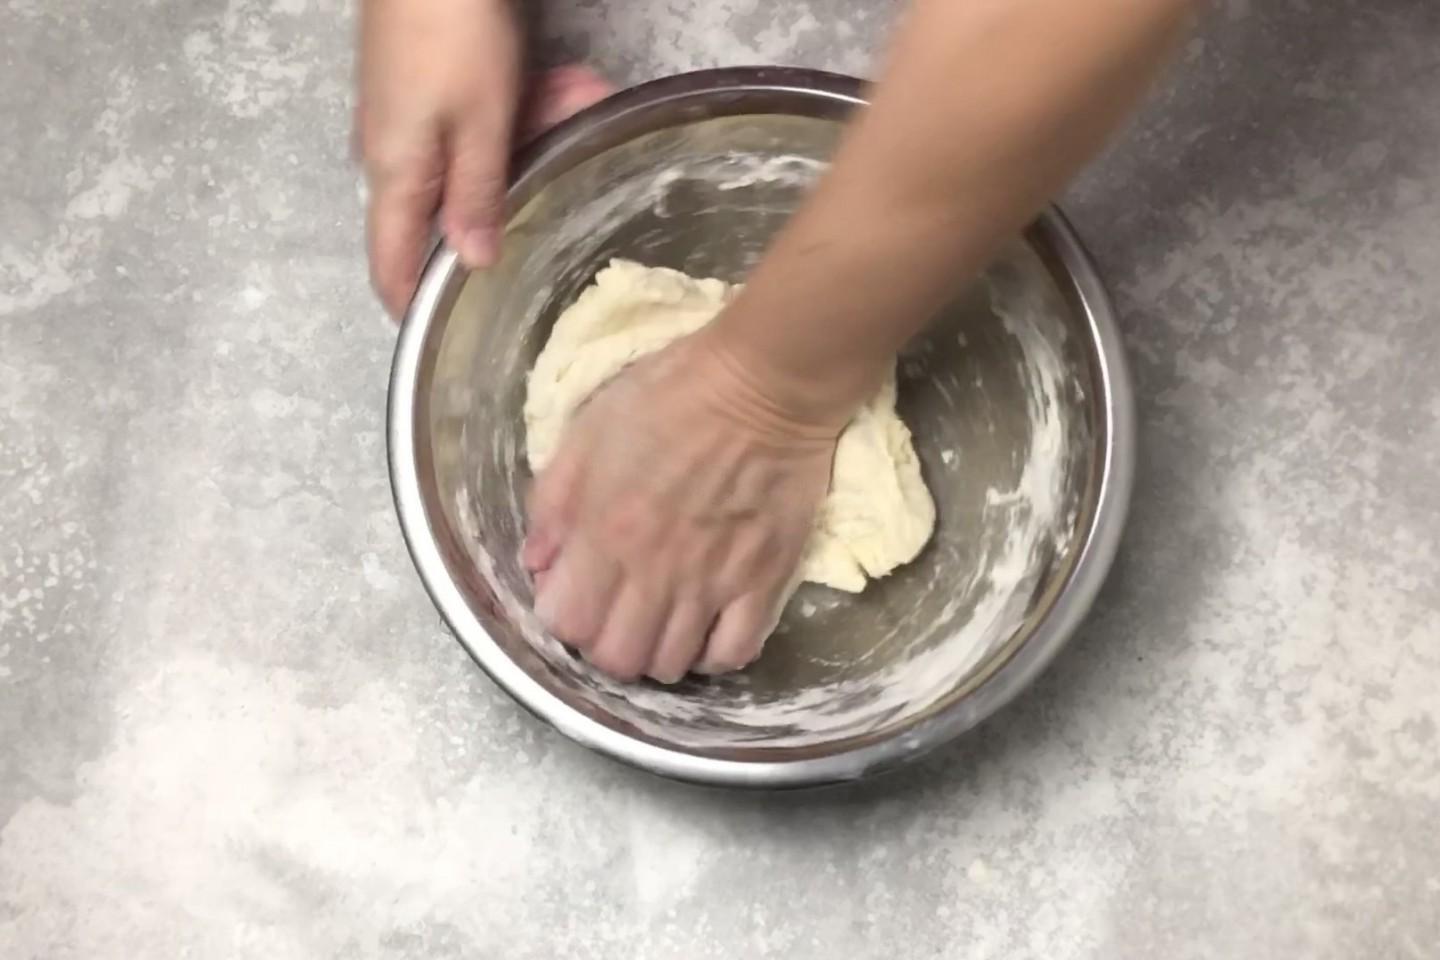
When the dough has cooled slightly, start kneading it with your hands. It will quickly gather into a ball and stop sticking to your hands. In general, choux pastry is very pleasant to work with.

Step 6

Step 6
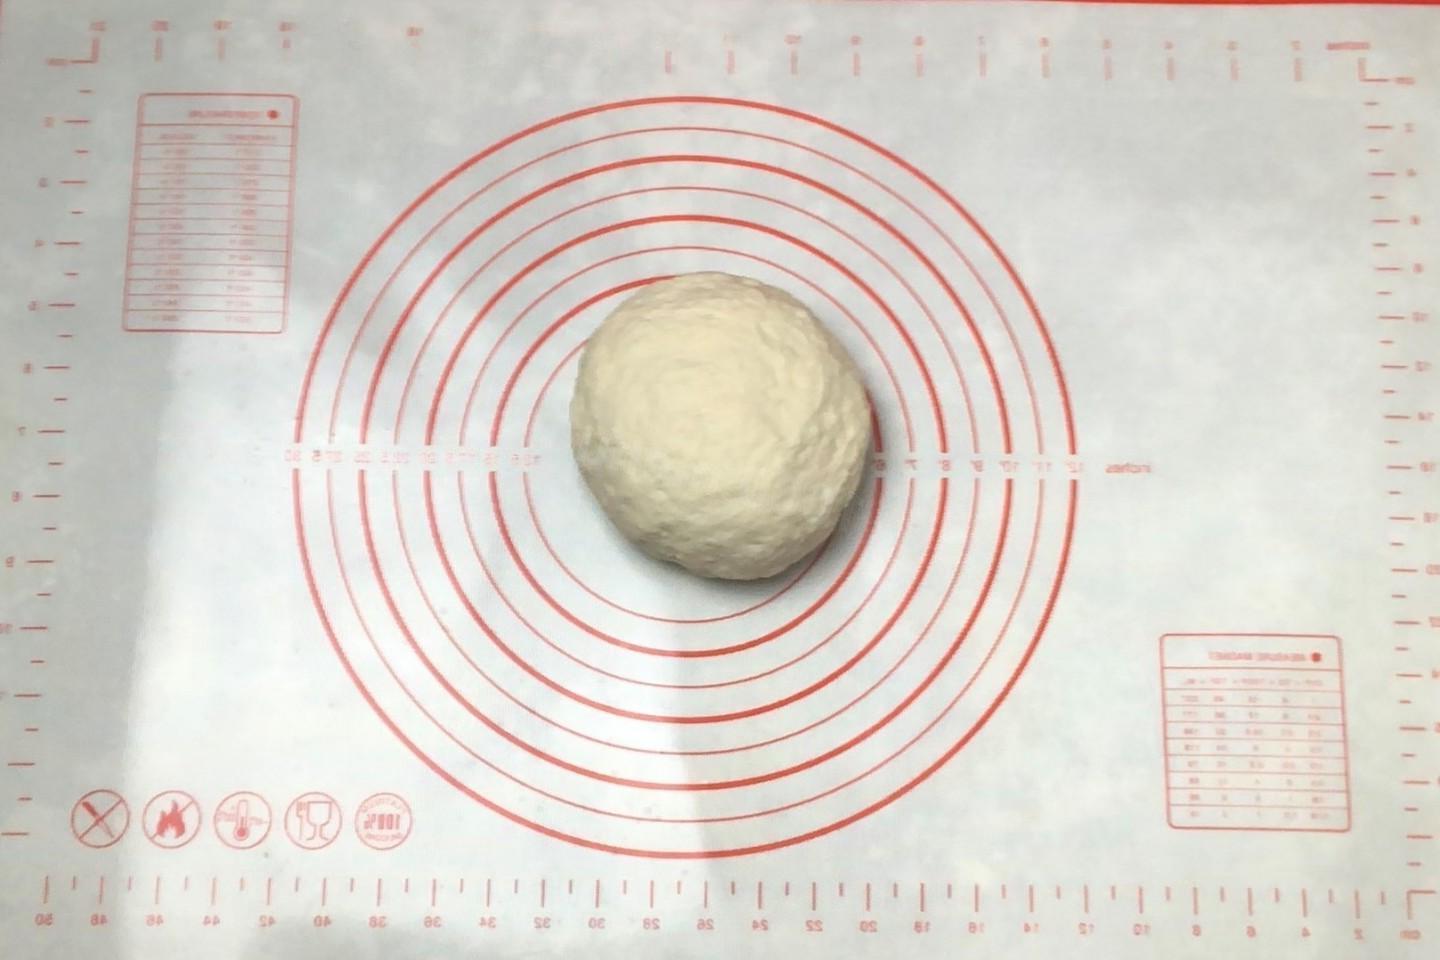
Place the dough on a work surface; no need to sprinkle it with flour. Knead the dough until smooth and homogeneous and gather into a ball.

Step 7

Step 7
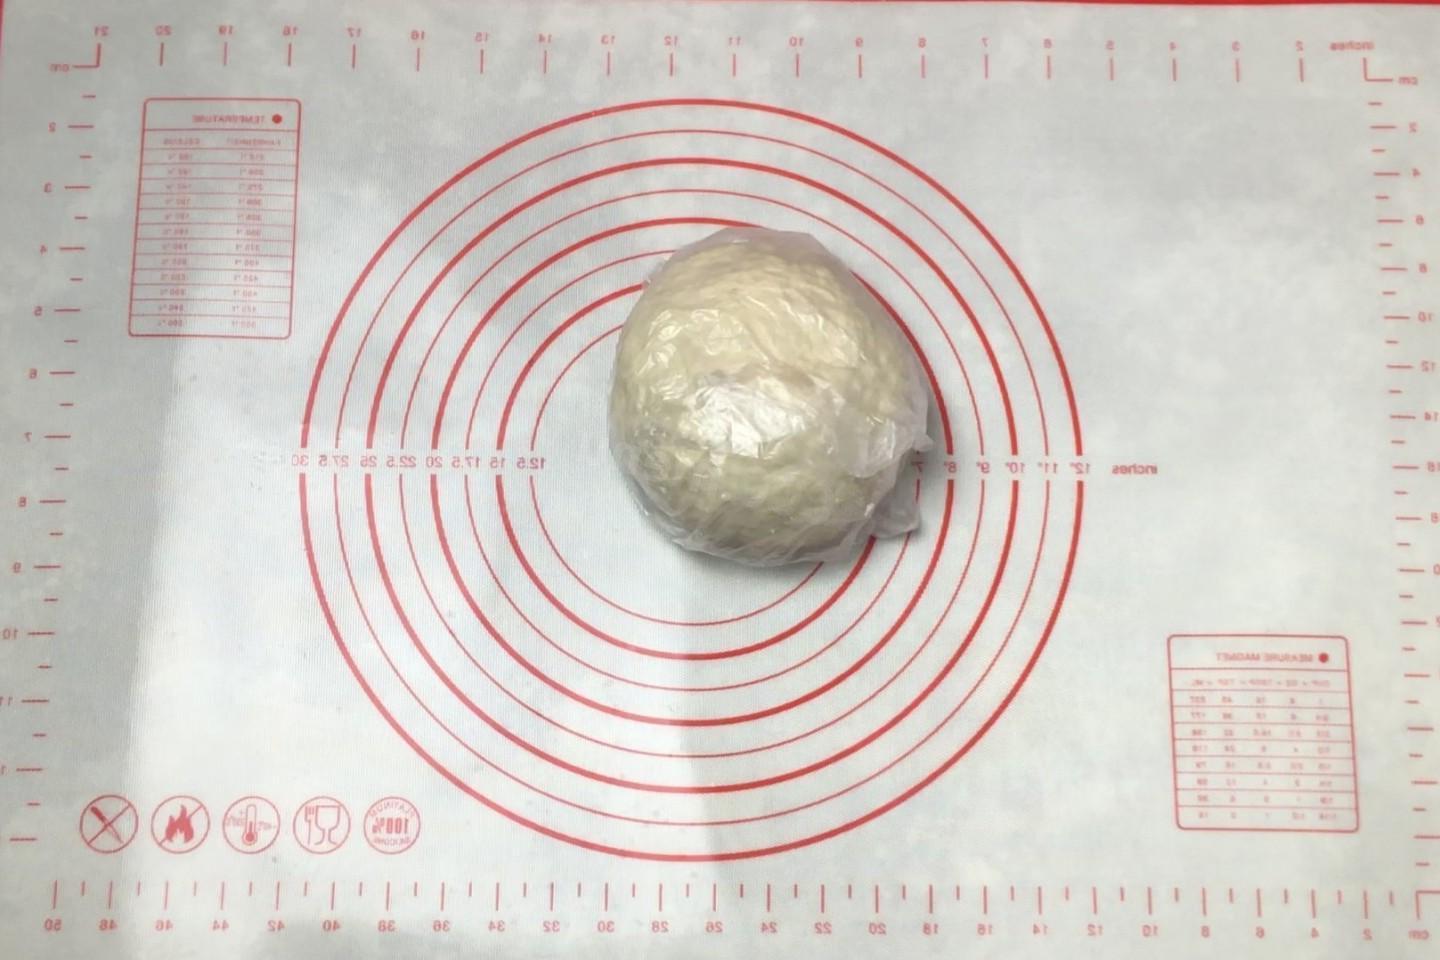
Wrap the ball in a bag and leave it to rest for 20 minutes.

Step 8

Step 8
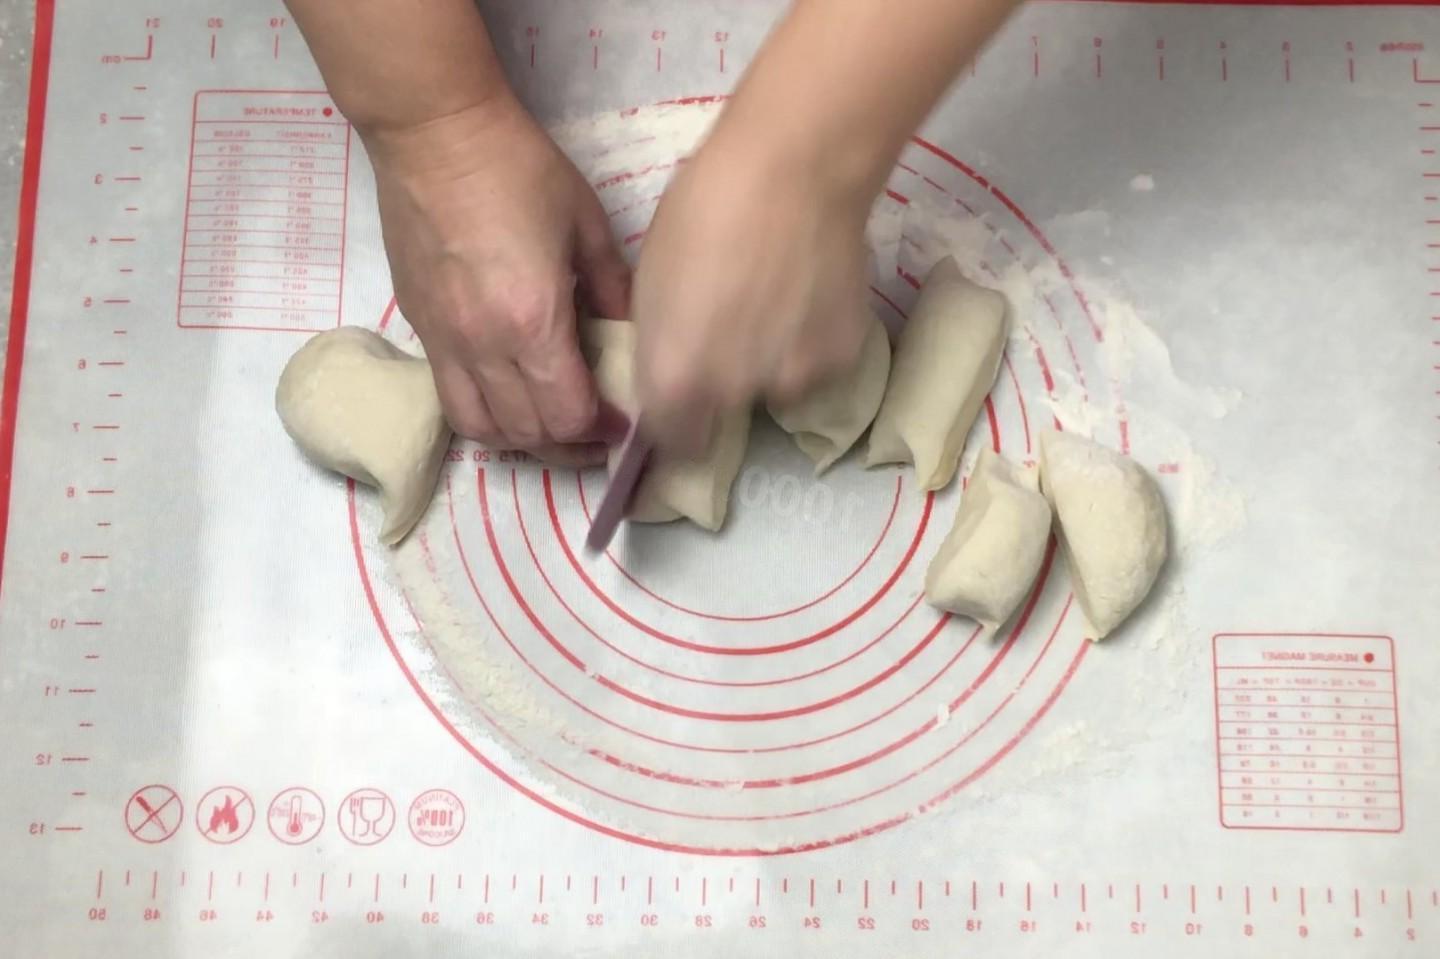
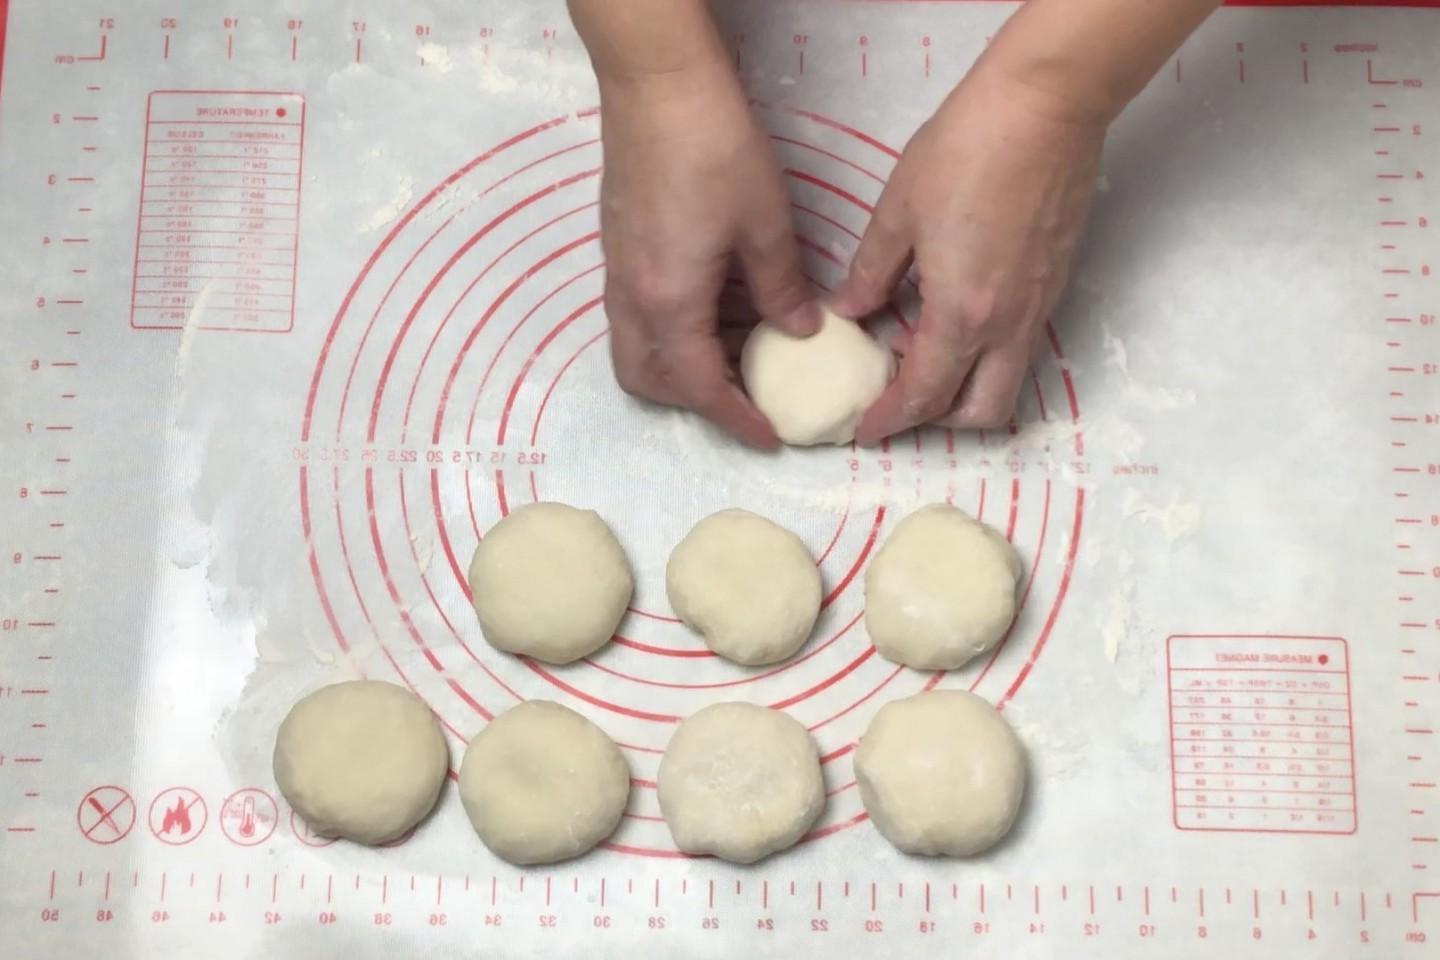
After the allotted time, place the dough on a dusted surface and roll it into a rope. Divide into 8 equal parts. The weight of one piece is 70-80 grams.

Step 9

Step 9
Roll each piece into a ball.

Step 10

Step 10
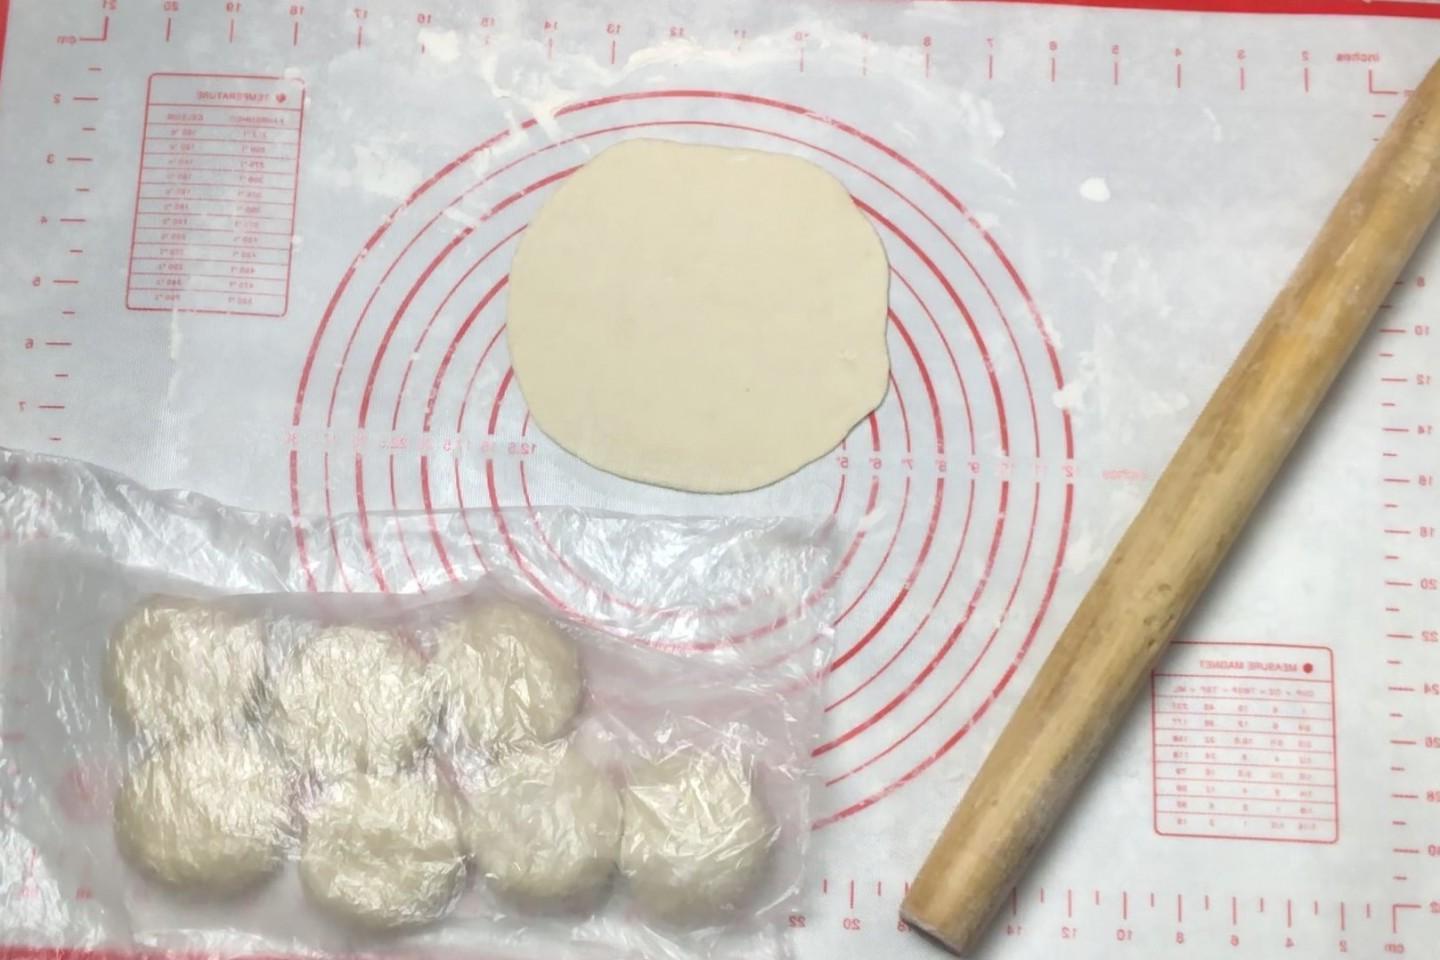
Cover the balls with a bag to prevent the dough from drying out. Take one of them and carefully roll it into a thin round cake with smooth edges. Make sure that the dough does not tear or stick — a damaged cake will not inflate during baking. The size of the finished cake is 15-17 cm.

Step 11

Step 11
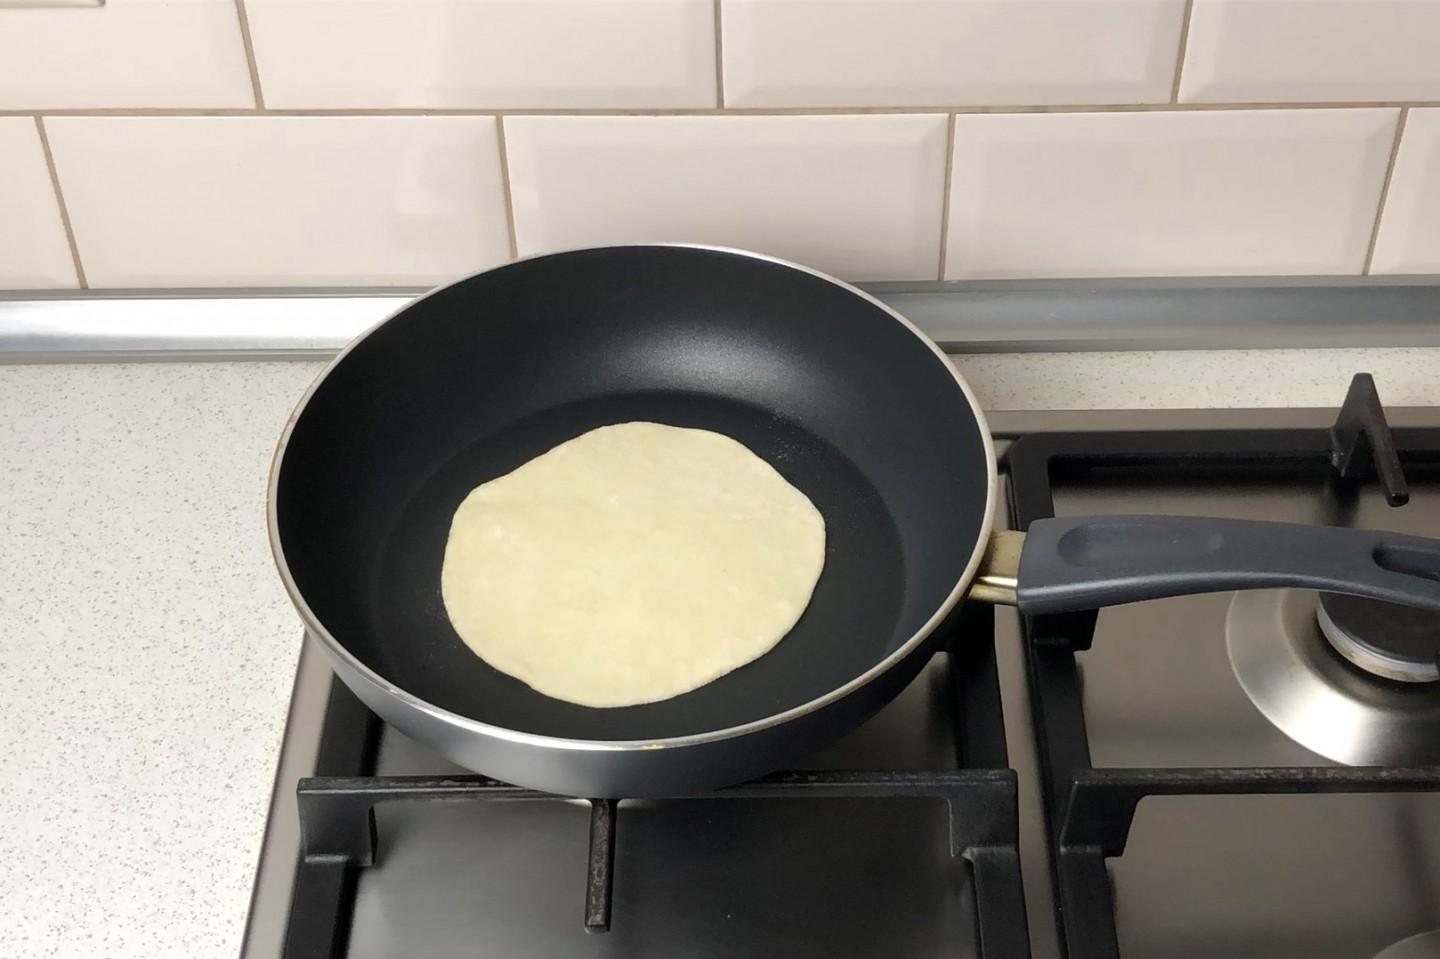
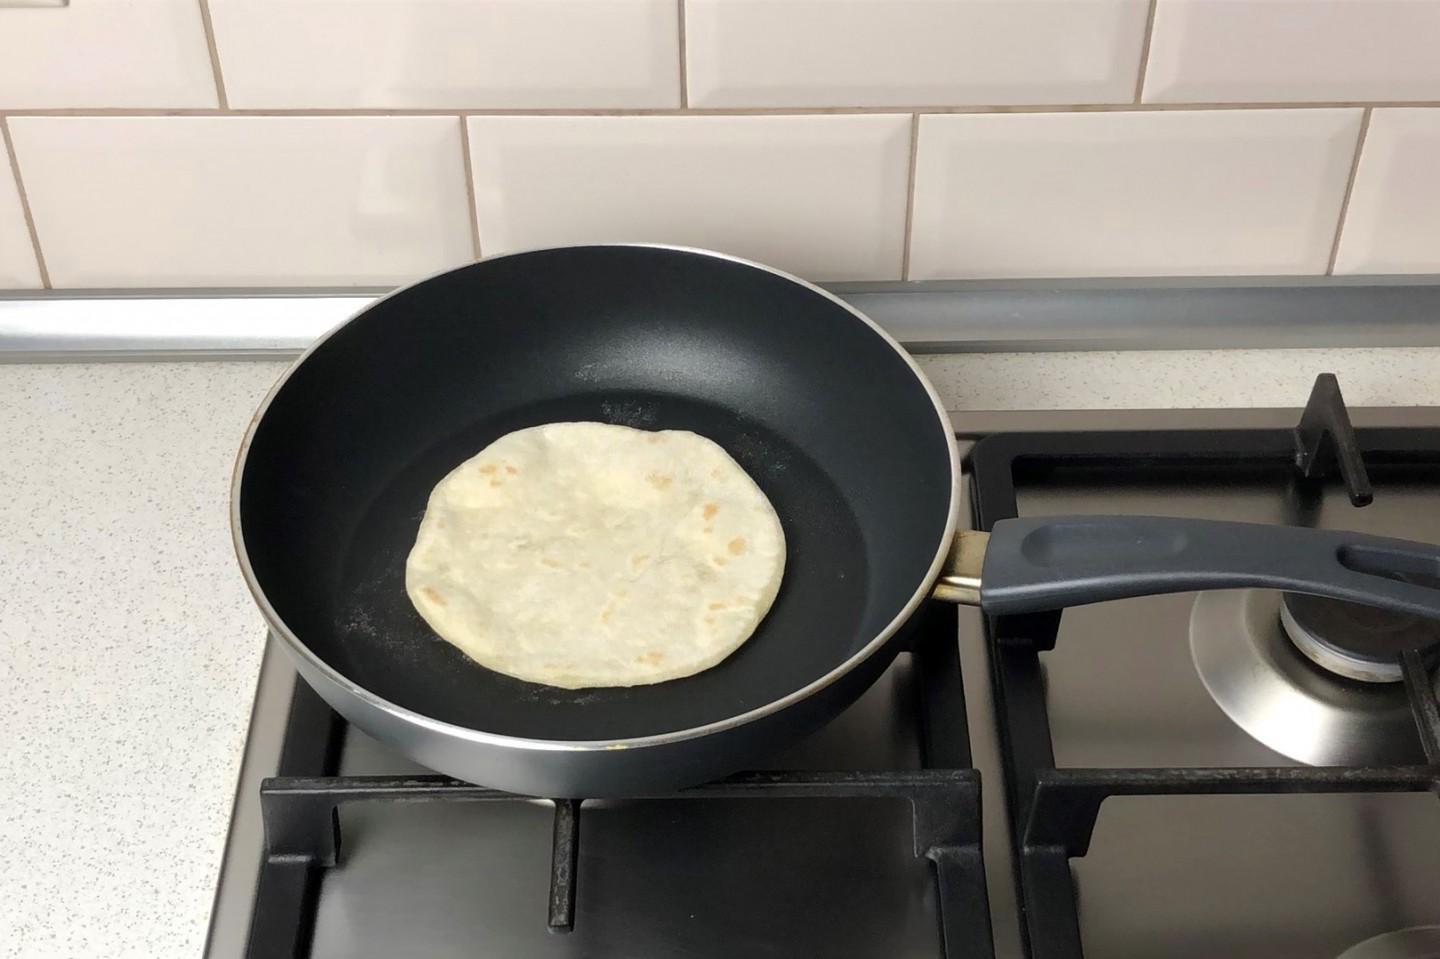
Heat the frying pan well, it is better if it has a thick bottom. Place the flatbread on it. There is no need to grease the frying pan; the pitas are cooked in a dry frying pan. When the first bubbles begin to appear on the surface, turn the cake over. This will happen pretty quickly. You need to fry pita on medium, and sometimes even a little more than medium, this will depend on the pan you choose and the operating characteristics of your oven.

Step 12

Step 12
Keep the tortilla on the other side for about a minute.

Step 13

Step 13
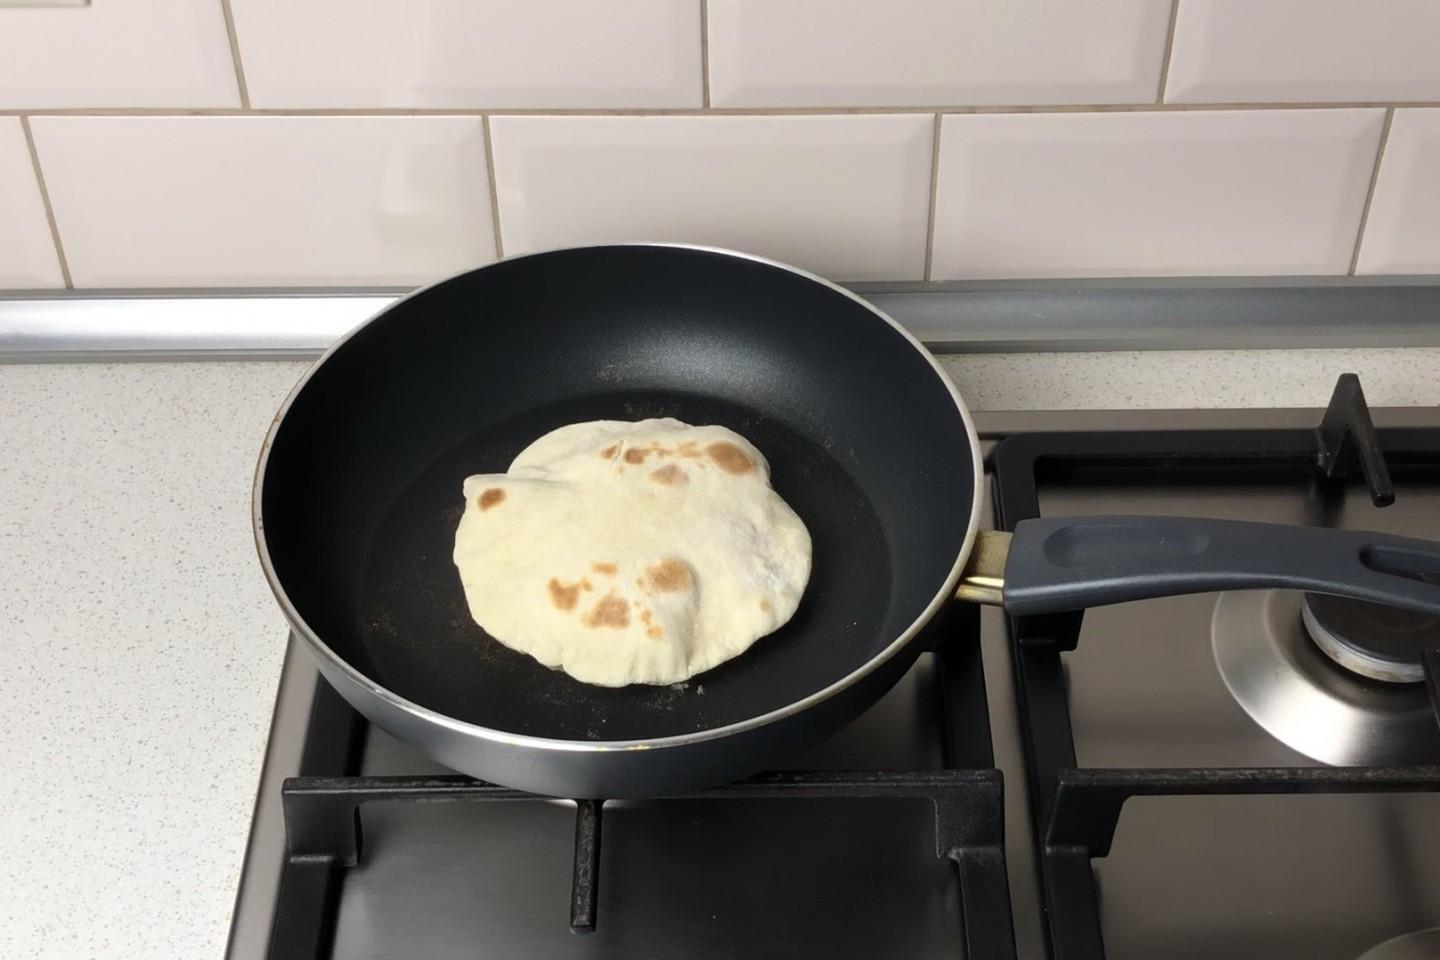
And turn it over again. Before your eyes, the cake will begin to inflate. Wait until its growth stops and turn it over again to the other side. After half a minute, the pita is ready, you can remove it from the pan.

Step 14

Step 14
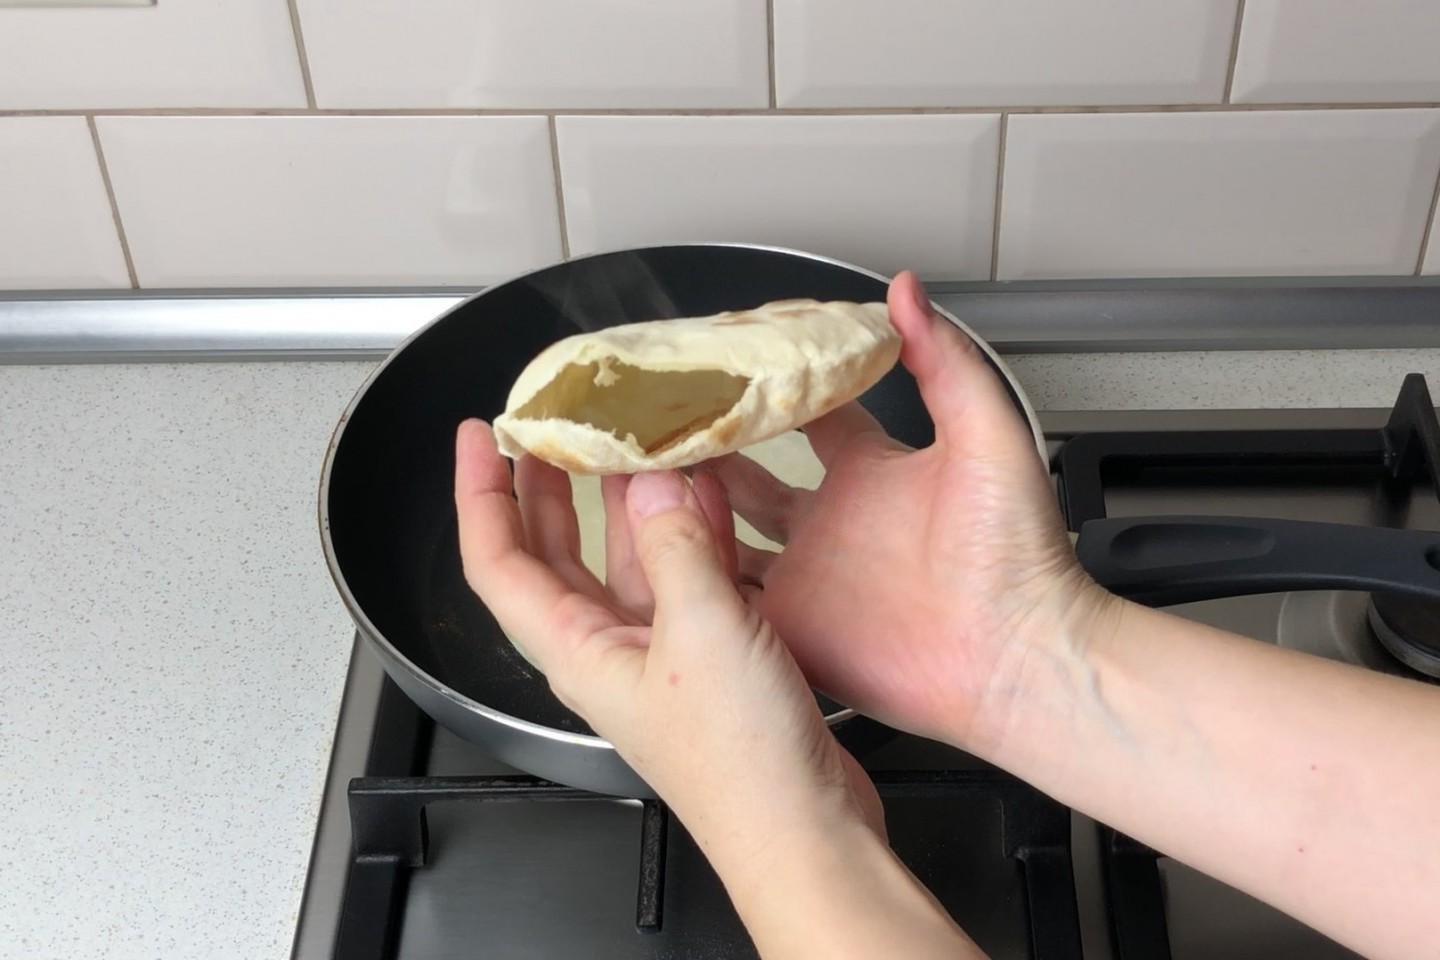
This is the resulting “pocket” in the pita. Fry the remaining tortillas in the same way. Ready-made pitas deflate quite quickly, it’s not scary, there will still be a cavity in them.