Easy and Safe Cake Pops for Kids

The favorite treat of all children is beautiful and tasty lollipops! What I liked about this recipe was that it “didn’t give me a headache” that some product could cause mass food poisoning; that something could go bad (you do something not exactly on the day of the holiday, but before it). The baked cakepops are quite storable — I accidentally "had" a couple of them lying around while photographing, and I discovered them only a week later — they were still edible and even very tasty, the dough inside was soft. No, of course, cake pops are a tricky business, I don’t argue. But you should see how happy the children are! And a special bonus that amused my confectionery ego — how predatorily one of the latest pieces was snatched from the dish by an ultra-fashionable mom, who, it seems, had seen such tricks in magazines before, and now finally had the opportunity to try it! I baked these cake pops for a childrenʼs party at school, because such events are not allowed for products with ingredients made from raw dairy products and eggs.
cook time: 12h
Nora Vaughn
Easy and Safe Cake Pops for Kids

Nutrition Facts (per serving)

461
Calories
28g
Fat
48g
Carbs
6g
Protein

Ingredients (20 portions)

Basic:

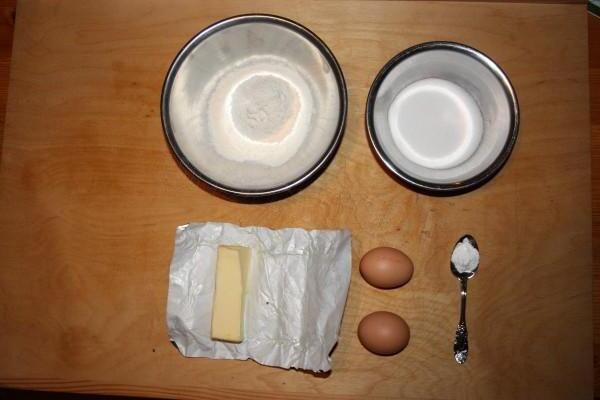
Sugar 95 g
Wheat flour 105 g
Butter 95 g
Eggs 2 pc
Chocolate (or similar amount of other glaze) 325 g
Baking powder 1 tsp
Confectionery topping to taste

Recipe instructions

Step 1

Step 1
It is better to lay out the butter in advance to make it easier to beat later.

Step 2

Step 2
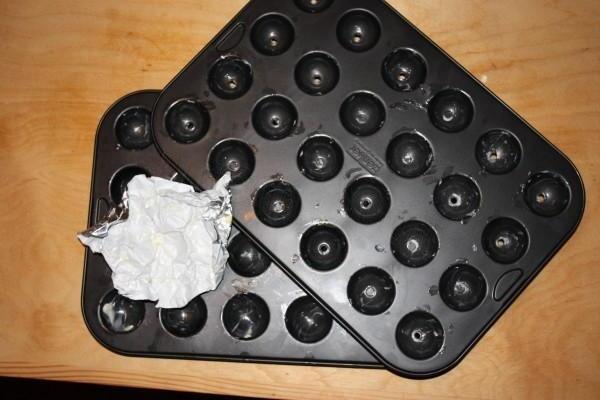
1. Technological step recommended by the manufacturer of a Teflon mold for baking cakepops: take a small amount of butter and grease both sides of the mold. Place them in the refrigerator for a few minutes.

Step 3

Step 3
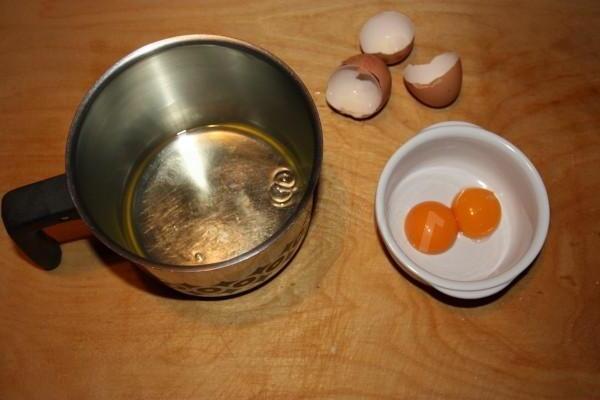
2. Separate the eggs into yolks and whites

Step 4

Step 4
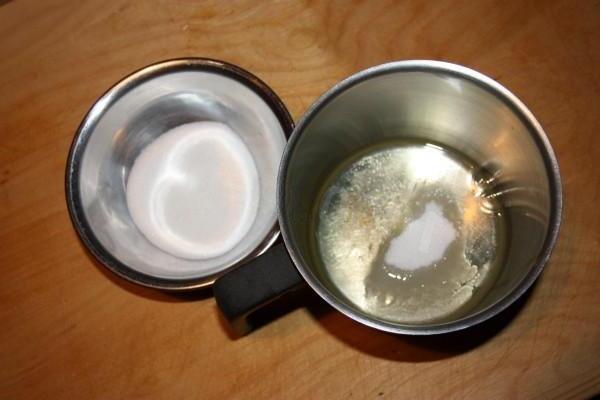
3. Add about a third of the sugar to the protein.

Step 5

Step 5
4. Beat the protein-sugar mixture until stiff.

Step 6

Step 6
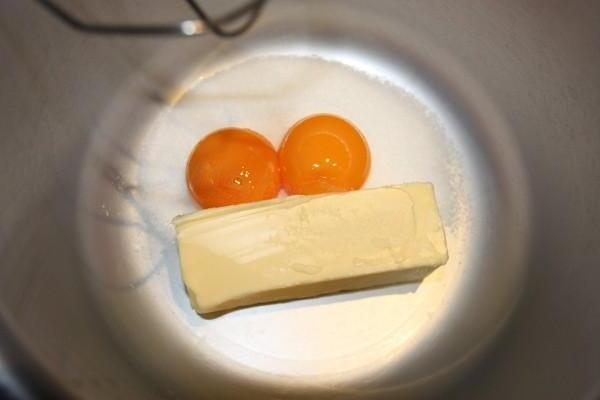
5. Combine the rest of the sugar with the yolks and butter, mix

Step 7

Step 7
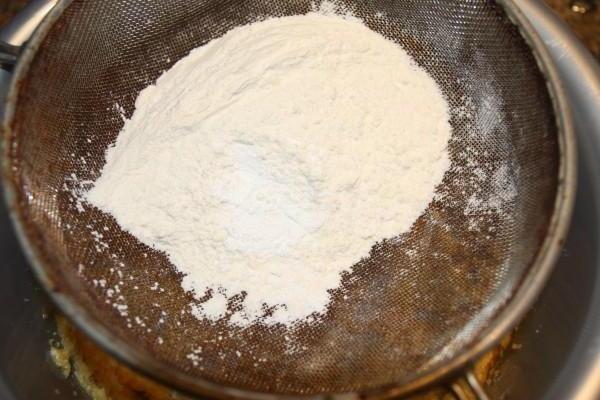
6. Sift flour and baking powder into the yolk-butter mixture, knead the dough

Step 8

Step 8
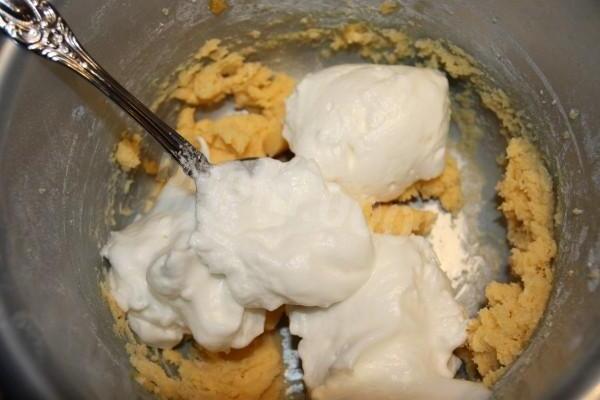
7. Mix the whipped egg white foam into the dough (in three portions)

Step 9

Step 9
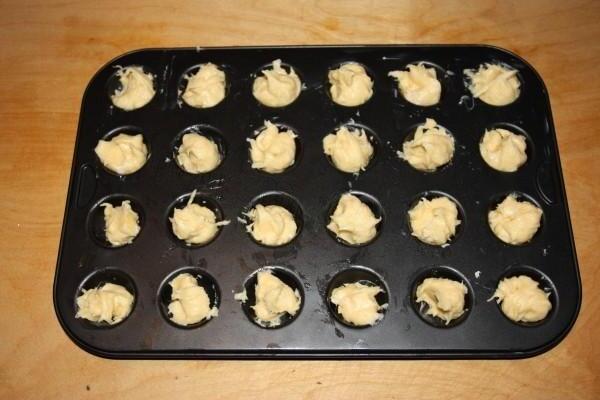
8. Remove the pre-greased pans from the refrigerator. Place the dough in the one without holes. It takes about a tablespoon per cell, be sure to put it in heaps. If you use exactly the same form as in my photo in the recipe, under no circumstances try to distribute the dough into all 24 cells, there is clearly not enough of it in this recipe.

Step 10

Step 10
9. Bake cake pops in a preheated oven at 180 degrees on medium level for 15 minutes. It is better to remove finished products from the mold after they have cooled. Do this with a toothpick or some kind of plastic pick; metal ones can scratch the Teflon coating of the mold. When the cake pops have cooled, prepare the chocolate for the glaze (I used dark chocolate and mixed a higher percentage chocolate into the standard glaze base)

Step 11

Step 11
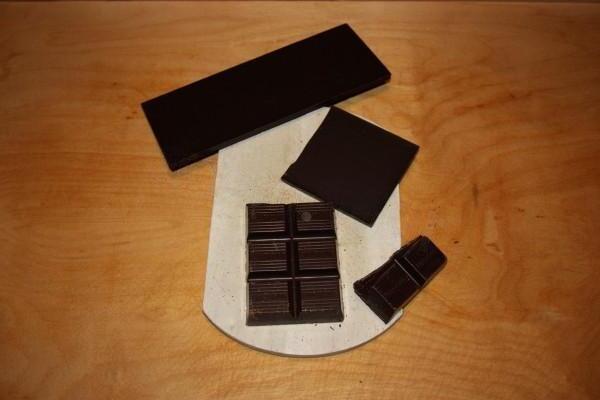
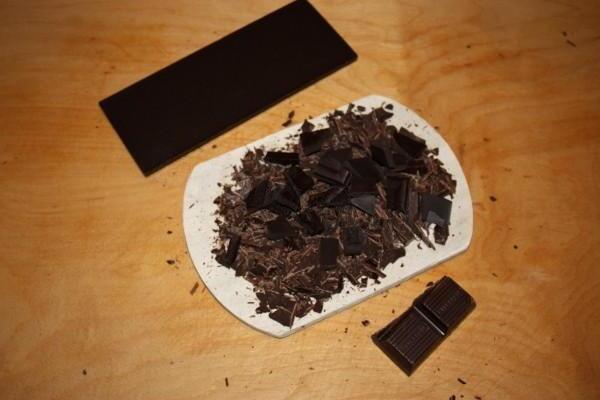
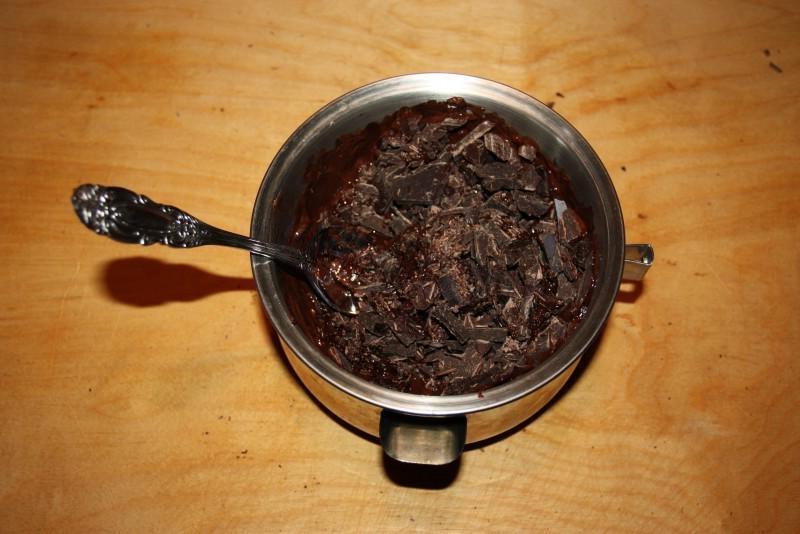
10. Chocolate needs to be chopped

Step 12

Step 12
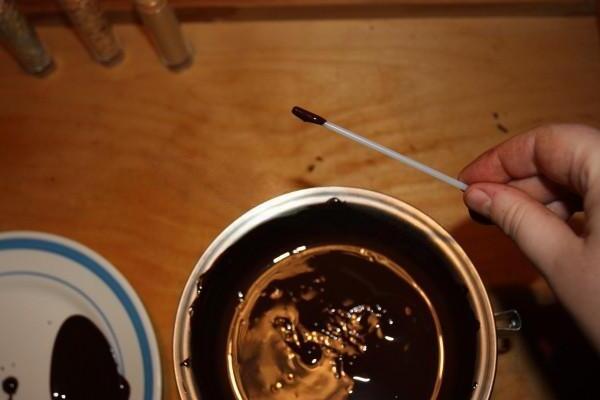
11. and melt in a steam bath

Step 13

Step 13
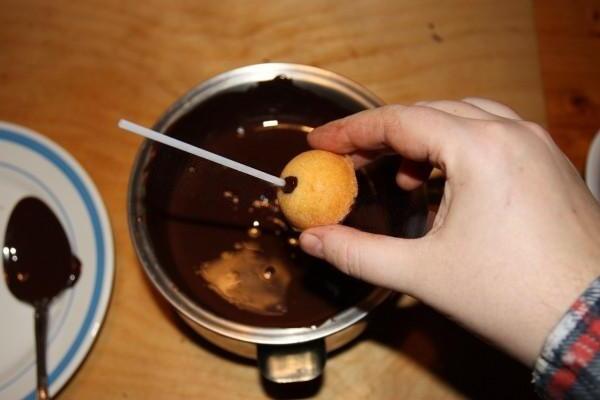
12. Pierce a hole in the cake pop with a stick to the desired depth (sticks are a separate issue; plastic ones, of course, are more hygienic and look better, but they sometimes manage to turn even after being fixed in the hole with chocolate; wooden ones are not so aesthetically pleasing, but they sit firmly), dip chocolate stick

Step 14

Step 14
13. and insert into the hole. After this, the chocolate needs to be allowed to harden. I had the opportunity to take pallets with this semi-finished product outside — at zero temperature it takes about 10-15 minutes. In the refrigerator, I think it will take a similar time. But those who for some reason do not have the opportunity to take advantage of the cold will have to wait several hours until the chocolate hardens.

Additional rubrics