Quick & Easy Slow Cooker Honey Cake

Incredibly delicious pastries with two types of cream! A simple honey cake in a slow cooker will not require you to bother with rolling out the cakes. This labor-intensive process is replaced here with a faster one: a large honey sponge cake is baked in one layer, then cut into several parts. Everything is super simple!
cook time: 4h
Nora Vaughn
Quick & Easy Slow Cooker Honey Cake

Nutrition Facts (per serving)

341
Calories
17g
Fat
39g
Carbs
6g
Protein

Ingredients (8 portions)

Dough:

Sugar 180 g
Wheat flour 320 g
Eggs 5 pc
Honey 100 g
Soda 1 tsp

Sour cream:

Sugar 180 g
Sour cream 500 g

Oil cream:

Butter 120 g
Boiled condensed milk 280 g

Sprinkling:

Walnuts 150 g

Recipe instructions

Step 1
Step 1
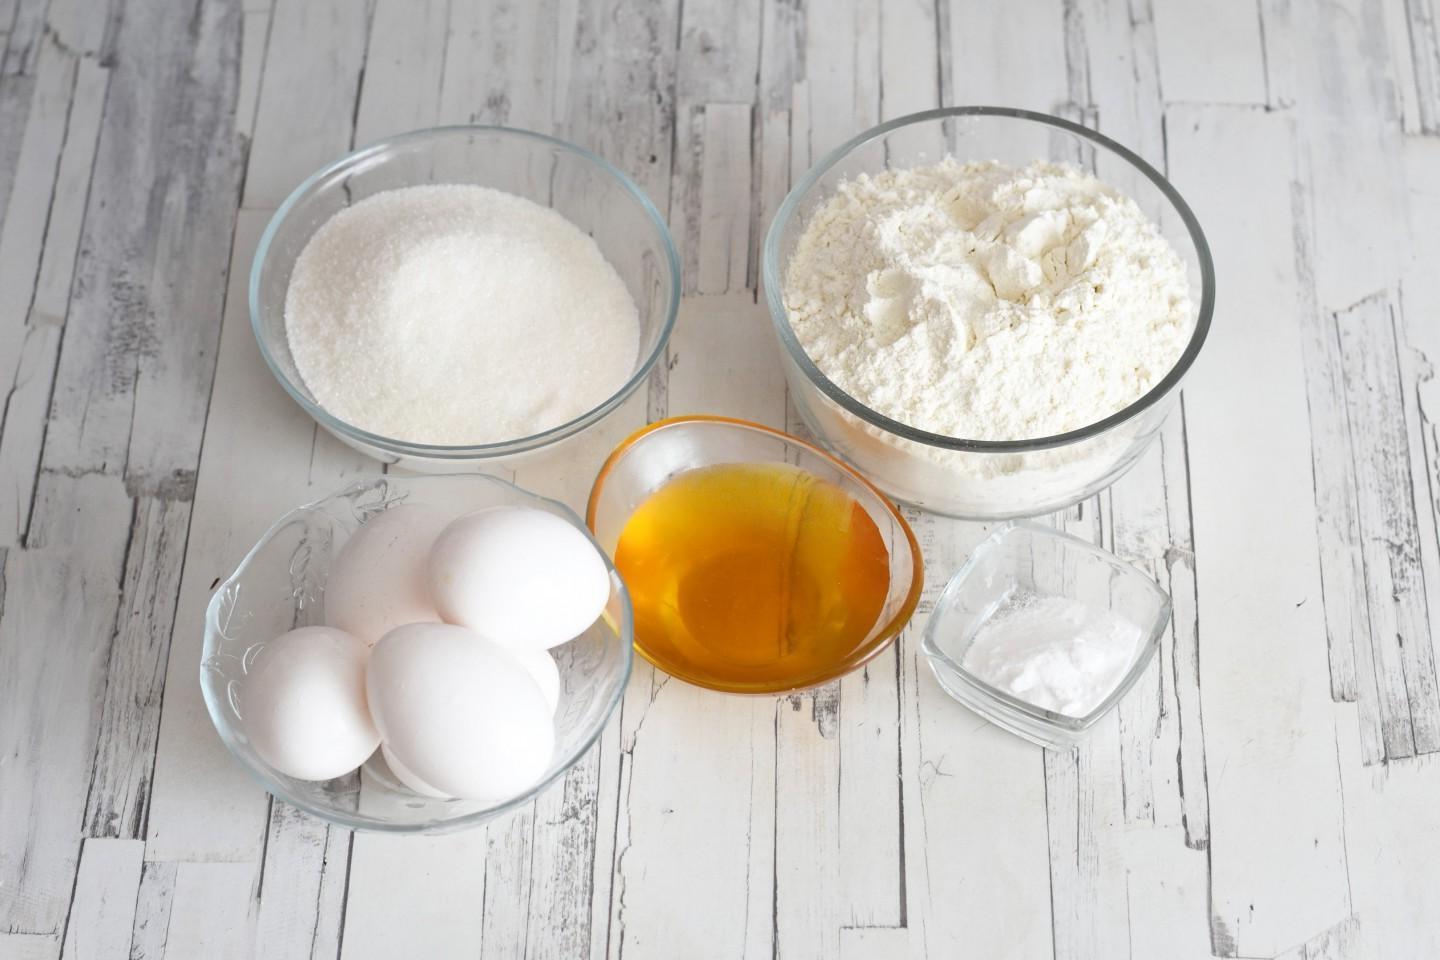
How to make a simple honey cake in a slow cooker? This cake is quite easy to prepare. Start by preparing the necessary ingredients for the dough. Take the highest grade flour, large, selected eggs.

Step 2

Step 2
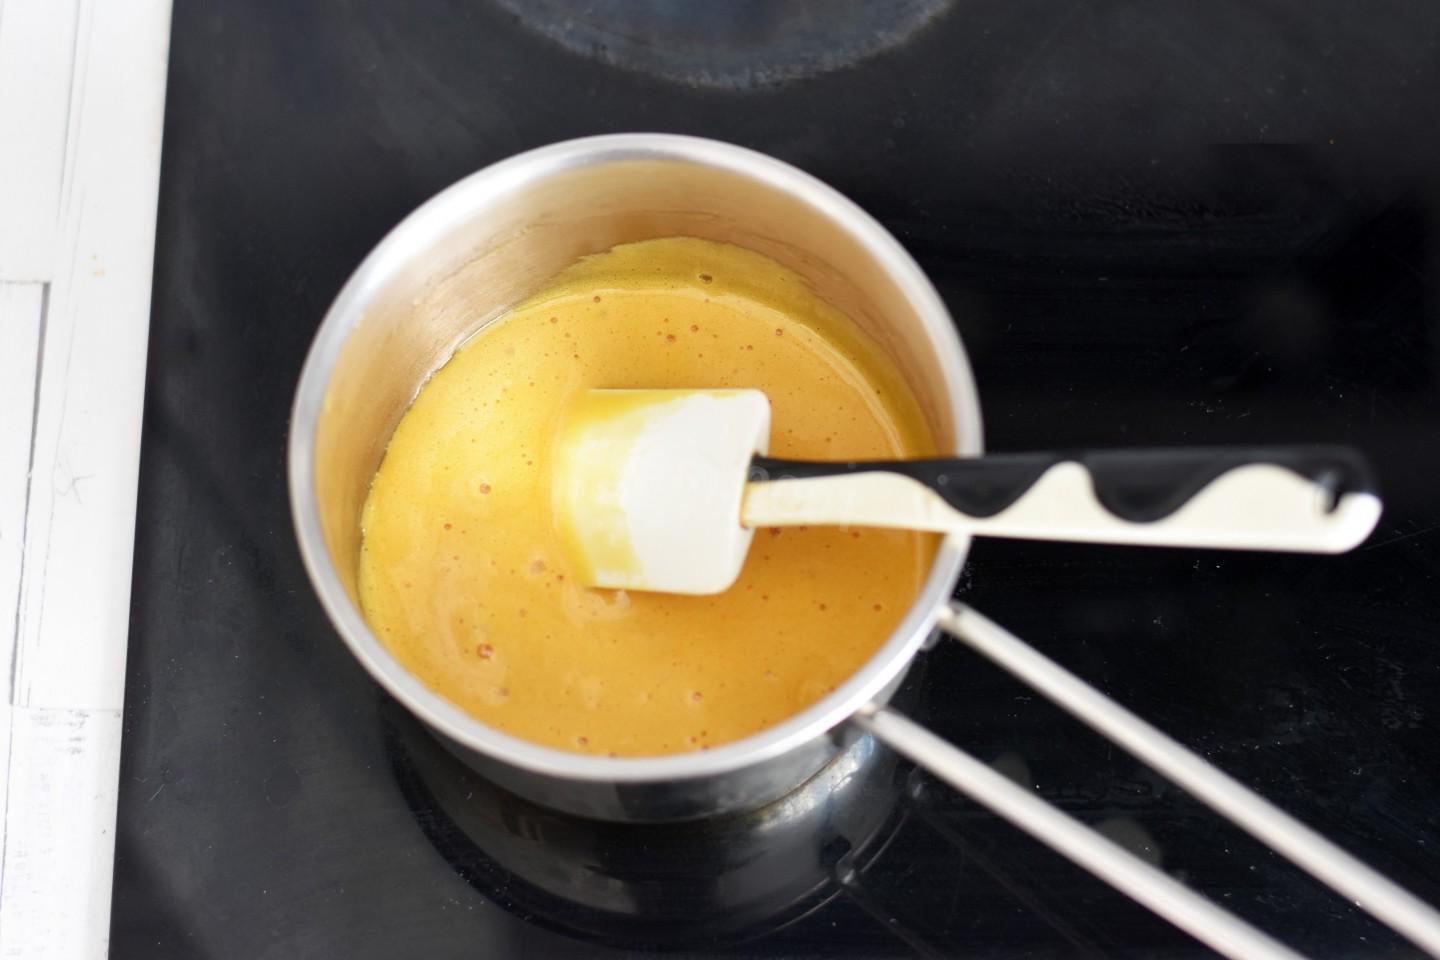
Place honey and soda in a saucepan, cook over low heat, stirring, until a dark golden hue appears. The type and taste of honey can affect the taste of the finished cakes. For example, eucalyptus adds bitterness, and floral adds sweetness. The mass will first turn white, then begin to darken. Remove the saucepan from the heat and cool the mixture slightly.

Step 3

Step 3
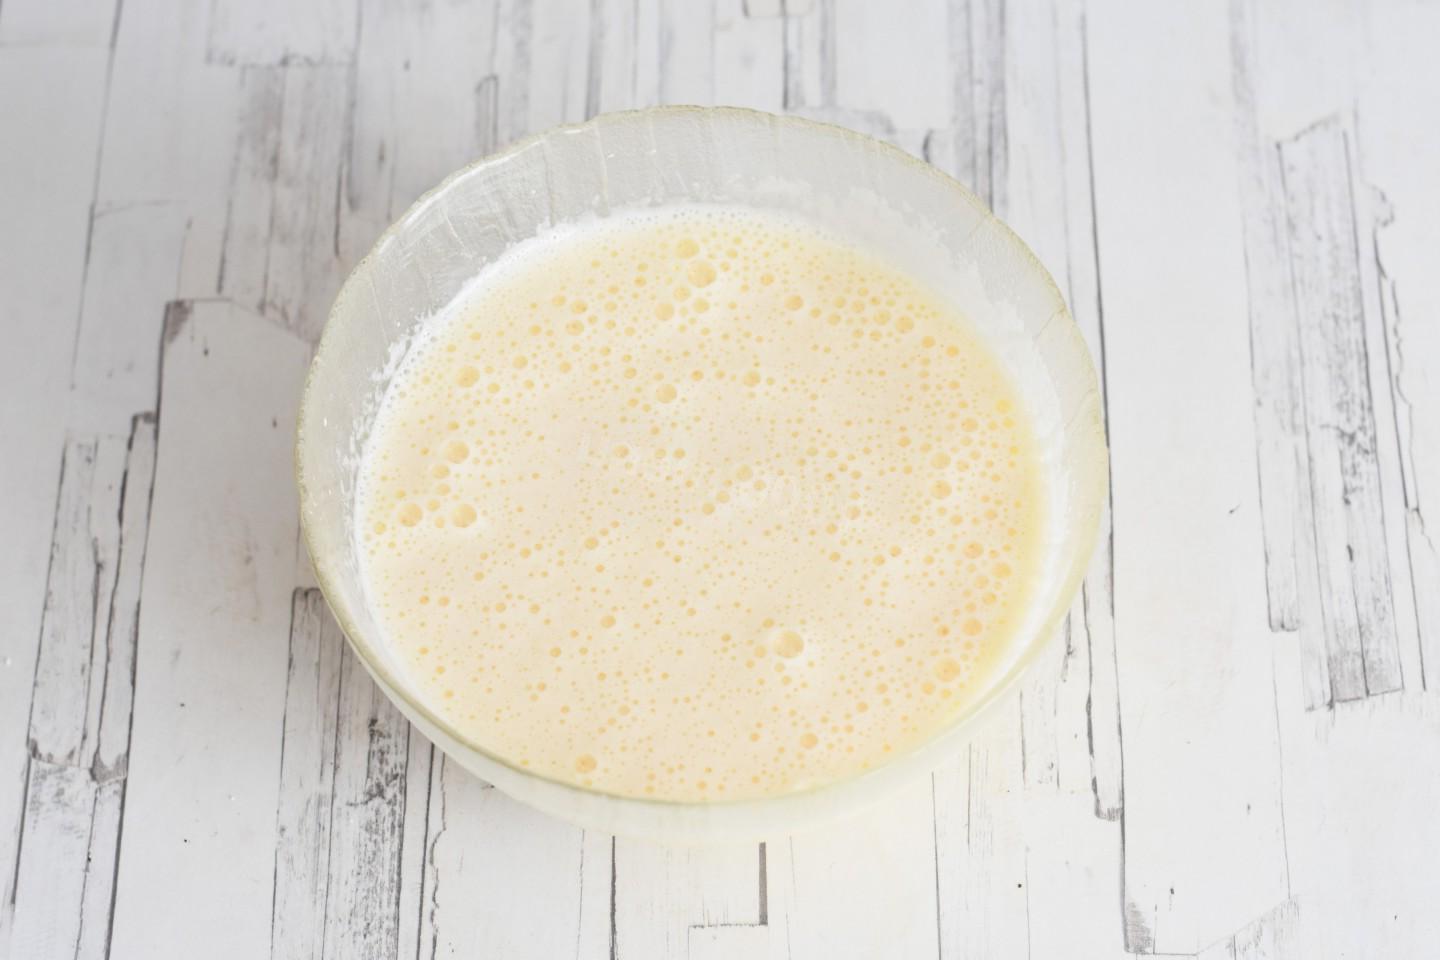
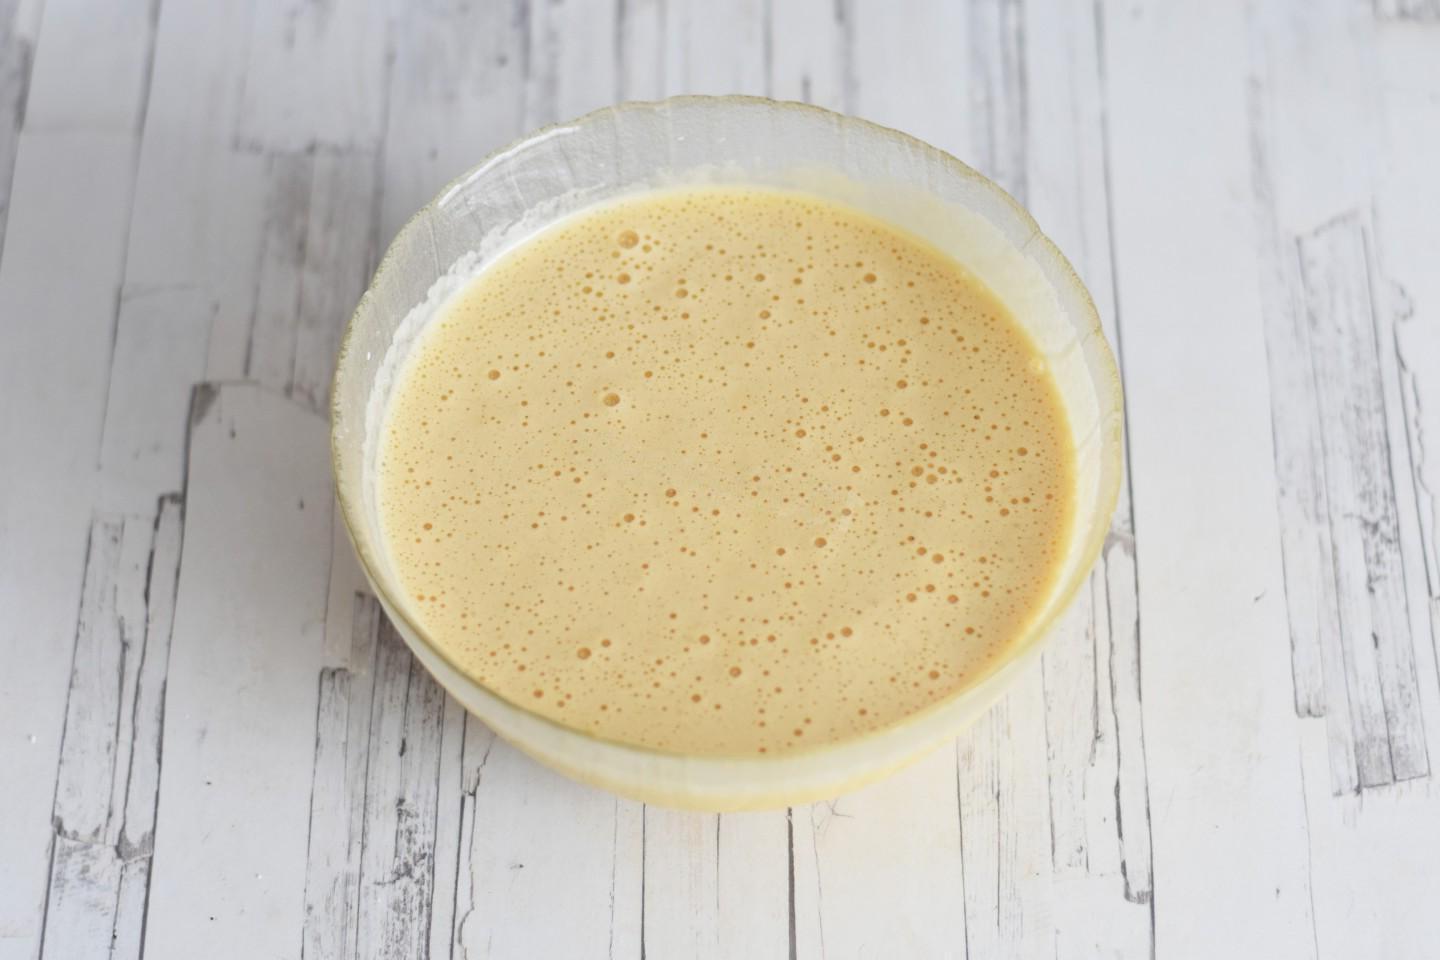
Beat the eggs with sugar until fluffy and fluffy; there should be a lot of bubbles in it.

Step 4

Step 4
Add honey and soda and beat everything again.

Step 5

Step 5
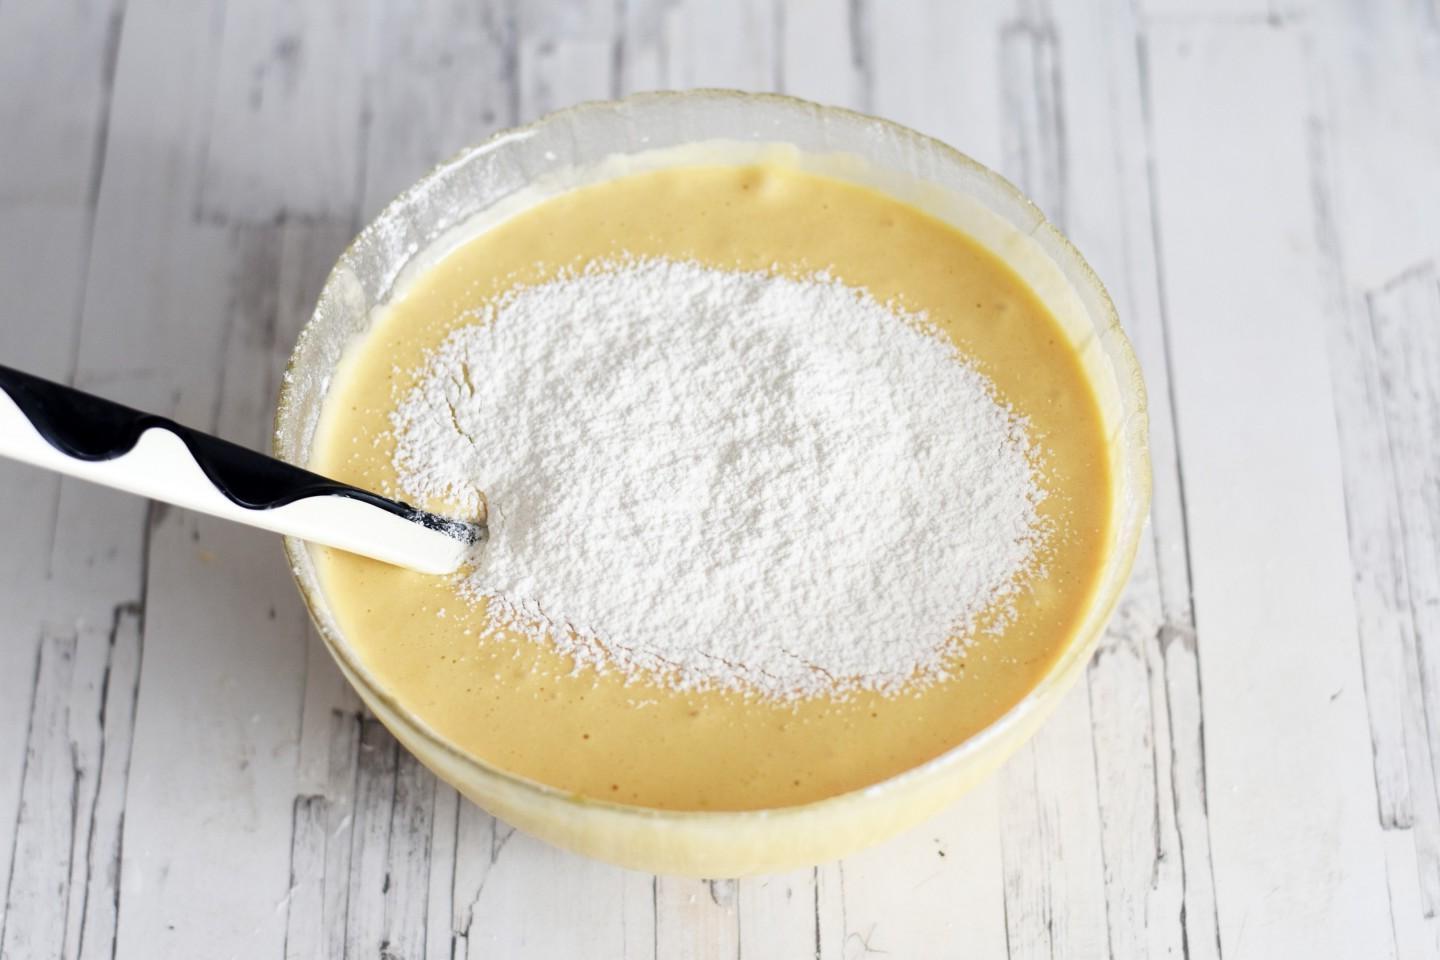
Add sifted flour in small portions.

Step 6

Step 6
Stir the dough with a spatula from top to bottom so that it does not settle. You can mix the first portions of flour with a mixer at low speed, and then with a spatula. It is important not to settle the mass. It should remain airy and crunch slightly when stirred.

Step 7

Step 7
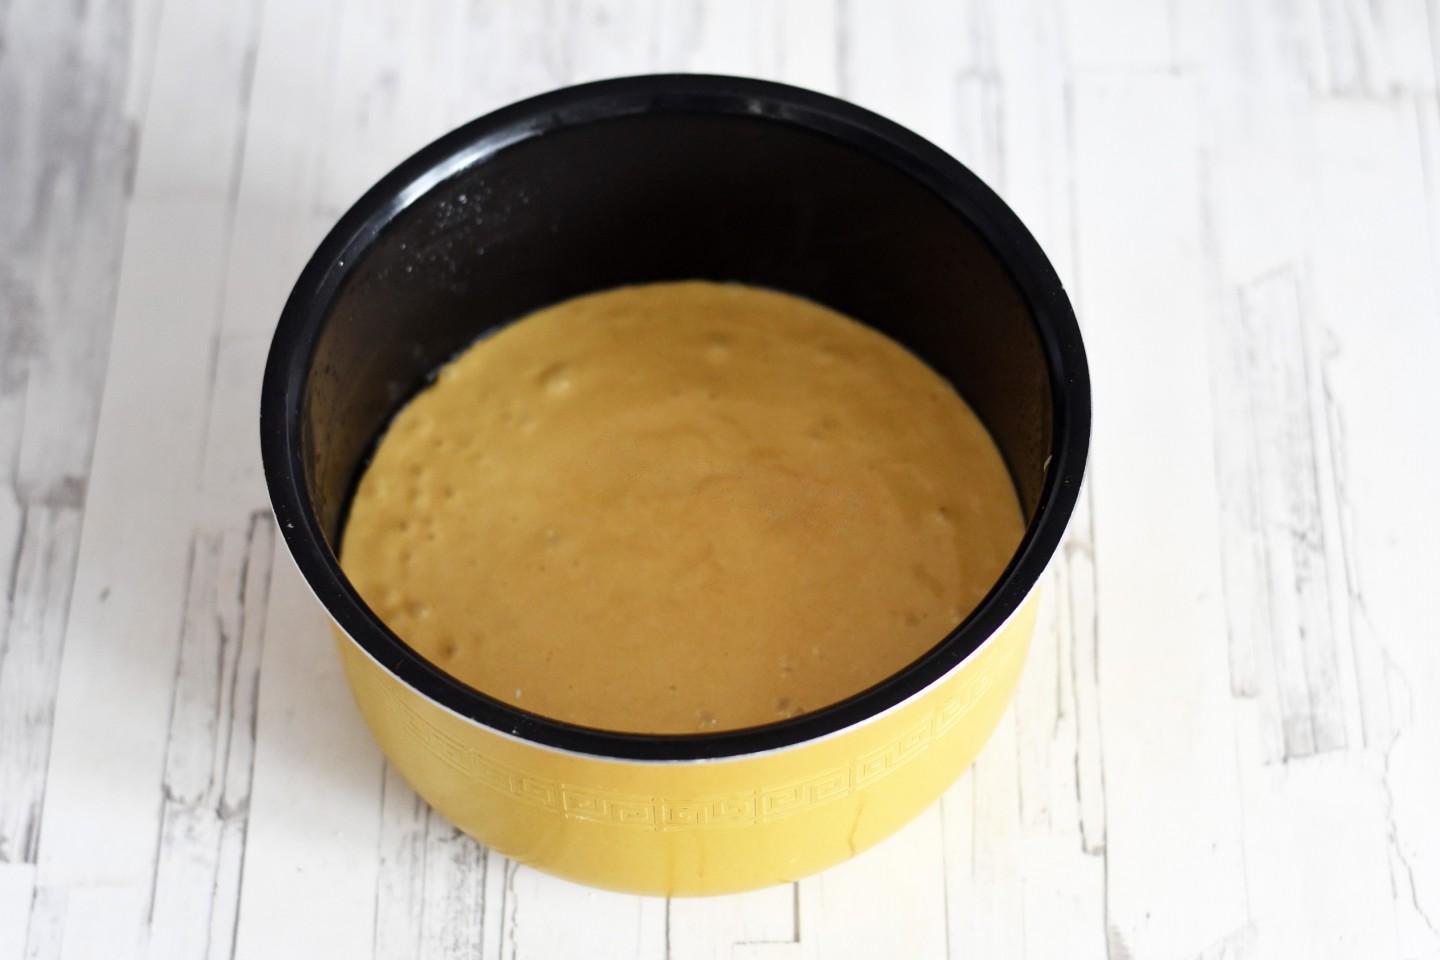
Pour the honey dough into the multicooker bowl.

Step 8

Step 8
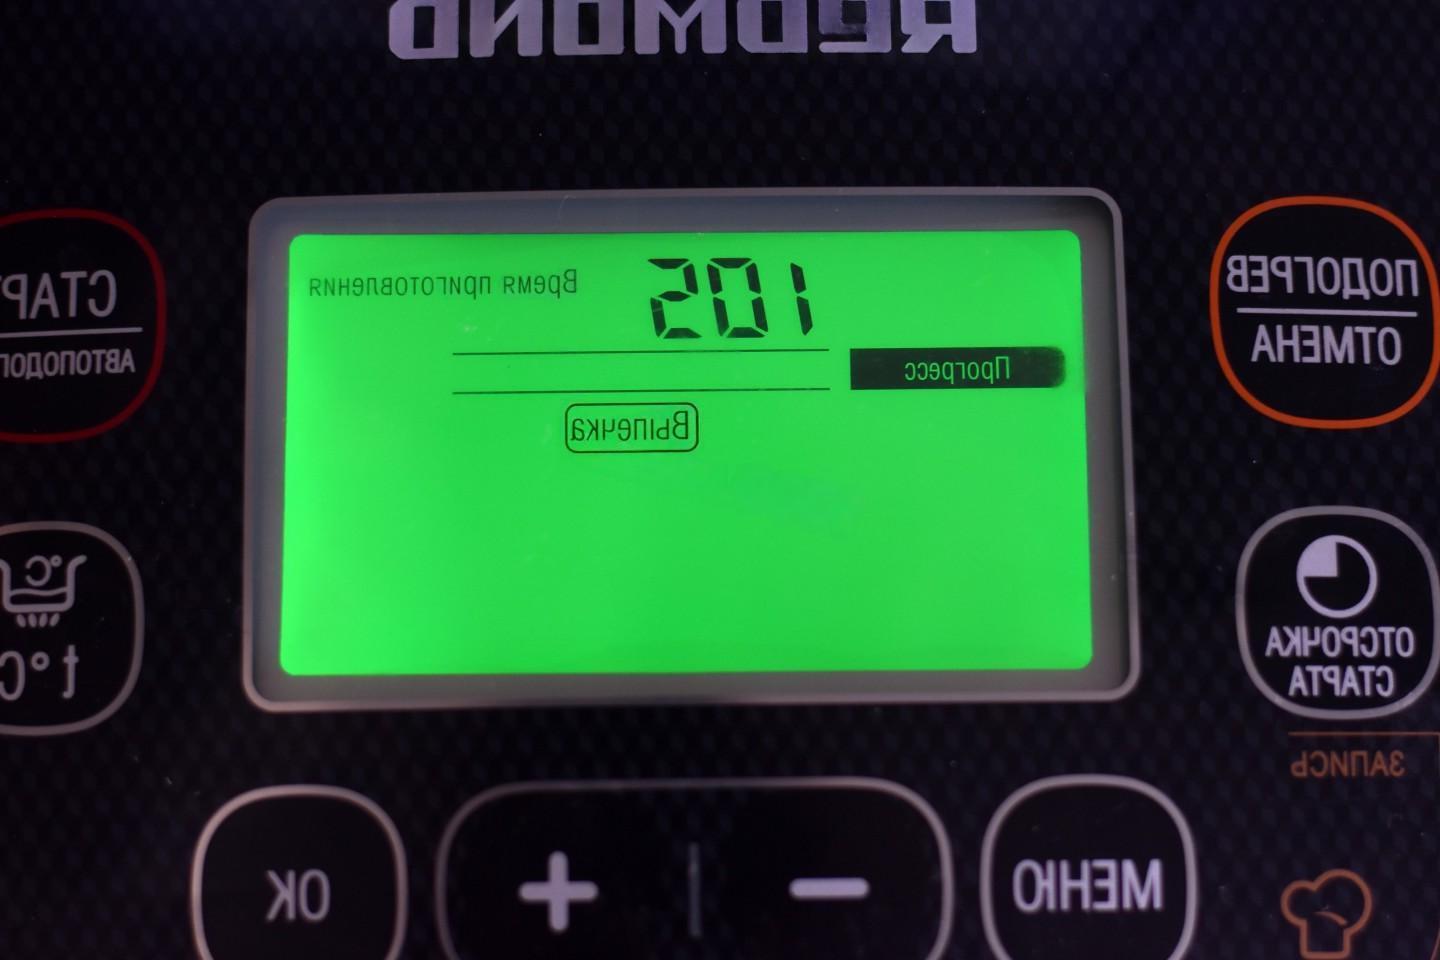
Bake the crust on the “Baking” setting for about 65 minutes. It is better not to open the lid during baking. The exact baking time depends on the brand of your multicooker. After the signal, without opening the lid, leave the biscuit to heat for another 10 minutes.

Step 9

Step 9
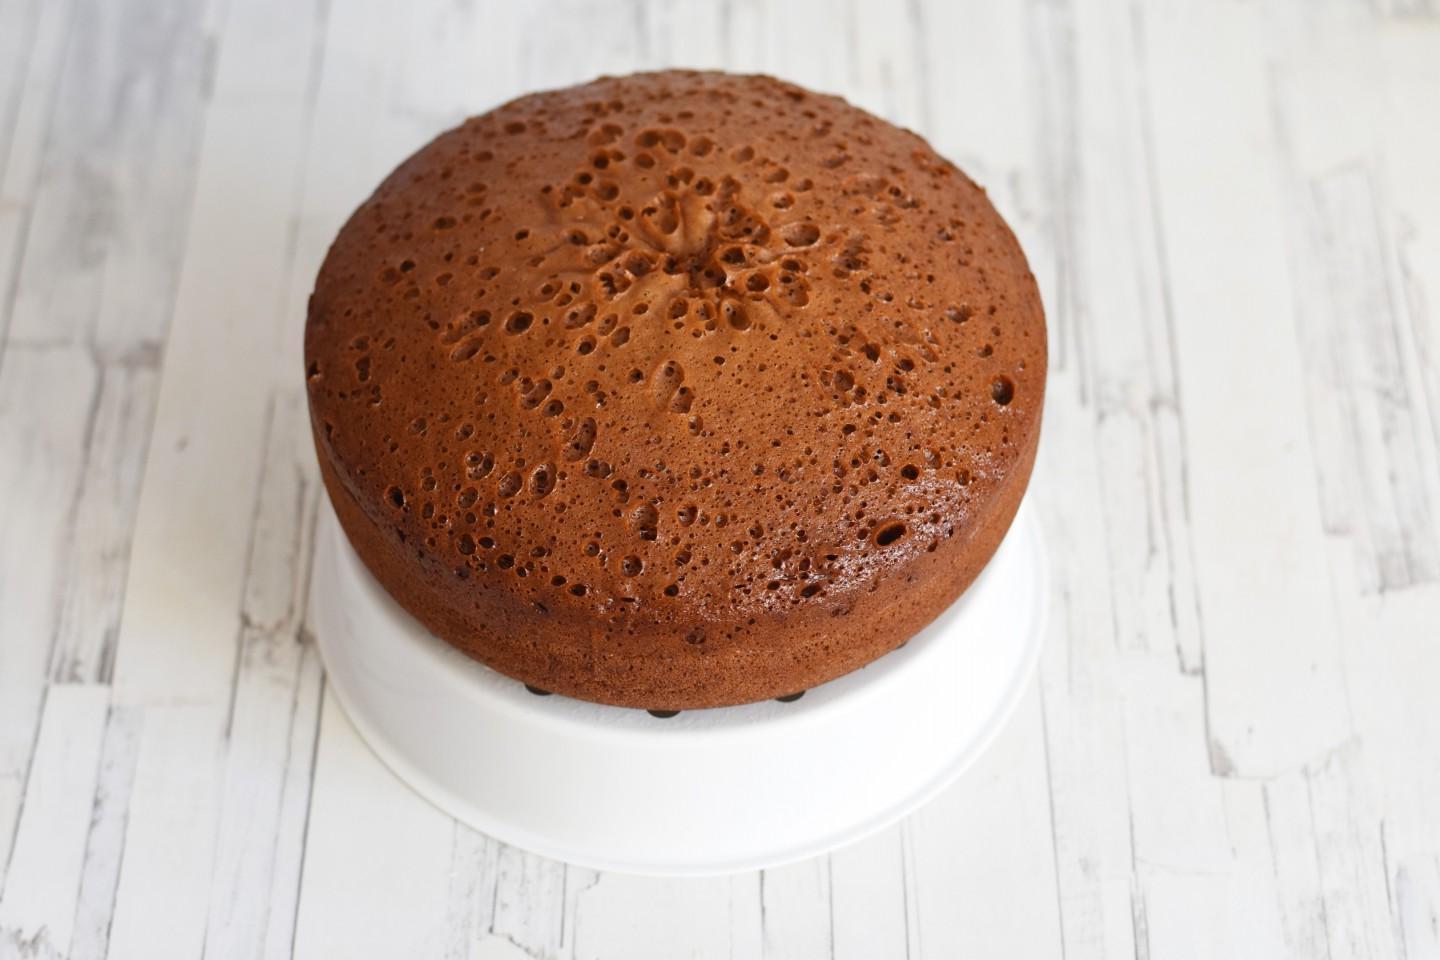
The finished biscuit should be quite tall, fragrant and porous. Remove the cake from the bowl and leave to cool at room temperature. If you are going to leave the cake overnight and assemble the cake in the morning, it is better to wrap the cooled sponge cake in cling film.

Step 10

Step 10
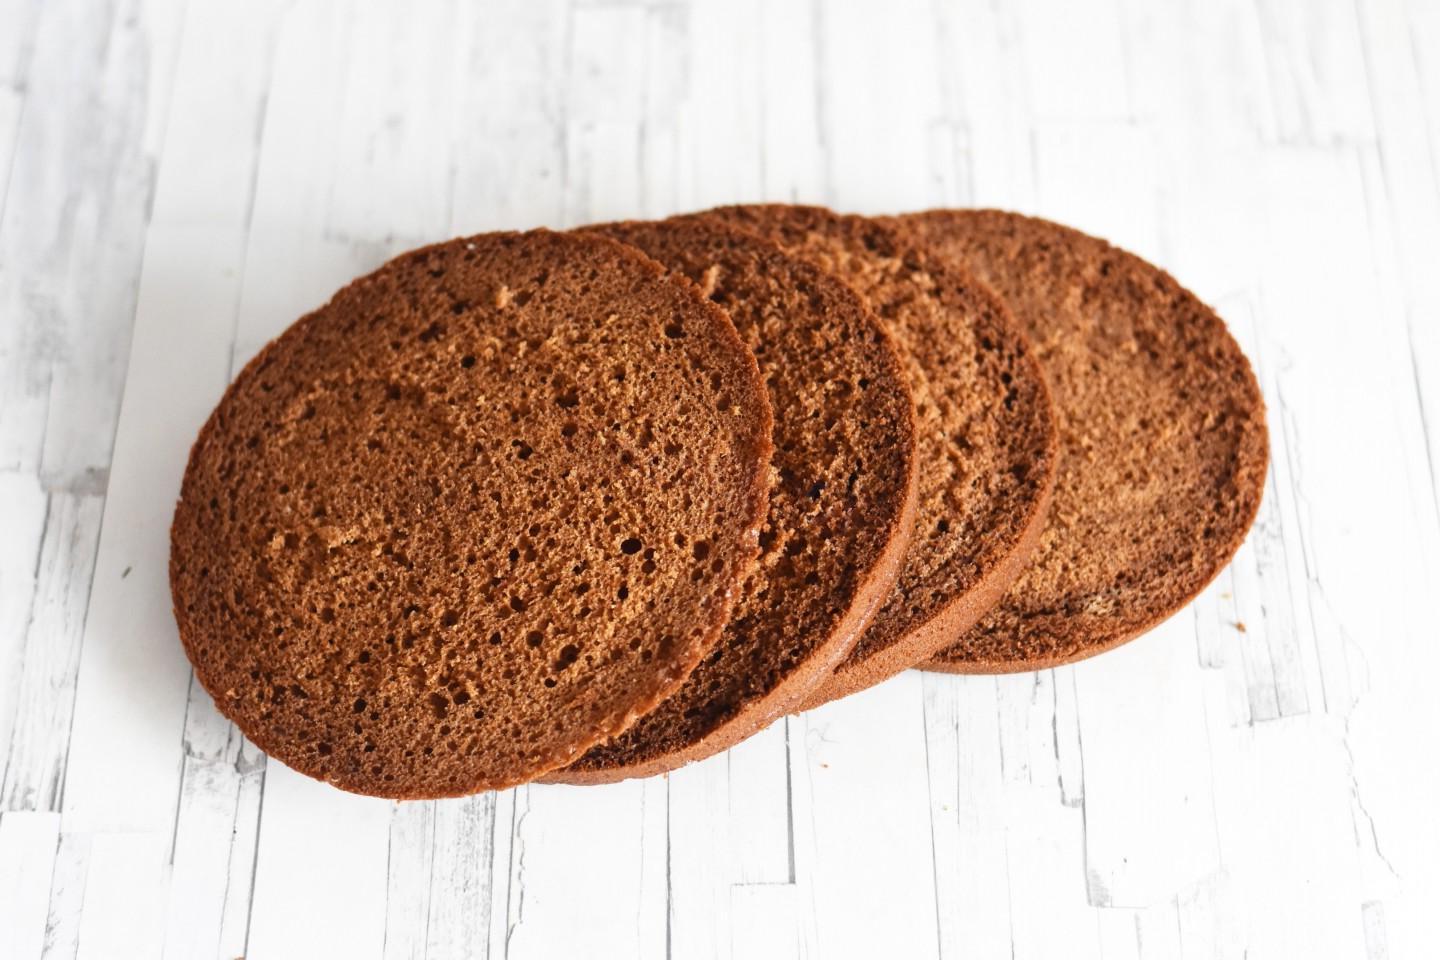
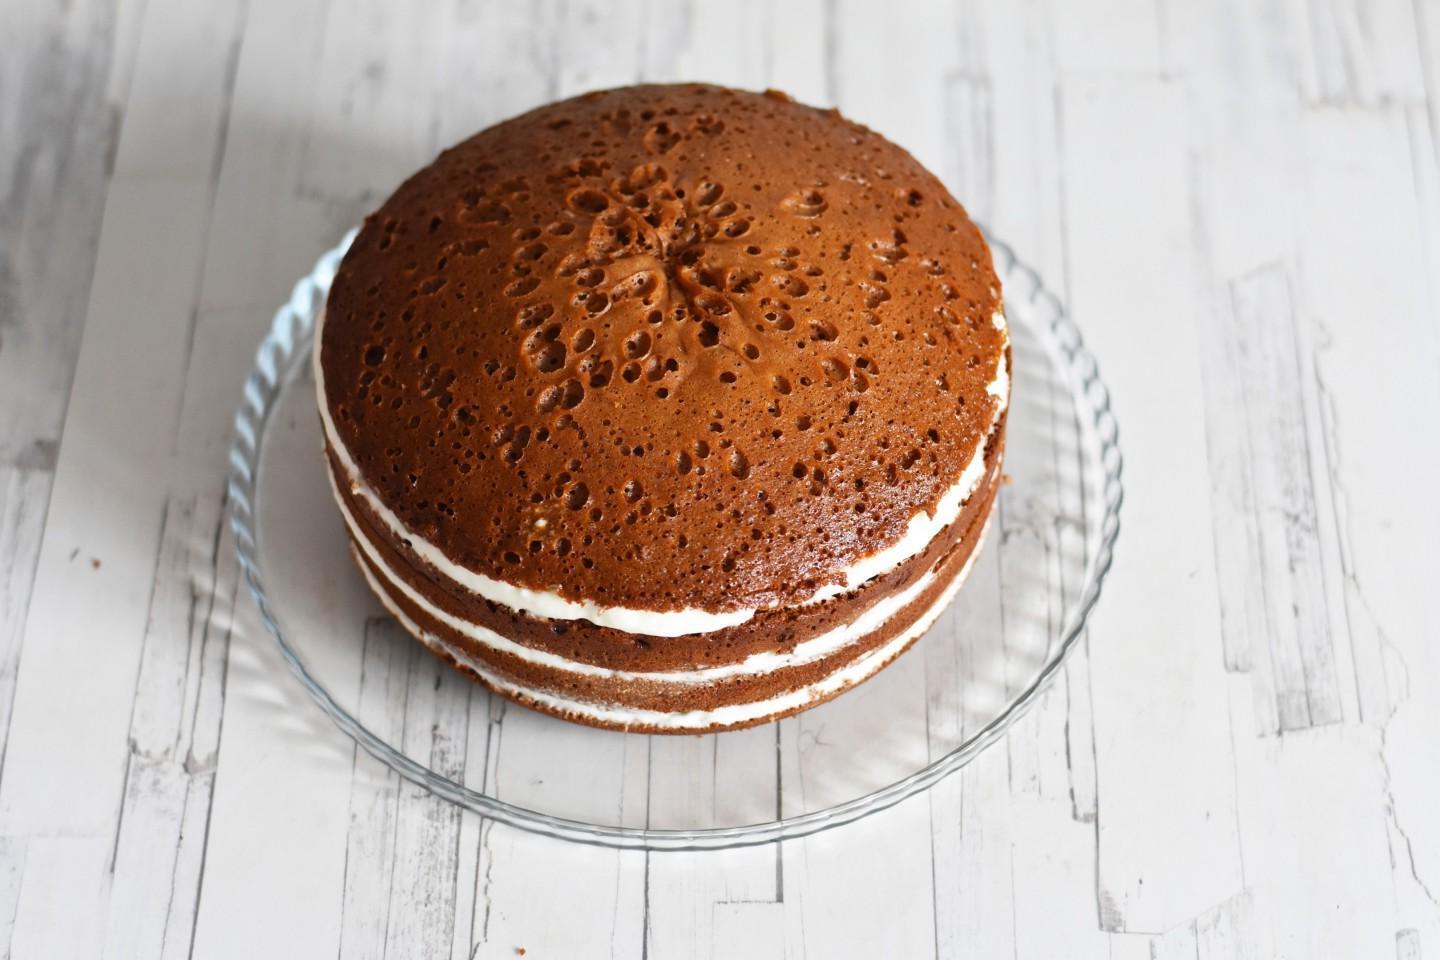
Cut the cooled sponge cake into 3-4 layers. My sponge cake turned out to be semi-circular and I decided to keep the top rounded cake layer as part of the cake. You can remove it if you wish.

Step 11

Step 11
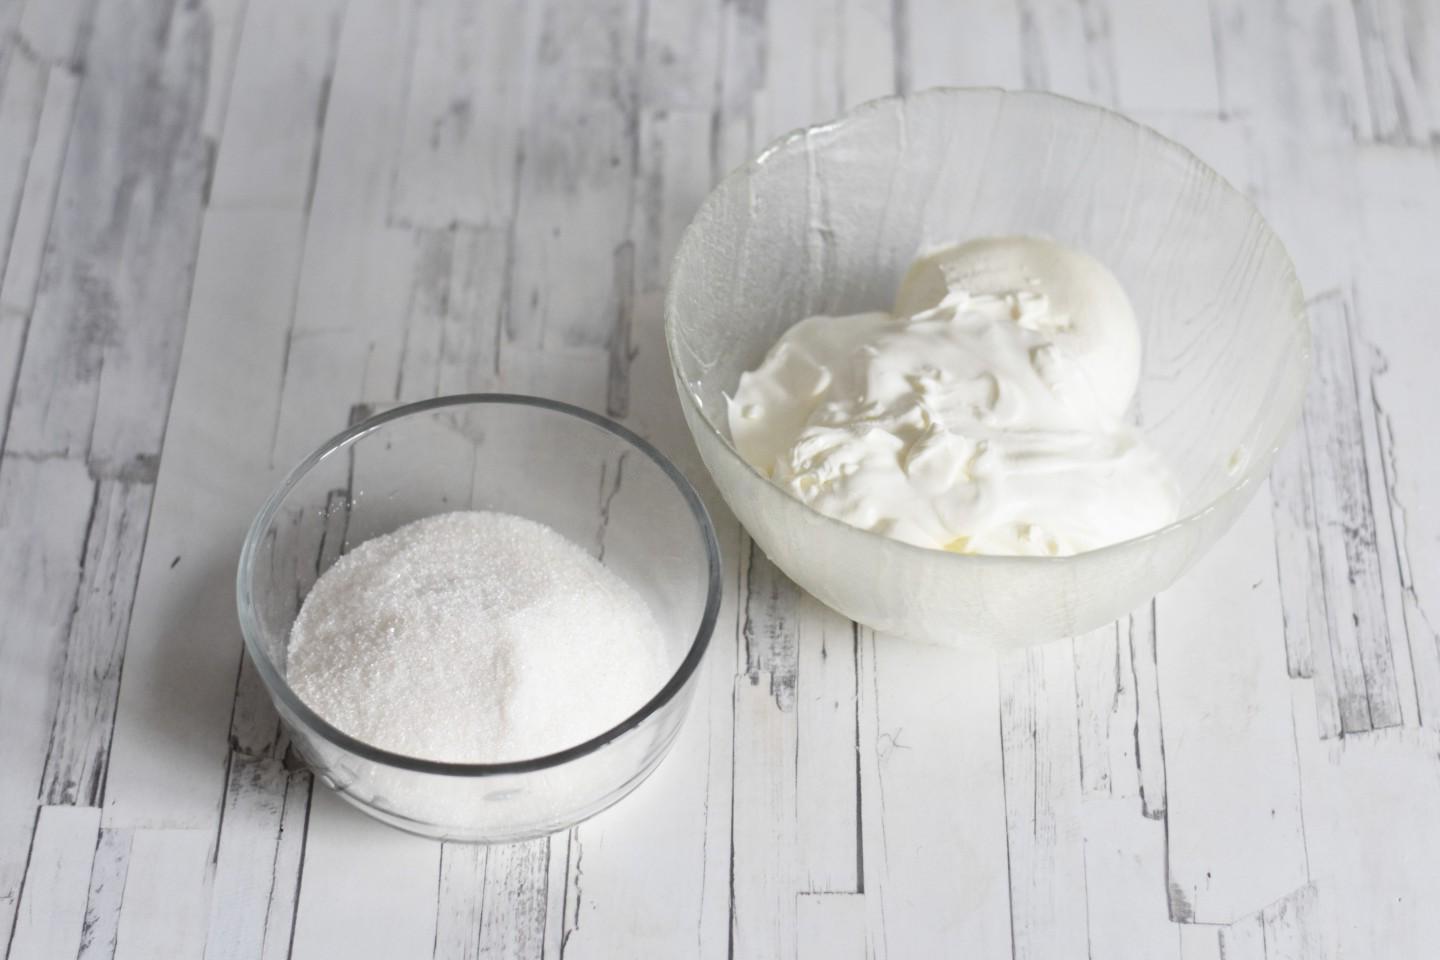
Now prepare the sour cream. The sour cream for the cream should be full fat, from 25% and above. I have 30%.

Step 12

Step 12
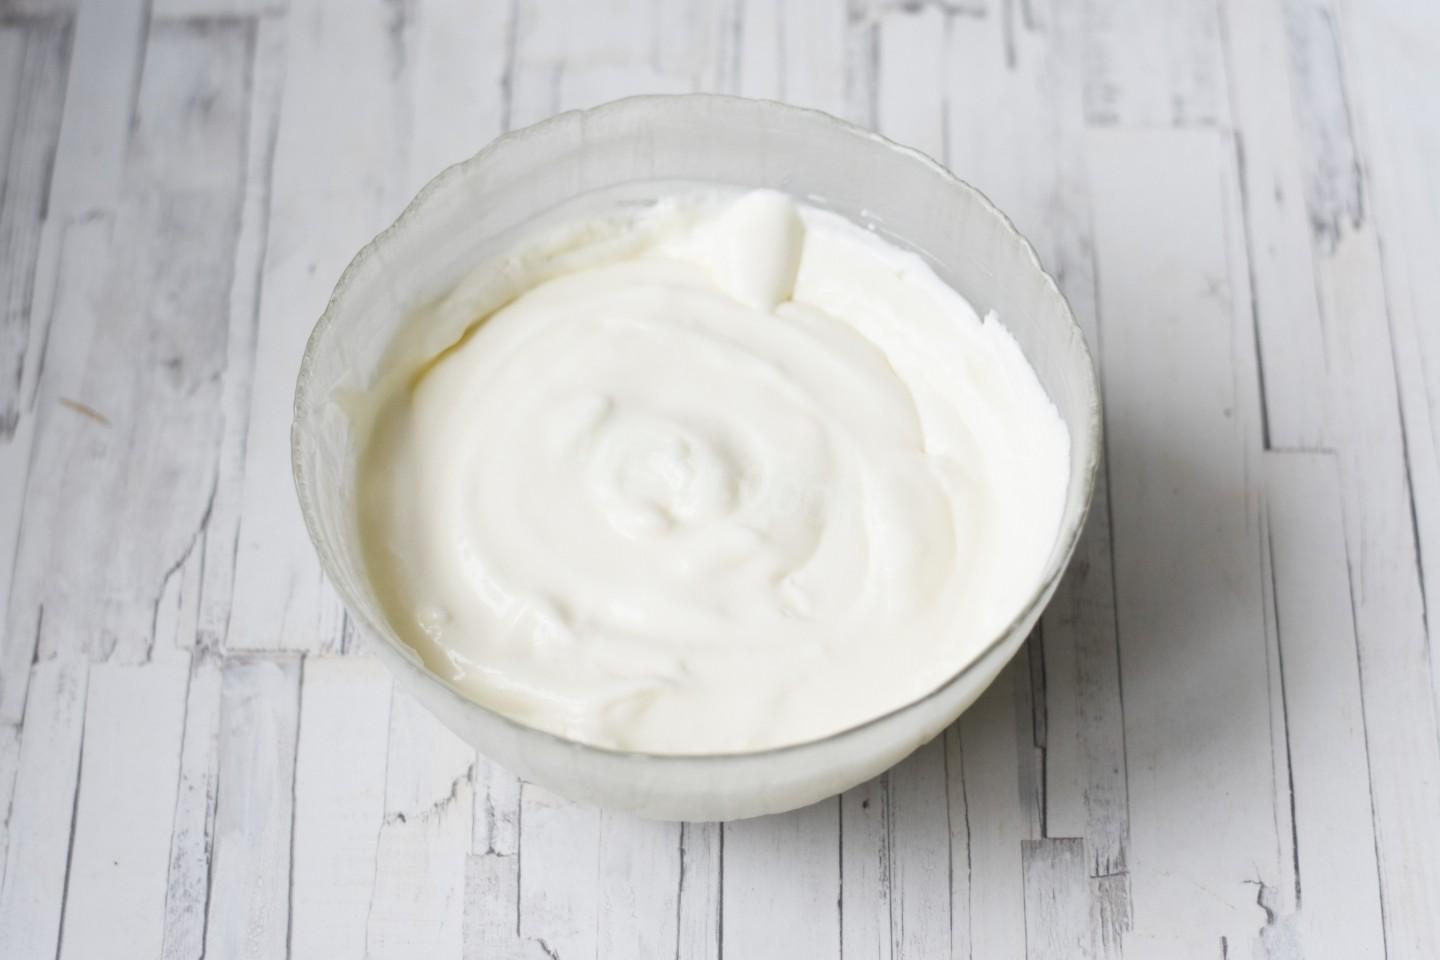
Beat cold sour cream with sugar until fluffy. The cream should not be liquefied, but of medium density. If your cream has become very thin while whipping, you can save the situation by adding 1-2 tbsp to the cream. l. gelatin dissolved in 30 ml of water. Place the cream in the refrigerator for 30 minutes before applying to the cake. The cream will thicken sufficiently.

Step 13

Step 13
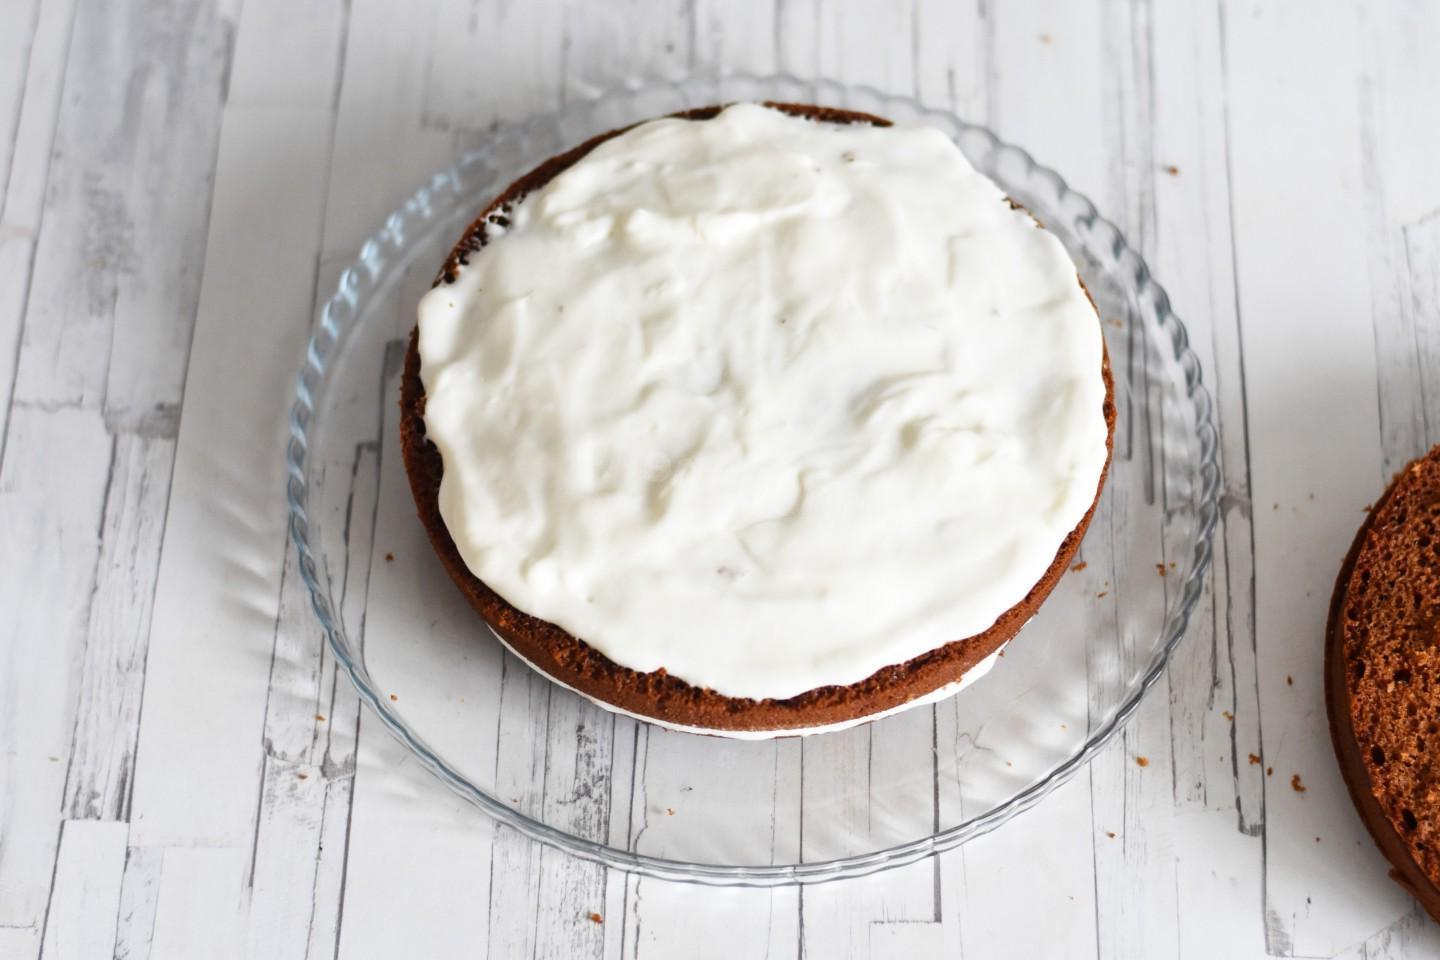
Assemble the cake, generously coating the cake layers with sour cream.

Step 14

Step 14
Stack the cakes on top of each other.

Step 15

Step 15
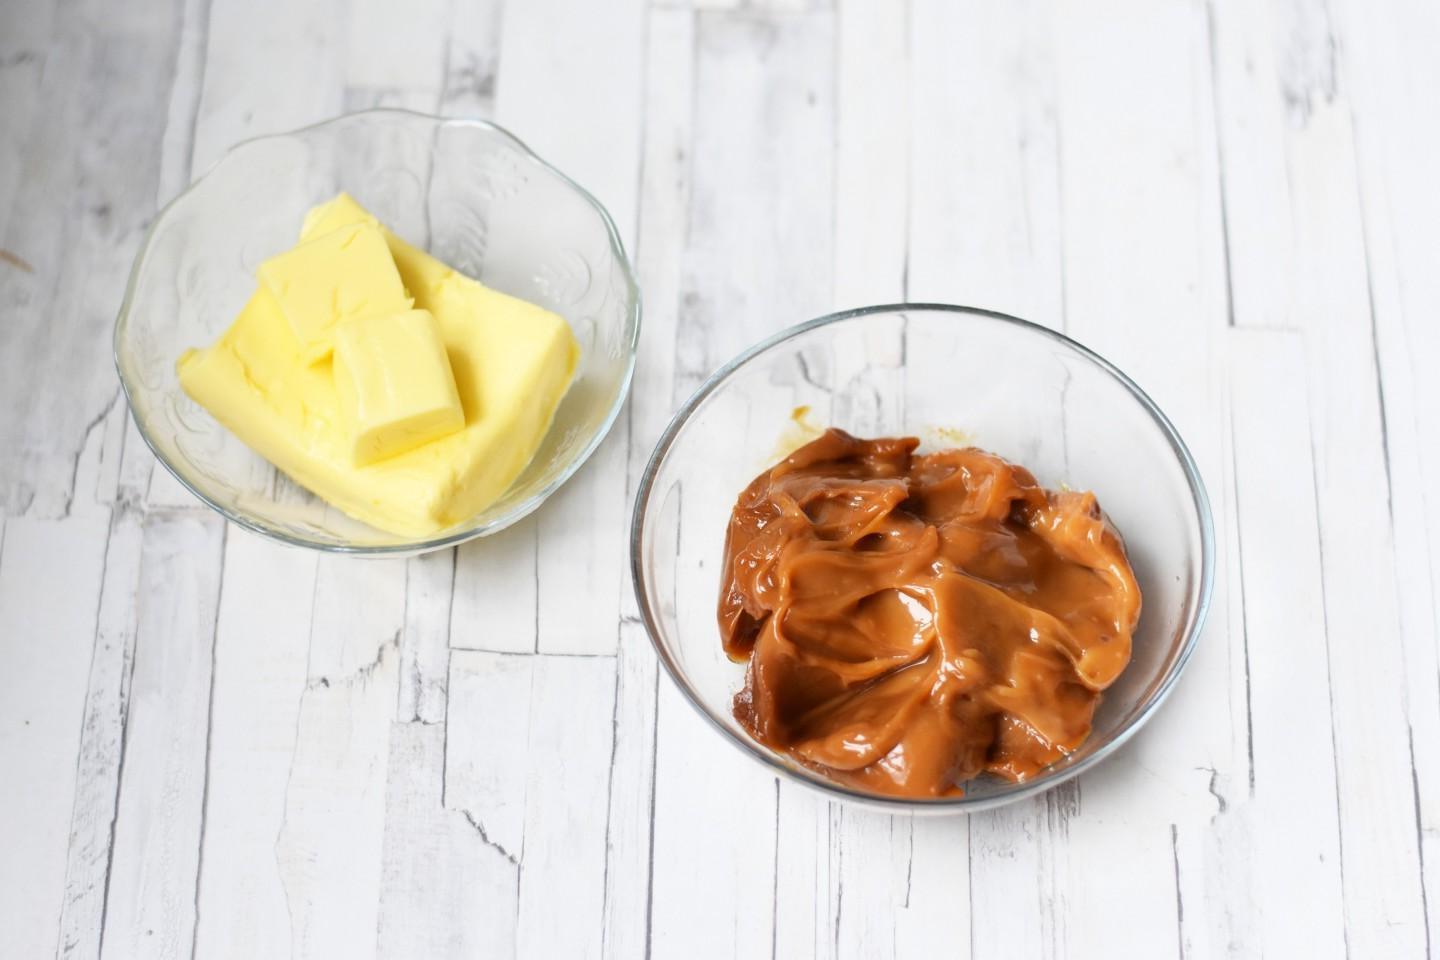
Now prepare butter cream with boiled condensed milk. The butter should be at room temperature, so remove it from the refrigerator in advance.

Step 16

Step 16
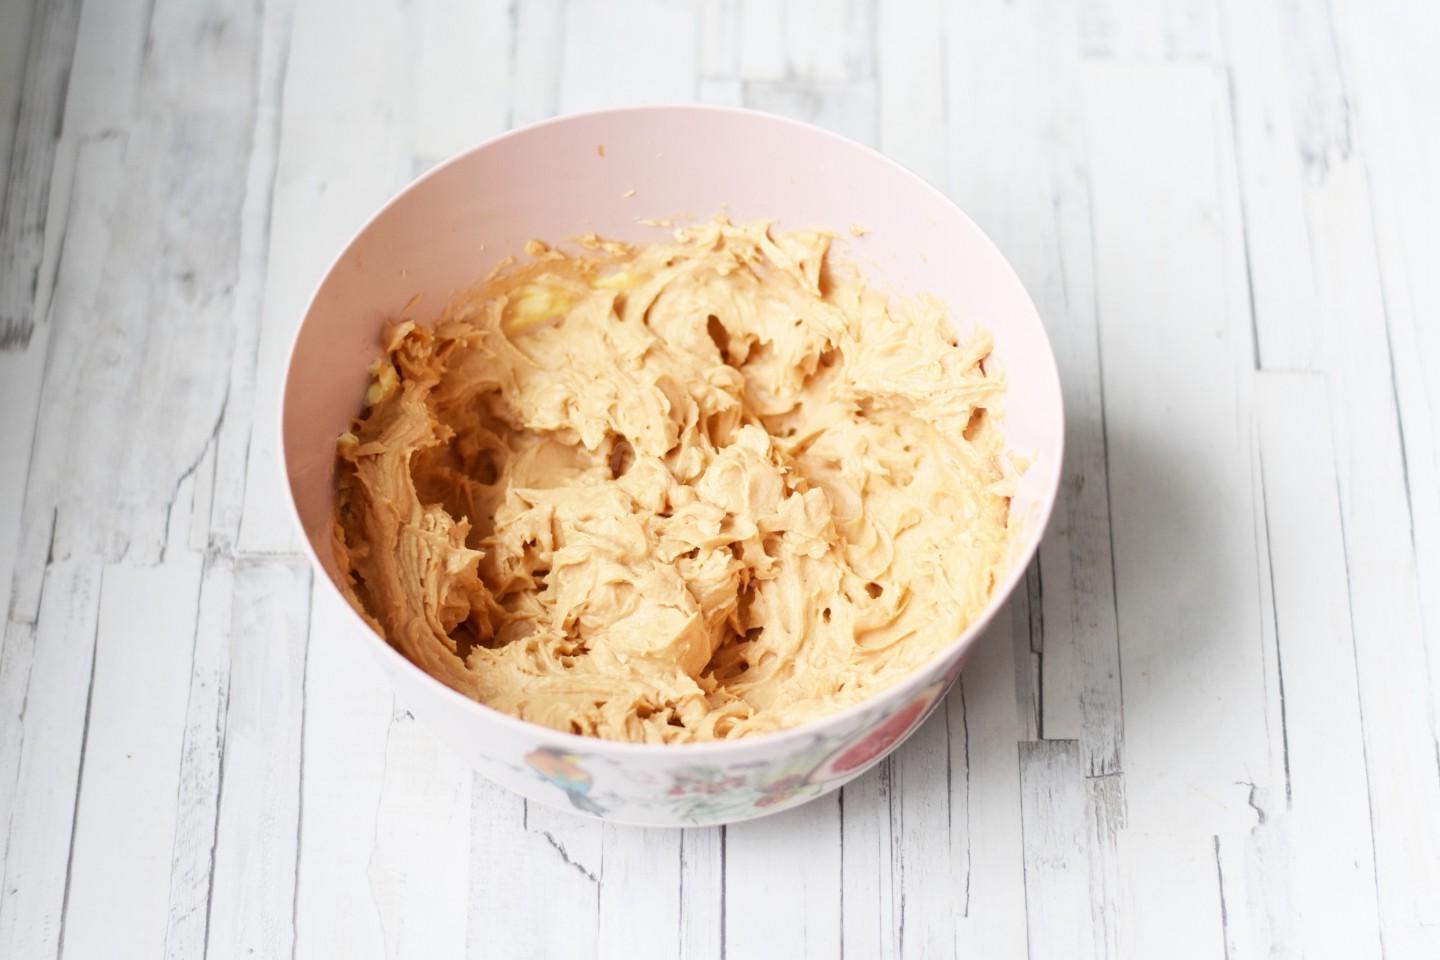
Beat butter at room temperature with a mixer until white, gradually adding boiled condensed milk. The cream turns out to be quite dense and holds its shape well.

Step 17

Step 17
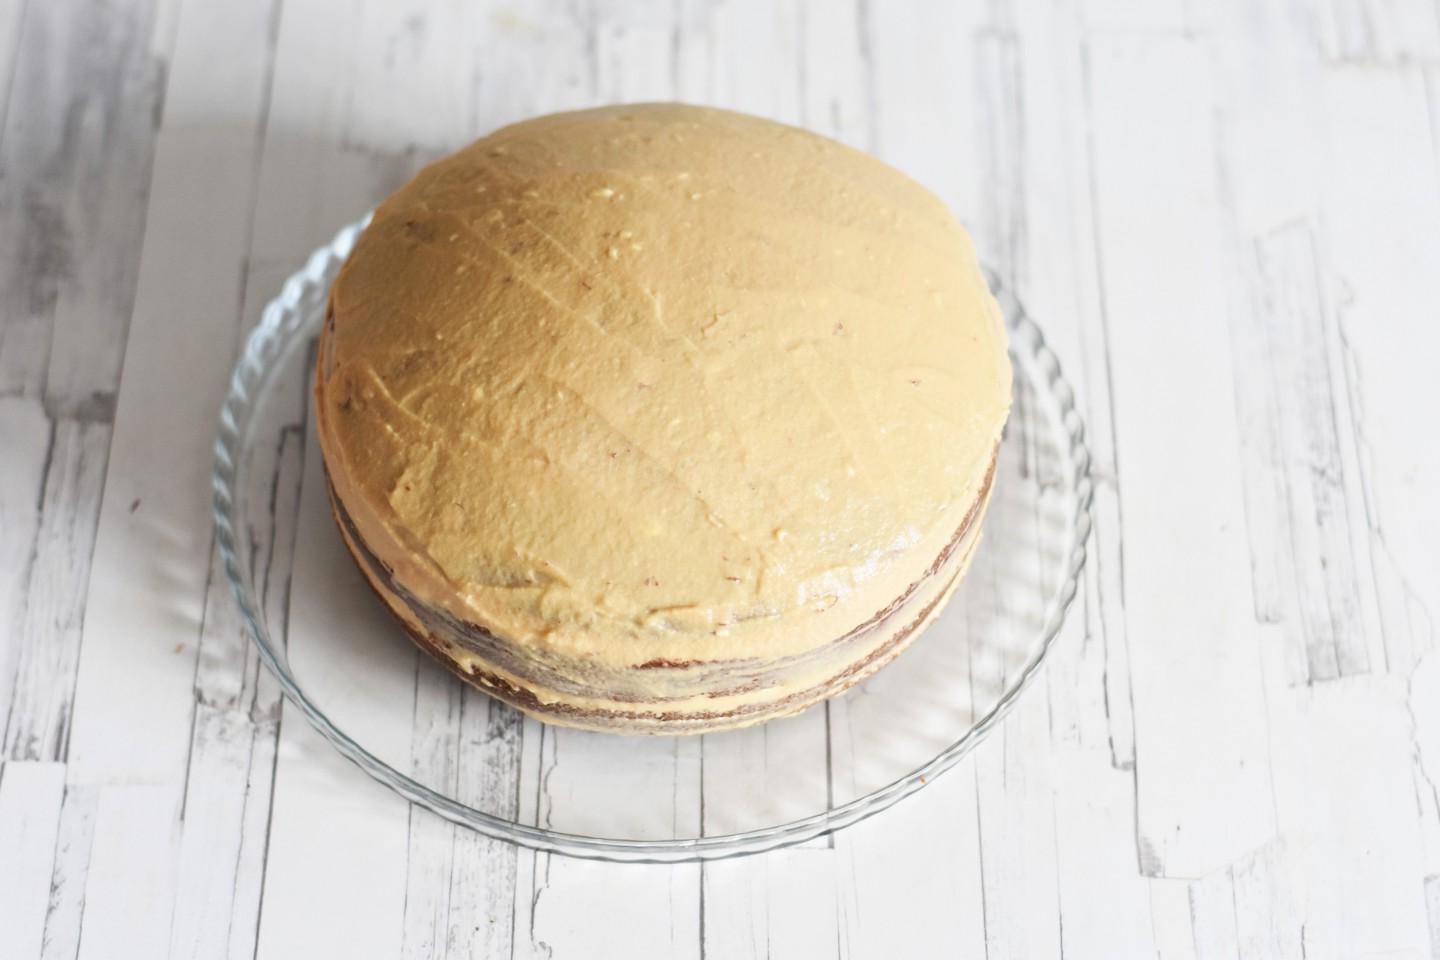
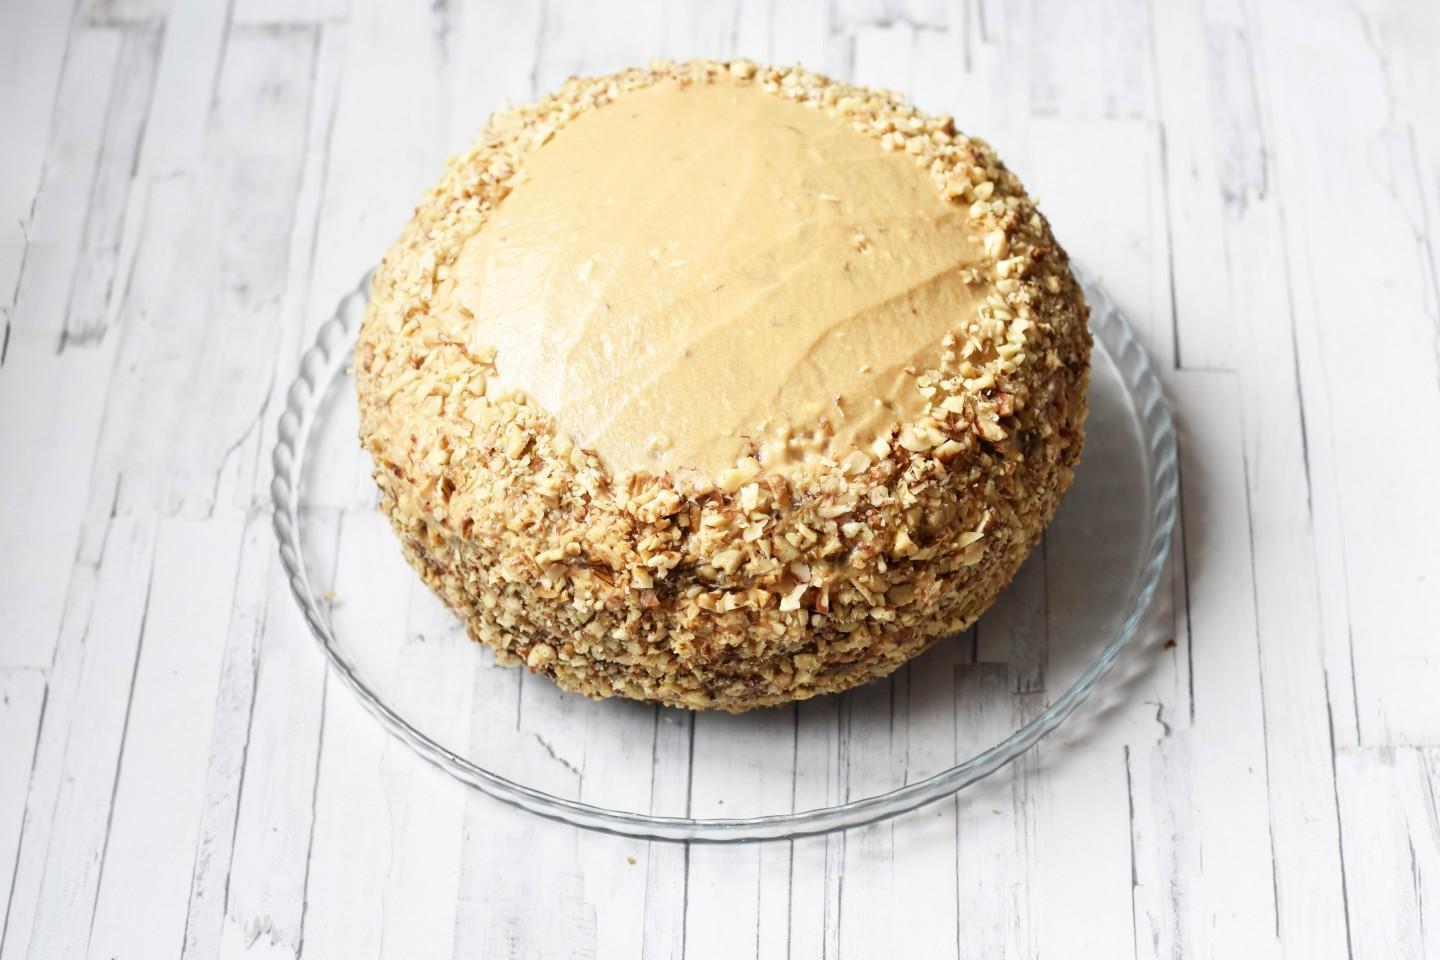
Grease the top and sides of the cake with butter cream and boiled condensed milk. If you wish, you can leave some of the buttercream to decorate the cake.

Step 18

Step 18
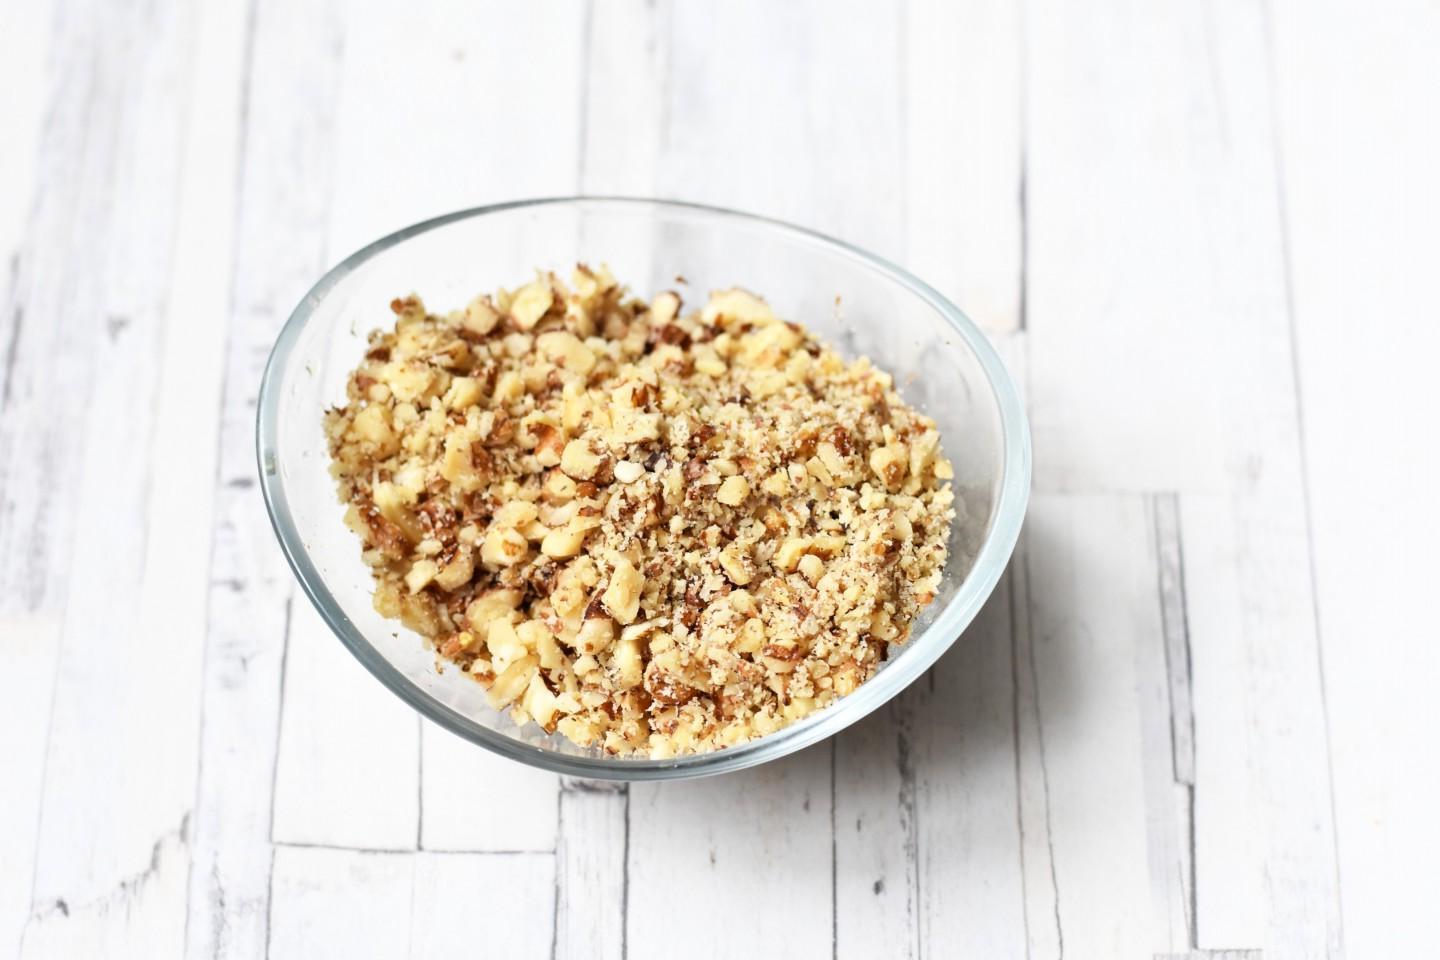
Use any chopped nuts to sprinkle on the sides of the cake. I used walnuts, but any other will do.

Step 19

Step 19
Sprinkle the sides of the cake with nuts.

Step 20

Step 20
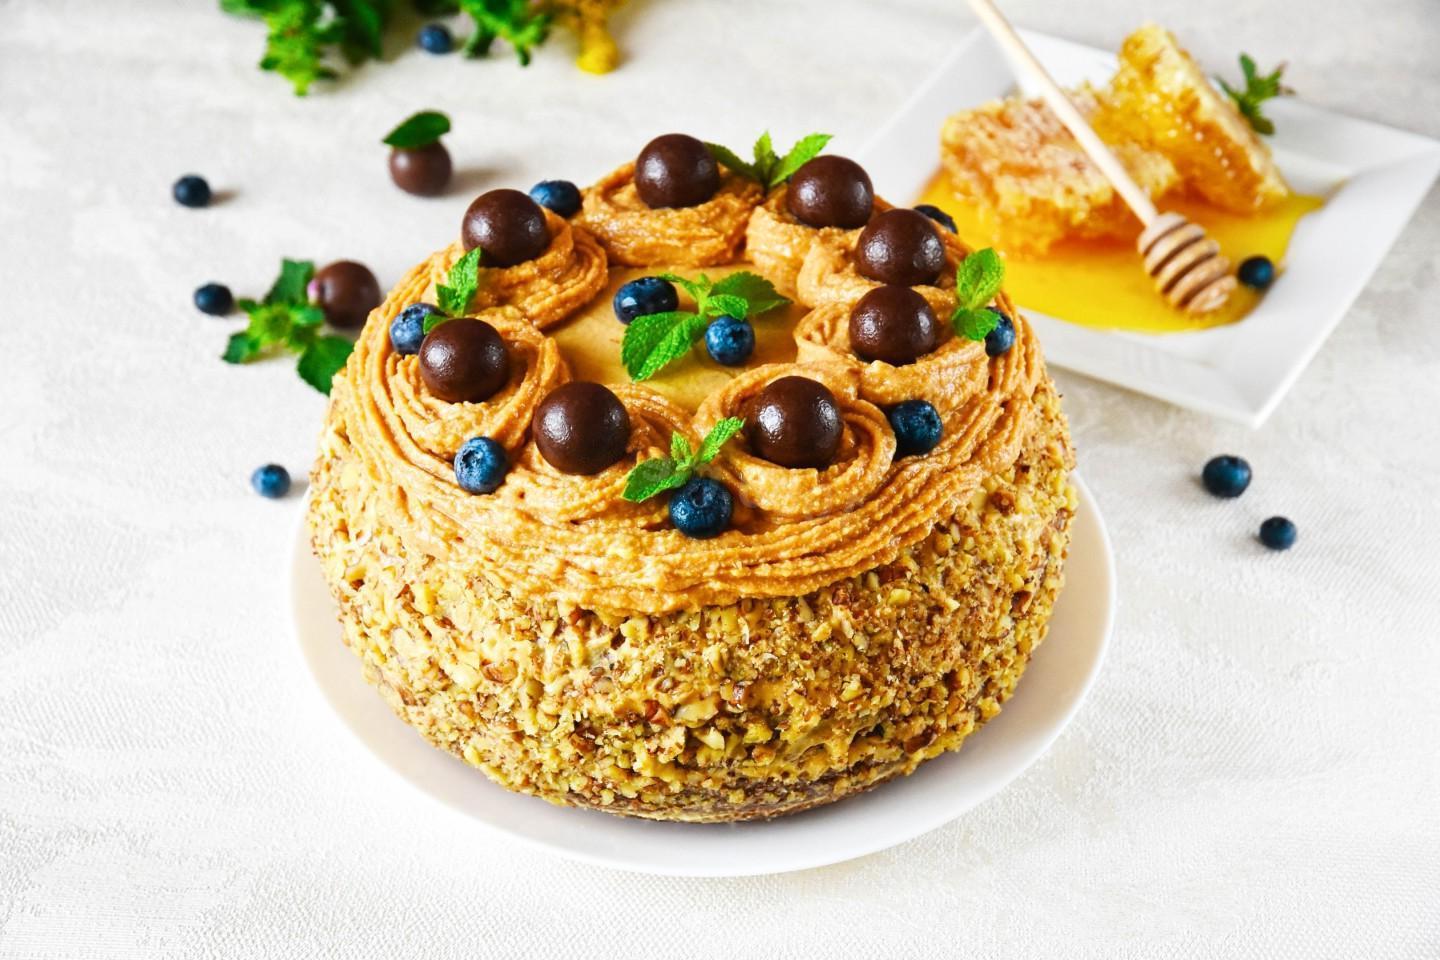
Transfer the remaining buttercream into a piping bag fitted with a closed star tip and pipe a few roses. On top of each rose I placed a round Martian chocolate candy. If desired, decorate the cake with mint and berries. Before serving, it is advisable to keep the cake in the refrigerator for at least 2 hours. Bon appetit!