Slow Cooker Chocolate Prague Cake

Rich chocolate cake for true sweet tooths! My family loves chocolate baked goods, so the whole family is delighted with this cake! Previously, I baked Prague, only according to the classic recipe, but after trying this option, I think that I will cook it very often, since the cake turns out very tasty! It has a rich chocolate aroma and taste, so if you love chocolate, I highly recommend trying this cake! By the way, if you don’t have a slow cooker, you can bake the biscuit in the oven. It is better to take a mold for baking a sponge cake with a diameter of 22-24 cm, then such a sponge cake can easily be cut into 3 layers.
cook time: 2h 30 min
Ivy Ramsay
Slow Cooker Chocolate Prague Cake

Nutrition Facts (per serving)

382
Calories
22g
Fat
40g
Carbs
6g
Protein

Ingredients (10 portions)

For the biscuit:

Sugar 160 g
Wheat flour 190 g
Cocoa 40 g
Sour cream 200 g
Baking powder 1 tsp
Chicken eggs 3 pc
Soda 0.25 tsp
Condensed milk 200 g

For cream:

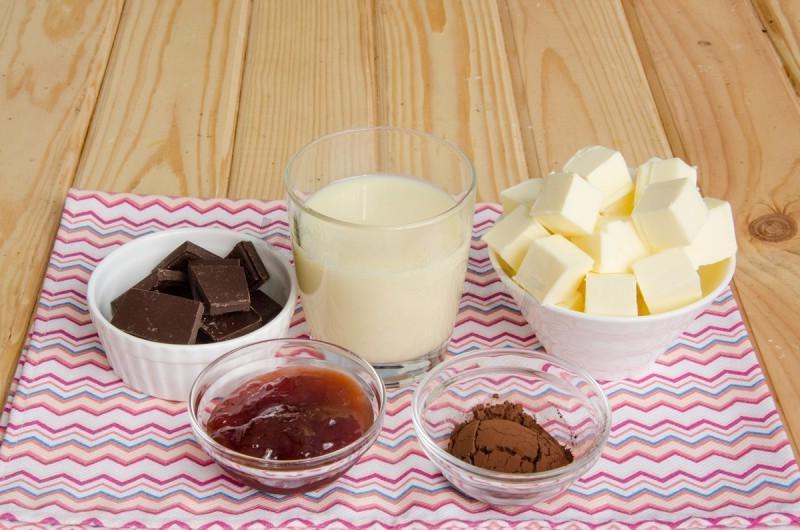
Butter 200 g
bitter chocolate 50 g
Cocoa 1 tsp
Condensed milk 200 g
Jam 2 tbsp

For the glaze:

Butter 40 g
Chocolate 100 g
Cream 60 g

Recipe instructions

Step 1
Step 1
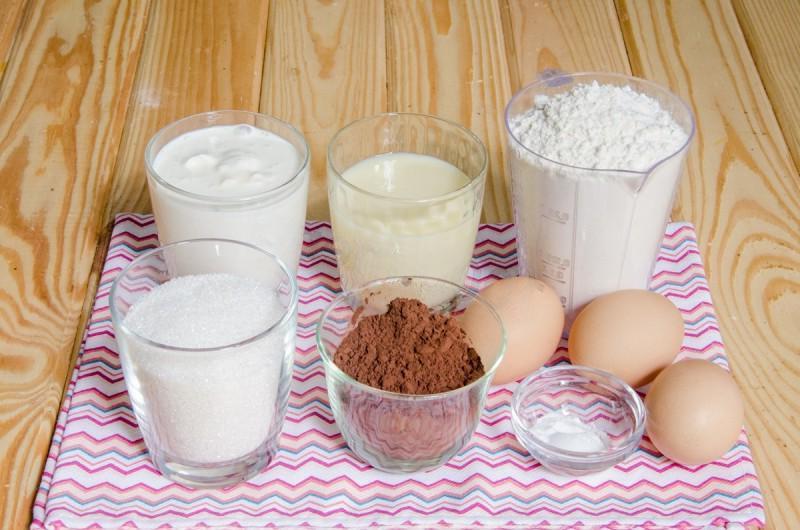
First, letʼs prepare the chocolate sponge cake. True, at its core, this is not quite a classic sponge cake, but it turns out incredibly tender, airy and very moist.

Step 2

Step 2
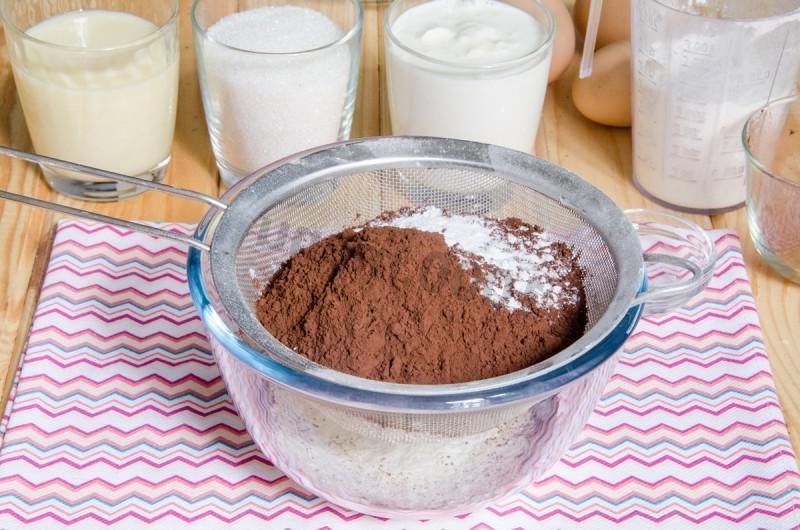
Combine flour, cocoa powder, baking soda and baking powder. Sift everything together 1-2 times.

Step 3

Step 3
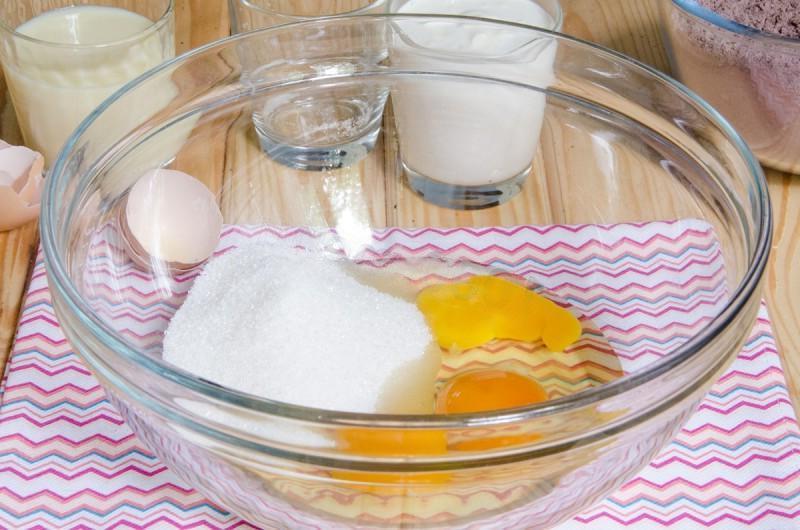
Break three chicken eggs into a large bowl and add granulated sugar to them.

Step 4

Step 4
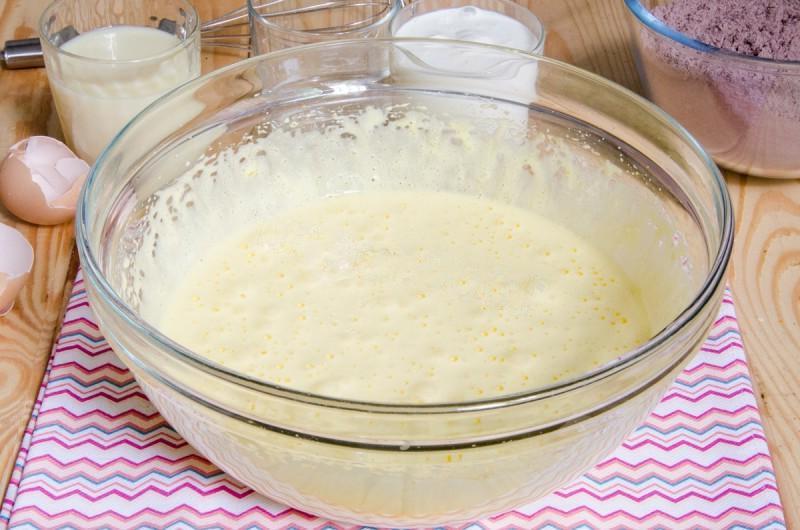
Using a mixer, beat eggs with sugar for 5-6 minutes. We should get a fluffy and dense mass.

Step 5

Step 5
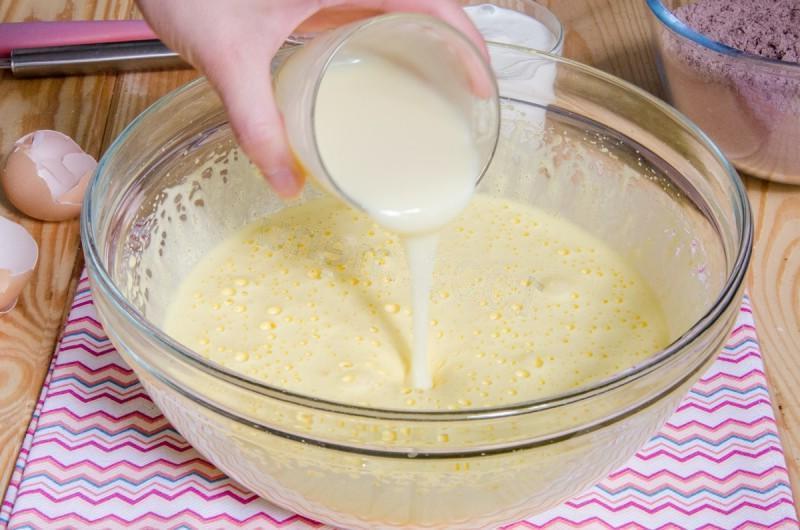
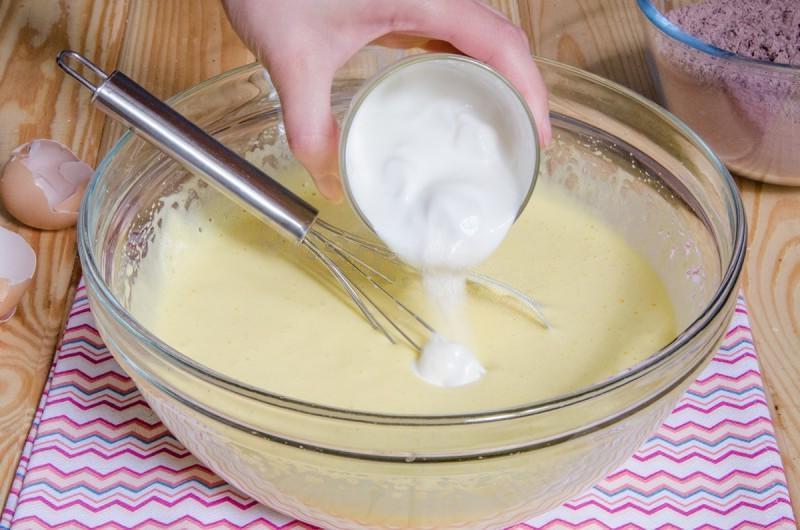
Take a whisk and gently mix the egg mass, first pour in the condensed milk

Step 6

Step 6
and then add sour cream. Stir gently until completely homogeneous.

Step 7

Step 7
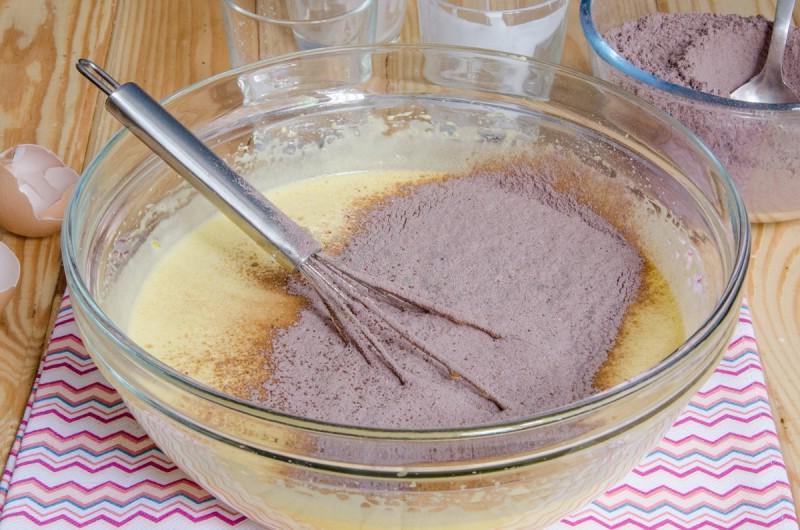
Add dry ingredients in several additions.

Step 8

Step 8
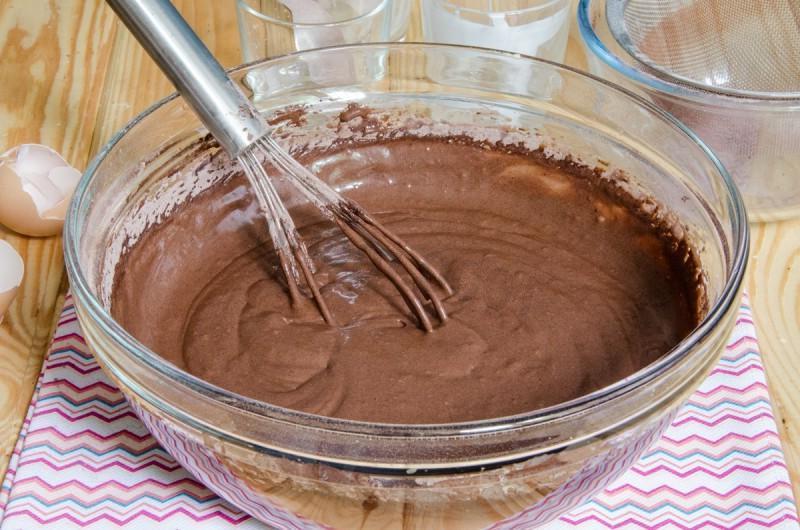
And mix thoroughly, we should get a smooth, moderately thick dough.

Step 9

Step 9
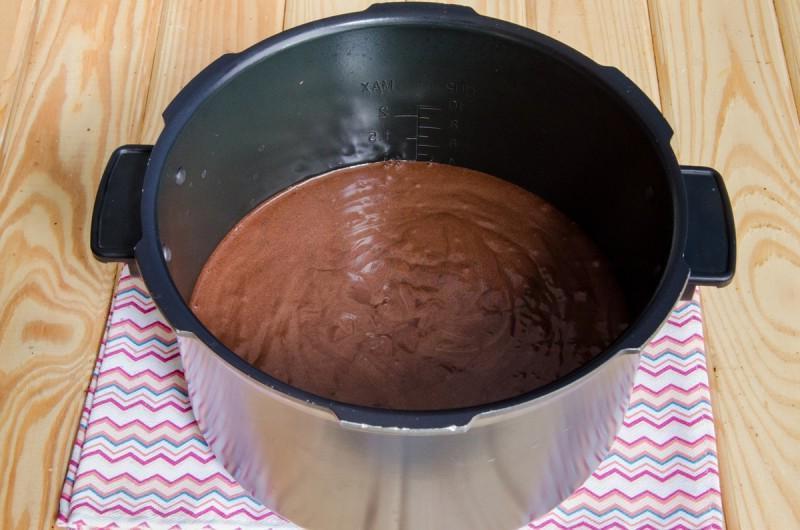
Line the bottom of the multicooker bowl with baking paper; do not grease the sides with anything. Pour our dough into the bowl.

Step 10

Step 10
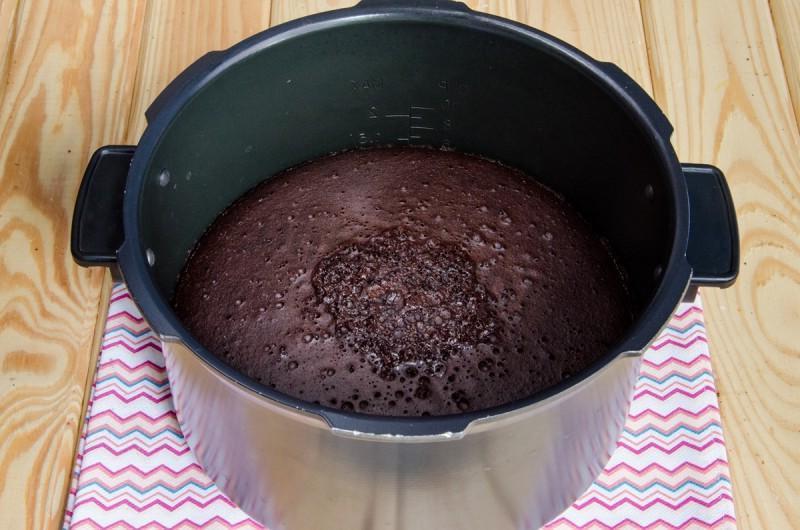
Bake the chocolate sponge cake on the “Baking” setting for 1 hour or more. The time will depend on the power of your multicooker and the diameter of the bowl (I have a multicooker with a power of 1300 W, and the diameter of the bowl is 23 cm, baking took exactly 1 hour). Check readiness with a wooden skewer.

Step 11

Step 11
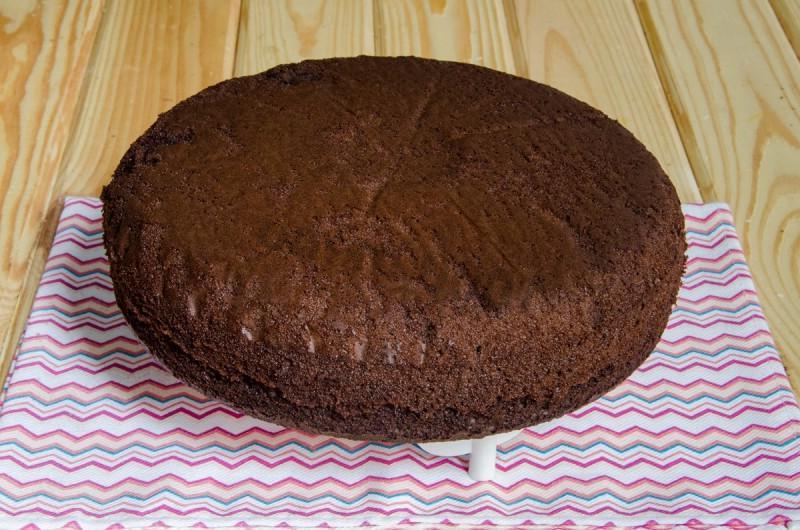
Let the finished sponge cake cool in the bowl for 10-15 minutes, after which we carefully go along the sides of the bowl with a silicone spatula (to separate the sponge cake from the sides) and turn the sponge cake onto a steaming stand. In this form, immediately leave the biscuit on the stand until it cools completely (I left the biscuit to sit for another night, but if you don’t have time, you don’t have to do this).

Step 12

Step 12
Letʼs prepare chocolate cream.

Step 13

Step 13
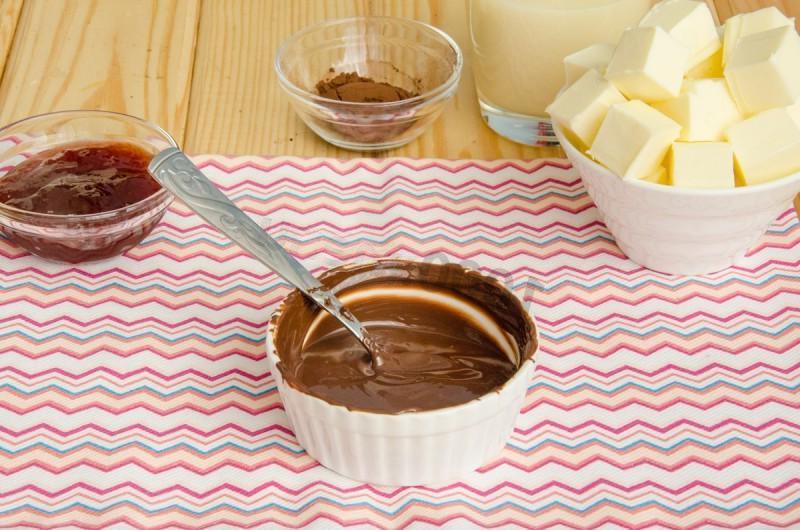
Melt black (or milk) chocolate in the microwave or in a steam bath. Melt in the way that is more convenient for you, but the main thing is not to overheat the chocolate, otherwise it will form lumps. Set the melted chocolate aside to cool slightly.

Step 14

Step 14
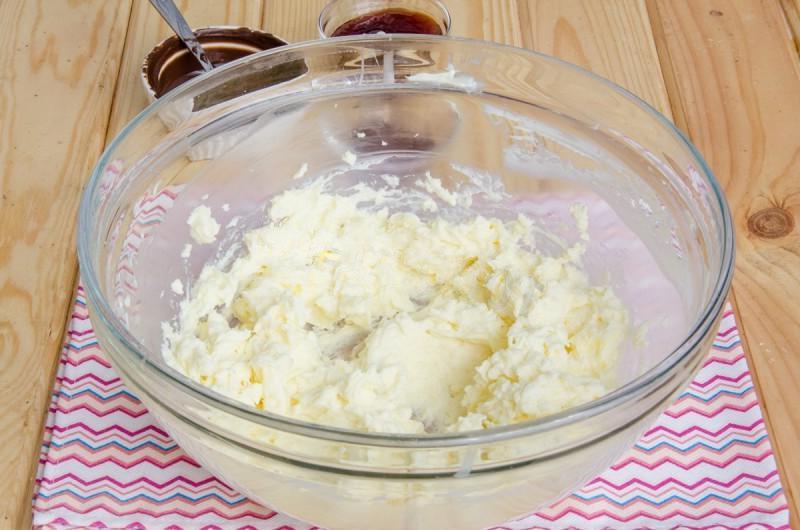
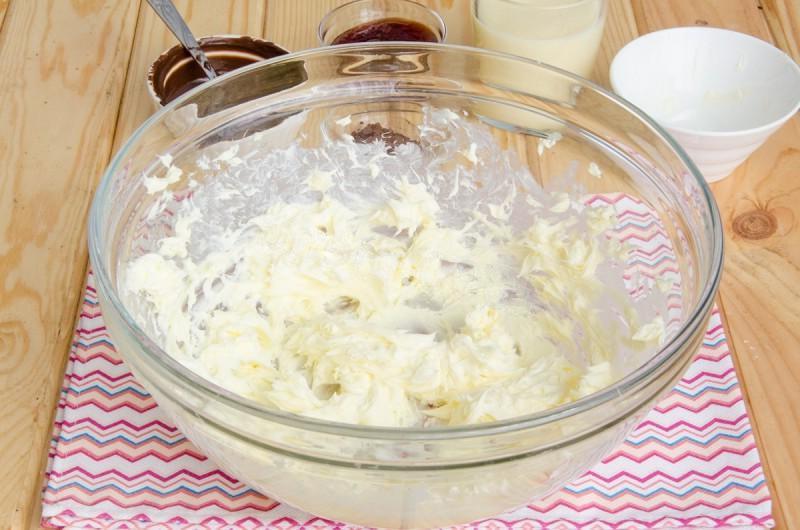
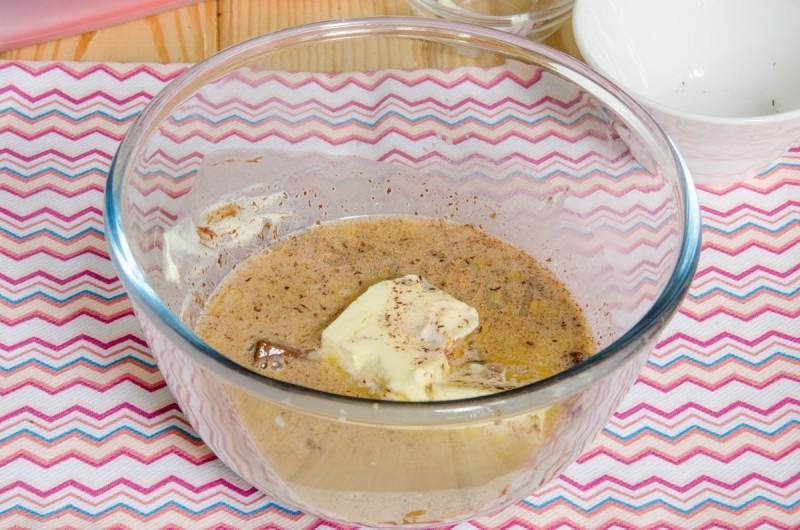
Meanwhile, place room temperature butter in a bowl and beat for a few minutes until fluffy.

Step 15

Step 15
Without turning off the mixer, add condensed milk in small portions. Beat until a smooth and fluffy cream is obtained.

Step 16

Step 16
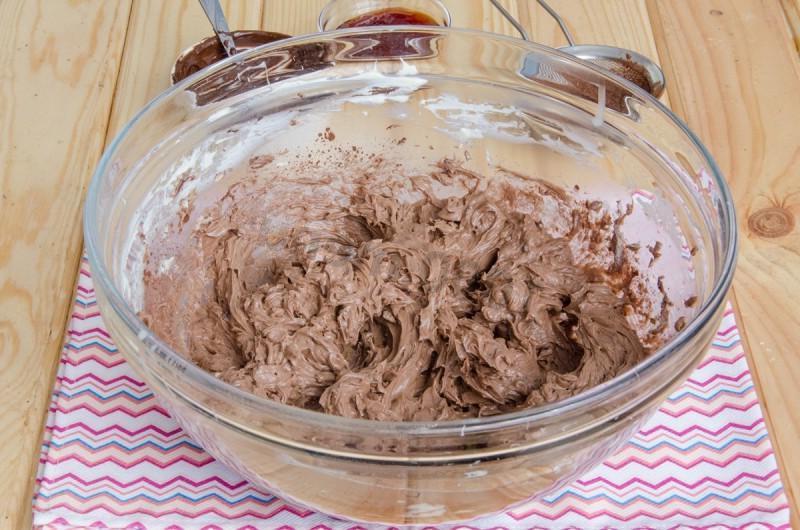
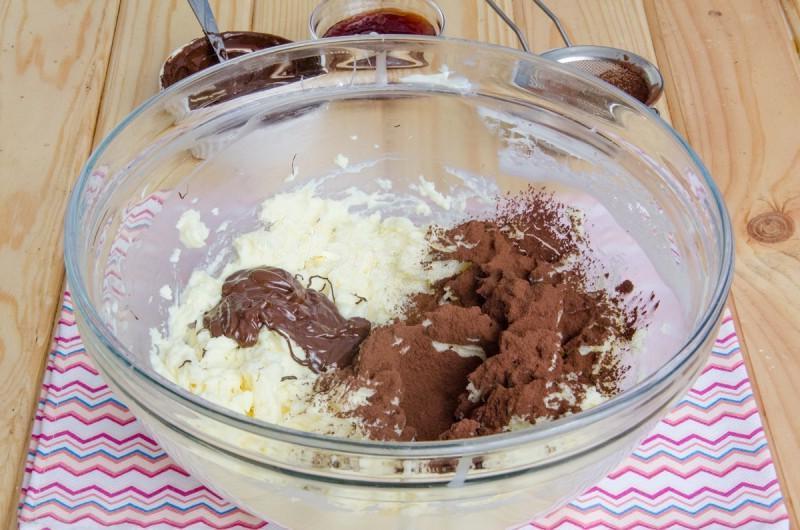
Add sifted cocoa powder and melted chocolate to the resulting cream.

Step 17

Step 17
And beat with a mixer until smooth. The cream is ready. By the way, this cream can be prepared only with cocoa powder or only with chocolate, it will turn out just as delicious.

Step 18

Step 18
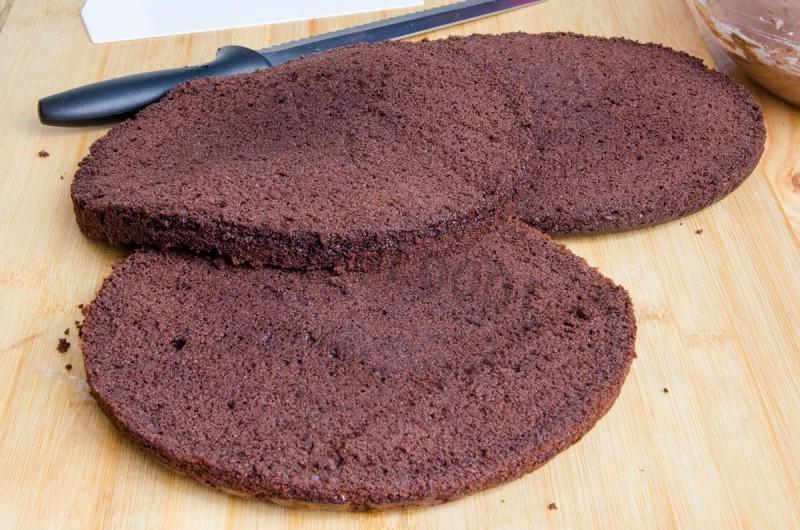
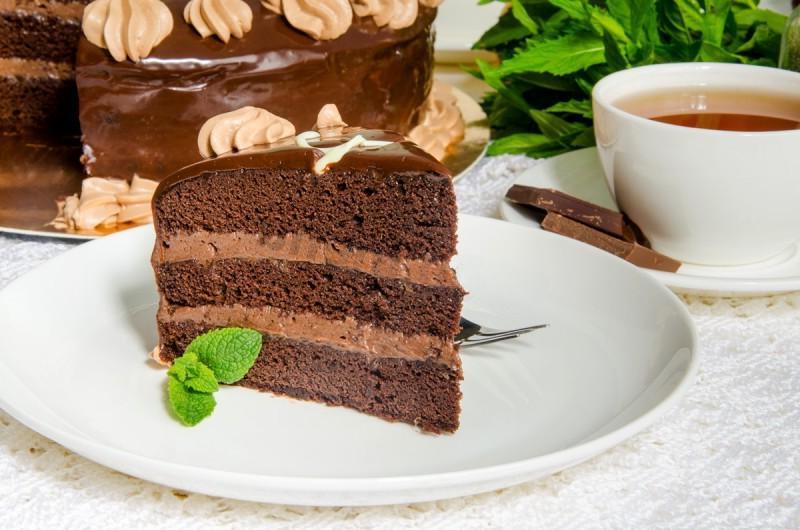
Letʼs start assembling the cake. Cut the completely cooled biscuit into 3 layers. If the top of your sponge cake is not even, but has a bump, then first trim the top of the sponge cake.

Step 19

Step 19
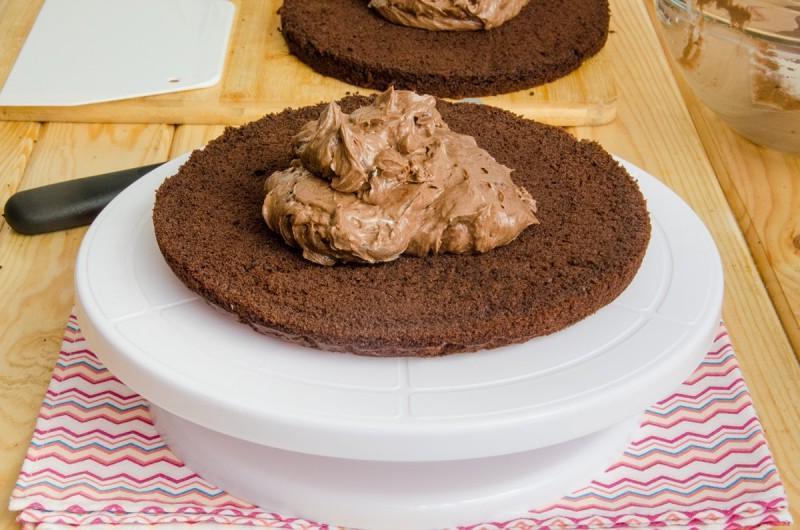
Place one cake layer on a plate or cake stand. Apply half the cream on top.

Step 20

Step 20
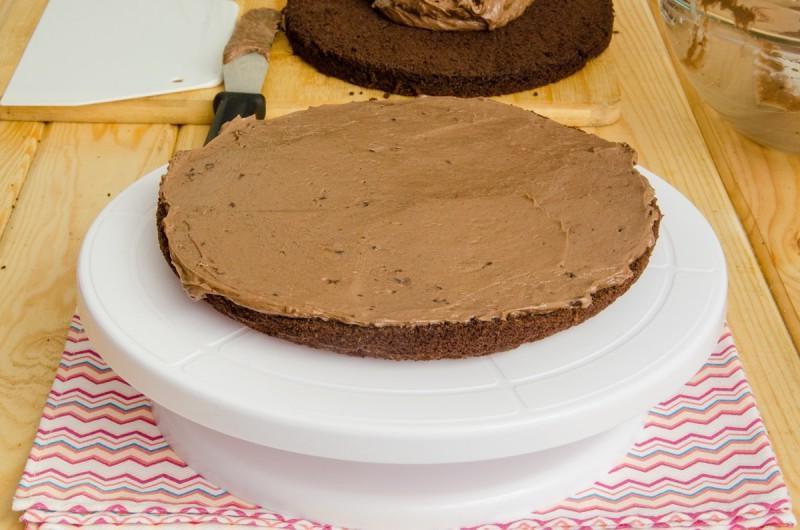
Using a spatula, smooth the cream over the entire surface of the cake.

Step 21

Step 21
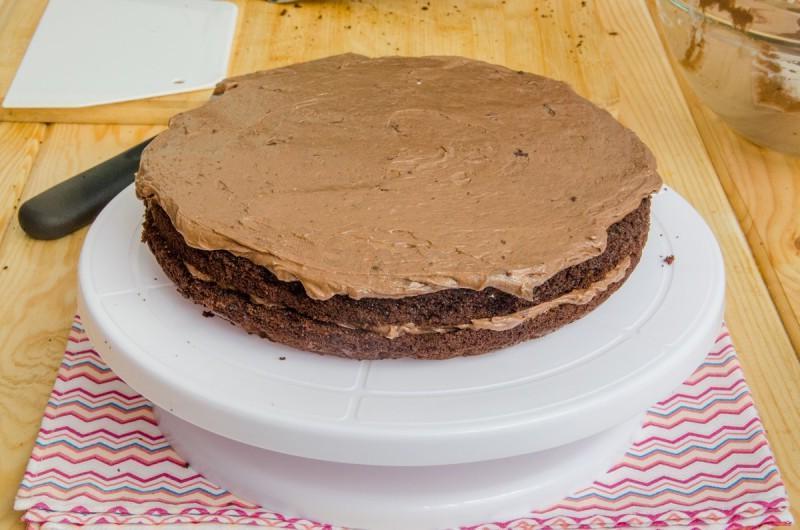
Place the second cake layer on top and cover it with the remaining cream.

Step 22

Step 22
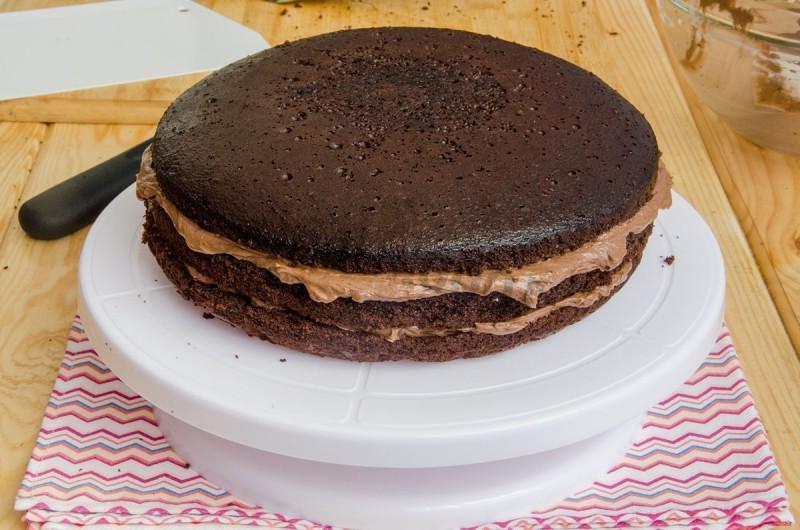
And put the last cake on top, lightly pressing it with your hand so that the top is even.

Step 23

Step 23
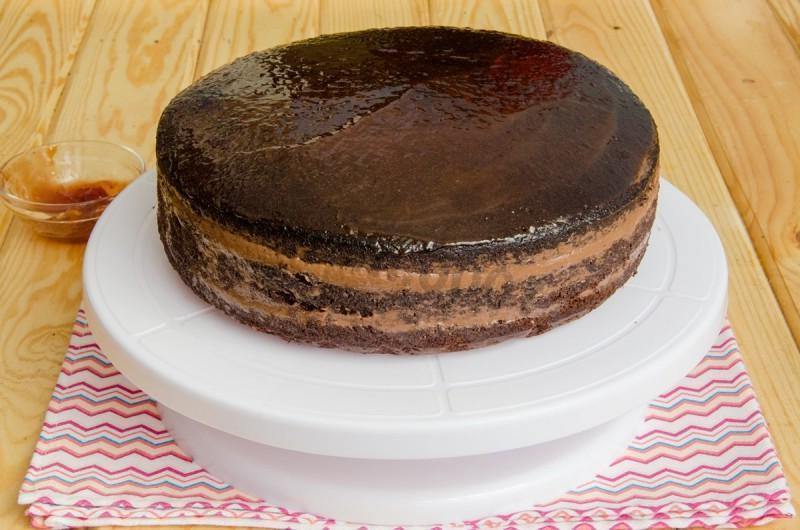
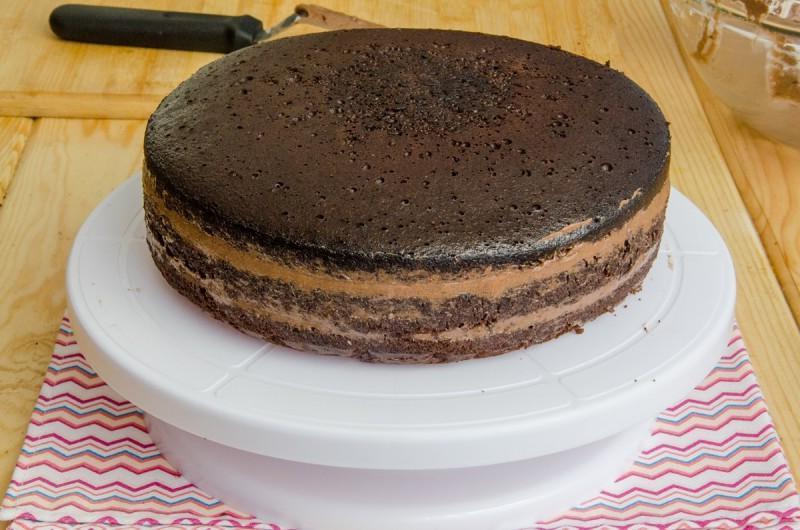
Remove excess cream from the sides with a spatula or spatula.

Step 24

Step 24
If the jam is very thick, warm it up slightly in the microwave and brush the top of the cake with it. In this form, place the cake in the refrigerator for 1 hour, during which time the jam should set.

Step 25

Step 25
Letʼs prepare the glaze.

Step 26

Step 26
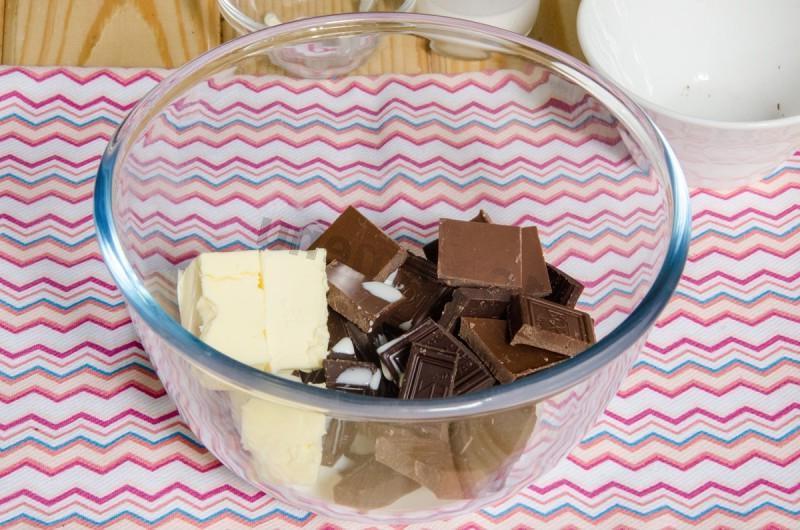
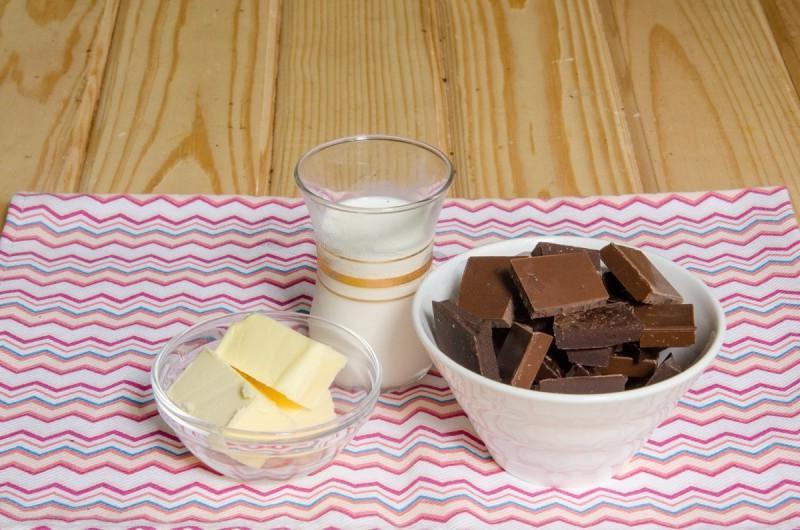
Place the chocolate broken into small pieces into a bowl (I have 50 g black and 50 g milk), add butter and cream to it.

Step 27

Step 27
Warm the mixture in the microwave for 30-40 seconds.

Step 28

Step 28
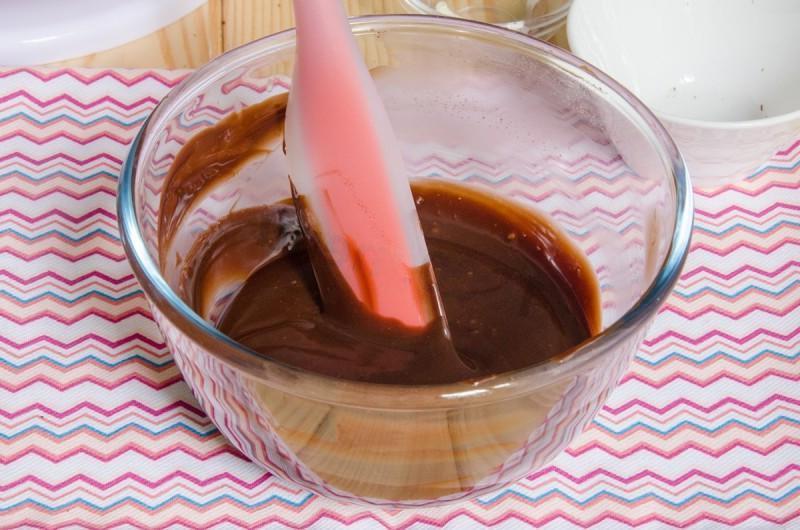
And mix thoroughly until completely homogeneous. If suddenly there are still pieces of chocolate left in the glaze, then gently warm it up in the microwave again (literally 10-15 seconds).

Step 29

Step 29
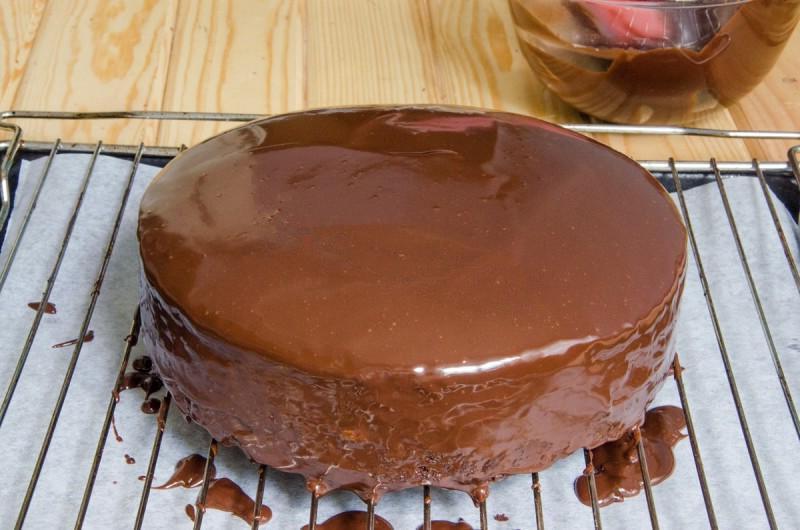
Remove the cooled cake from the refrigerator and place it on a wire rack. Cover the bottom under the sieve with a sheet of parchment or simply place a baking sheet.

Step 30

Step 30
Cover the cake with glaze. Thatʼs all, the Prague cake is ready. We put it in the refrigerator for 3-4 hours so that the glaze hardens and the cake itself is soaked.

Step 31

Step 31
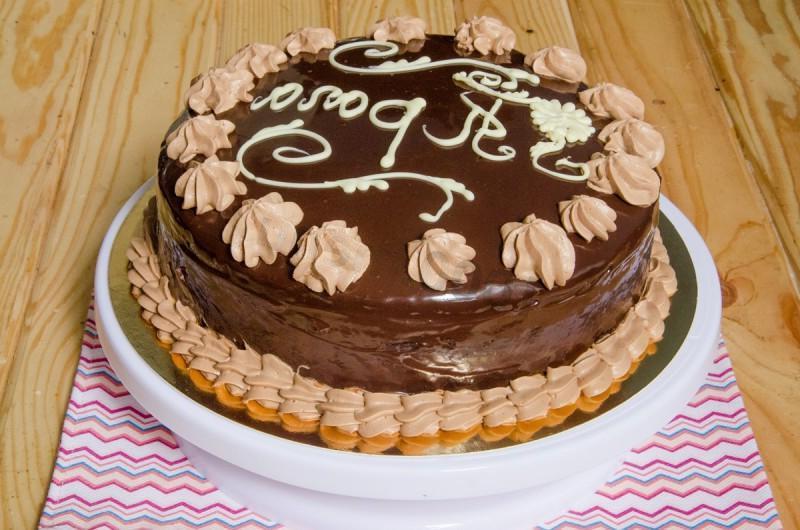
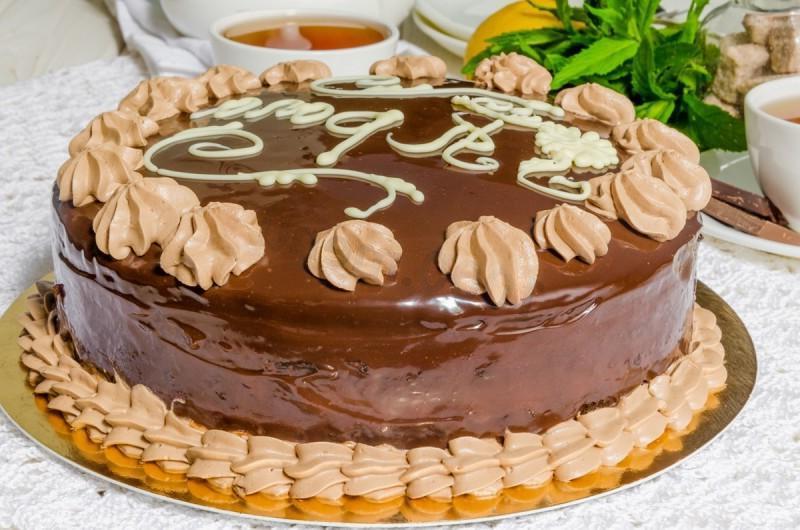
I also decorated the cake additionally, but this is not at all necessary. For extra decoration, I whipped 100g heavy cream with 1 tbsp. l. powdered sugar, and at the end added the rest of the chocolate glaze. The result was a very tasty chocolate cream. Using a pastry bag with a star tip, I made a border around the cake and simply piped small swirls on top. The inscription was made with melted white chocolate.

Step 32

Step 32
The Prague cake is ready and ready to serve!

Step 33

Step 33
Bon appetit!