Frozen Elsa Cake: A Sweet Treat for Kids

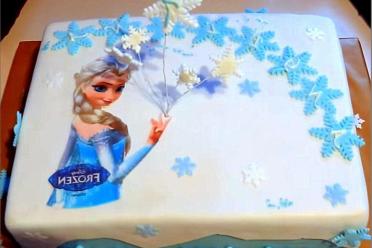
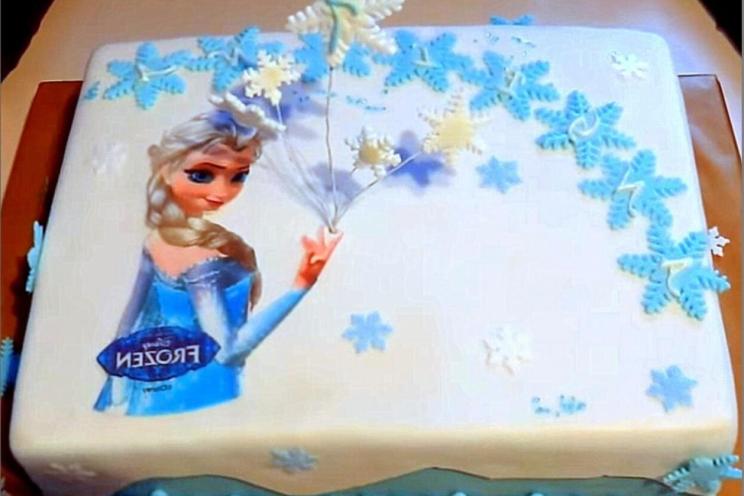
Childrenʼs sweet cake with a character from your favorite cartoon! A cake with the main character of the cartoon Frozen will delight every girl (and maybe some boys)! A detailed video recipe on how to decorate such a cake will give every mother the opportunity to please her little ones!
cook time: 8h
Miles Denholm
Frozen Elsa Cake: A Sweet Treat for Kids

Nutrition Facts (per serving)

305
Calories
9g
Fat
53g
Carbs
4g
Protein

Ingredients (20 portions)

Basic:

Food coloring (pearl powder) 10 g
Mastic (blue and white) g
Oil cream 400 g
Custard cream 900 g
Shortcakes (8 pieces, honey can be, size 30x25x1 cm) g

Recipe instructions

Step 1
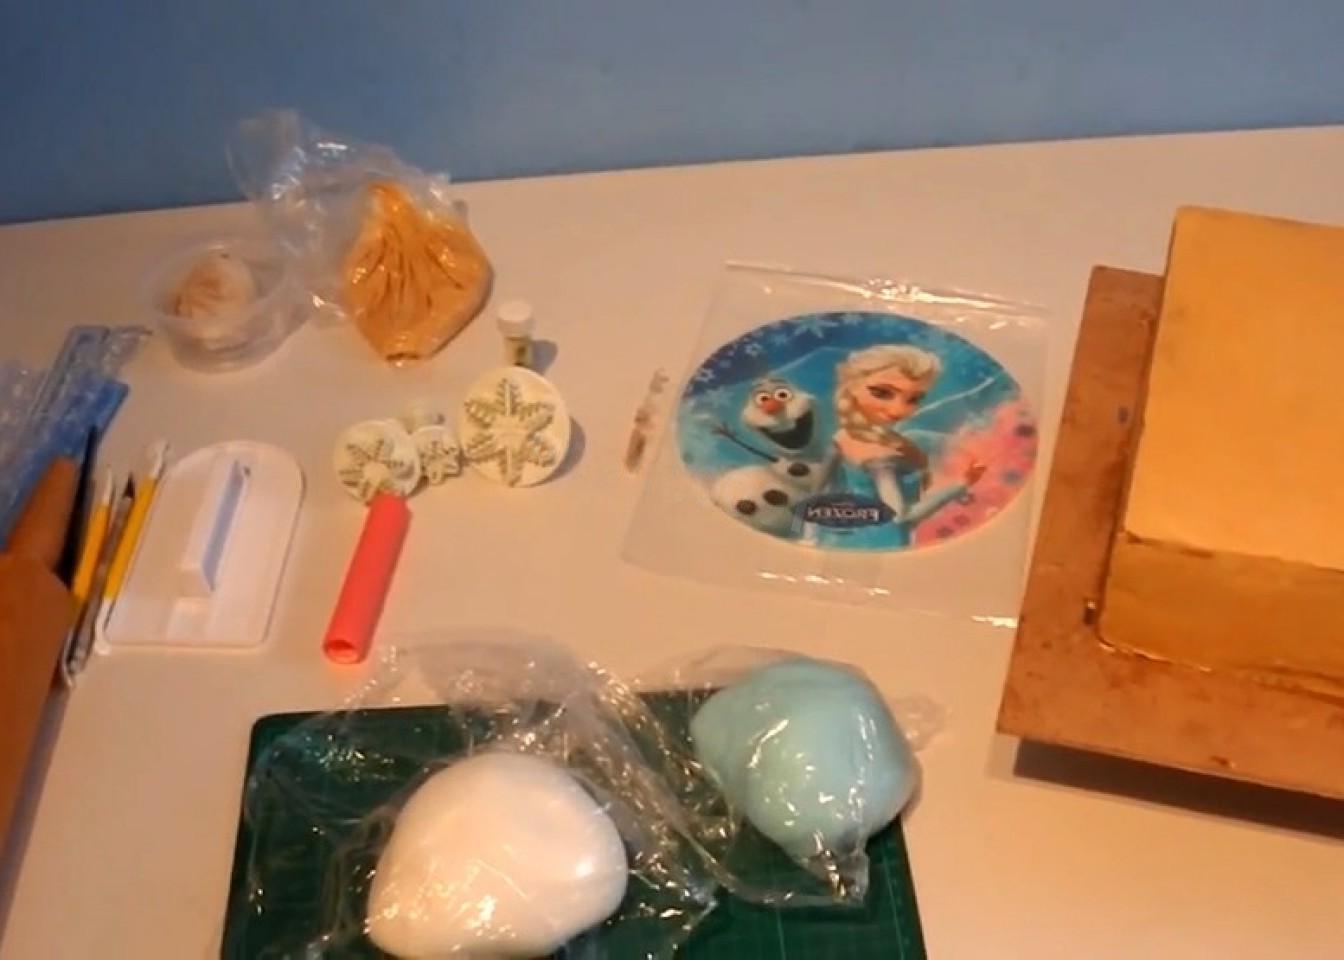
Step 1
How to decorate a cold heart cake with your own hands? Prepare everything for decorating the cake, this is: assembled, soaked and lined with mastic honey cake (or any other cake), an image of Elsa on sugar paper, mastic of two colors, white and blue, pearl powder, wire, iron, roller, rolling pin,

Step 2

Step 2
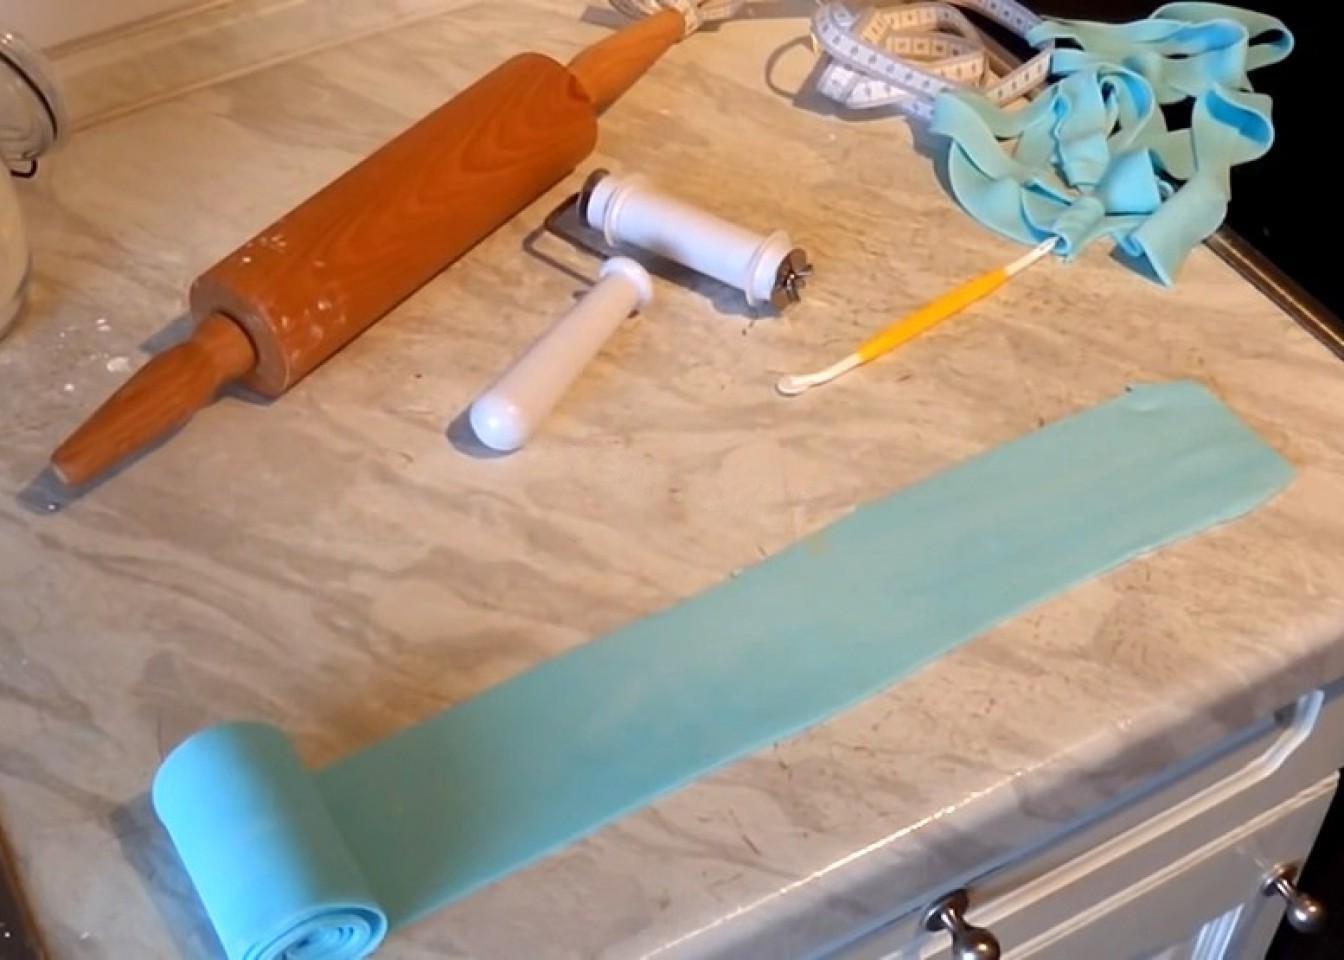
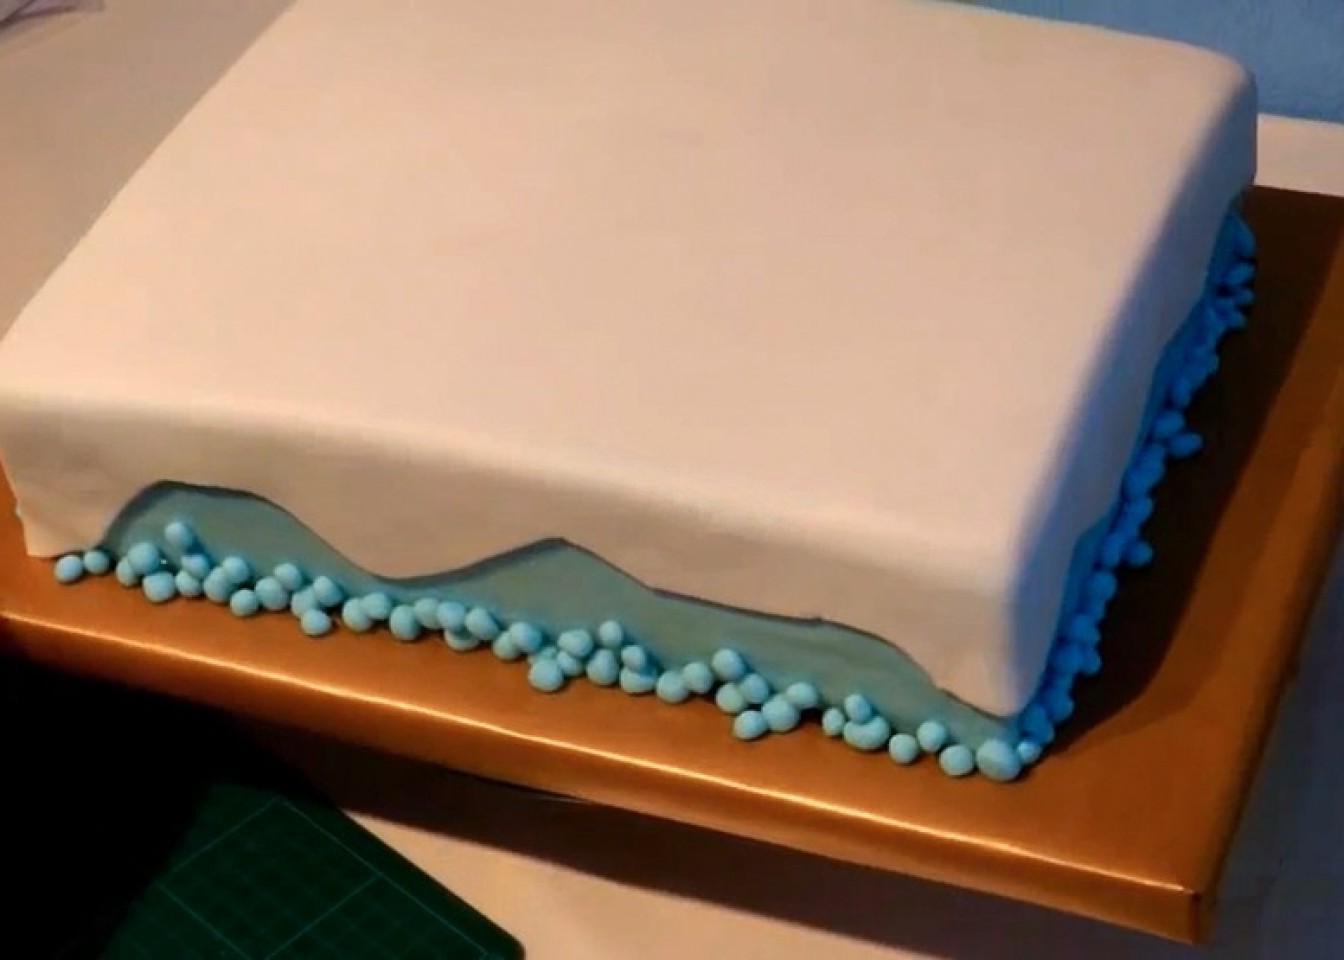
Roll out and cut out a thin strip of blue fondant and roll it into a roll. Wrap the ribbon around the side of the cake all the way around.

Step 3

Step 3
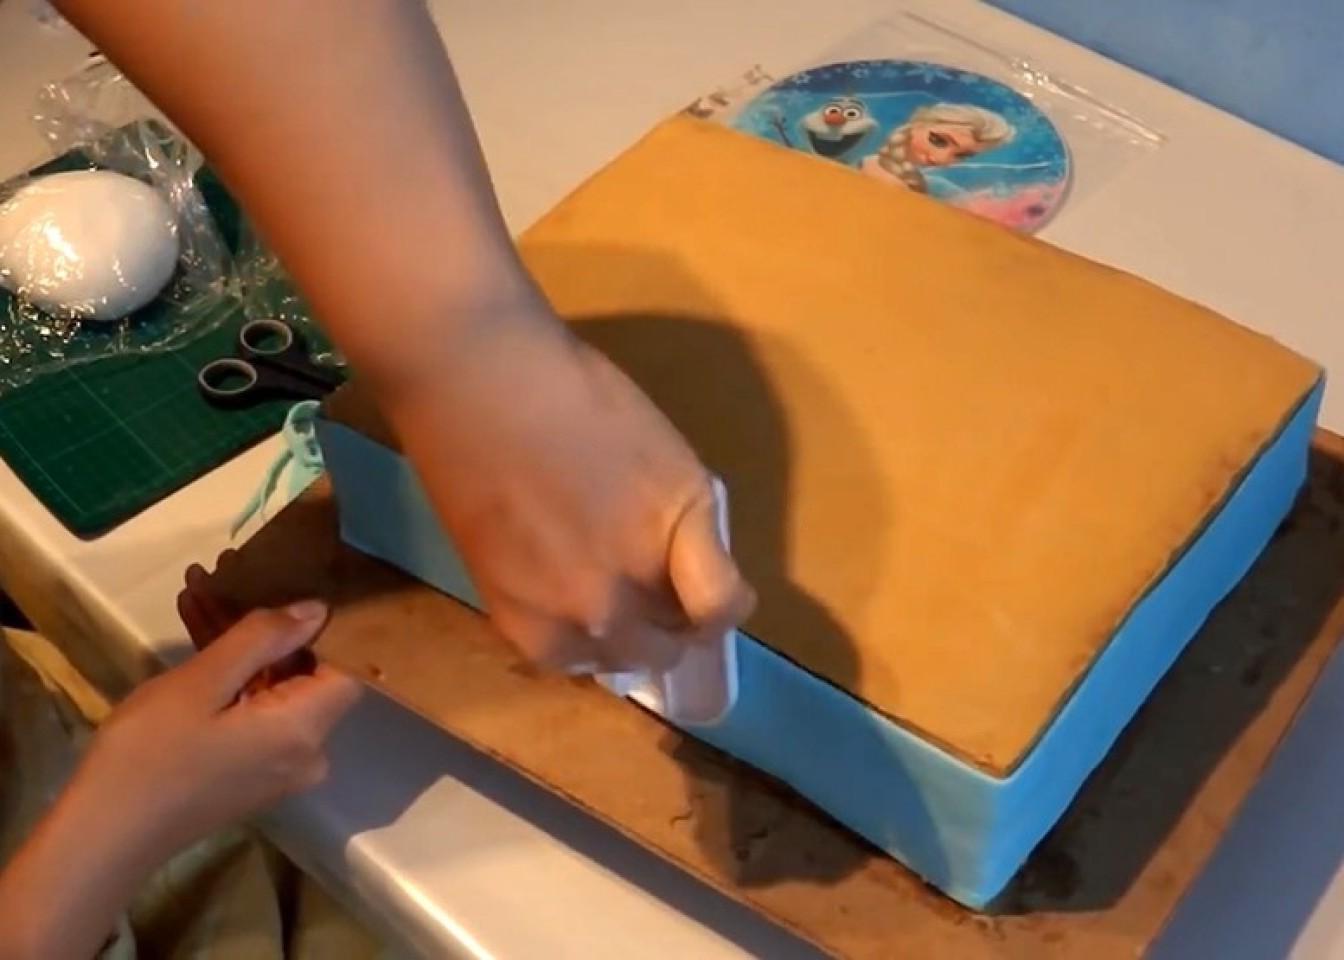
Quickly, so that the tape in the roll does not stick together, wrap the cake and smooth it well with an iron.

Step 4

Step 4
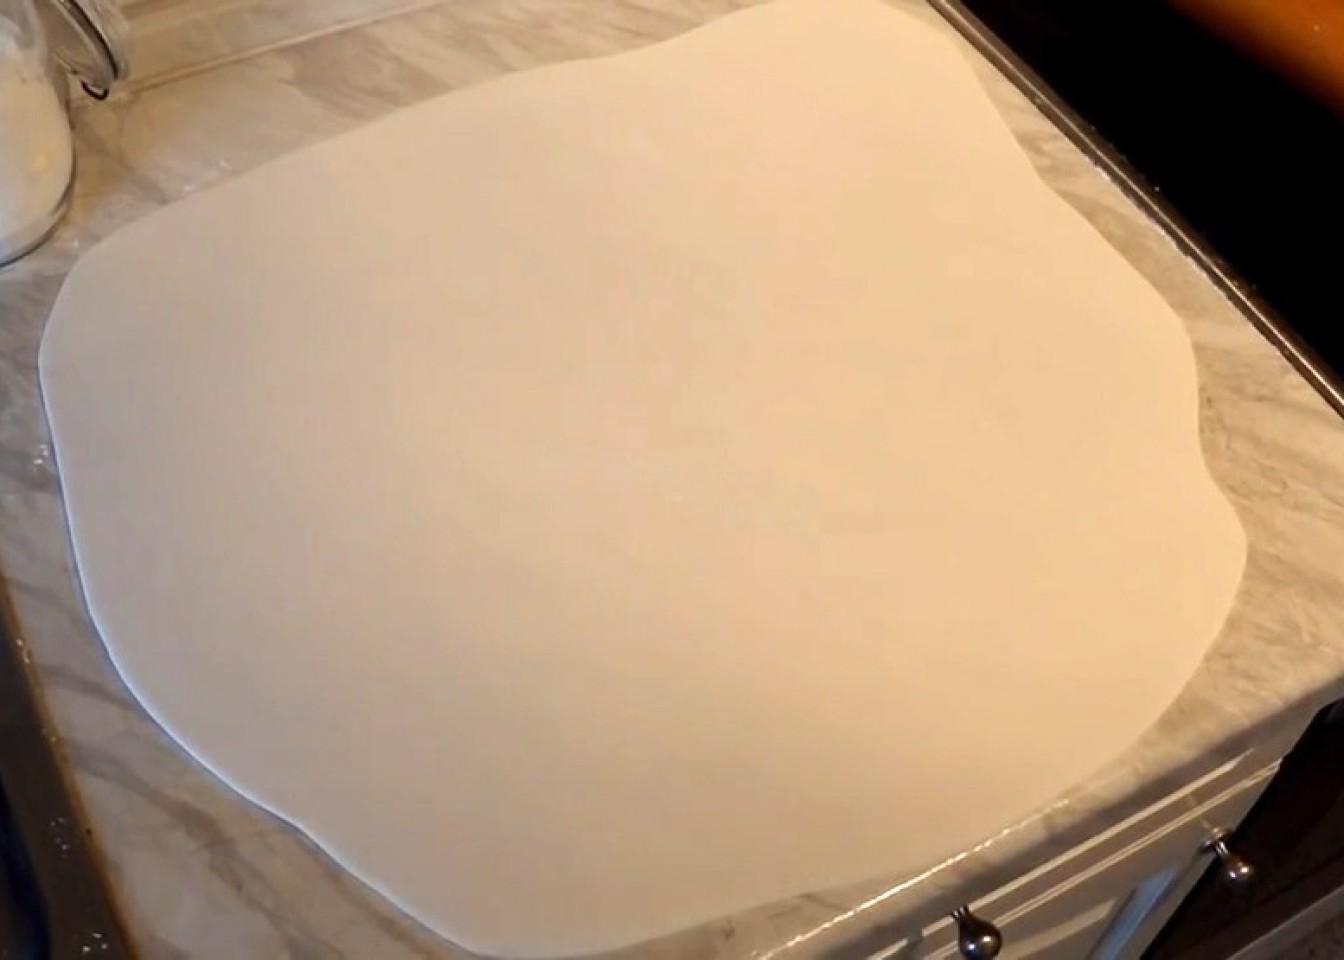
Roll out a layer of white mastic.

Step 5

Step 5
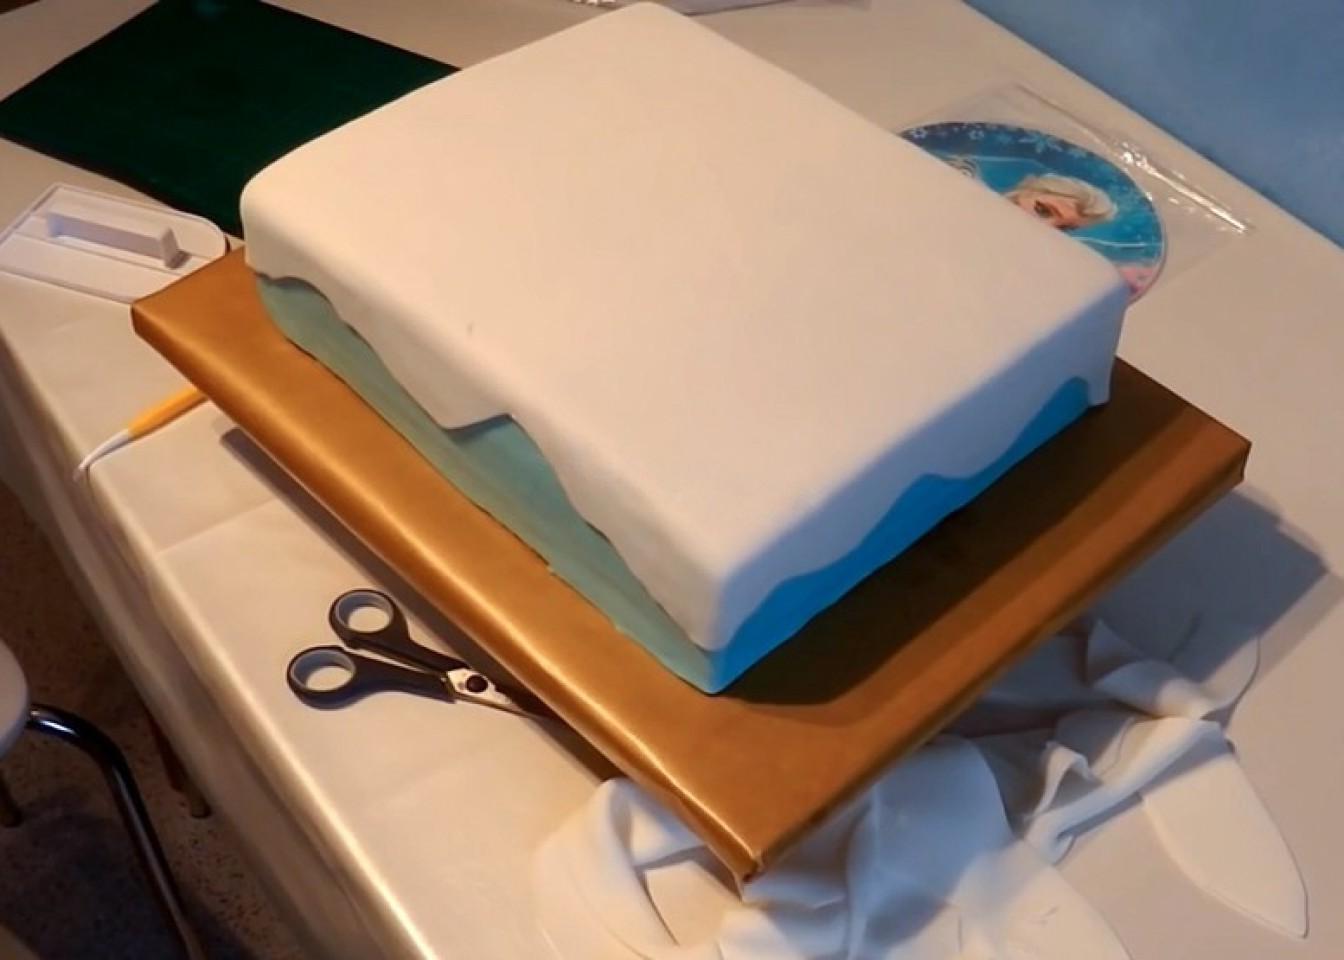
Cover the top of the cake, trim off the excess edge, imitating snowdrifts. Smooth the mastic well. It is better to do this with a special iron or just a spatula.

Step 6

Step 6
Roll out a roller from blue mastic, cut it into washers and roll into small balls. Place a border around the base of the cake. Call your child to help — he will have fun helping his mother in the kitchen prepare such beauty! Of course, if the cake is not a birthday surprise.

Step 7

Step 7
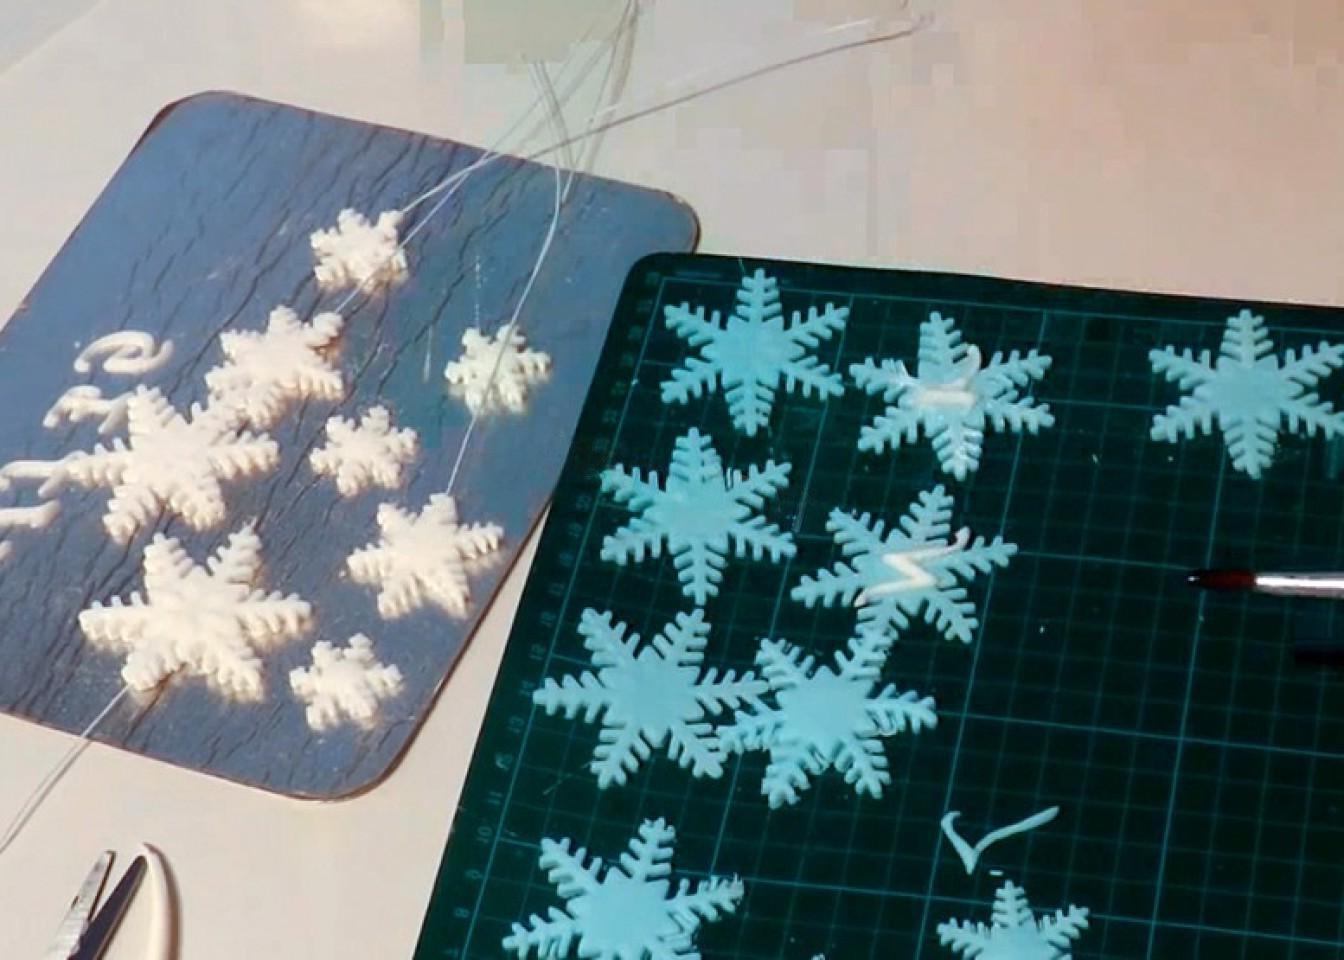
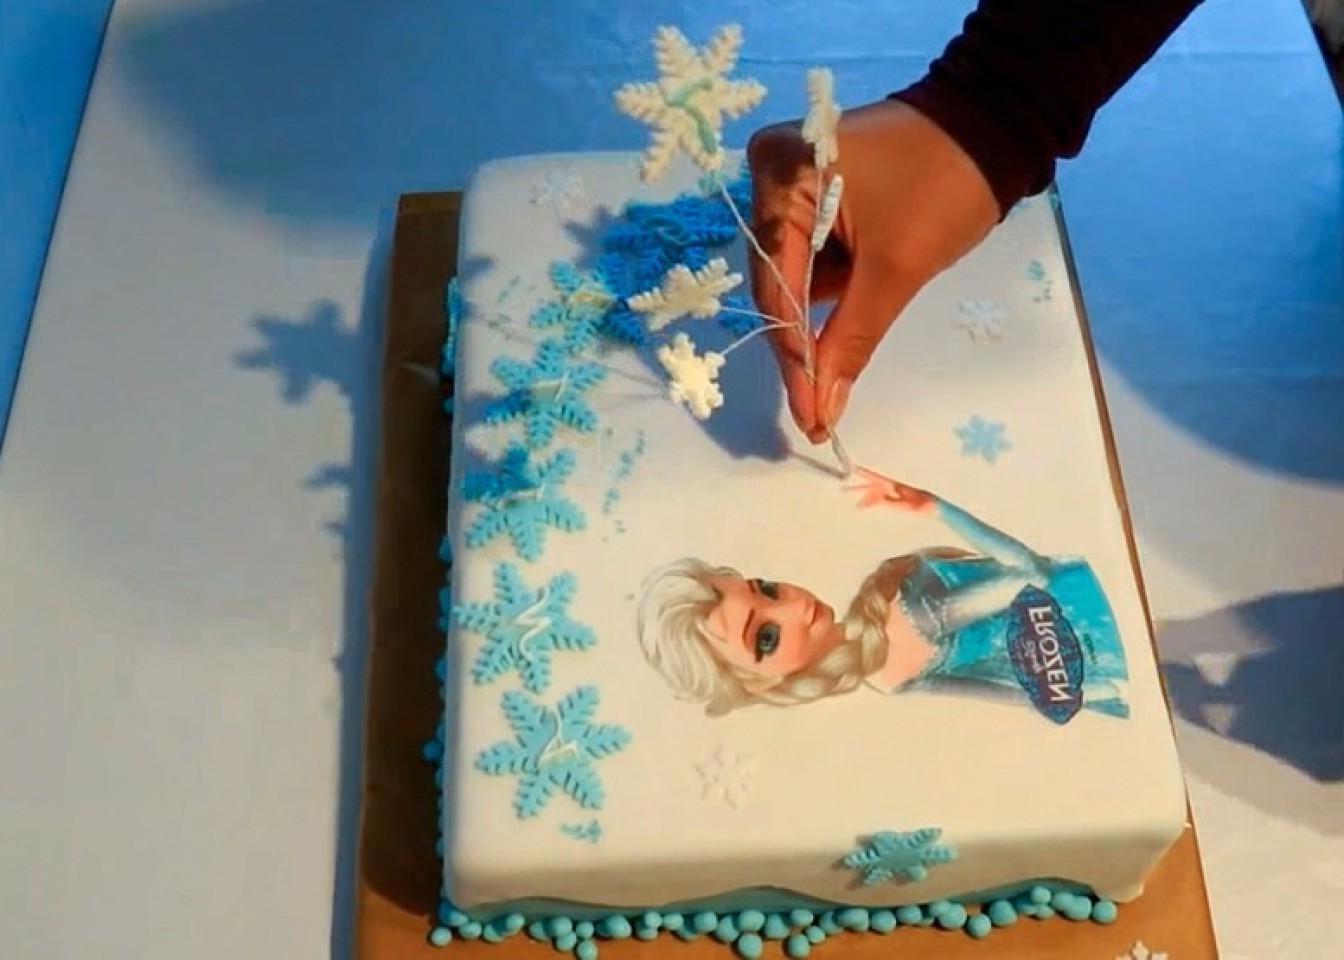
If you need to make an inscription on the cake, use a stencil to cut out the letters and numbers. Let them dry. Meanwhile, use a snowflake die cutter to cut out white and blue snowflakes from fondant. The white snowflakes need to be thick enough to fit onto the wires. Place the white snowflakes on the wire and leave them aside. Once well dried, they can be attached to the cake before serving. Glue letters onto the blue snowflakes, and a number onto the large white one.

Step 8

Step 8
Glue blue snowflakes onto the cake. Cut out Elsaʼs image from sugar paper and glue onto the cake. The cake is ready and can wait to be served in the refrigerator (if the cold is not dry, the mastic will become covered with perspiration). Before serving, just attach white snowflakes with a number to the Frozen cake. Have a fun and delicious holiday for your children and you!