Chocolate Coconut Sponge Cake Delight

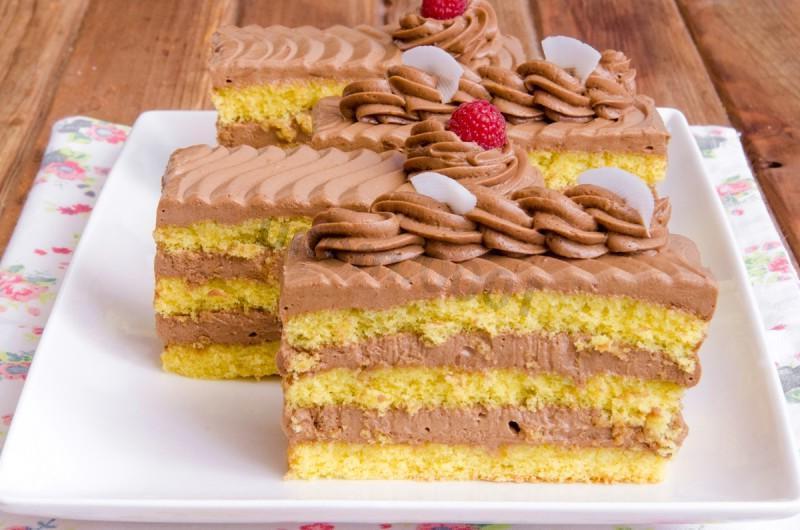
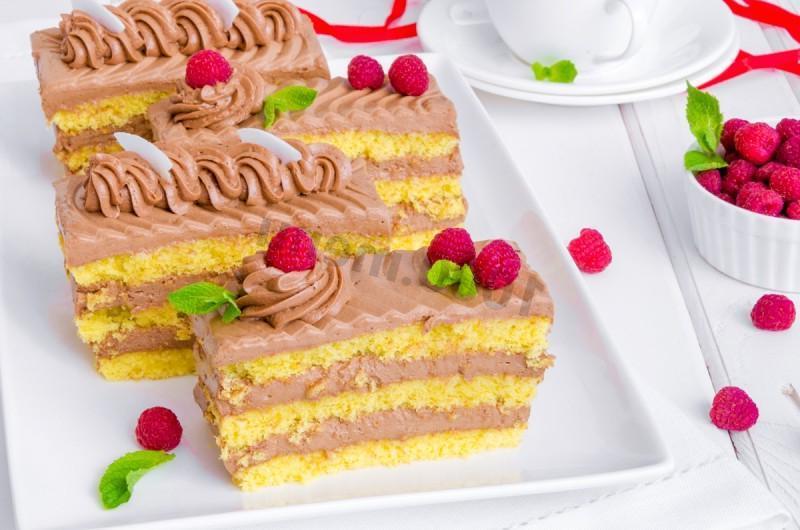
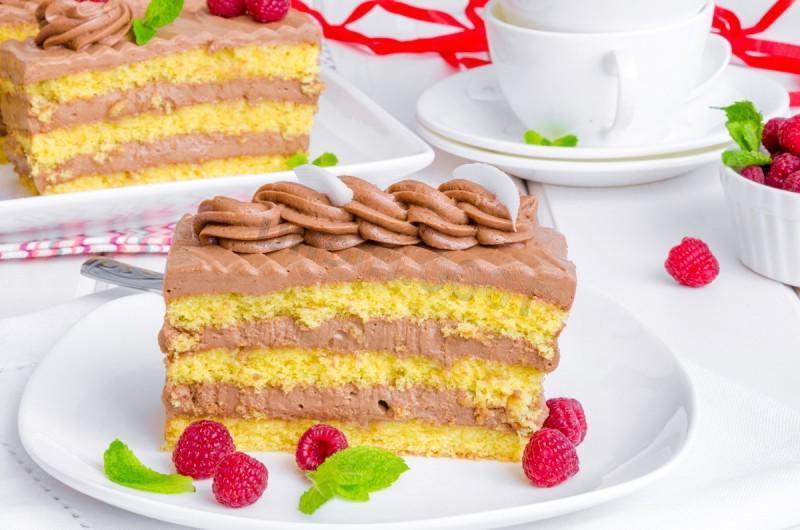
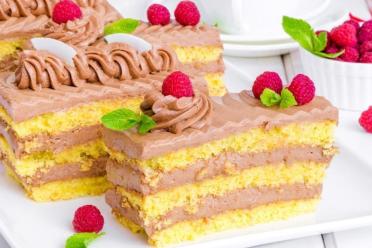
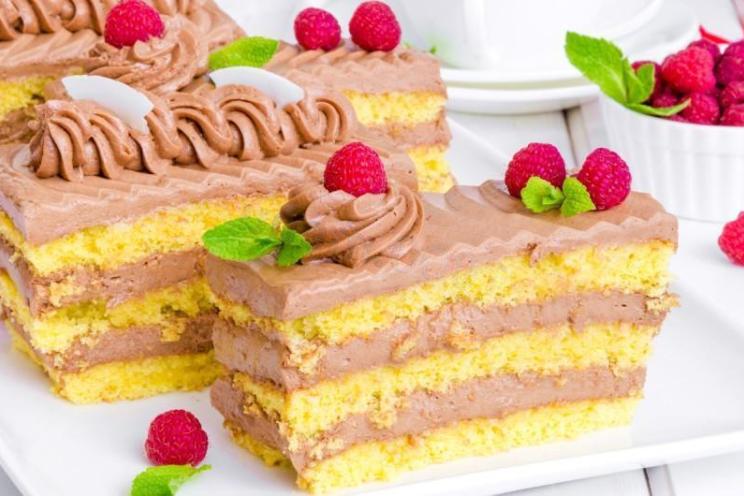
Treat your sweet tooth to delicious homemade cakes! The cakes turn out incredibly tender, with a slight coconut note and a very rich and rich chocolate taste. The cakes turn out moderately sweet, since I used dark chocolate, but if you wish, you can use milk chocolate instead of bitter chocolate, then the cream will turn out much sweeter.
cook time: 2h 30 min
Ava Prescott
Chocolate Coconut Sponge Cake Delight

Nutrition Facts (per serving)

274
Calories
13g
Fat
33g
Carbs
5g
Protein

Ingredients (6 portions)

For the biscuit:

Eggs 5 pc
Sugar 185 g
Wheat flour 90 g
coconut flakes 30 g
Potato starch 15 g
Butter 25 g
Vanilla sugar 1 tsp

For cream:

Sugar 150 g
Vanilla sugar 1 tsp
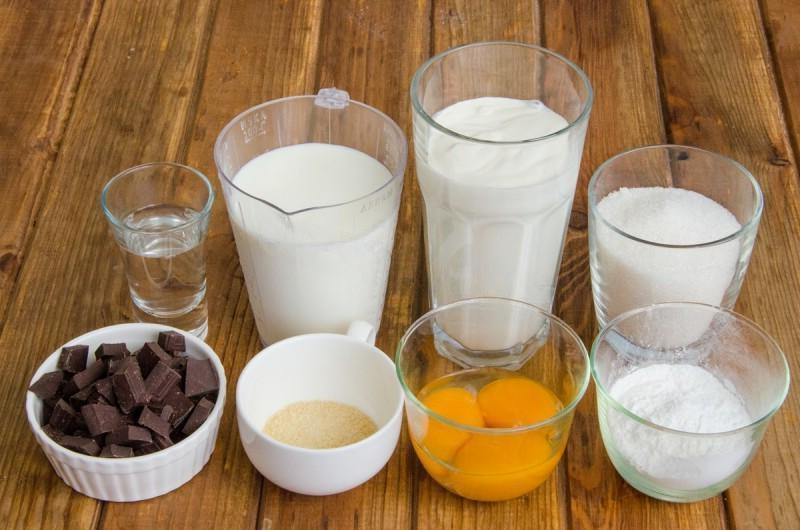
Milk 300 g
Egg yolks 3 pc
Corn starch 30 g
bitter chocolate 100 g
Heavy cream 250 g
Gelatin 8 g
Water 30 ml

For impregnation:

Sugar 3 tbsp
Water 80 ml
Cognac 1 tbsp

Recipe instructions

Step 1
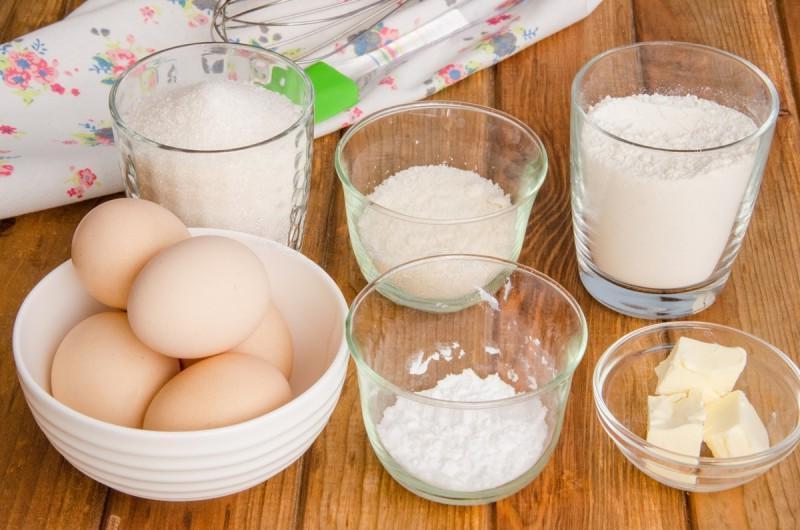
Step 1
Letʼs prepare a biscuit.

Step 2

Step 2
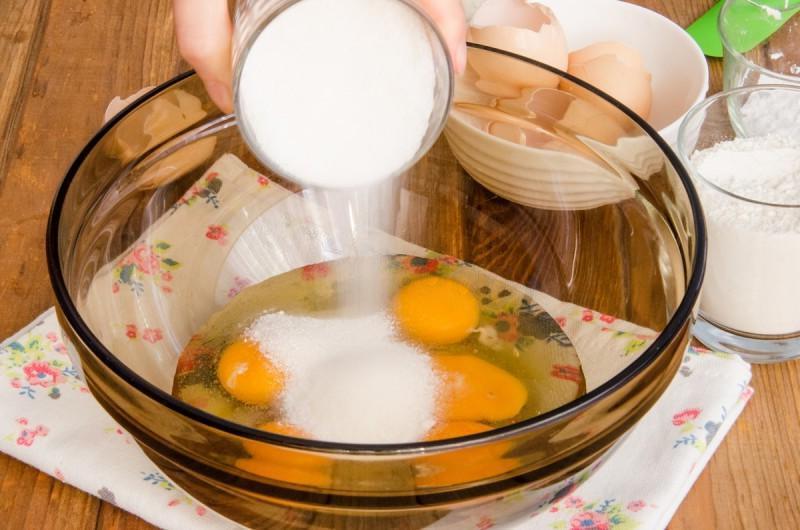
Break the eggs into a bowl and add regular sugar and vanilla to them (I have a vanilla pod in the container with sugar, so I didn’t add vanilla sugar separately).

Step 3

Step 3
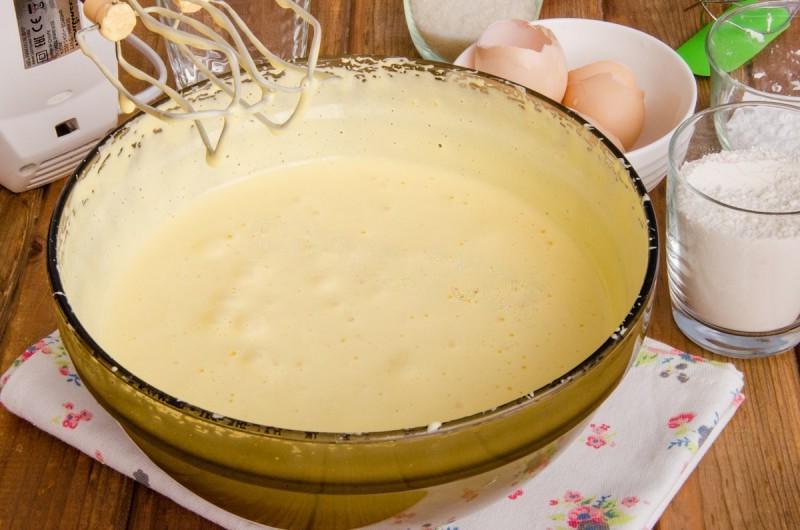
Beat eggs with sugar for 10 minutes until very fluffy and dense.

Step 4

Step 4
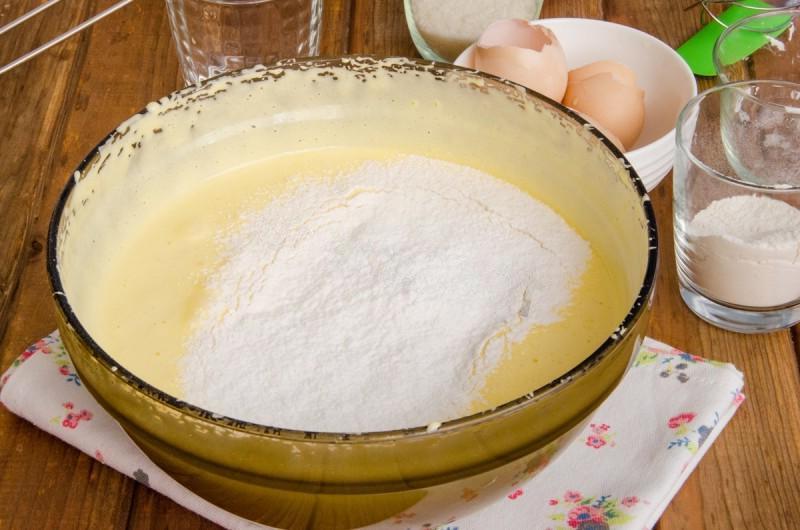
Mix flour with starch and sift together. In two steps, add this mixture to the egg mass.

Step 5

Step 5
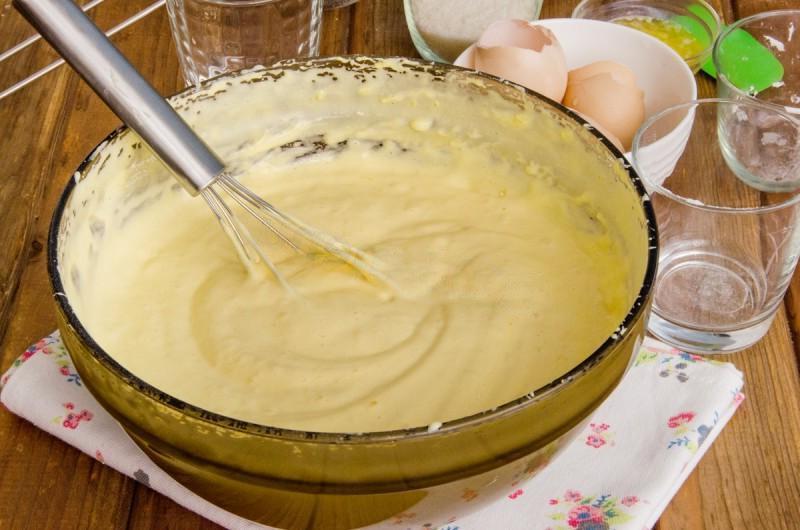
Using a whisk or spatula, gently stir in the dry ingredients. We act gently but carefully, there should be no flour lumps left in the mixture.

Step 6

Step 6
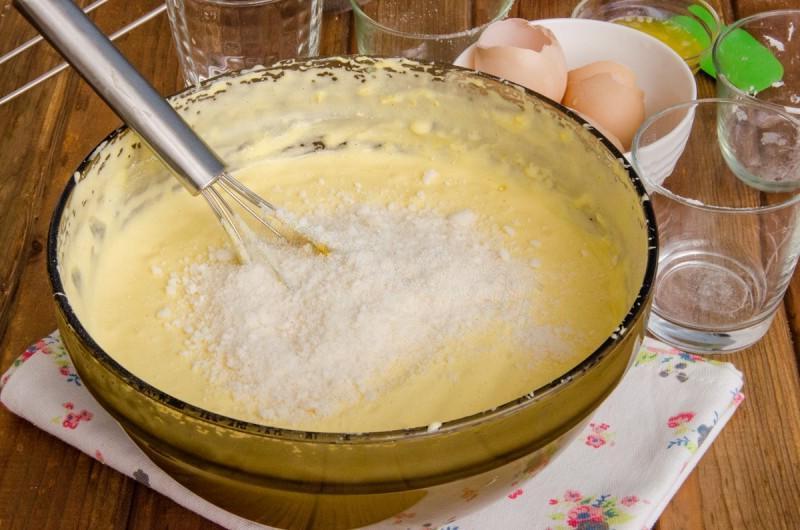
Add coconut flakes (I lightly crushed them in a coffee grinder) and also carefully mix them in.

Step 7

Step 7
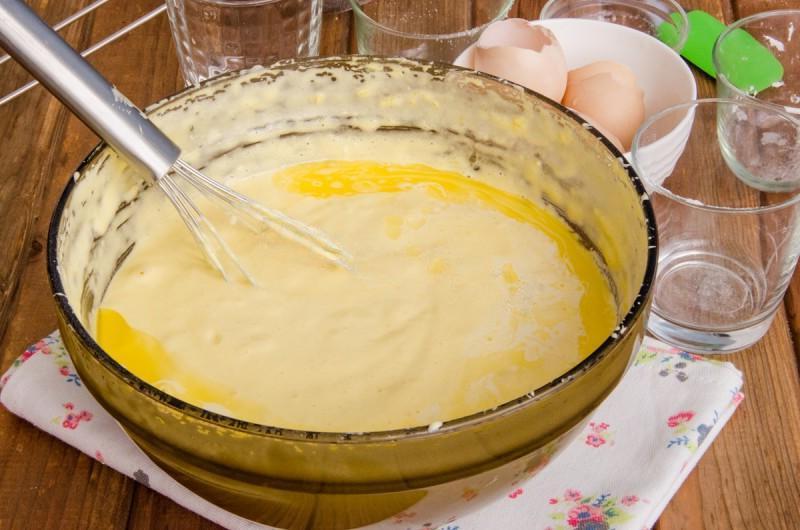
Melt the butter and pour it down the side of the bowl into the dough.

Step 8

Step 8
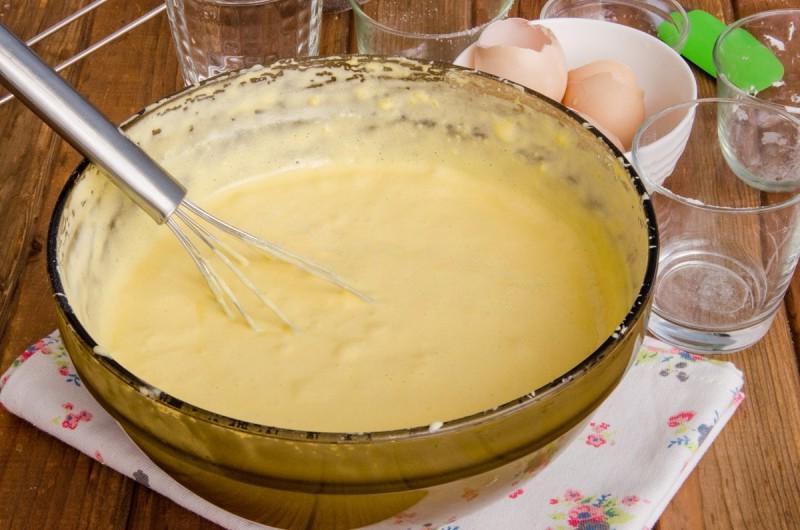
Stir the dough until homogeneous and smooth.

Step 9

Step 9
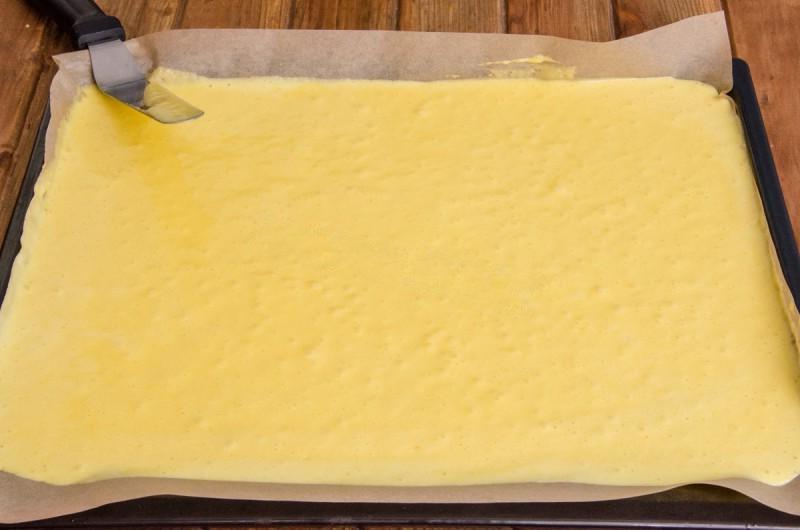
Line a baking tray with baking paper and pour the dough onto it. Using a spatula, level the dough over the entire surface of the baking sheet.

Step 10

Step 10
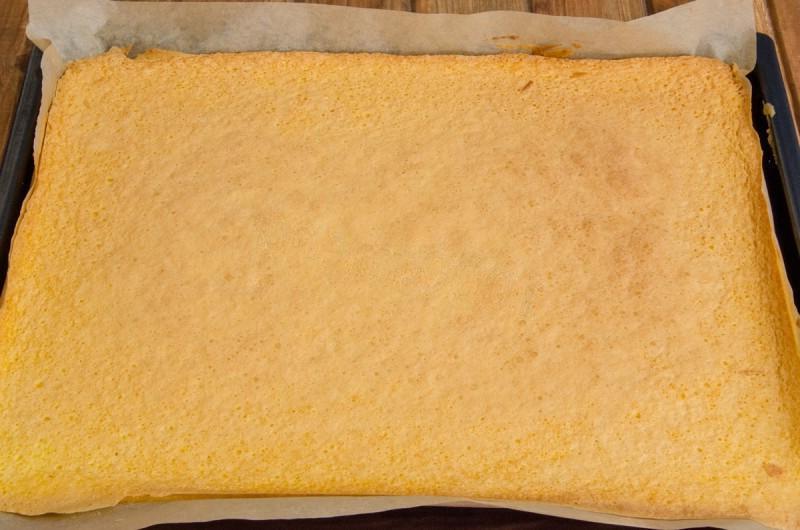
Bake the biscuit at 180 C for about 12-15 minutes. Check readiness by pressing or using a skewer. Let the biscuit cool.

Step 11

Step 11
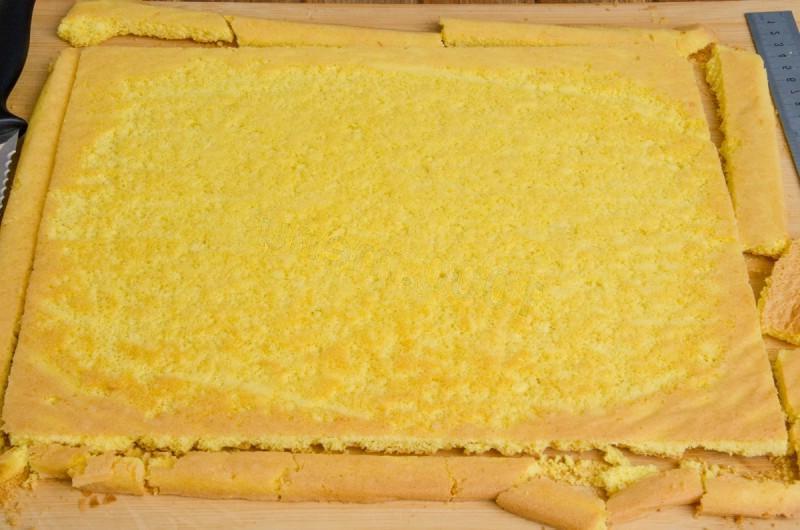
Separate the paper from the biscuit and trim the dry edges.

Step 12

Step 12
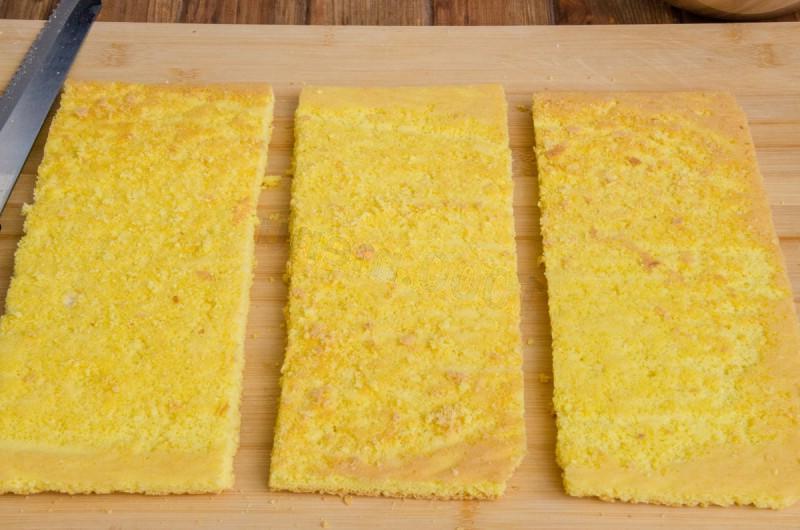
Divide the biscuit itself into 3 equal parts.

Step 13

Step 13
Letʼs prepare the cream.

Step 14

Step 14
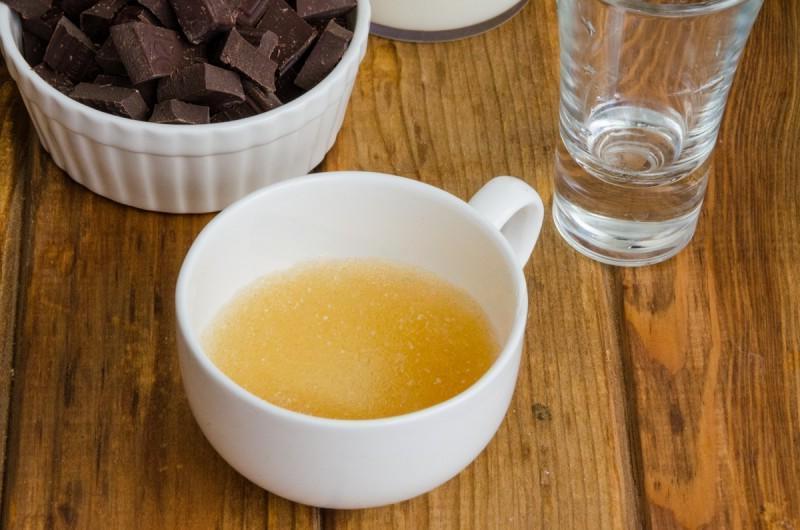
Fill the gelatin with water and leave to swell.

Step 15

Step 15
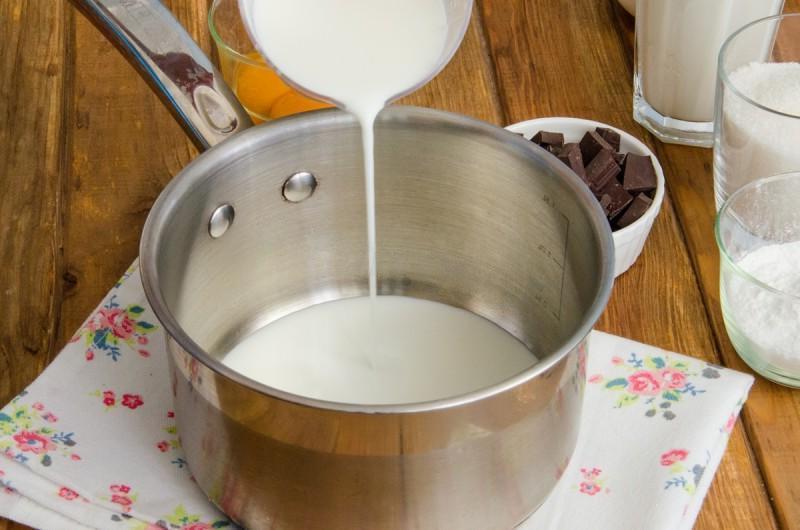
Meanwhile, prepare the custard part of the cream. Pour milk into a saucepan, put on fire and bring to a boil.

Step 16

Step 16
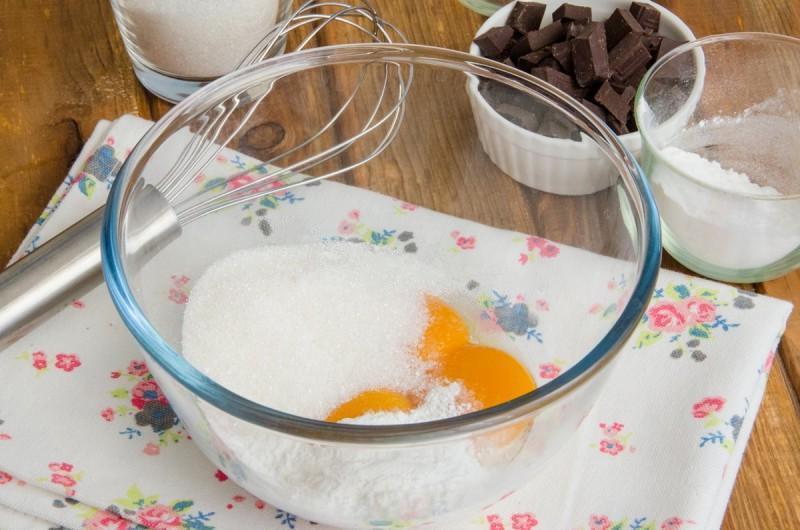
In a bowl, combine the egg yolks, sugar, starch and vanilla (in this case I did not add vanilla again, since all my sugar is slightly flavored with the pod).

Step 17

Step 17
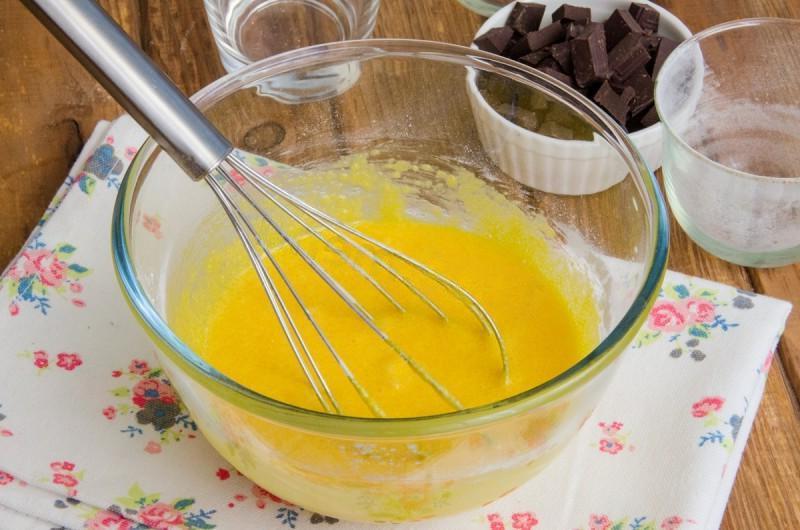
Whisk the yolks until smooth.

Step 18

Step 18
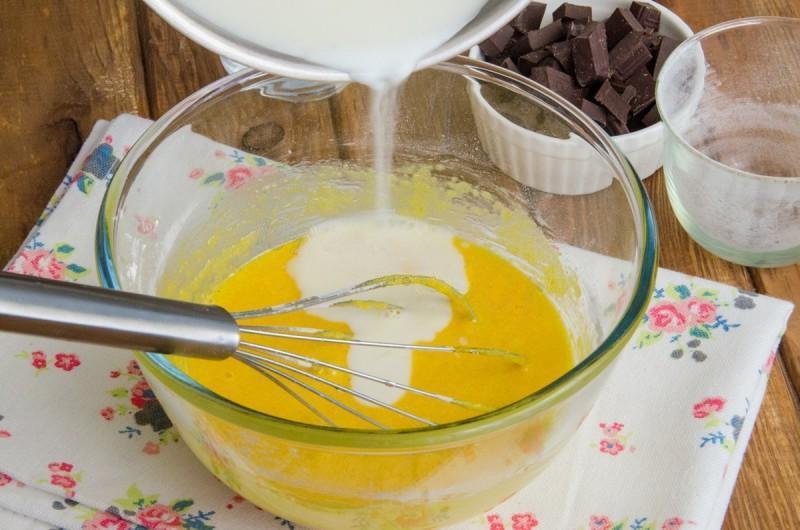
When the milk is hot, carefully pour it into the yolk mixture in a thin stream, while thoroughly mixing the mixture with a whisk.

Step 19

Step 19
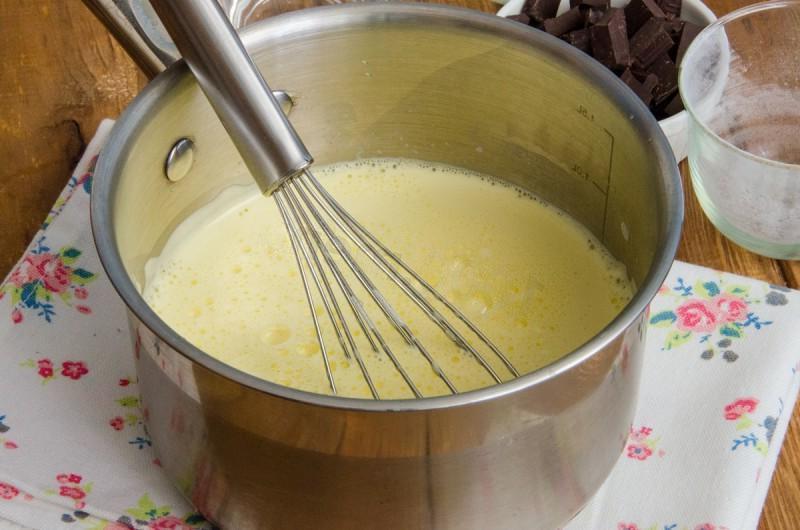
Pour the resulting mass back into the saucepan and put it on the fire.

Step 20

Step 20
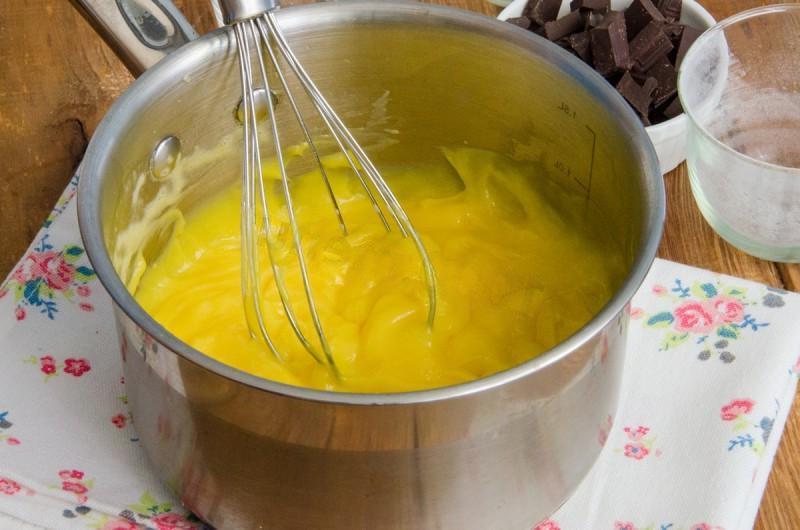
Over medium heat, stirring constantly, cook the cream until thickened. The cream cooks quickly enough, so don’t be distracted, otherwise it may stick to the bottom.

Step 21

Step 21
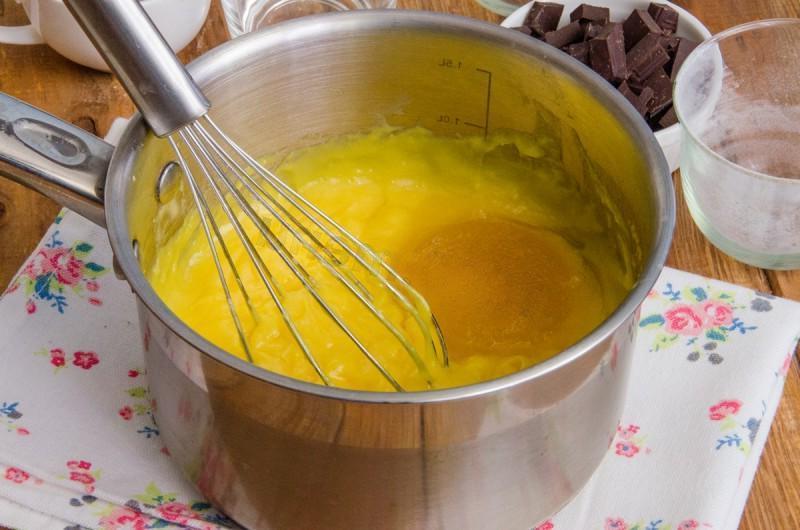
Remove the finished custard from the heat and while it is still hot, add the swollen gelatin. Stir thoroughly so that the gelatin disperses into the mass.

Step 22

Step 22
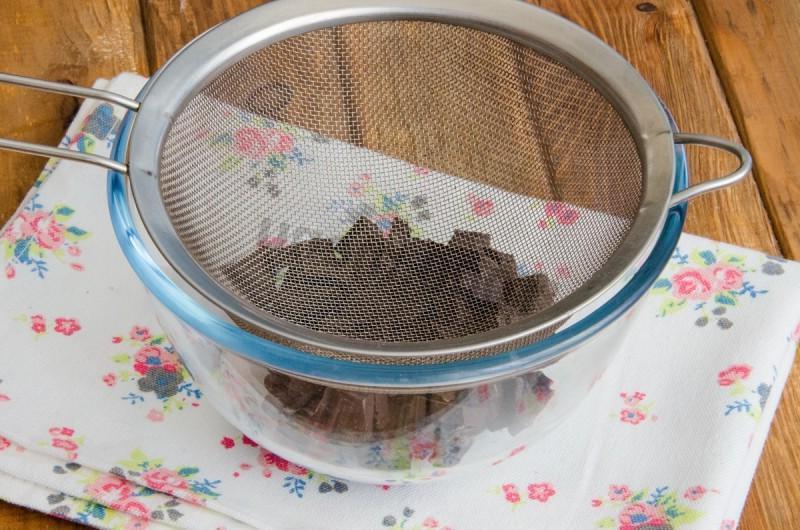
Break the dark chocolate into small pieces and place it in a large bowl with a sieve on top.

Step 23

Step 23
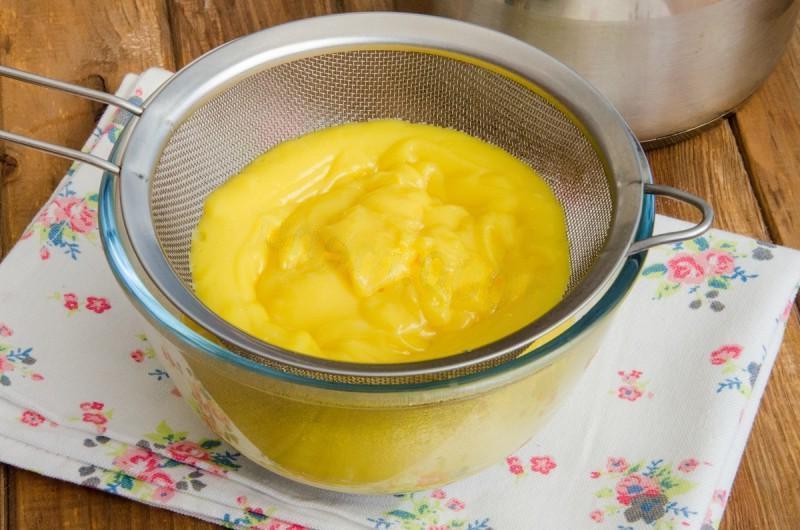
Pour the hot cream onto a sieve and wipe it.

Step 24

Step 24
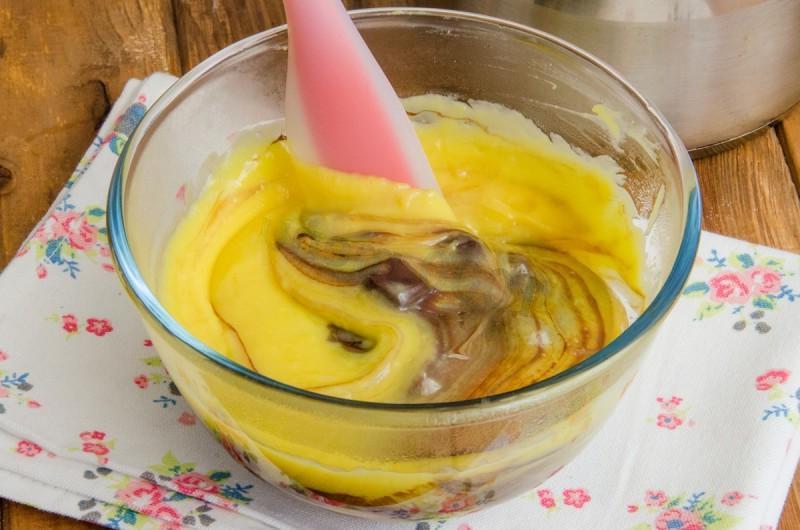
Leave the cream with chocolate for a few minutes so that the chocolate warms up well.

Step 25

Step 25
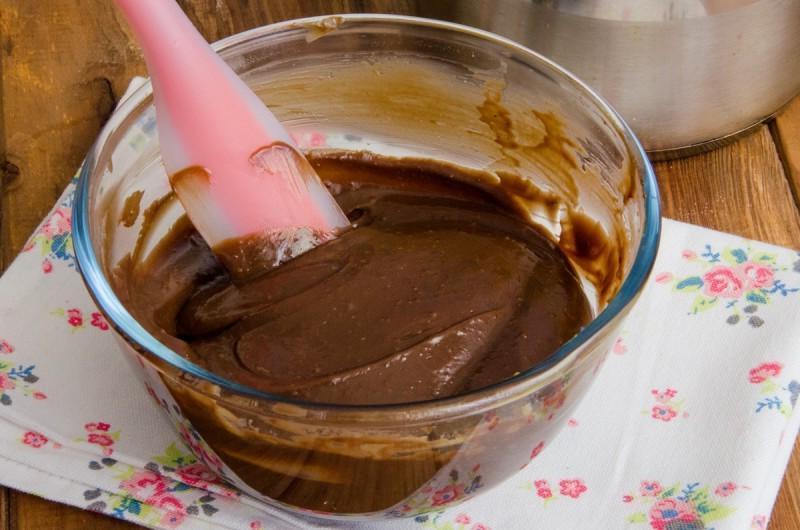
After this, mix the cream thoroughly until the chocolate has completely melted. By the way, at this stage I advise you to try the cream and decide whether there is enough sugar or not, since depending on the bitterness of the chocolate, more sugar may be needed. If suddenly the cream turns out not very sweet, then when you whip the cream, add a couple of tablespoons of powdered sugar to it. Let the resulting cream cool to room temperature.

Step 26

Step 26
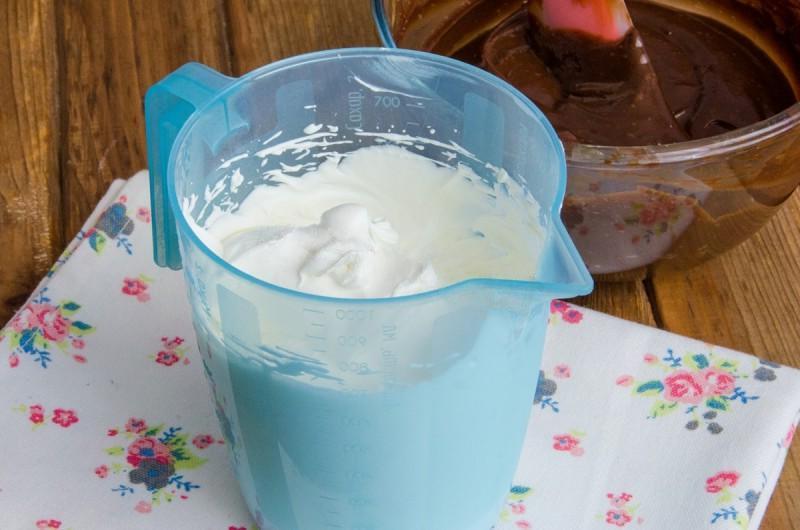
Pour the heavy cream into a tall whipping container and beat until thick cream is obtained.

Step 27

Step 27
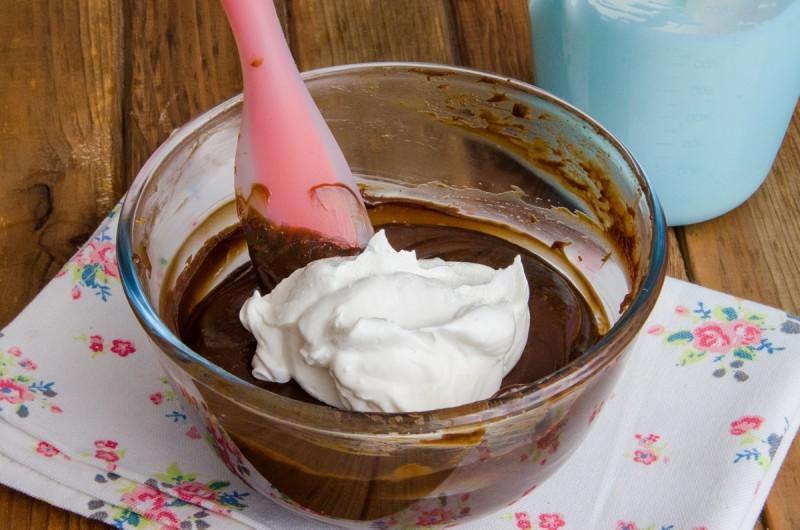
Gently fold in the whipped cream into the cooled chocolate part.

Step 28

Step 28
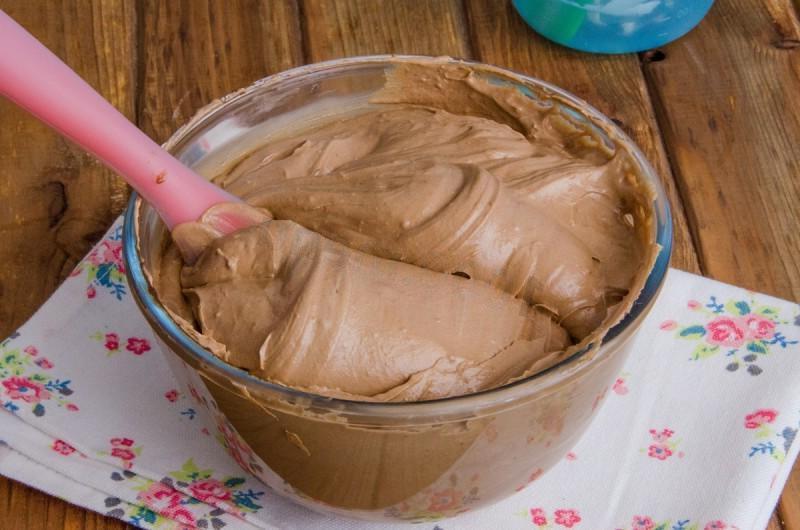
We get a very light chocolate cream mousse. Place it in the refrigerator until use.

Step 29

Step 29
We will also prepare syrup for impregnation.

Step 30

Step 30
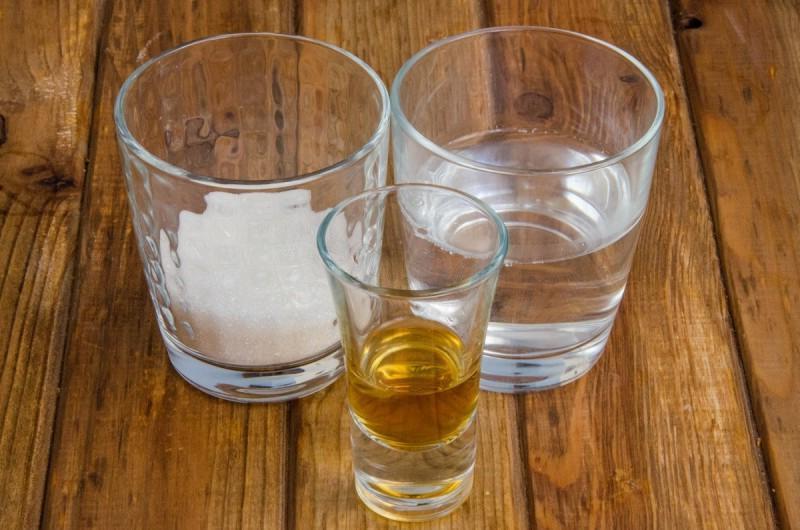
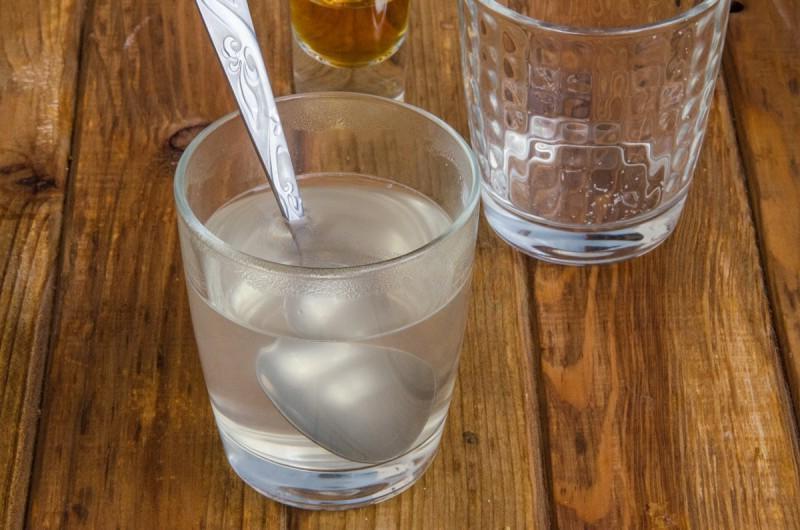
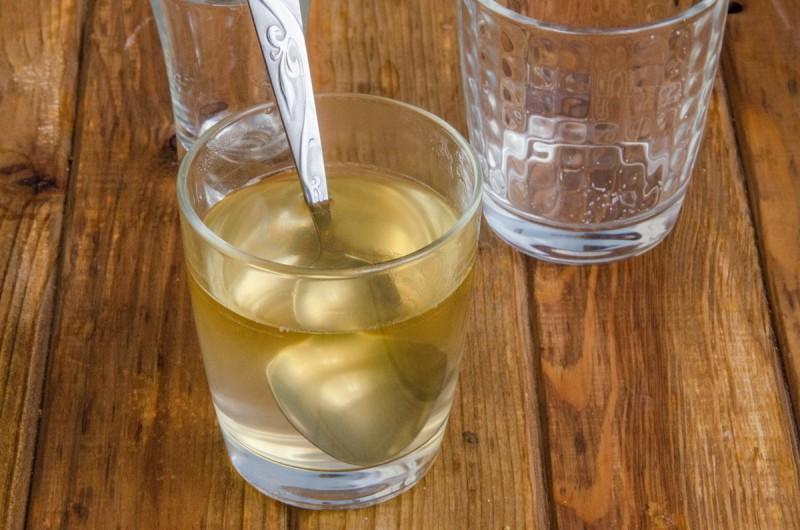
Combine water (I use boiling water) with sugar and stir until the sugar is completely dissolved. Let it cool.

Step 31

Step 31
If desired, add cognac to the cooled syrup. The syrup is ready.

Step 32

Step 32
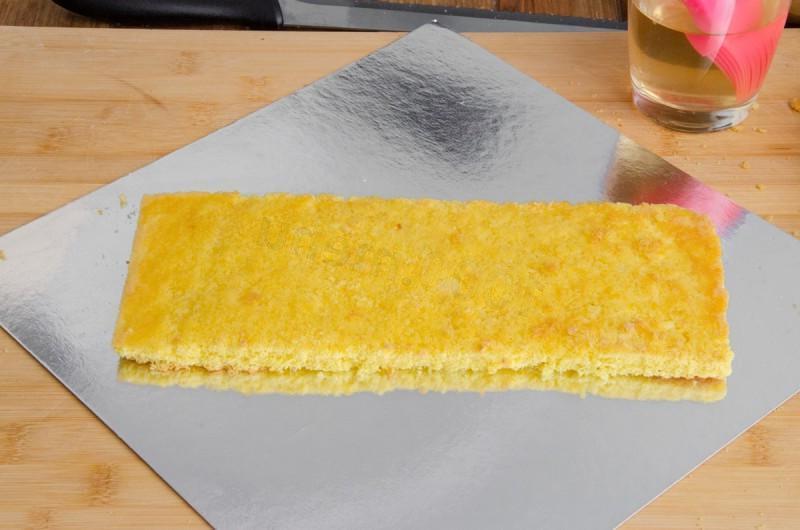
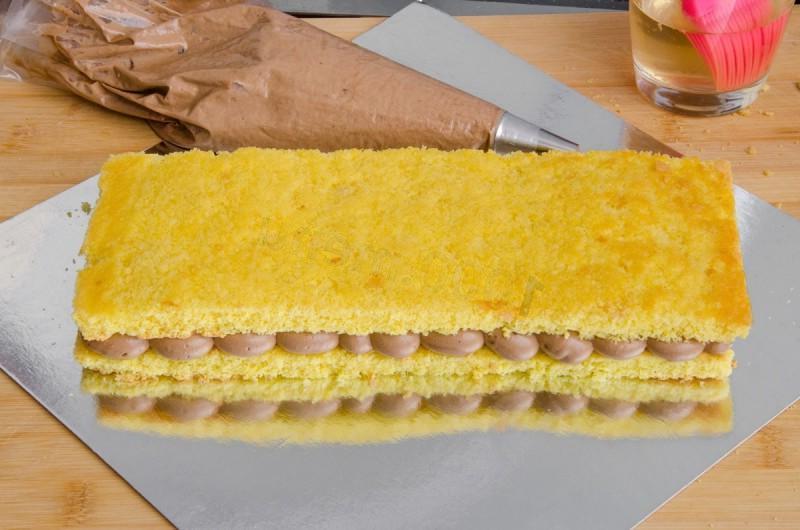
Letʼs start the assembly. Place one part of the biscuit on the work surface and thoroughly soak it with the prepared syrup.

Step 33

Step 33
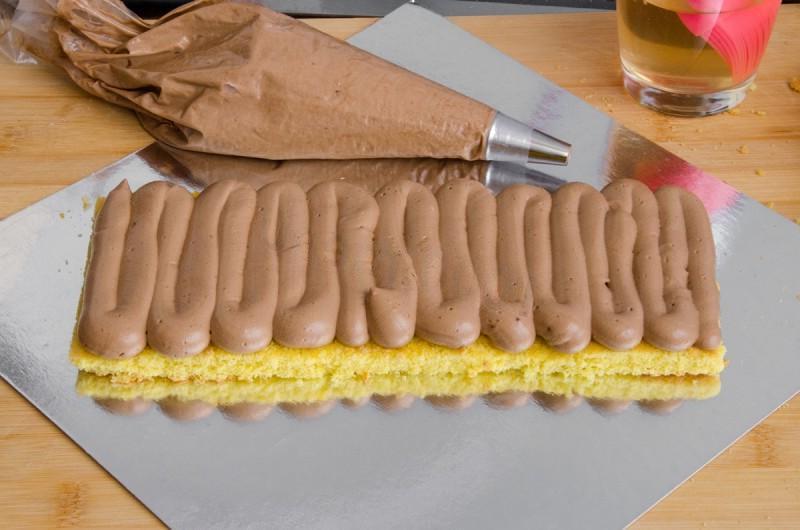
Transfer the finished cream into a pastry bag with a wide round tip and use it to apply a layer of cream onto the biscuit.

Step 34

Step 34
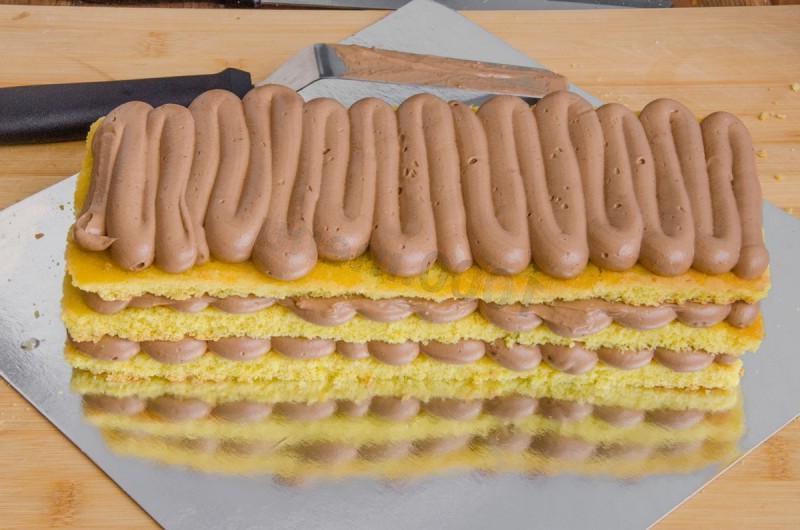
Cover the cream on top with the second part of the sponge cake, soak it thoroughly and apply a layer of cream.

Step 35

Step 35
We also apply a layer of cream on the top.

Step 36

Step 36
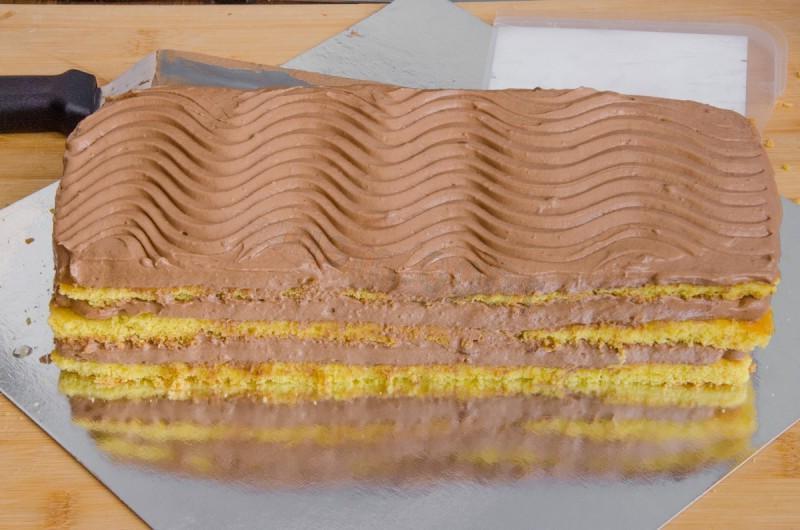
We level the cream and, if desired, apply a pattern using a shaped spatula. In this form, put the cake in the refrigerator for a couple of hours.

Step 37

Step 37
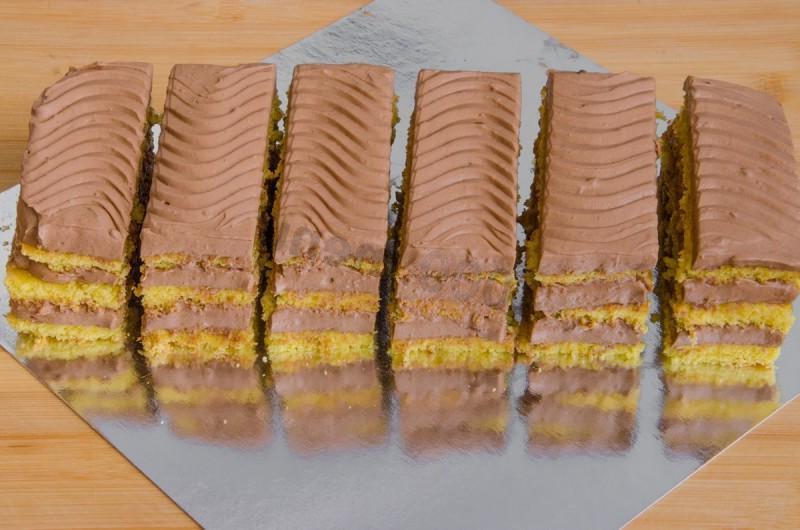
After the required time, we cut our cake into cakes.

Step 38

Step 38
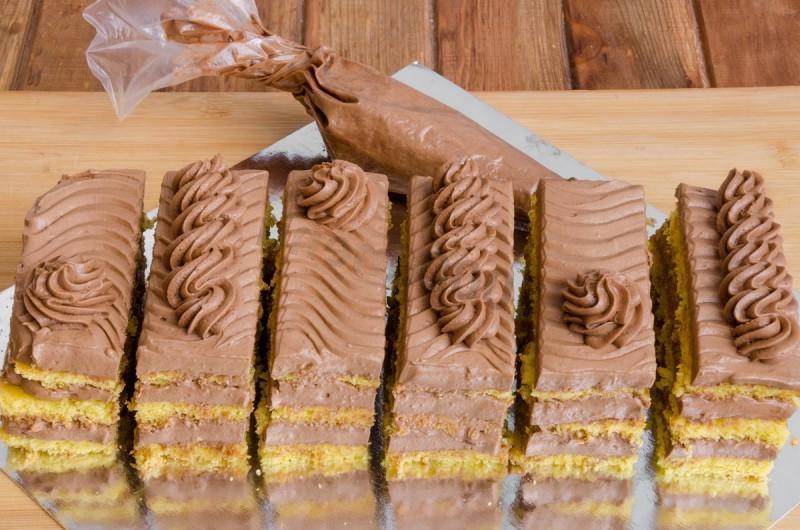
If desired, each cake is additionally decorated with the remaining cream.

Step 39

Step 39
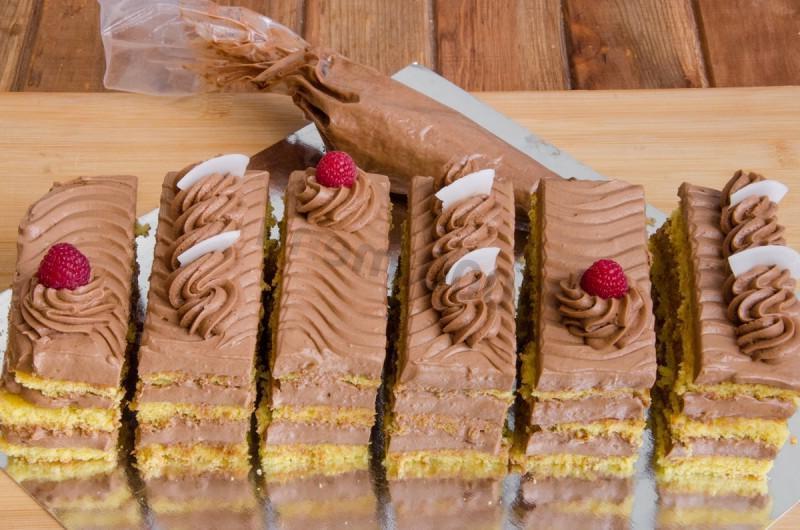
I also decorated the cakes with fresh raspberries and coconut slices.

Step 40

Step 40
Thatʼs all. The cakes are ready!

Step 41

Step 41
You can serve!

Step 42

Step 42
Bon appetit!