Chicken and Potato Kurnik with Puff Pastry

Very beautiful and so delicious! Everyone will be delighted! Youʼll have to tinker with chicken with potatoes and chicken made from puff pastry in the oven, but itʼs worth it. Inside there is a filling of pancakes and chicken meat, on top there is a beautifully decorated cap made of puff pastry. This pie can easily be served for a holiday!
cook time: 2h
Zoe Kendrick
Chicken and Potato Kurnik with Puff Pastry

Nutrition Facts (per serving)

200
Calories
10g
Fat
17g
Carbs
10g
Protein

Ingredients (10 portions)

For the base:

Puff pastry 500 g

For filling:

Salt to taste
Potato 400 g
Green onions 40 g
Chicken breasts 500 g
Bulb onions 150 g
Vegetable oil 1 tbsp
Chicken eggs 2 pc

For pancakes:

Salt 0.5 g
Sugar 4 g
Wheat flour 70 g
Milk 40 g
Vegetable oil 10 g
Soda 0.5 g
Egg whites 0.5 pc

For lubrication:

Egg yolks 1 pc

Recipe instructions

Step 1
Step 1
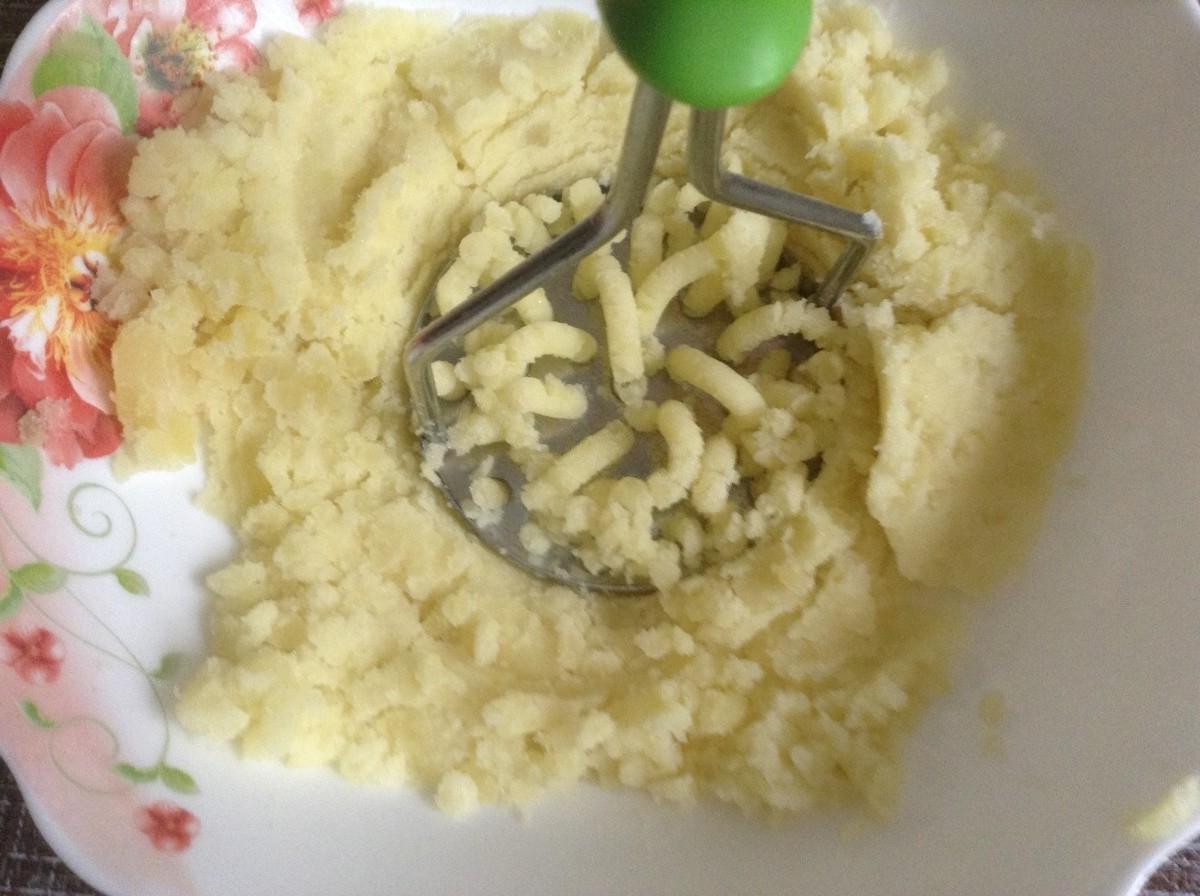
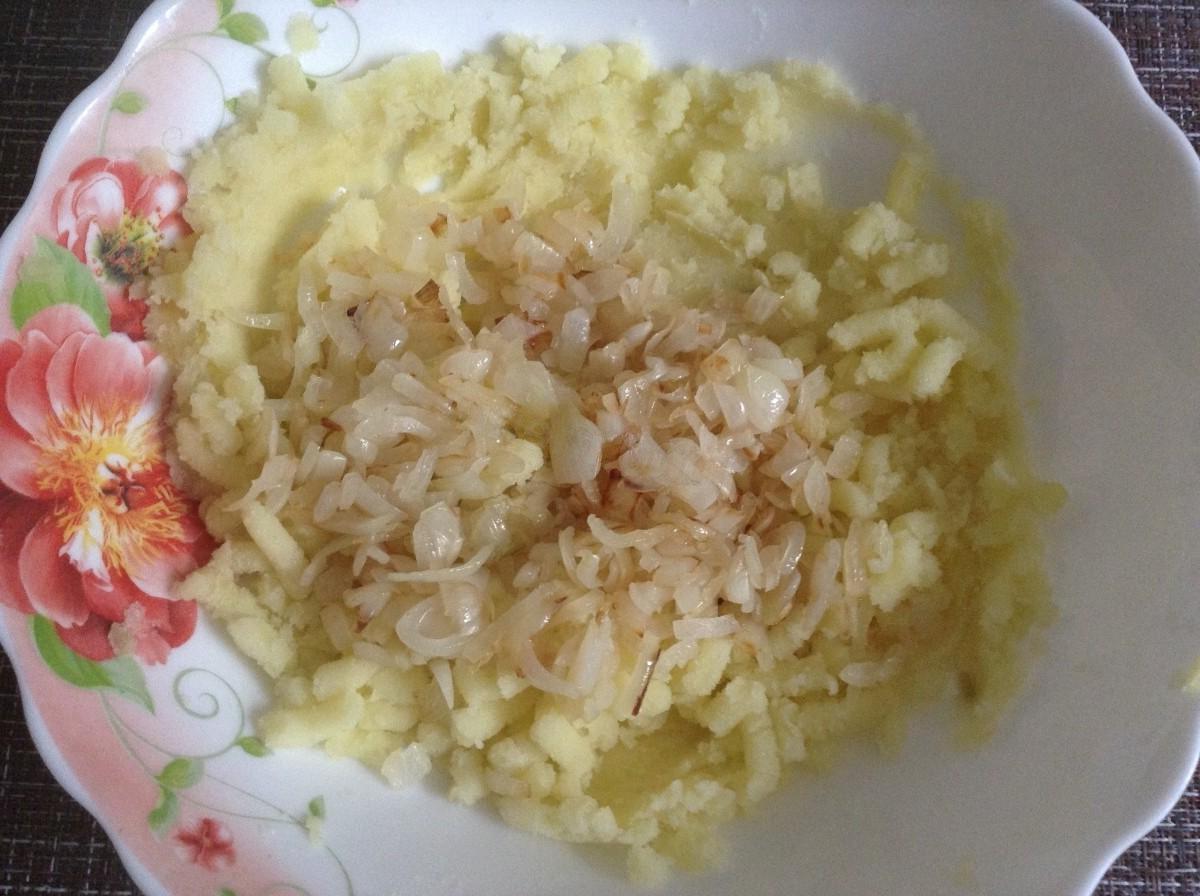
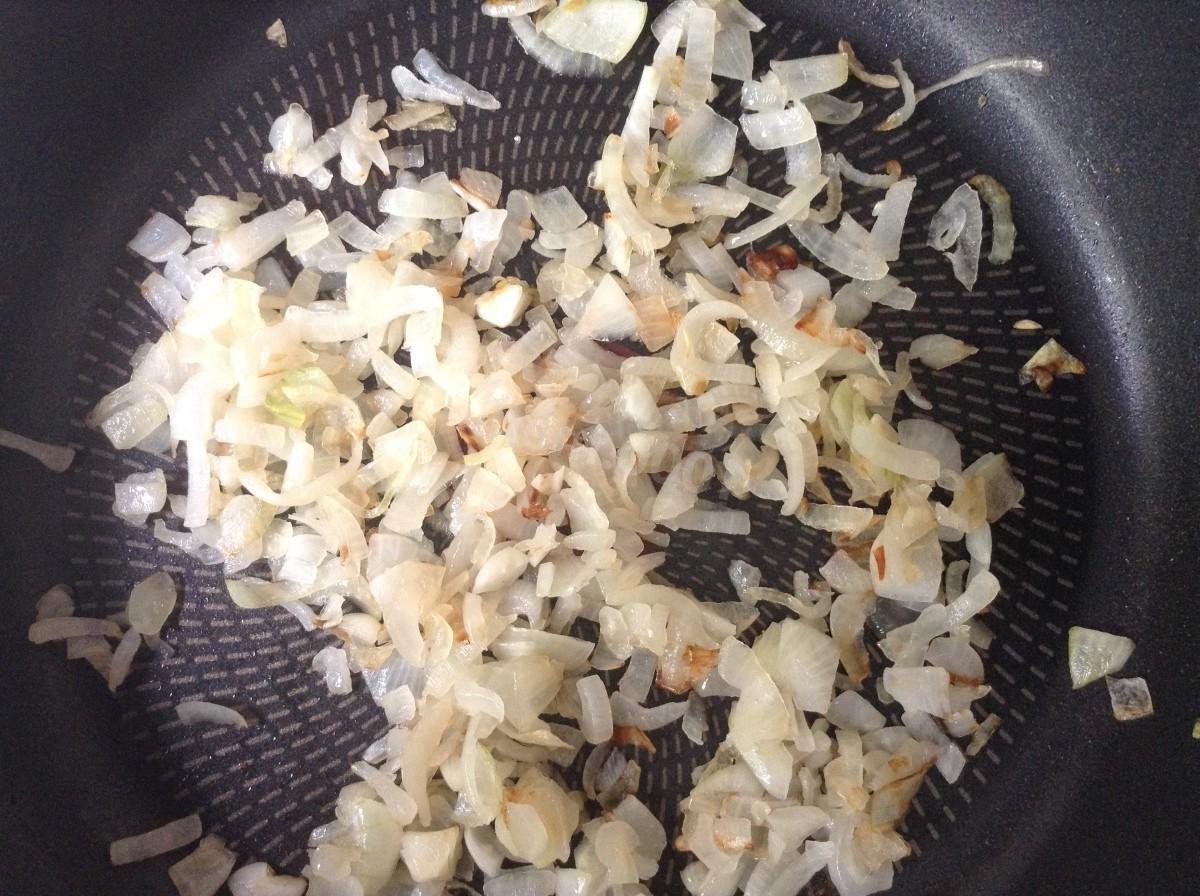
How to make kurnik from puff pastry? Before you start cooking, remove the puff pastry from the freezer to give it time to defrost. Start cooking with the fillings. How to make fillings? The first filling is mashed potatoes with onions. Peel the onion and cut into small cubes. Heat vegetable oil in a frying pan over low heat. Add onion. Stir-fry it for a few minutes until translucent.

Step 2

Step 2
Wash the potatoes, peel them and place them in a pan with clean water. Place the pan over medium heat, bring to a boil, add salt. Reduce heat and cook potatoes until tender, about 25 minutes. The exact time depends on the type of potato, read more about this at the end of the recipe. You can check readiness with the tip of a knife — it should easily pierce the tuber. Drain the potatoes, then mash them with a potato masher.

Step 3

Step 3
Add fried onions to potatoes and stir. The first filling is ready.

Step 4

Step 4
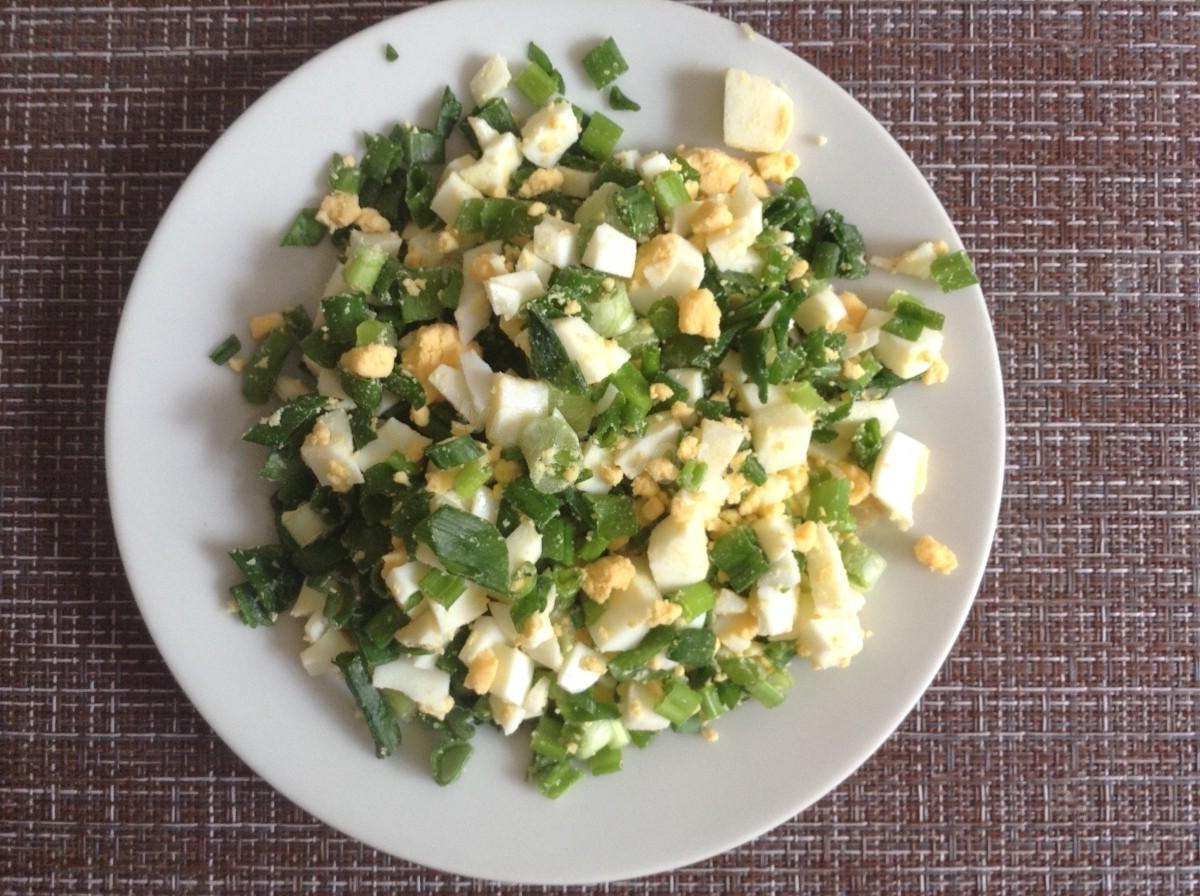
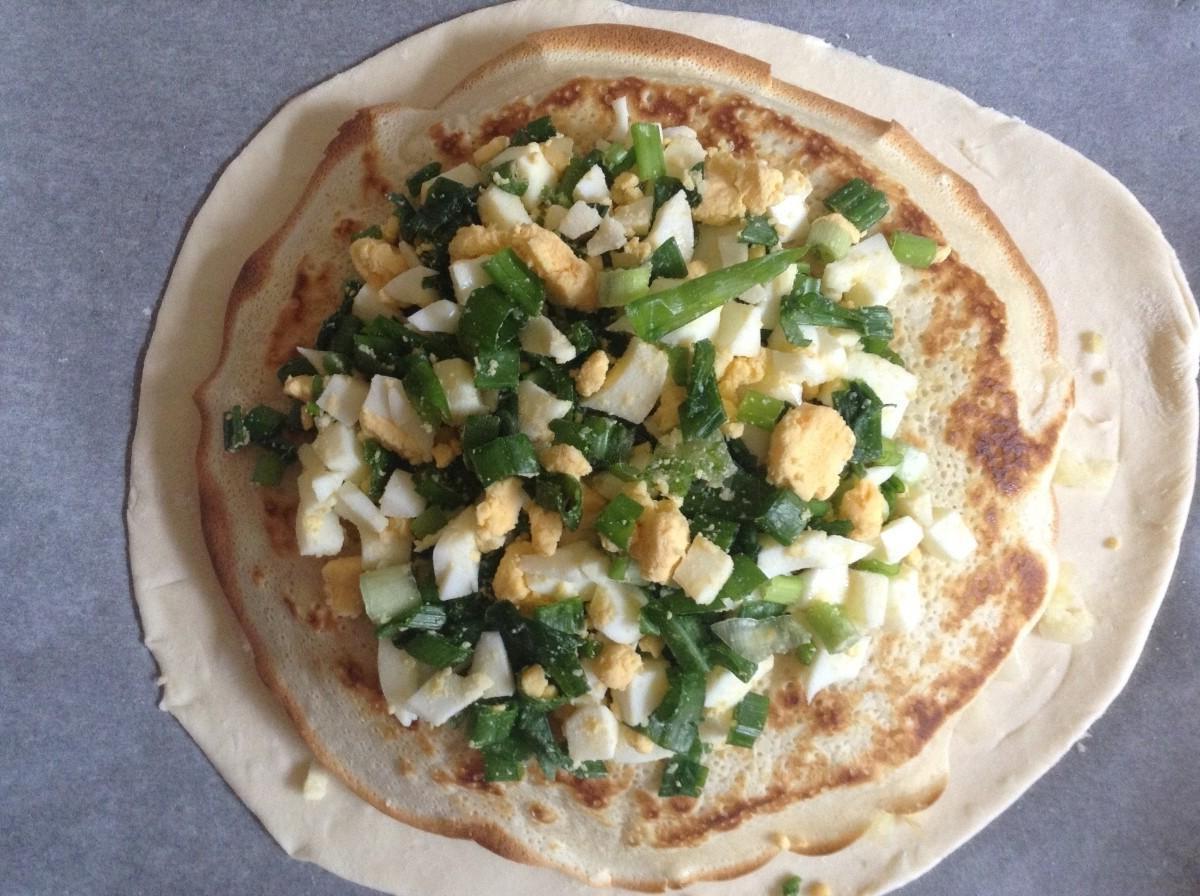
Prepare a second filling using boiled eggs and green onions. Boil the eggs hard, cool them, and then peel them. Read about how to properly boil eggs in a separate article at the link at the end of the recipe. Chop the eggs into small pieces. Wash the green onions thoroughly, dry and finely chop. Combine eggs and green onions, add salt. Stir. The second filling is ready.

Step 5

Step 5
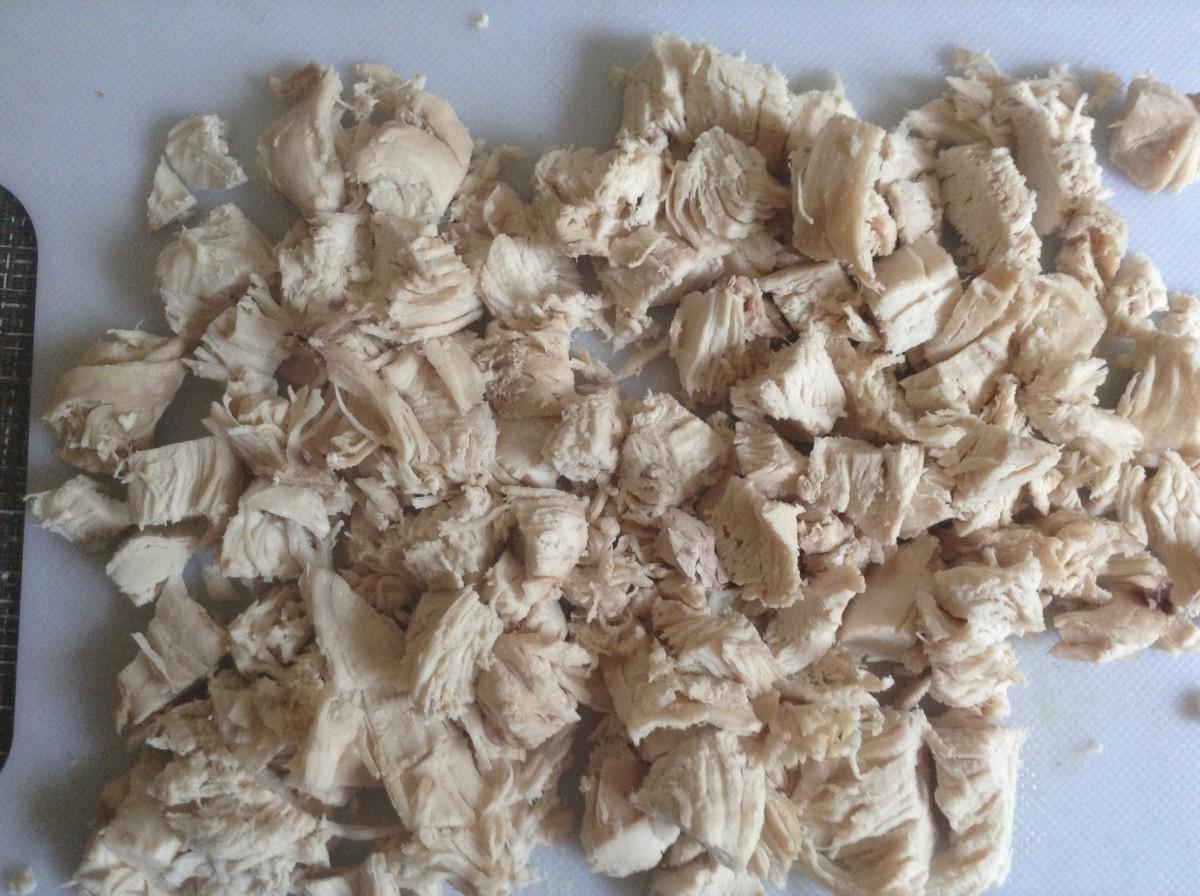
The third filling is boiled chicken breast. How to cook chicken breast? Bring water to a boil in a saucepan and place the meat in it. Add salt. Cook the chicken for about 30 minutes at a low simmer over low heat. Cool the finished breast, separate the meat from the bones and cut into small pieces. You can add pepper and spices to taste. The filling is ready.

Step 6

Step 6
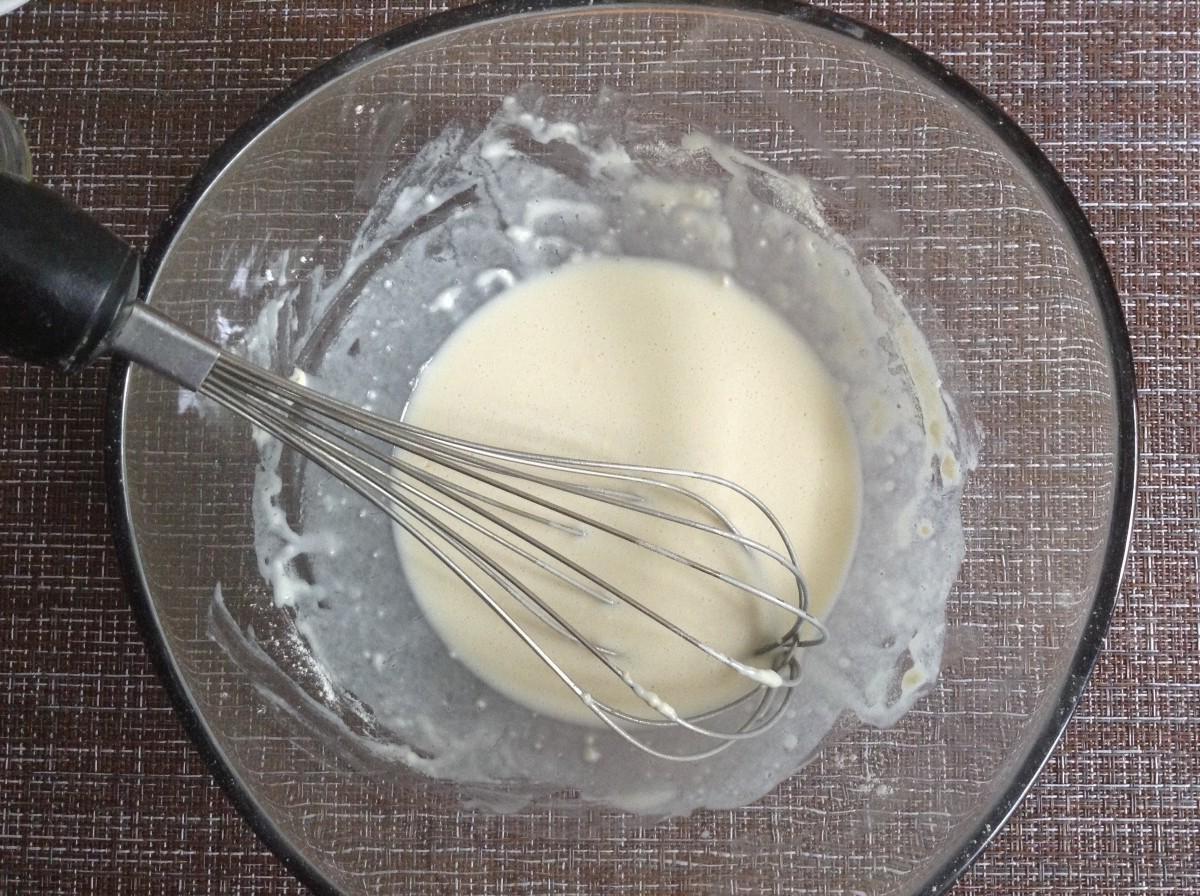
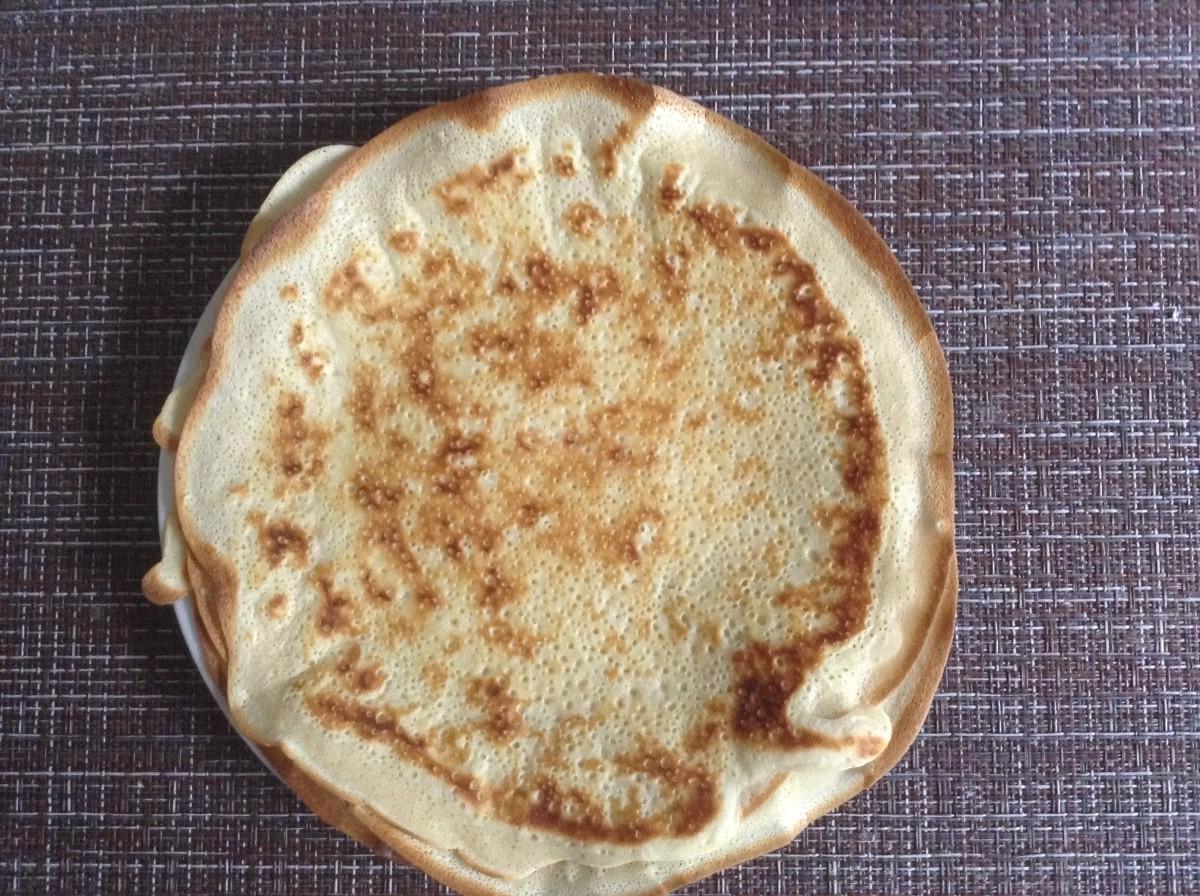
Prepare pancakes as a layer between the fillings. For the dough, mix milk, vegetable oil, egg white (leave the yolk for greasing), soda, salt, sugar, flour. Whisk the ingredients. You should get a liquid, homogeneous dough.

Step 7

Step 7
Fry the pancakes on both sides in a well-heated frying pan. If necessary, you can pour a little vegetable oil into the pan. I have a non-stick frying pan, so I fry without adding oil. I got three pancakes. Thatʼs exactly what we need.

Step 8

Step 8
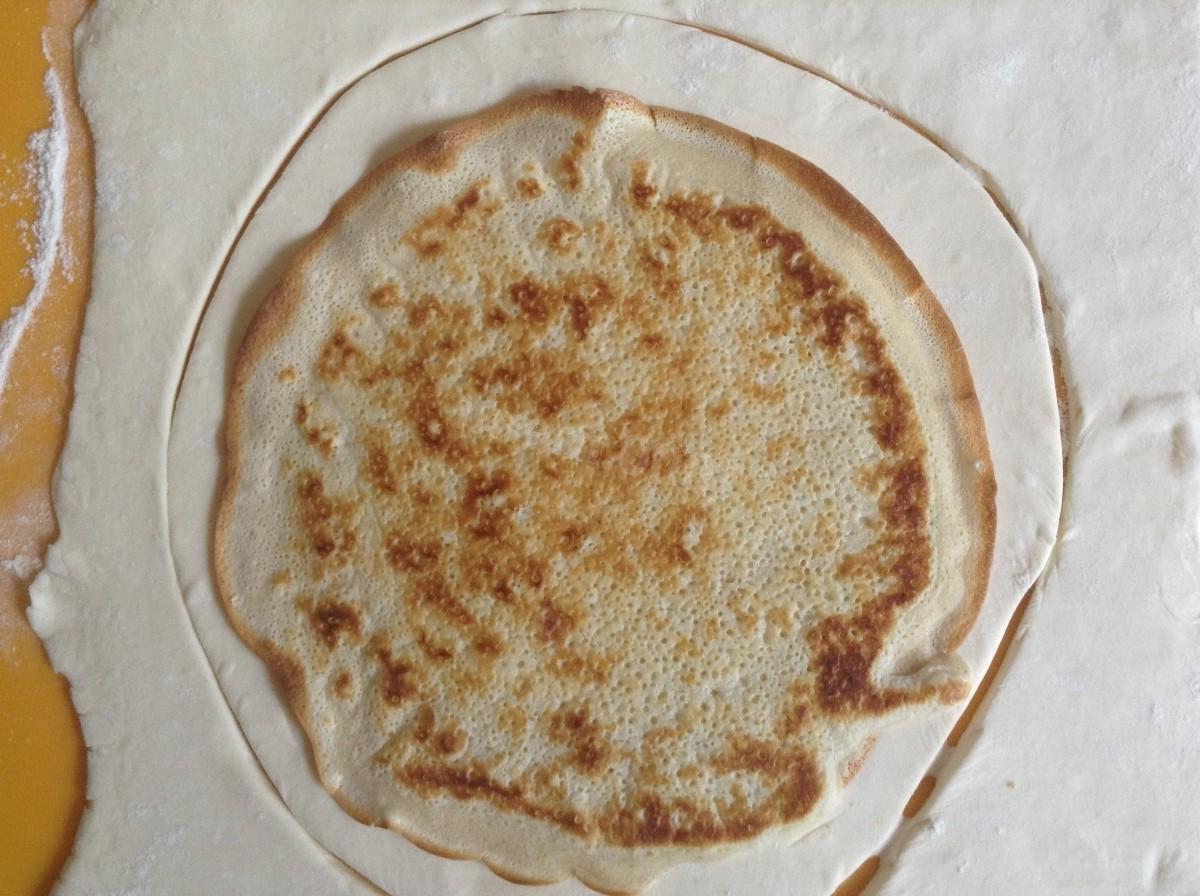
Turn the oven on 180 degrees. Roll out the defrosted puff pastry a little. Cut a circle out of it, slightly larger in diameter than the pancake.

Step 9

Step 9
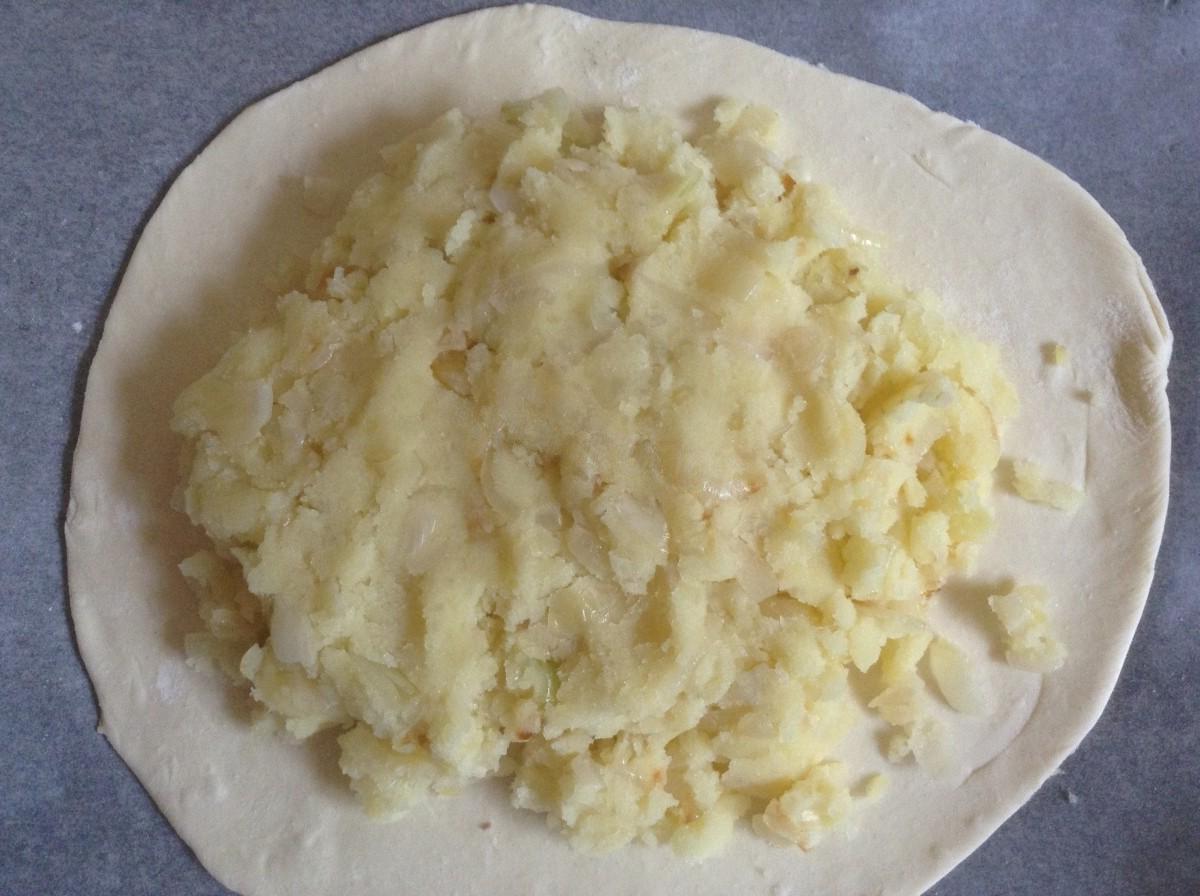
Assemble the pie. Place the first layer of mashed potatoes with fried onions.

Step 10

Step 10
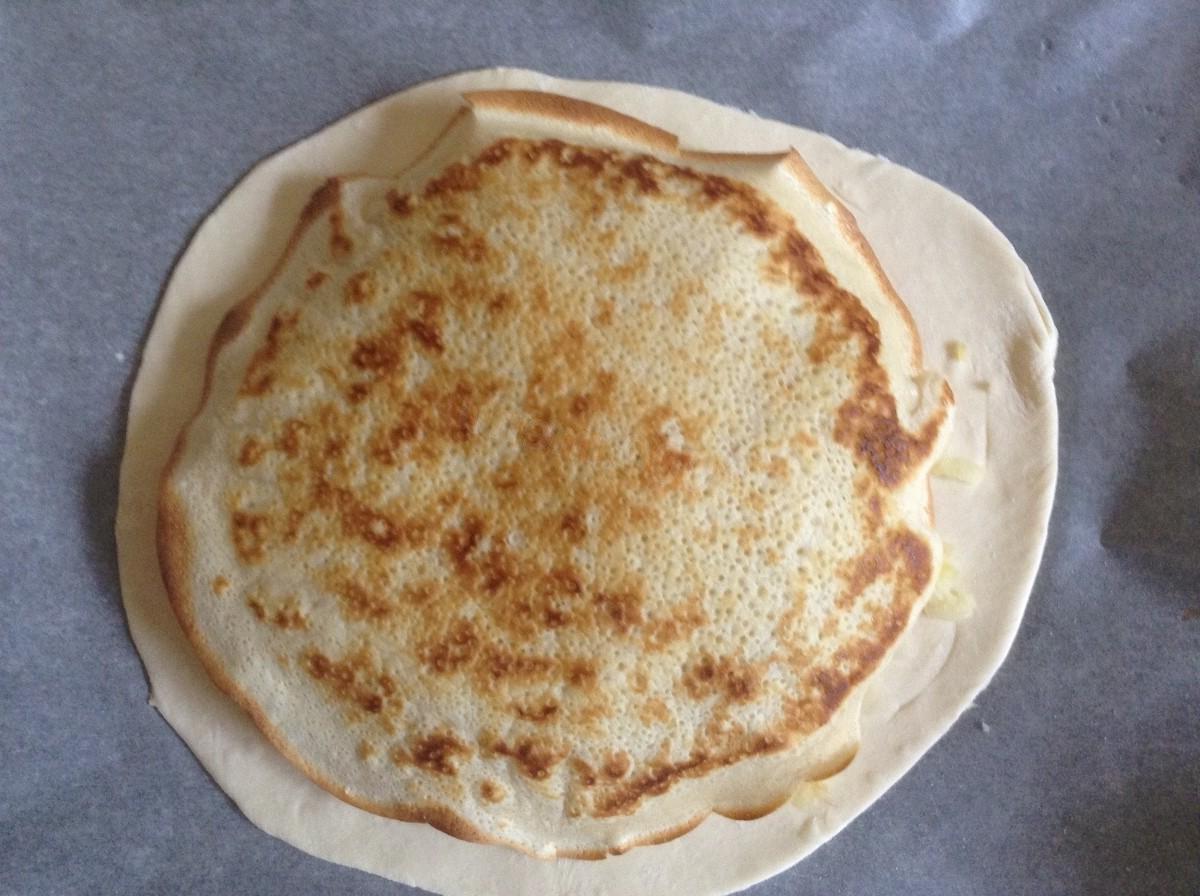
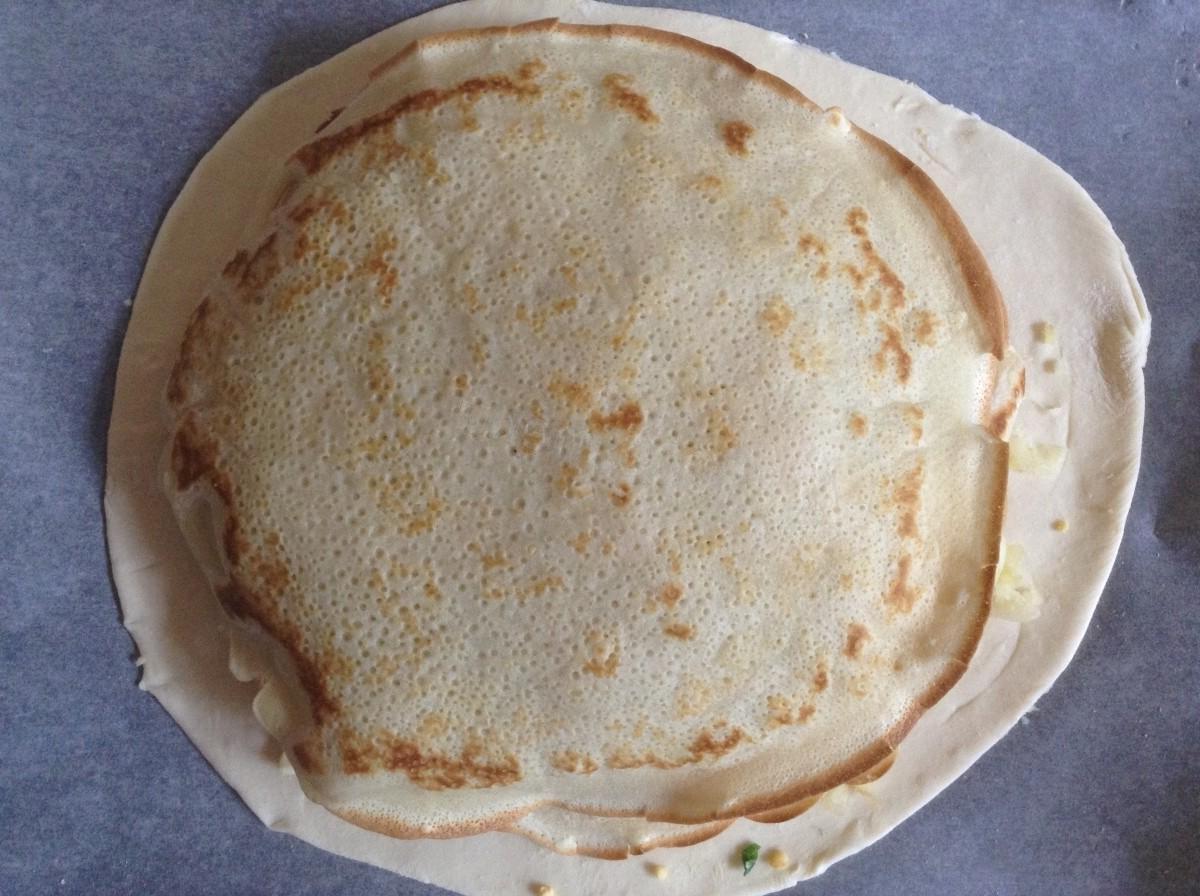
Cover it with a pancake and press down lightly.

Step 11

Step 11
The next layer is an egg with green onions.

Step 12

Step 12
Place the pancake on top again.

Step 13

Step 13
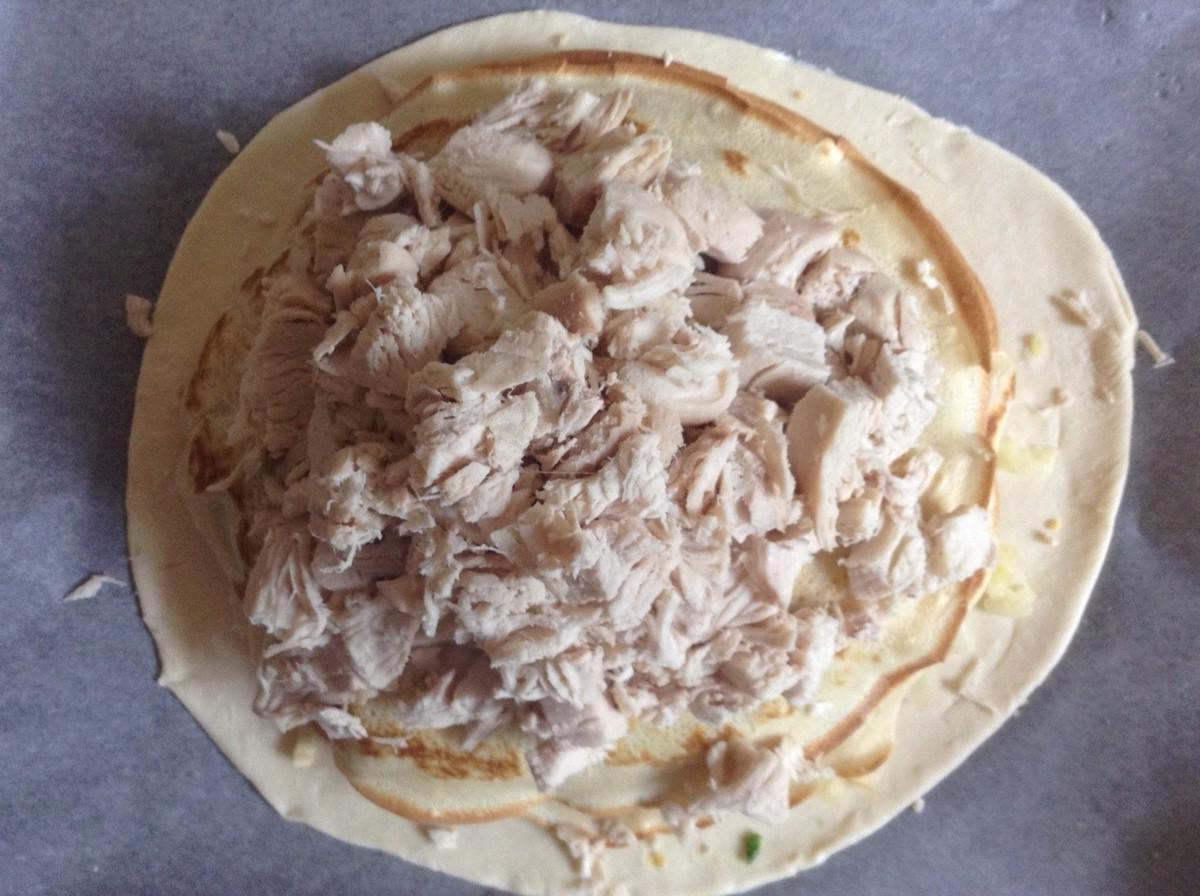
And the third layer is boiled chicken.

Step 14

Step 14
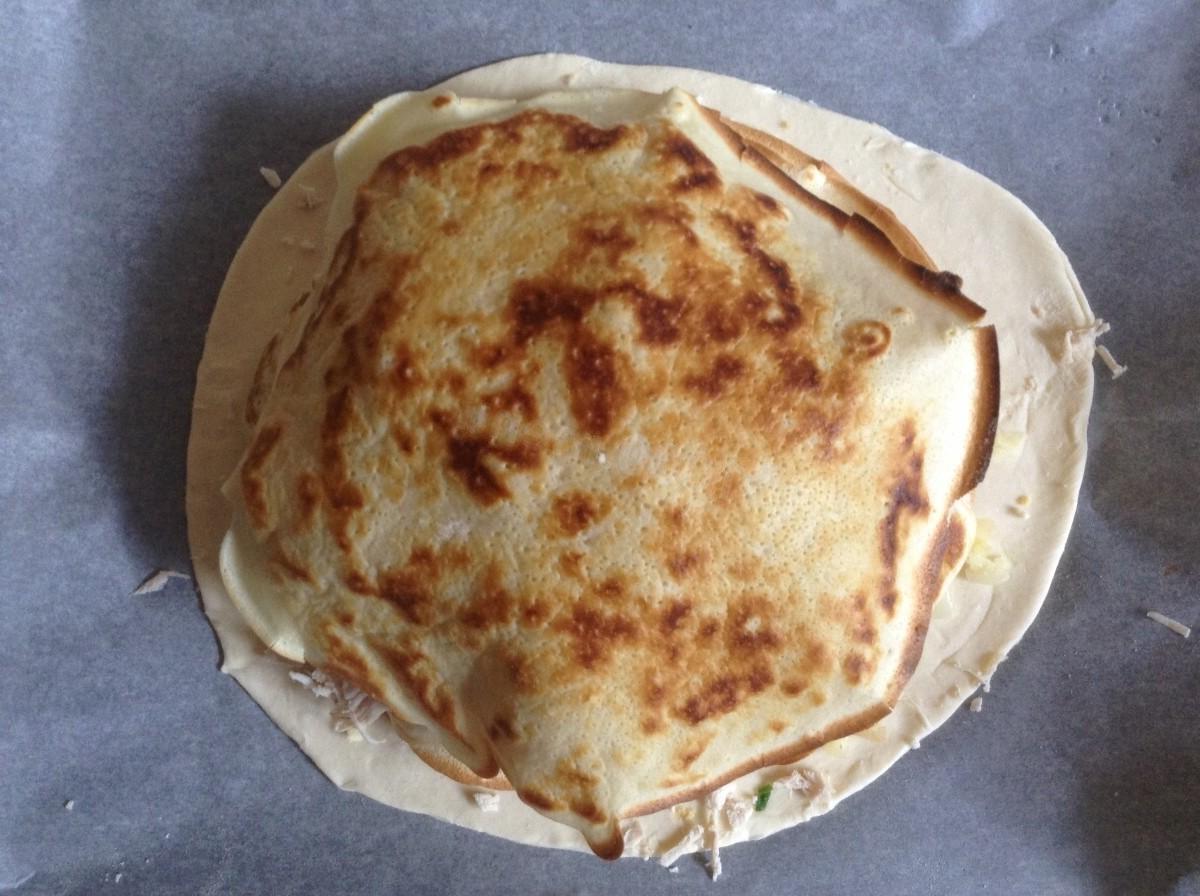
Cover the chicken with a pancake as well.

Step 15

Step 15
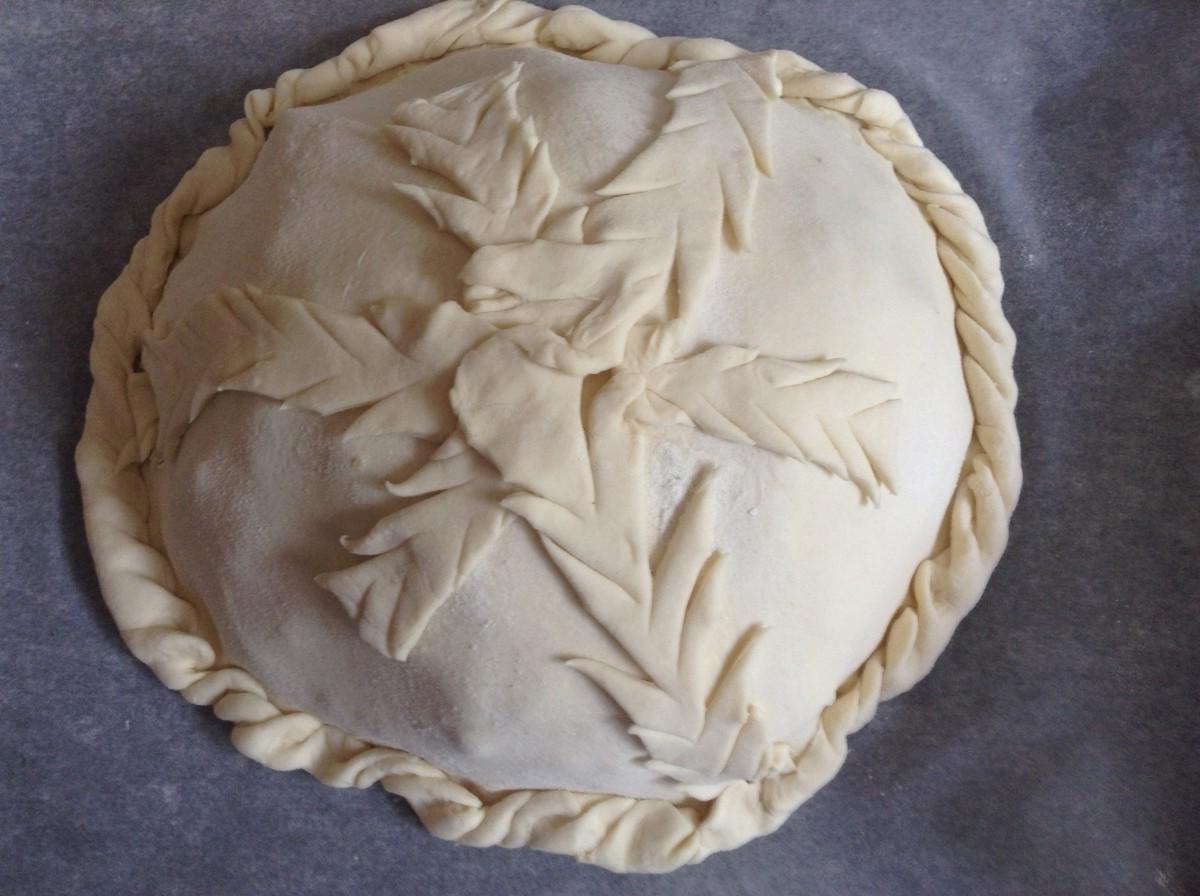
Roll out the other half of the puff pastry so that it is enough to cover all the layers on top. Cover the pie with dough. Cut off the excess with a knife or scissors. Pinch the edges. Use the leftover dough to make different decorations.

Step 16

Step 16
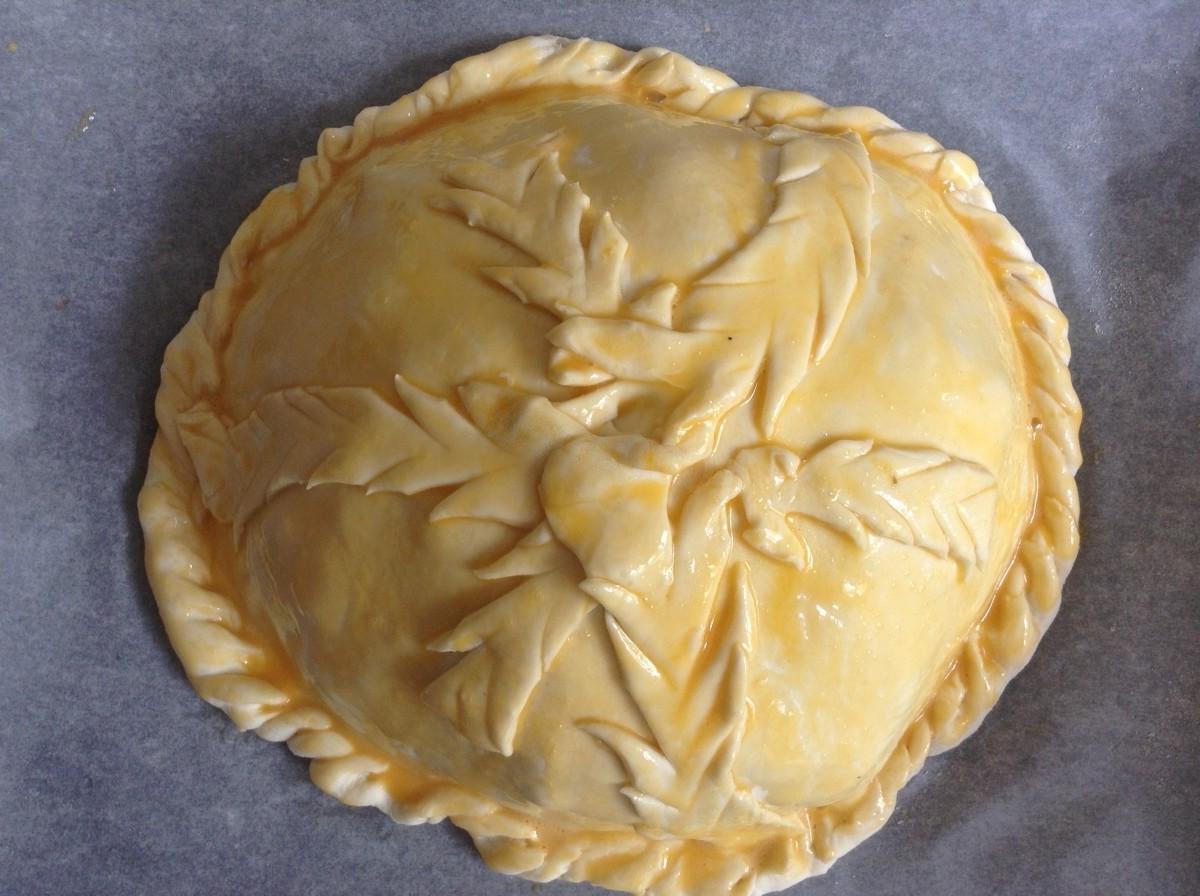
Brush the pie with beaten yolk. Bake the chicken in an oven preheated to 180 degrees for about 25 minutes. This time is quite enough, because the filling is already ready, but in any case, be guided by the operating features of your oven. Read more about this in a separate article at the link at the end of the recipe. Cool the finished chicken a little and serve. Bon appetit!