Homemade Chicken Ham: Simple and Delicious

Delicious, tender, for adults and children! Chicken ham is made quite simply from ordinary products available to everyone. And the result is much better than from the store. You can serve it for breakfast or make a sandwich with it for a snack.
cook time: 24h
Chloe Benton
Homemade Chicken Ham: Simple and Delicious

Nutrition Facts (per serving)

164
Calories
9g
Fat
21g
Protein

Ingredients (10 portions)

Basic:

Garlic (large) 1 clove
Salt (There was Extra 0.25 tbsp. Salt varies, this is a rough guide.) to taste
Dry spices (Provençal or Italian herbs.) to taste
Paprika 1 tsp
Chicken fillet 400 g
Chicken thighs (6 pieces, almost 600 grams of pure meat.) 1.2 kg
Ground pepper mixture to taste
Chicken bouillon 2 tbsp

Recipe instructions

Step 1
Step 1
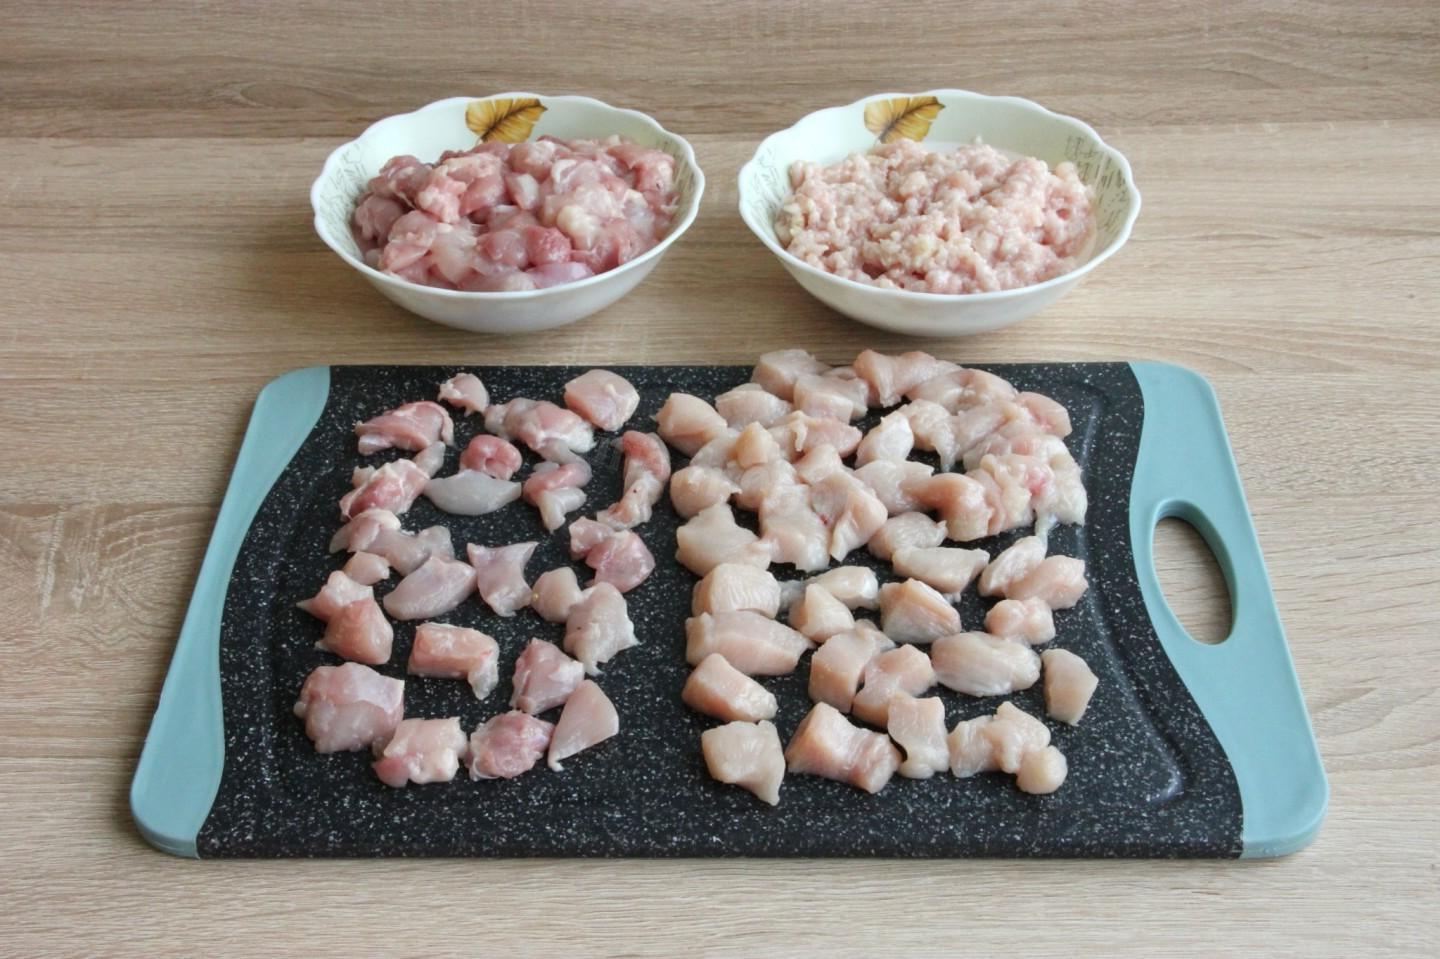
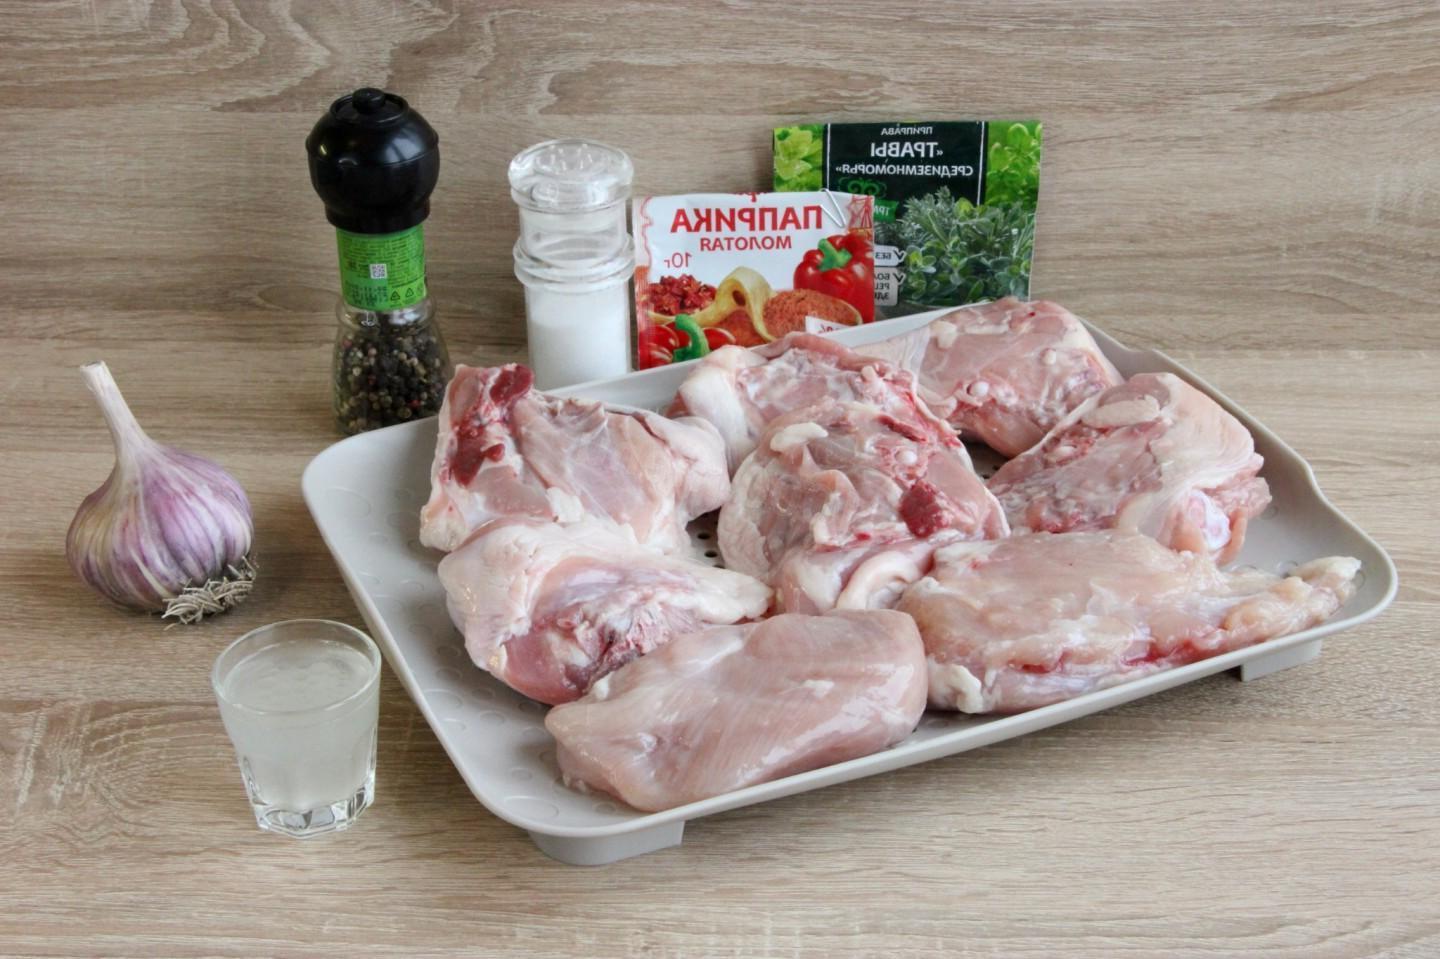
How to make chicken ham at home? Prepare all the necessary ingredients. It is better to take the meat chilled rather than frozen. For ham, it is advisable to take more red meat and smaller fillet, then it will turn out more juicy. The meat should be at room temperature.

Step 2

Step 2
It is important to prepare the meat correctly. Wash the meat in running water and dry. If necessary, separate from bones, films and veins. Cut the fillet into larger pieces, red meat into smaller pieces. Don’t throw away the fat, add 150 grams of red and white meat, garlic and mince everything. You can also grind it in a blender, but I like it better in a meat grinder. Choose a grate with a small or medium diameter.

Step 3

Step 3
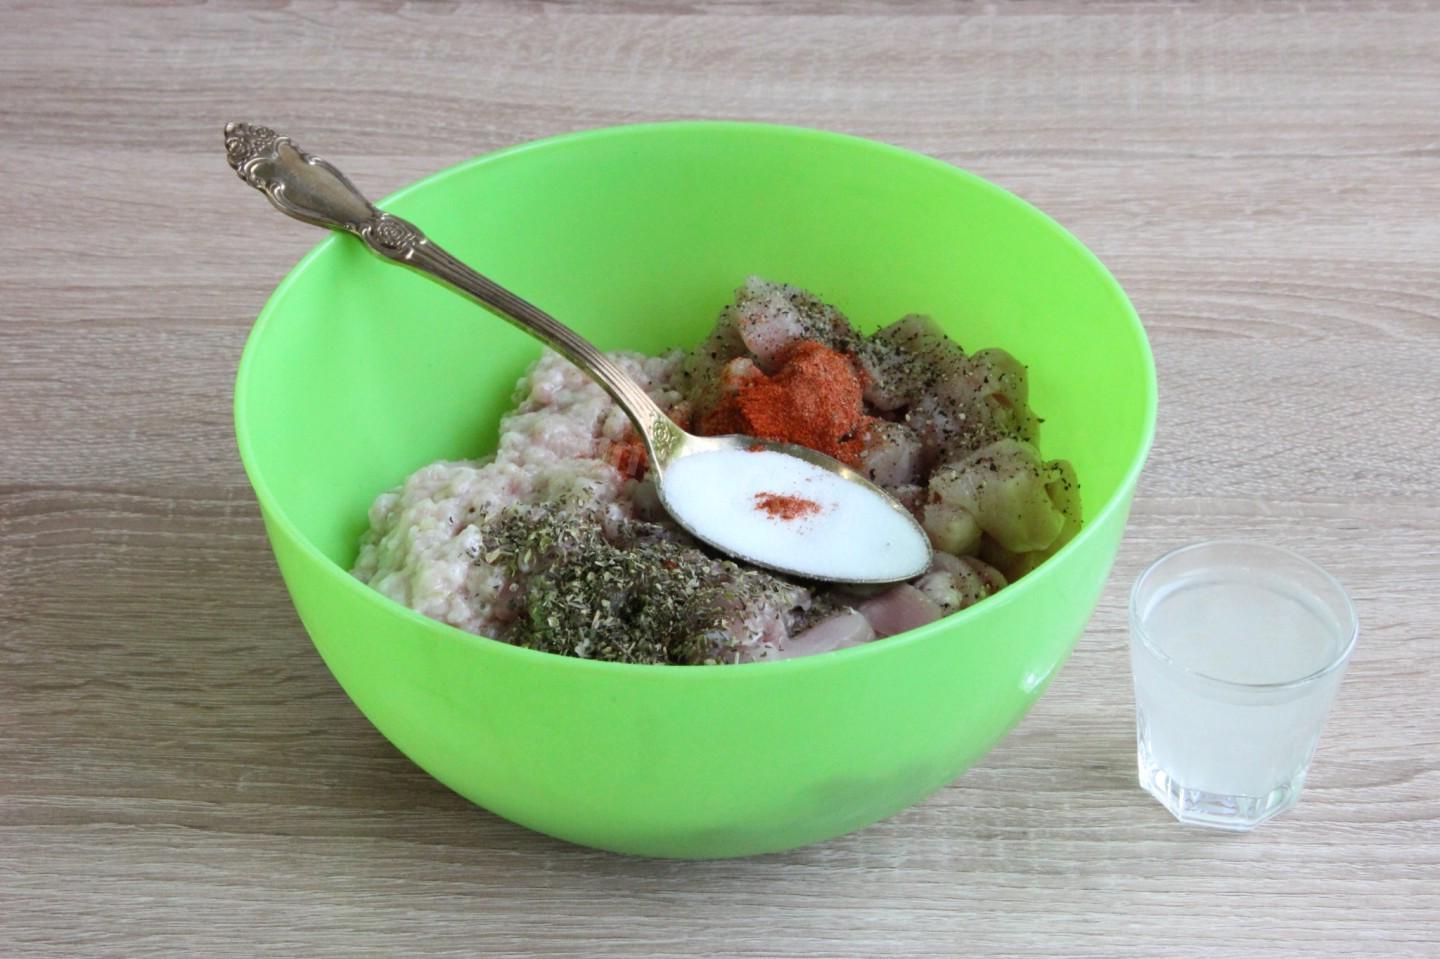
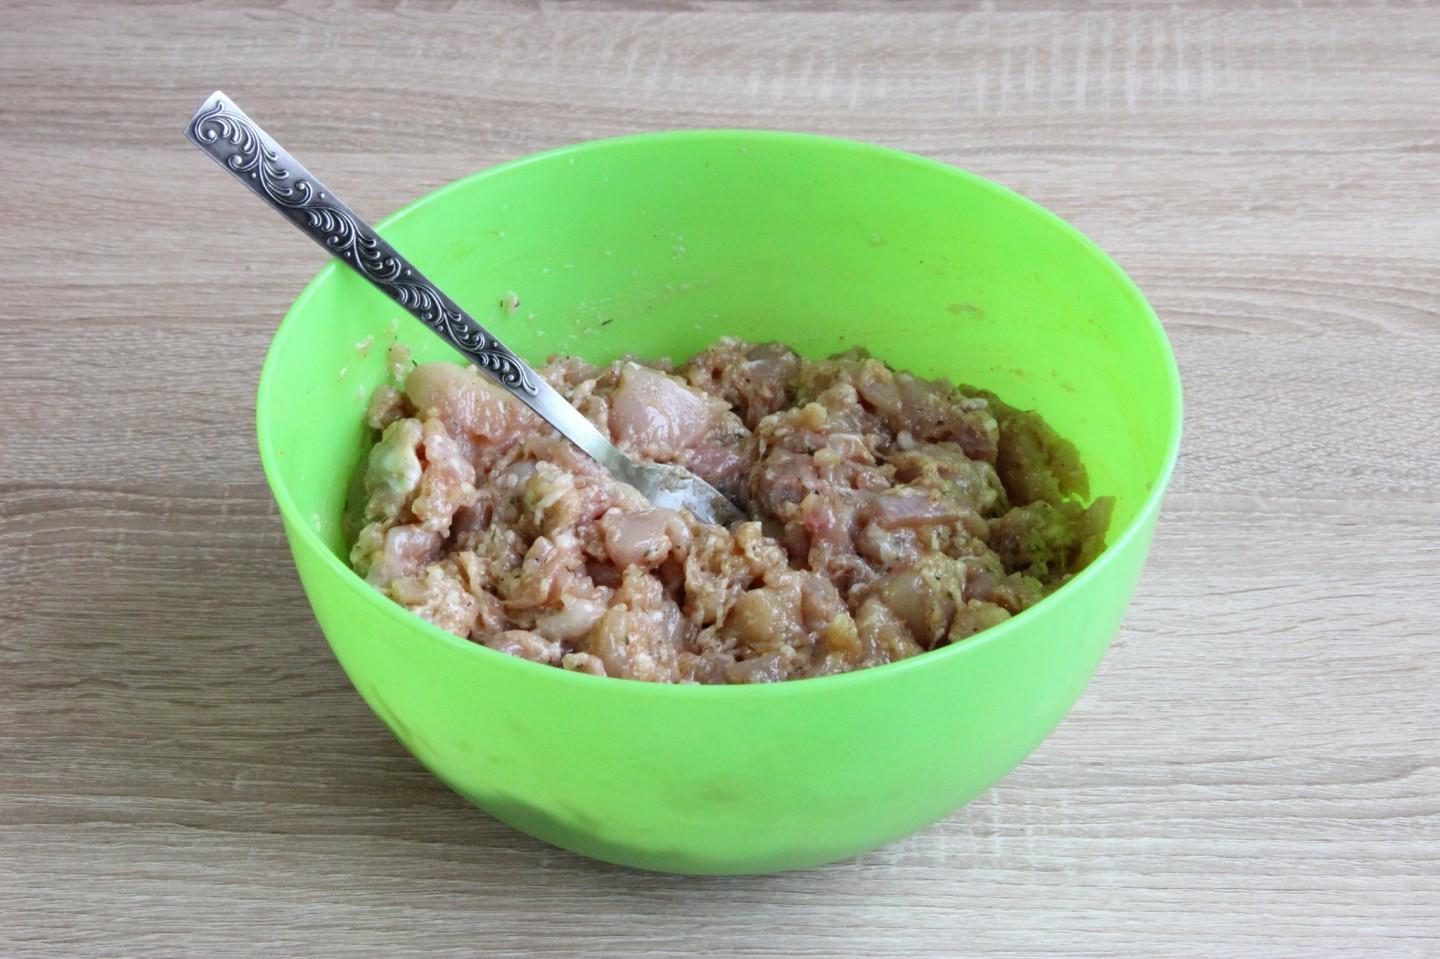
Add the minced meat and all the spices to the chopped meat. As for spices, you can get by with just salt and it will be delicious. I add just a little Italian or Provençal herbs, a mixture of peppers, paprika and a little garlic. You can add any spices you like. Mix the whole mass well, pour in a little broth so that the salt disperses well and the spices are distributed more evenly.

Step 4

Step 4
Leave the mixture at room temperature for half an hour. Many people are afraid of making the wrong choice with salt; tastes and salt are very different. To avoid mistakes, I always fry a very small piece, taste it and adjust the salt if necessary. It doesn’t take much time, but you can always be sure that all the ham will taste perfect.

Step 5

Step 5
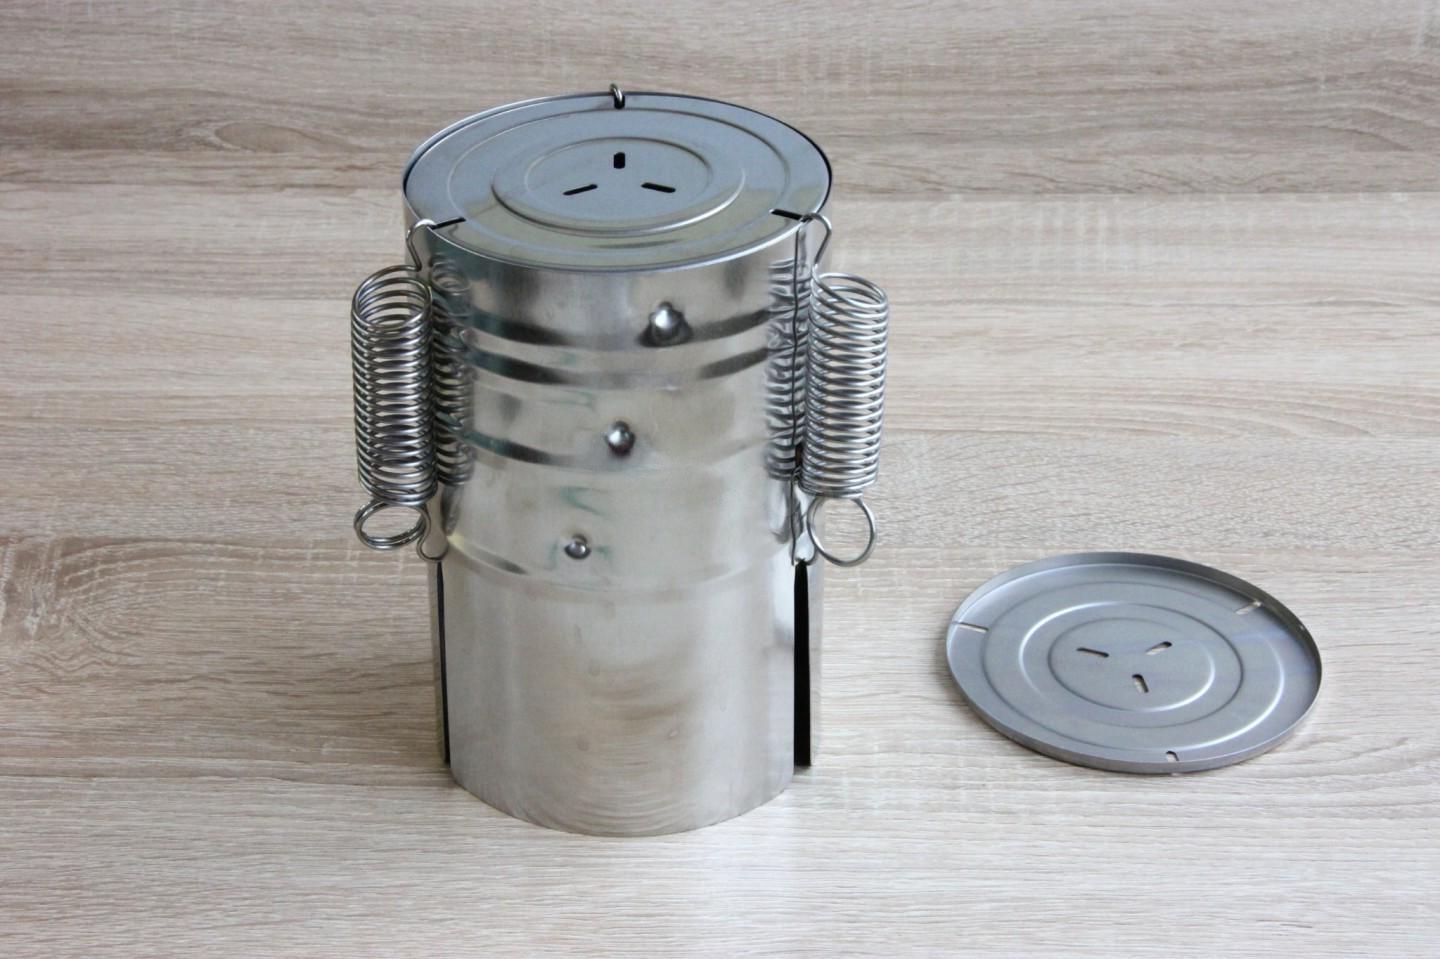
Now assemble the ham maker according to the instructions. First, insert the bottom and attach it with springs along the guides.

Step 6

Step 6
Turn over and place the tied baking sleeve inside the ham maker. Straighten out the folds so that the finished ham has an aesthetically pleasing appearance. Fill the sleeve with meat. Compact carefully, trying not to leave any voids.

Step 7

Step 7
Tie the top of the sleeve, close the ham maker with the lid and tighten the springs tightly.

Step 8

Step 8
Place the ham in a baking dish, which is best lined with foil. Place in an oven preheated to 180 degrees and bake for about 1.5 hours. The good thing about this method is that you can do without a ham maker. To do this, compact the meat tightly into a sleeve, roll it into foil and also bake it in a mold. Then let it cool under pressure. Baking times are approximate; be guided by the operating characteristics of your oven.

Step 9

Step 9
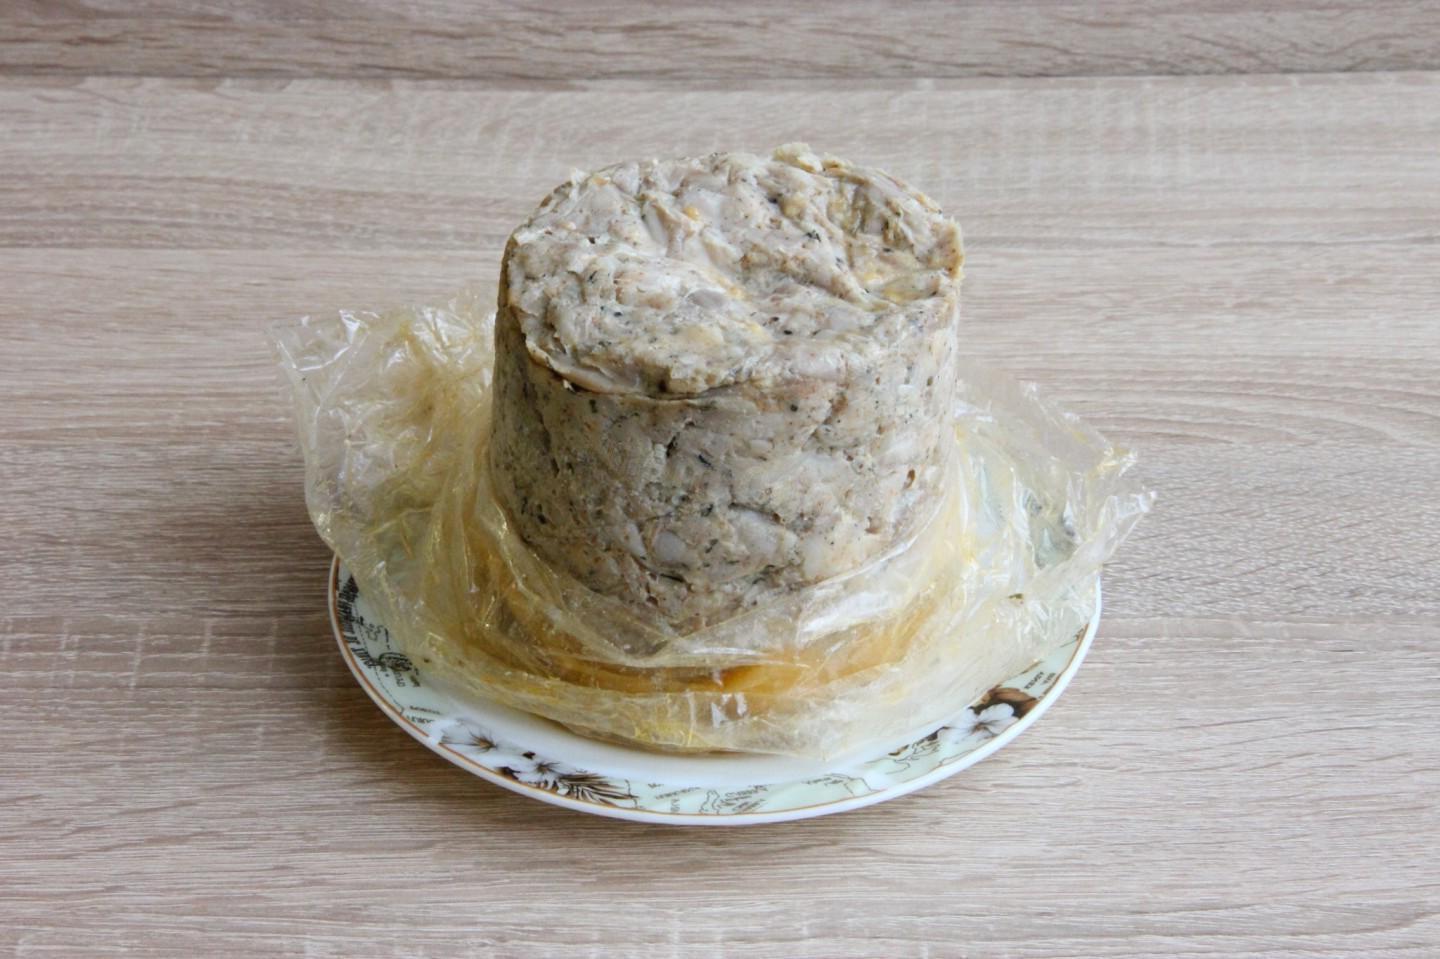
But with ham it’s still easier. After an hour and a half, remove the ham from the oven and let it cool naturally to room temperature. Then, without removing it from the ham maker, put it in the refrigerator for 12 hours, or up to a day. After the allotted time, open the ham maker and remove the sleeve.

Step 10

Step 10
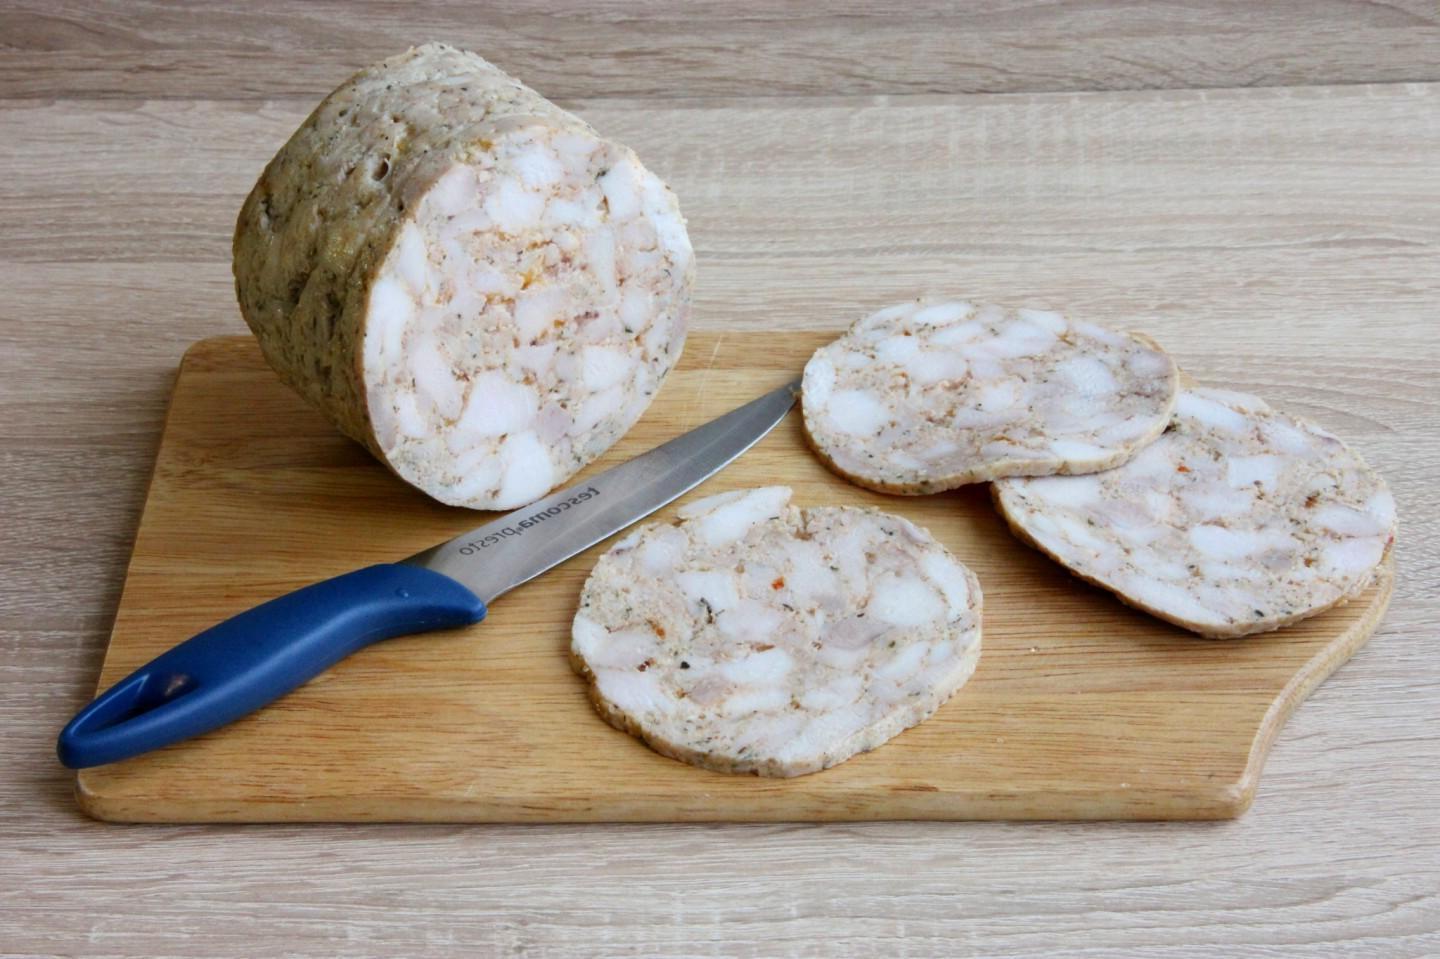
Homemade chicken ham in the ham maker is ready. It is ripe, well pressed and cuts perfectly. A more pink color will be obtained if ordinary salt is replaced with nitrite salt, but this is optional, there is no particular need for this. Slice the oven-baked chicken ham and serve. Bon appetit!