Crispy Pickled Zucchini: Finger-Lickin' Good

The fastest, simplest, most delicious, delicious! It’s not for nothing that the pickled zucchini “Finger-lickin’ good” got its name — the vegetables turn out incredibly tasty. Due to quick processing, the zucchini remains crispy, and a set of spices makes them very aromatic.
cook time: 1h
Isla Thatcher
Crispy Pickled Zucchini: Finger-Lickin' Good

Nutrition Facts (per serving)

32
Calories
8g
Carbs

Ingredients (10 portions)

For 3 cans of 860 g:

Garlic 6 clove
Bay leaf 9 pc
Zucchini 900 g
Dill to taste
Carnation 9 pc
Allspice 18 pc

For the brine:

Salt 45 g
Sugar 130 g
Water 1.5 l
Vinegar 130 ml

Recipe instructions

Step 1
Step 1
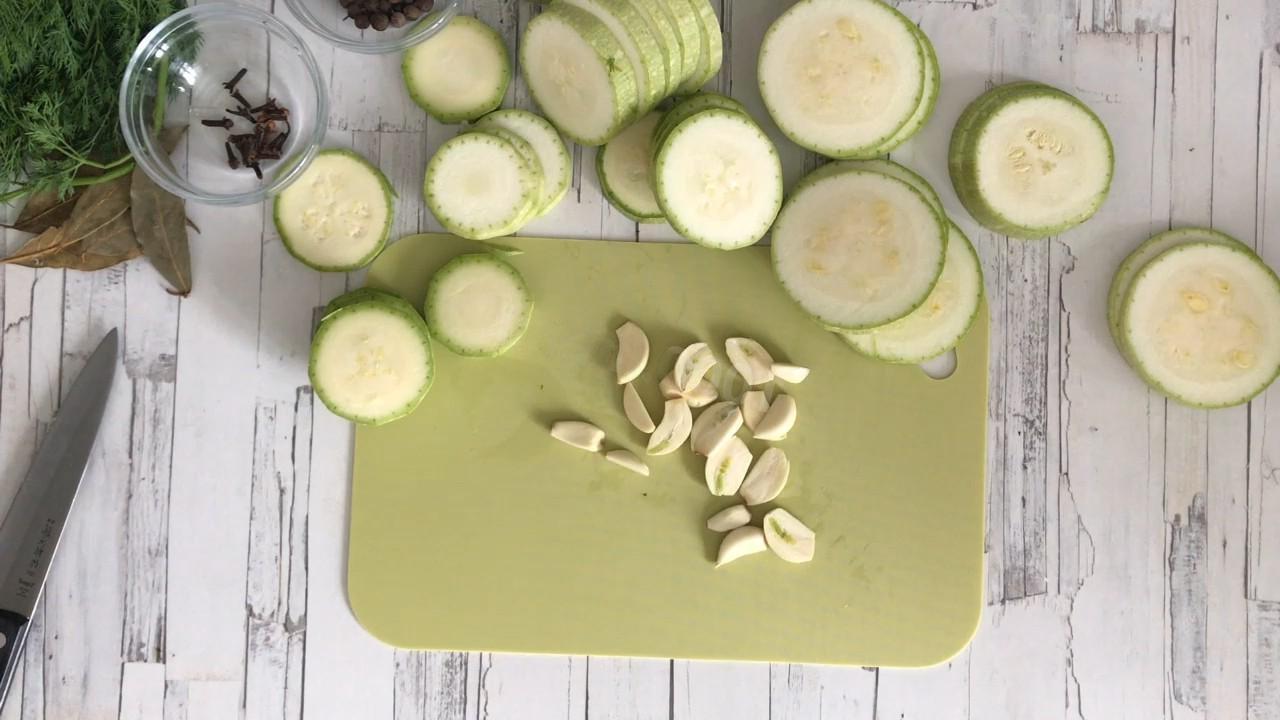
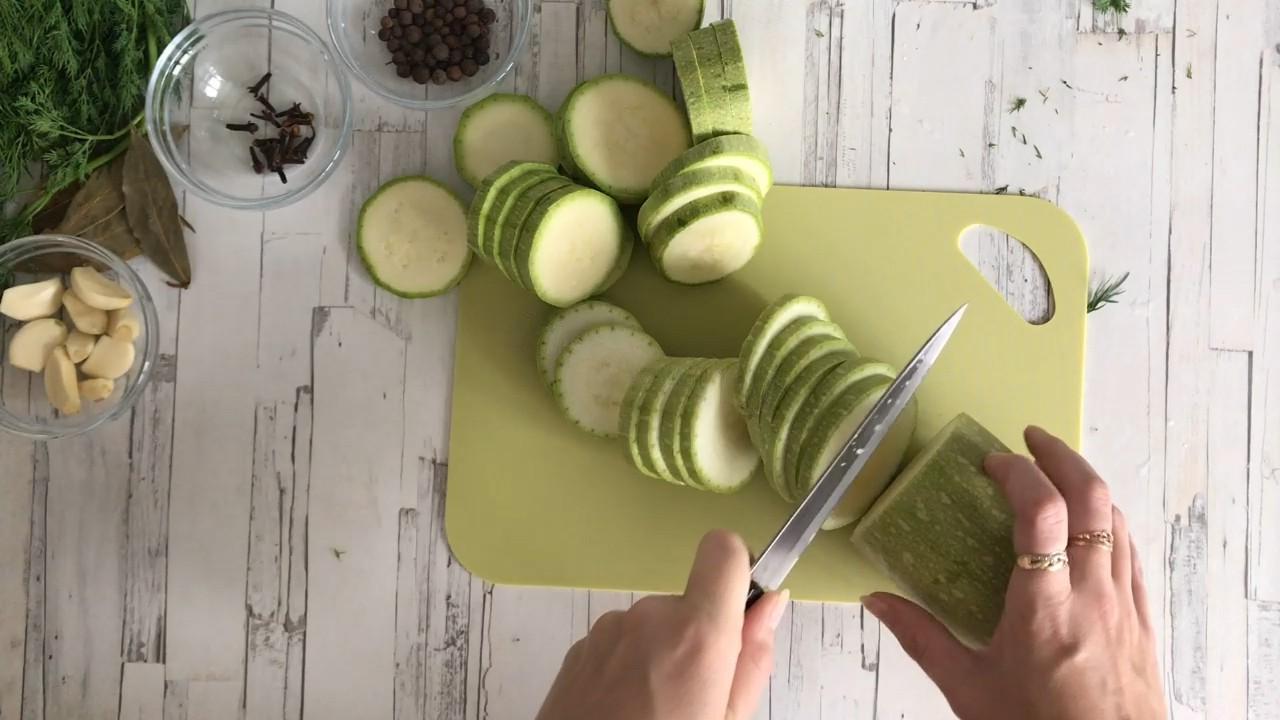
How to pickle finger-licking zucchini? Prepare your food. What kind of zucchini works best? Choose young fruits with delicate skin. These zucchini do not need to cut off the skin and cut out the seeds. Wash the zucchini and cut into slices 5 mm wide.

Step 2

Step 2
Peel the garlic, cut each clove in half lengthwise.

Step 3

Step 3
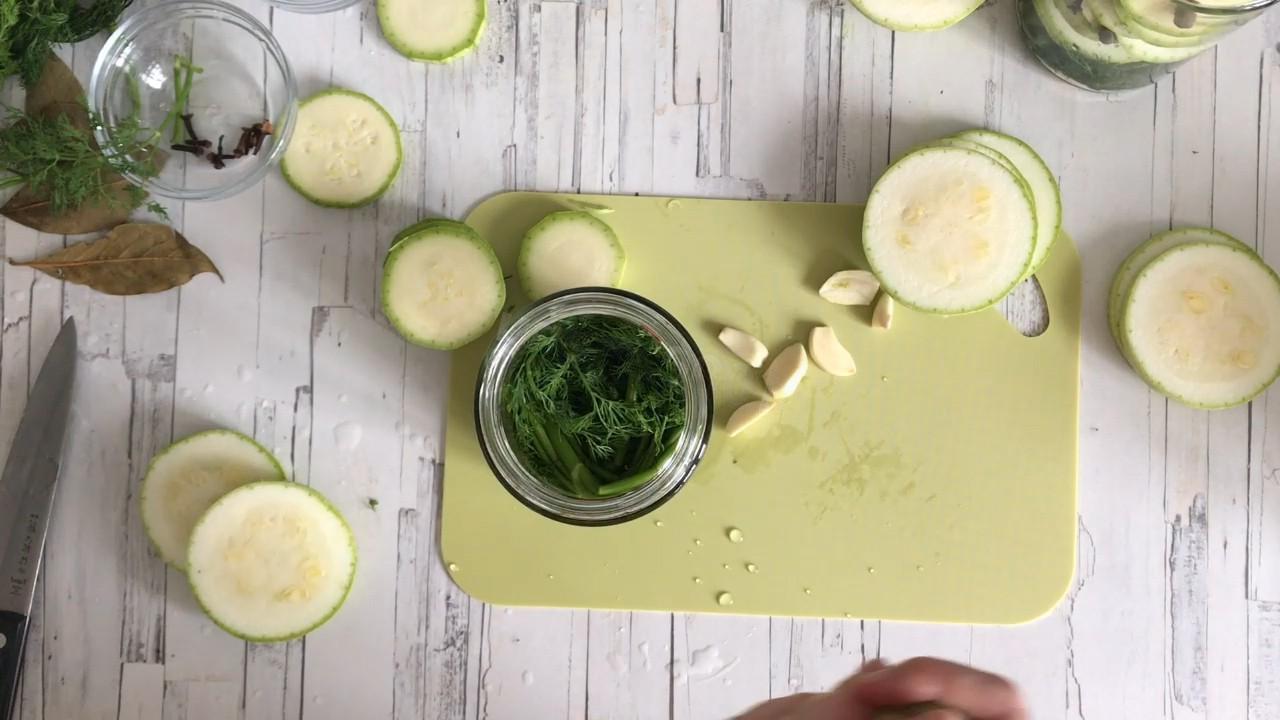
Prepare jars and lids for canning. They will need to be sterilized by any available method. For information on how to do this, follow the link at the end of the recipe. Place in each jar 3-4 sprigs of dill, 4-5 cloves of garlic, 6 allspice peas, 3 cloves, zucchini, 3 bay leaves.

Step 4

Step 4
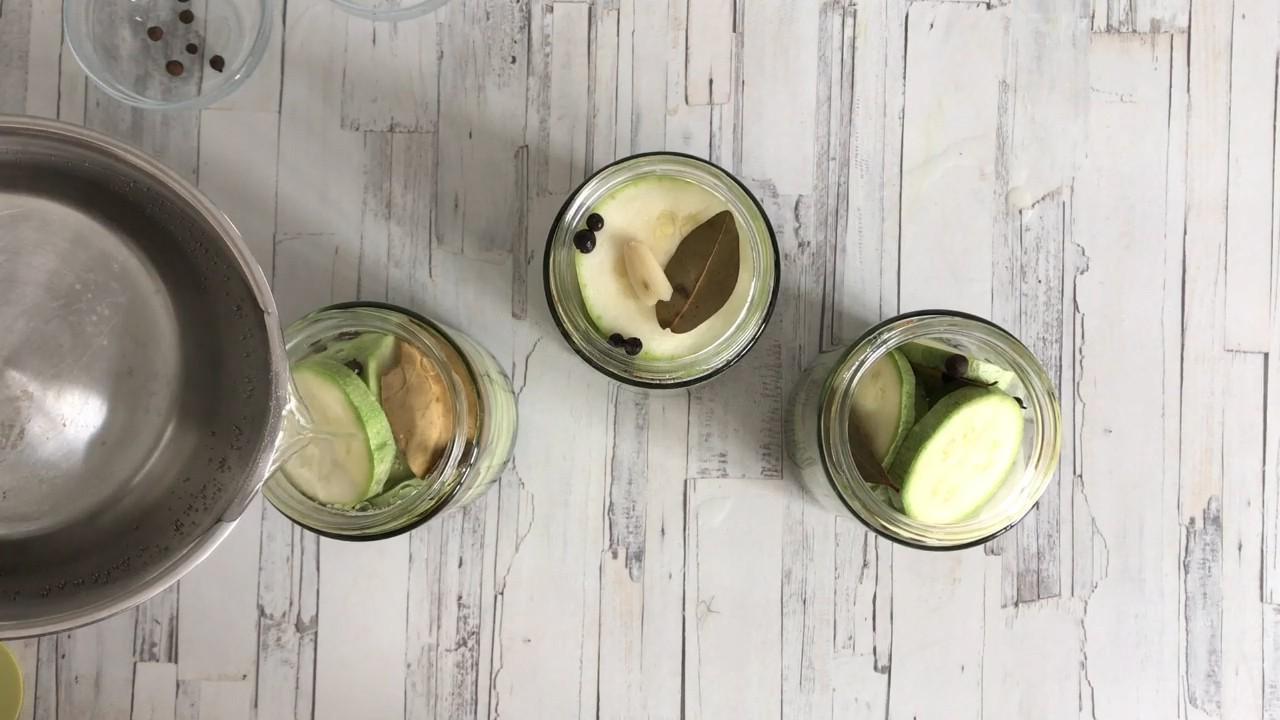
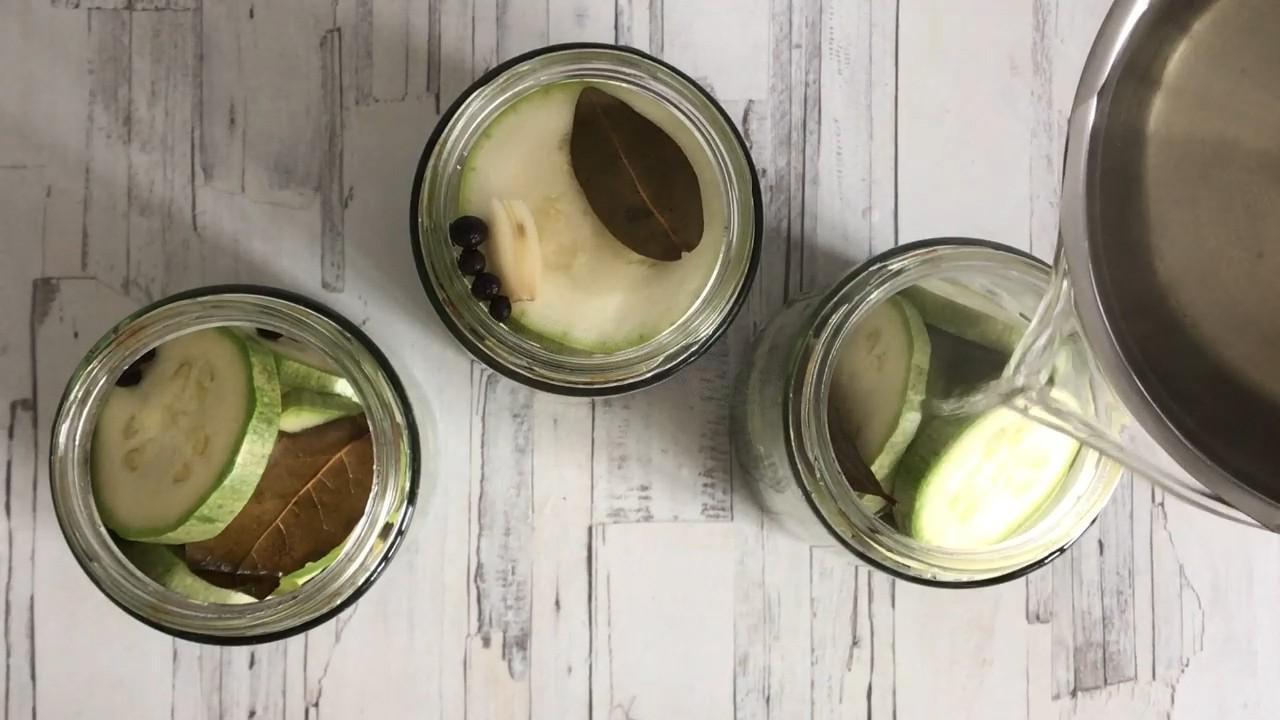
Fill the jars with zucchini with boiling water, cover the jars with lids and leave for 20 minutes.

Step 5

Step 5
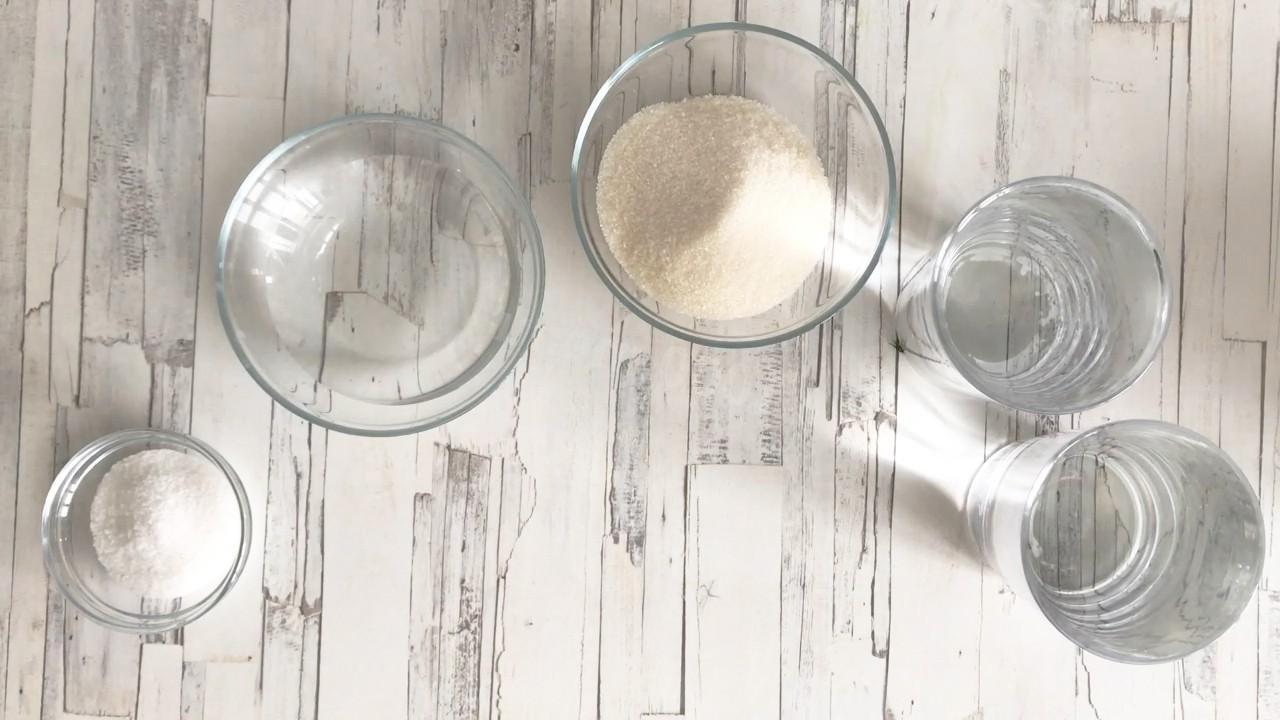
Prepare the brine.

Step 6

Step 6
How to make brine? Pour water into the pan, add sugar, salt and vinegar. Bring the brine to a boil.

Step 7

Step 7
Drain the water from the zucchini.

Step 8

Step 8
Fill the jars to the top with hot brine. Close the jars with lids.

Step 9

Step 9
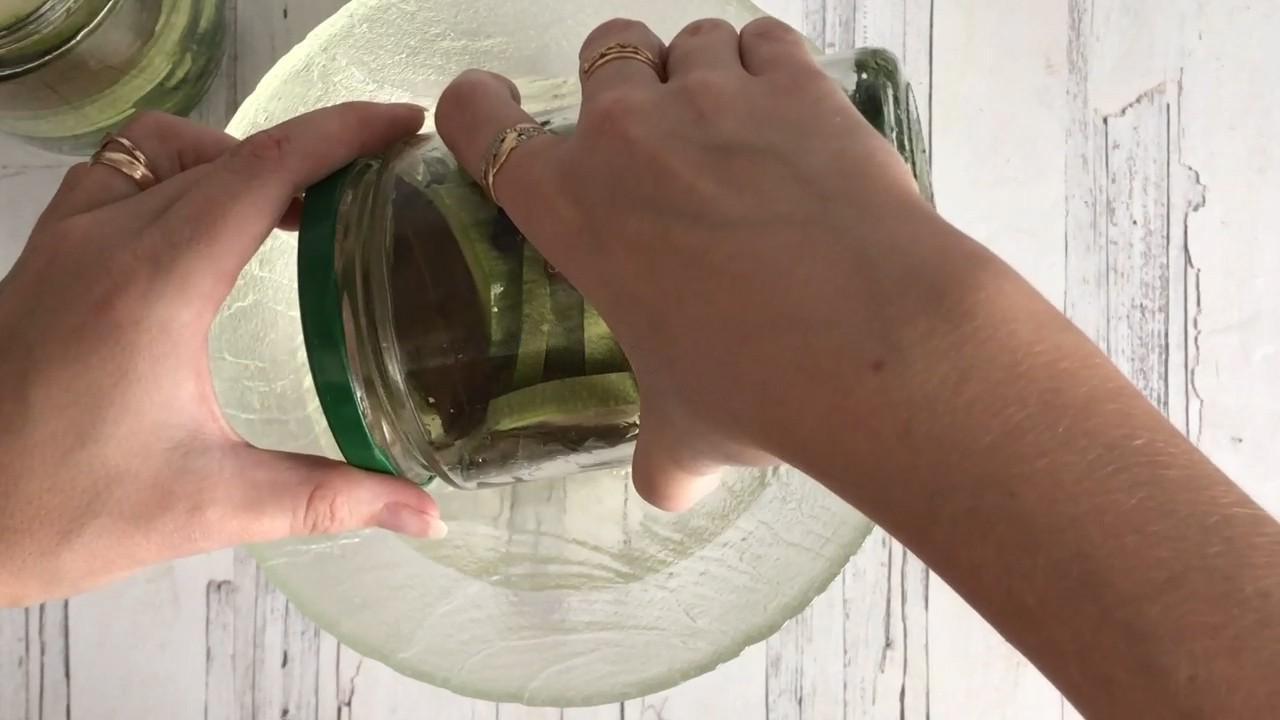
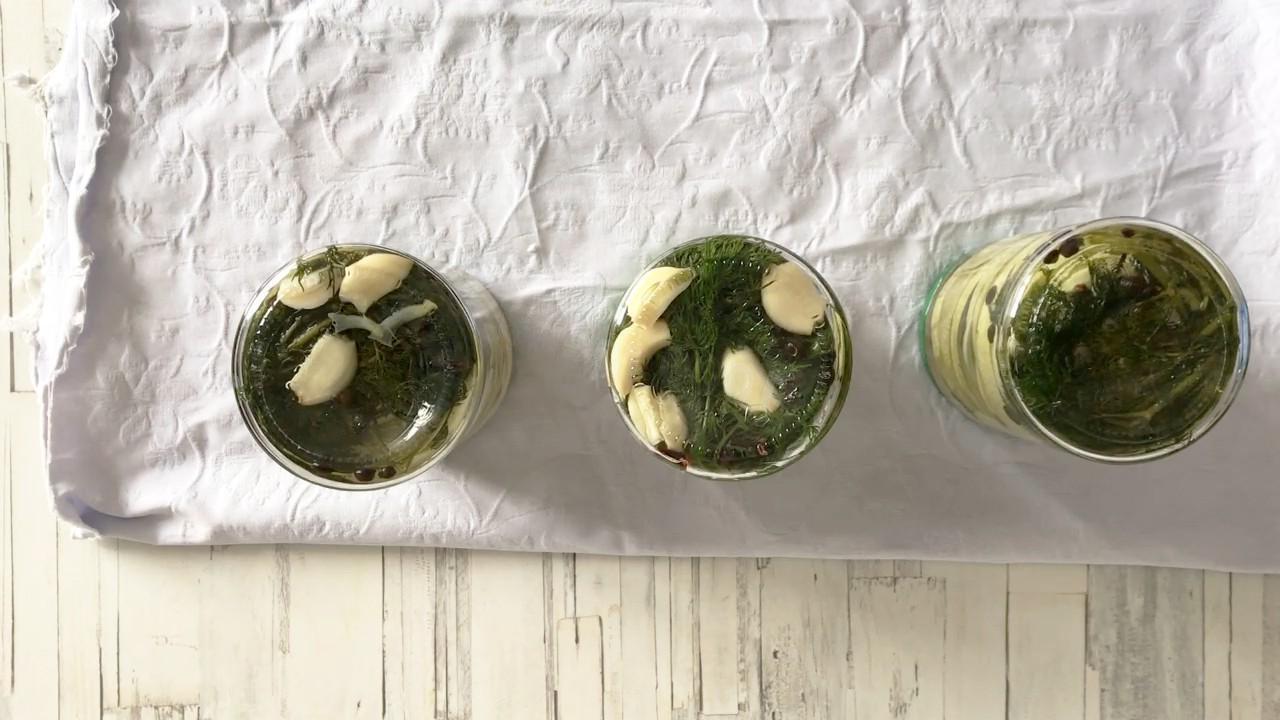
Turn the jars over, wrap them and leave until completely cool. This way you will additionally sterilize the lids and check the tightness. After this, remove the workpieces to a cool, dark place for storage. In a couple of weeks, the workpiece will be ready to serve. Bon appetit!