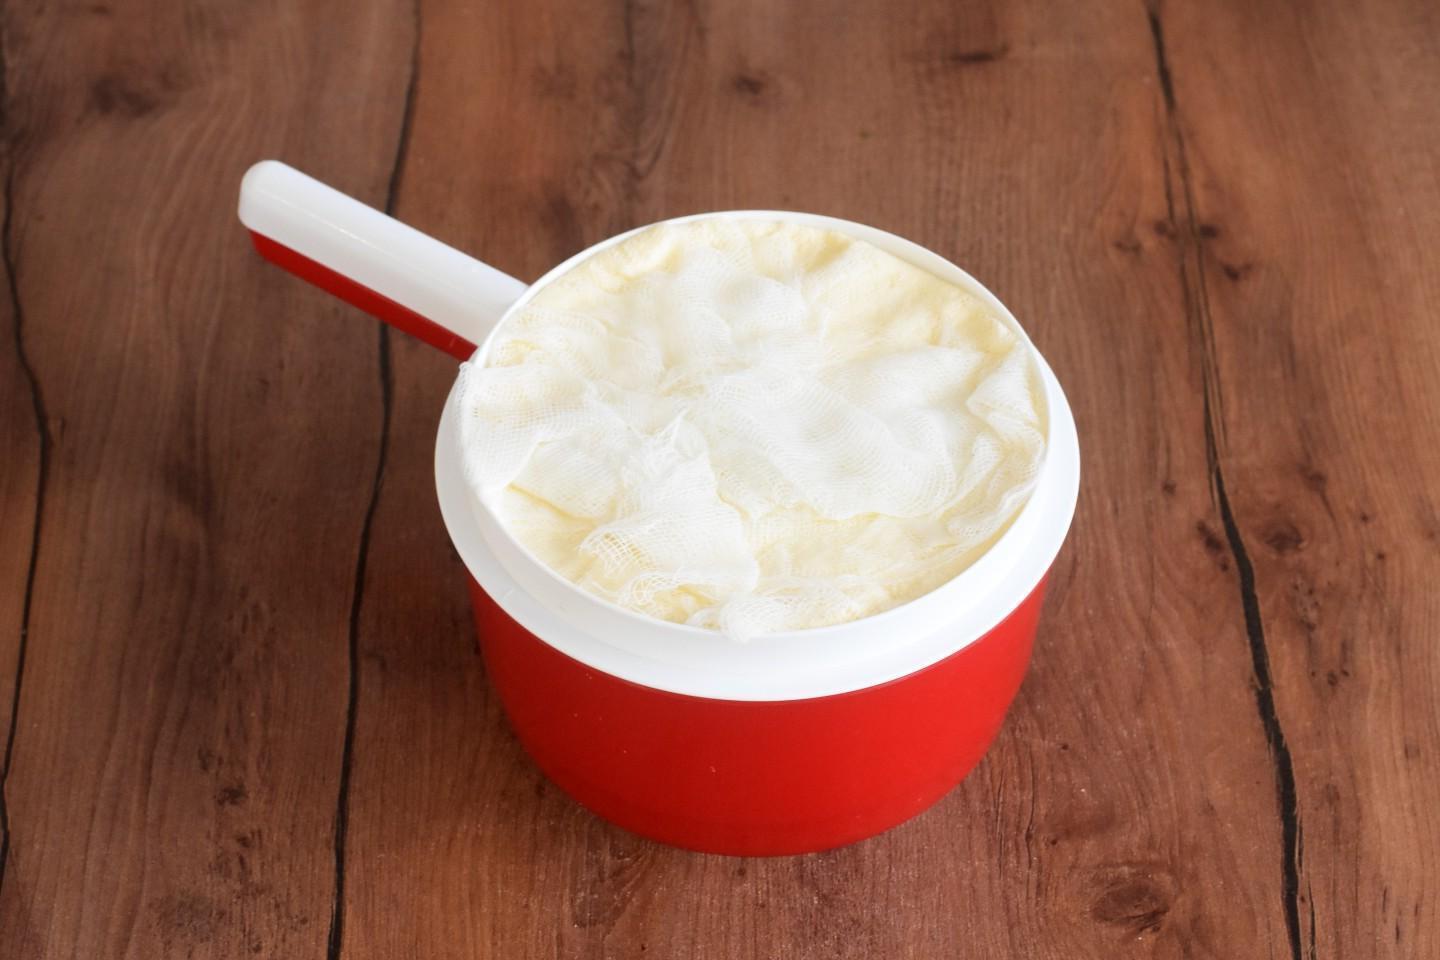
Easy Homemade Egg and Milk Cheese

Budget-friendly, fast, with a delicate texture and pleasant taste. Homemade cheese made from milk and eggs is ideal for breakfast sandwiches or an afternoon snack. A liter of cottage cheese and five eggs yield almost 1 kg of finished cheese. The cooking process is so simple that even a beginner in cheese making can handle it.
cook time: 48h
Gavin Tanner
Easy Homemade Egg and Milk Cheese

Nutrition Facts (per serving)

88
Calories
5g
Fat
4g
Carbs
5g
Protein

Ingredients (6 portions)

Basic:

Salt (or more to taste) 0.25 tsp
Milk (whole fat from 4% and above) 1 l
Eggs (large) 5 pc
Lemon acid 0.5 tsp

Recipe instructions

Step 1
Step 1
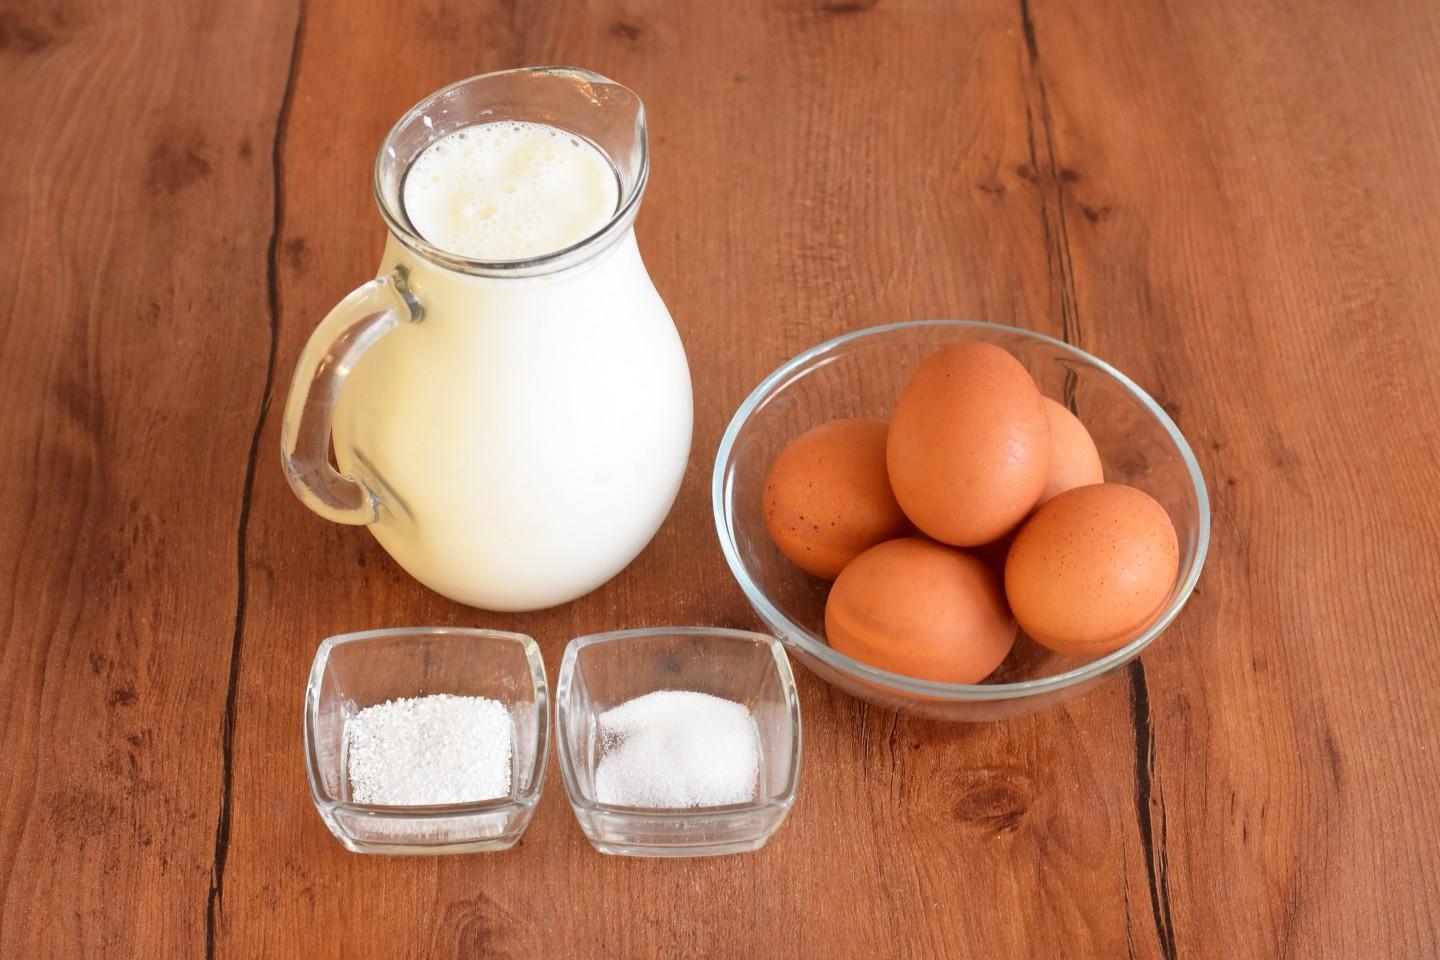
How to make homemade cheese from milk and eggs? Prepare the necessary ingredients. Farm milk with a high fat content is best. It is advisable to take milk that is slightly sour, not fresh. It can also be made from store-bought pasteurized milk with a fat content of 4%. Take large, selected eggs. Take 6 small ones. You can adjust the amount of salt to your taste. You can add aromatic herbs, pieces of olives or sun-dried tomatoes to the cheese.

Step 2

Step 2
Beat the eggs into a bowl. Add salt. Beat everything with a whisk until smooth and the whites and yolks are completely combined. For information on how to choose eggs, see the separate article at the end of the recipe below the steps.

Step 3

Step 3
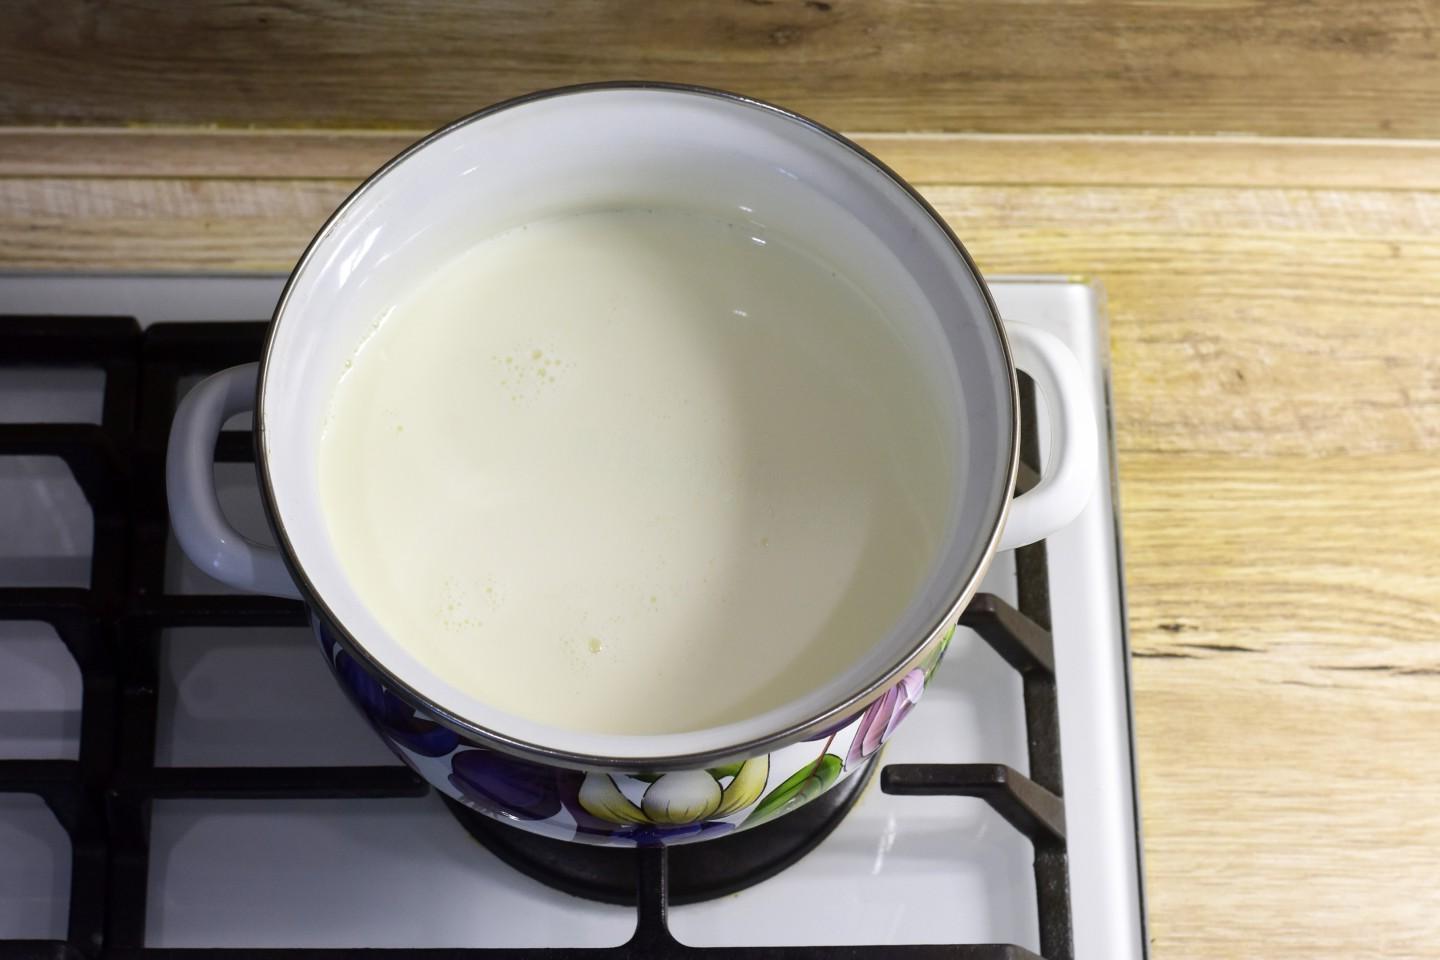
Pour the full fat milk into the pan. Place the pan over medium heat and heat the milk, stirring constantly, but do not bring it to a boil. The article on saucepans, link at the end of the recipe, will help you choose the ideal pan.

Step 4

Step 4
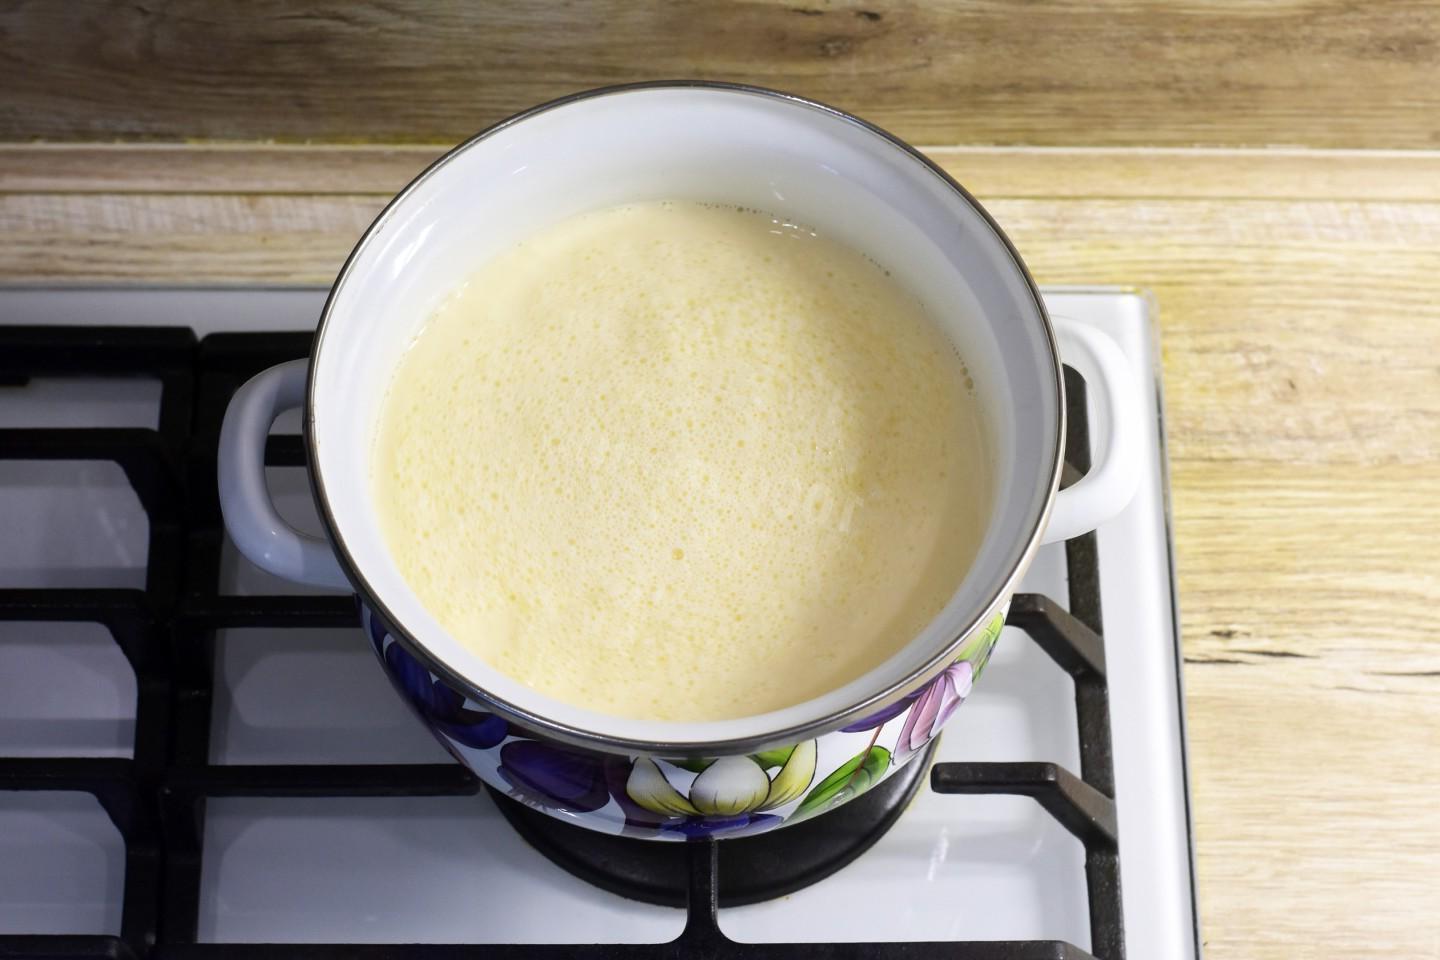
While stirring constantly, pour the beaten eggs into the hot milk and add citric acid. If you want the cheese to be as homogeneous as possible, with a beautiful yellowish tint, it is better to stir with a whisk at first. Citric acid can be replaced with two tablespoons of lemon juice or vinegar.

Step 5

Step 5
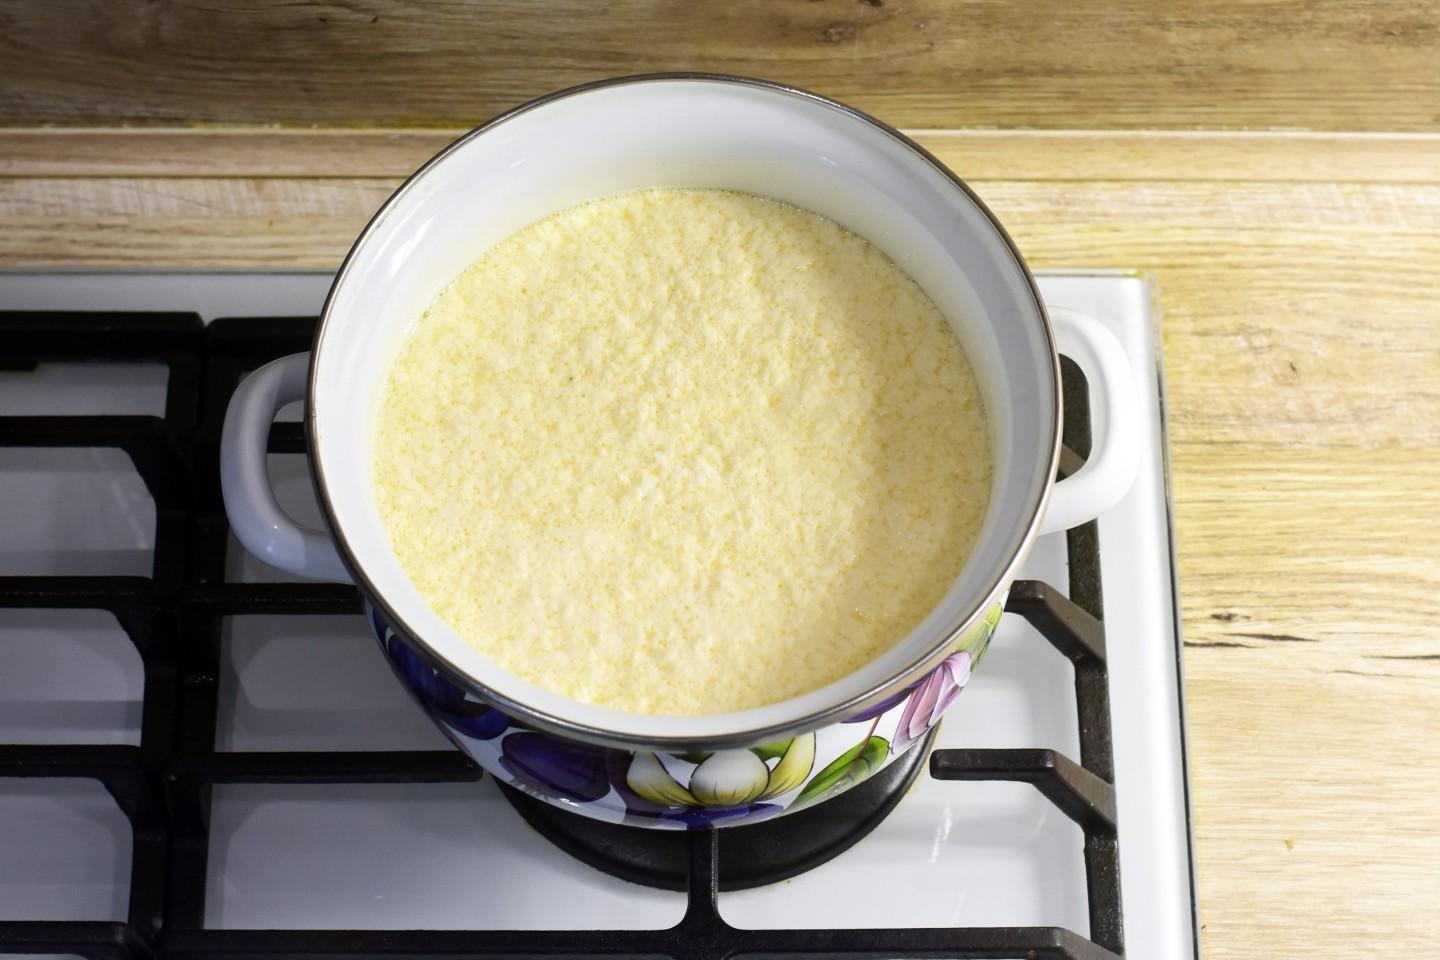
Boil over low heat until the curd mass curdles: clots begin to appear in the milk and whey separates. When sufficiently noticeable cheese flakes appear on the surface, replace the whisk with a spoon or spatula and stir carefully so as not to damage the cheese grain. Turn off the heat. Cool the contents of the pan slightly at room temperature.

Step 6

Step 6
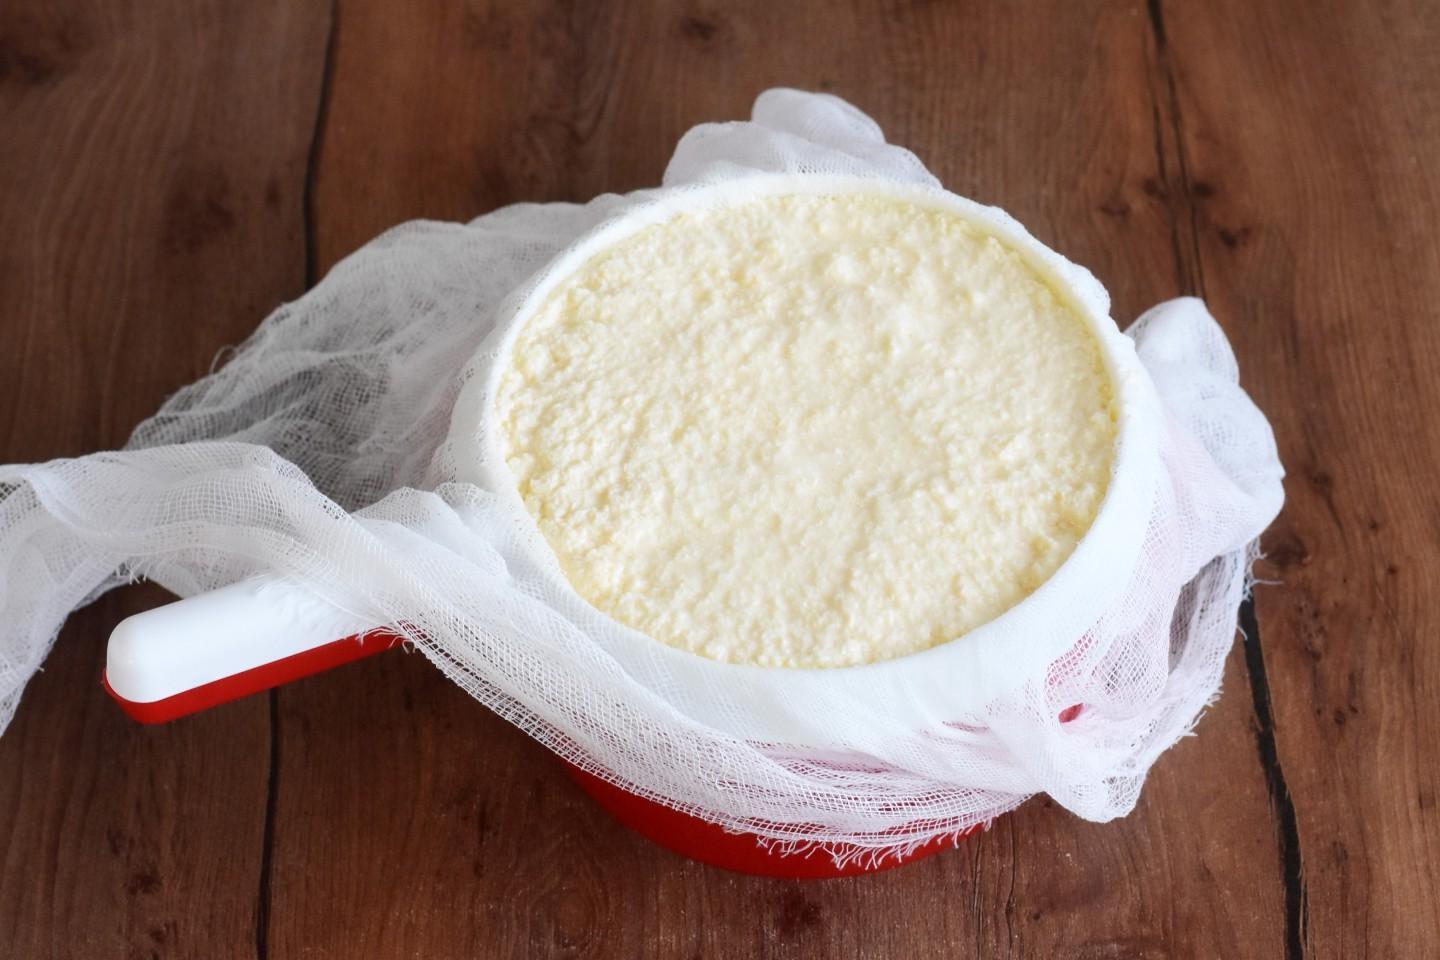
Place a sieve or cheese pan over a deep bowl and cover with gauze folded in half. Carefully pour the contents of the pan into a sieve. Wait until all the whey has drained into the bowl. In this case, the clots must not be mixed or deformed in any way. Just press down lightly with a spoon, removing excess moisture, and smooth so that the cheese is better compressed.

Step 7

Step 7
Cover the cheese with gauze on top. Place the cheese in the refrigerator. After 1-2 days, the consistency of the cheese will be soft, it can be spread on bread. After 3-4 days, the cheese will thicken and can be cut with a knife. But it will still be tender and soft.

Step 8

Step 8
Store cheese in cheesecloth in the refrigerator for no longer than a week. Bon appetit!

Additional rubrics