Decadent Duo Sponge Cake

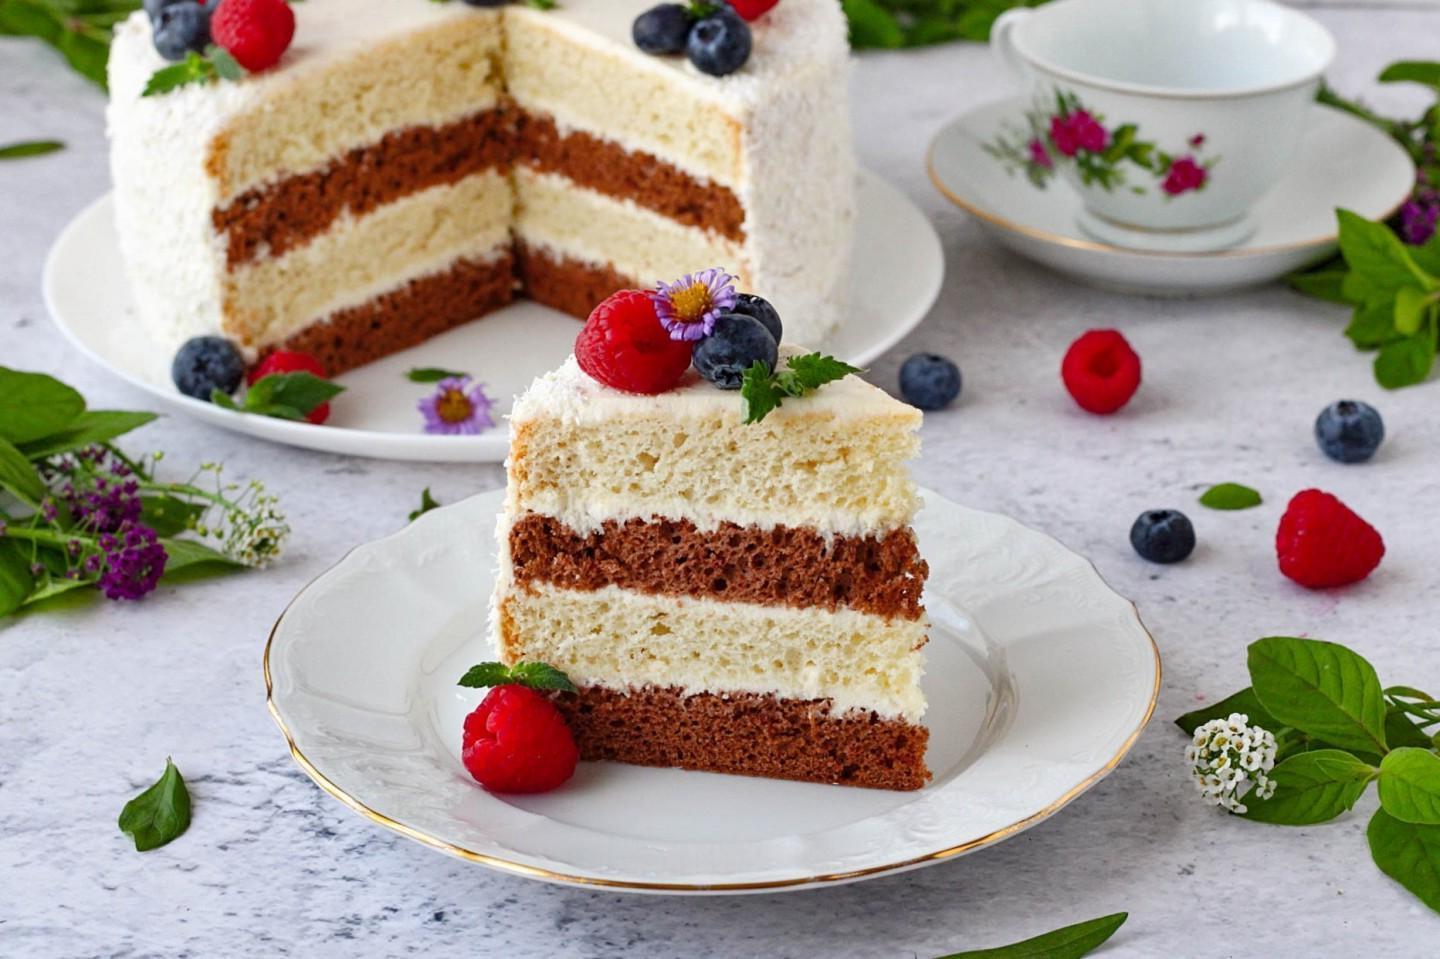
Tender, airy, delicious! For a festive tea party! Sour cream classic cake consists of two types of sponge cakes — chocolate and vanilla. In combination with the simplest, but very tasty cream, you get an incredibly tender and juicy dessert! Be sure to let the cake soak!
cook time: 24h
Gavin Tanner
Decadent Duo Sponge Cake

Nutrition Facts (per serving)

248
Calories
12g
Fat
27g
Carbs
6g
Protein

Ingredients (9 portions)

For the vanilla sponge cake:

Salt to taste
Sugar 90 g
Wheat flour 95 g
Eggs 3 pc
Vanilla sugar 10 g

For the chocolate sponge cake:

Salt to taste
Sugar 90 g
Wheat flour 80 g
Cocoa 15 g
Eggs 3 pc

For cream:

Sour cream 600 g
Powdered sugar 35 g
Vanilla sugar 0.5 tsp

Recipe instructions

Step 1
Step 1
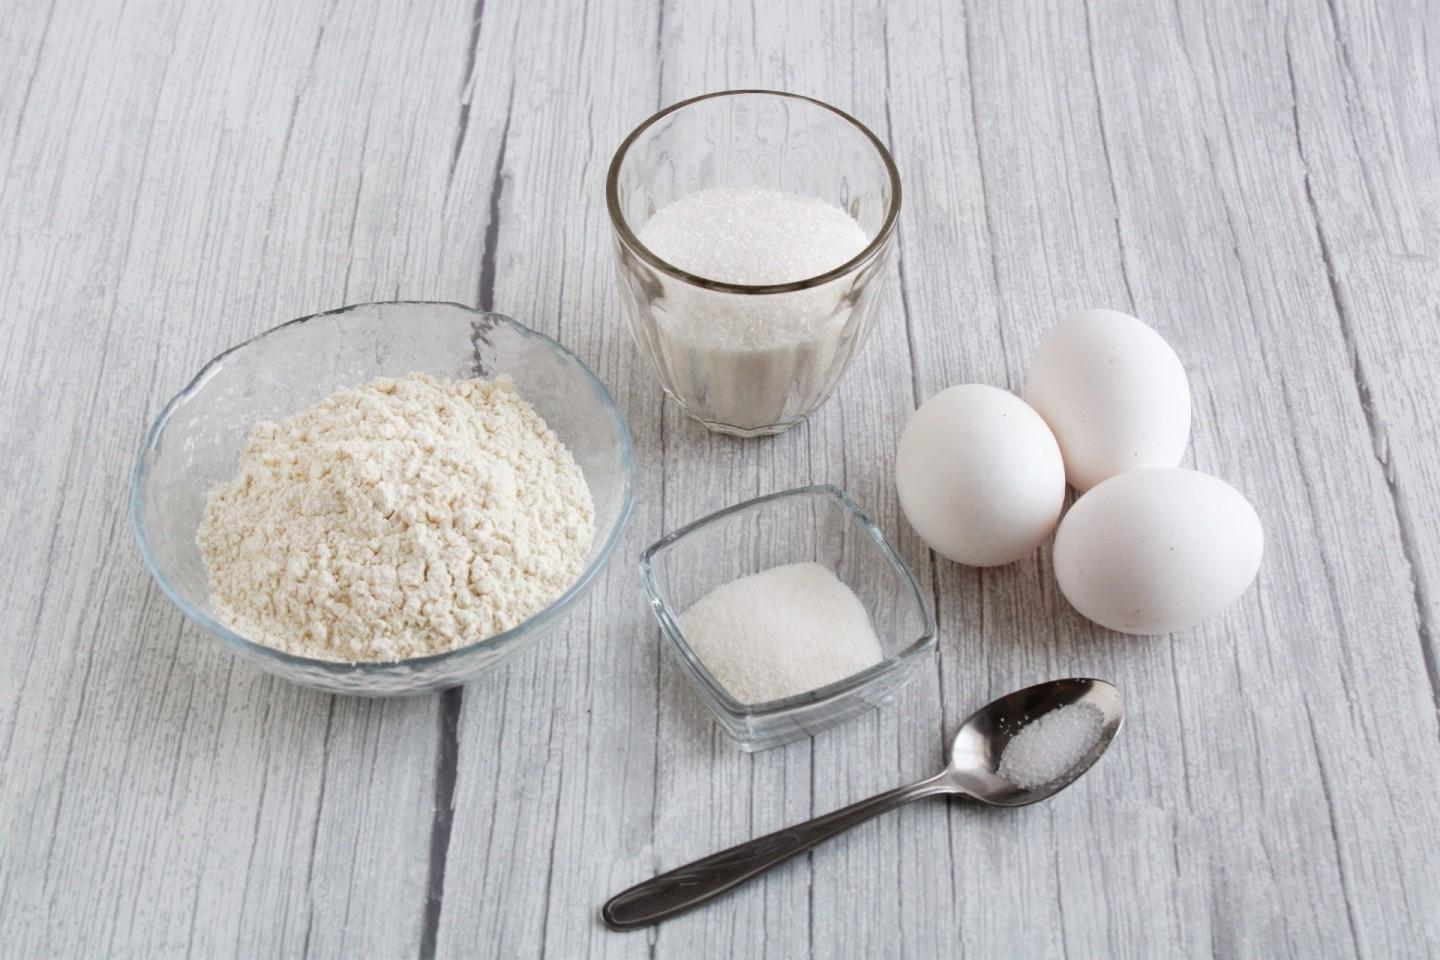
How to make a classic sour cream cake? For it you need to bake two biscuits. Measure out the required ingredients for the vanilla cake. Take large eggs, not lower than the first category.

Step 2

Step 2
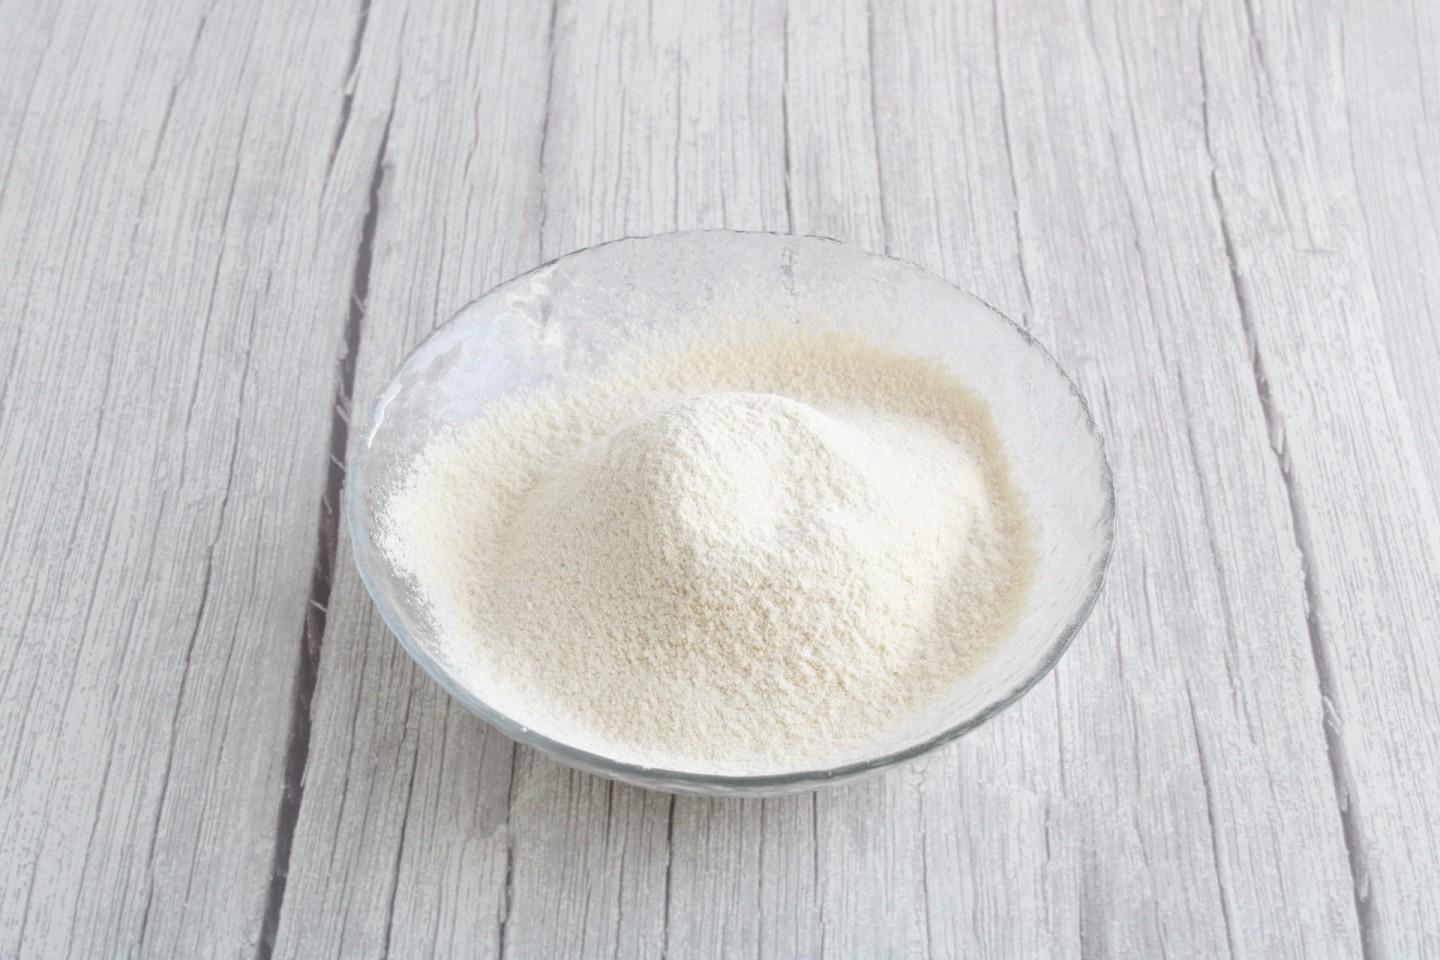
Be sure to sift the flour. For a classic sponge cake, the saturation of flour with oxygen is very important. This will increase the airiness of the sponge and its rise.

Step 3

Step 3
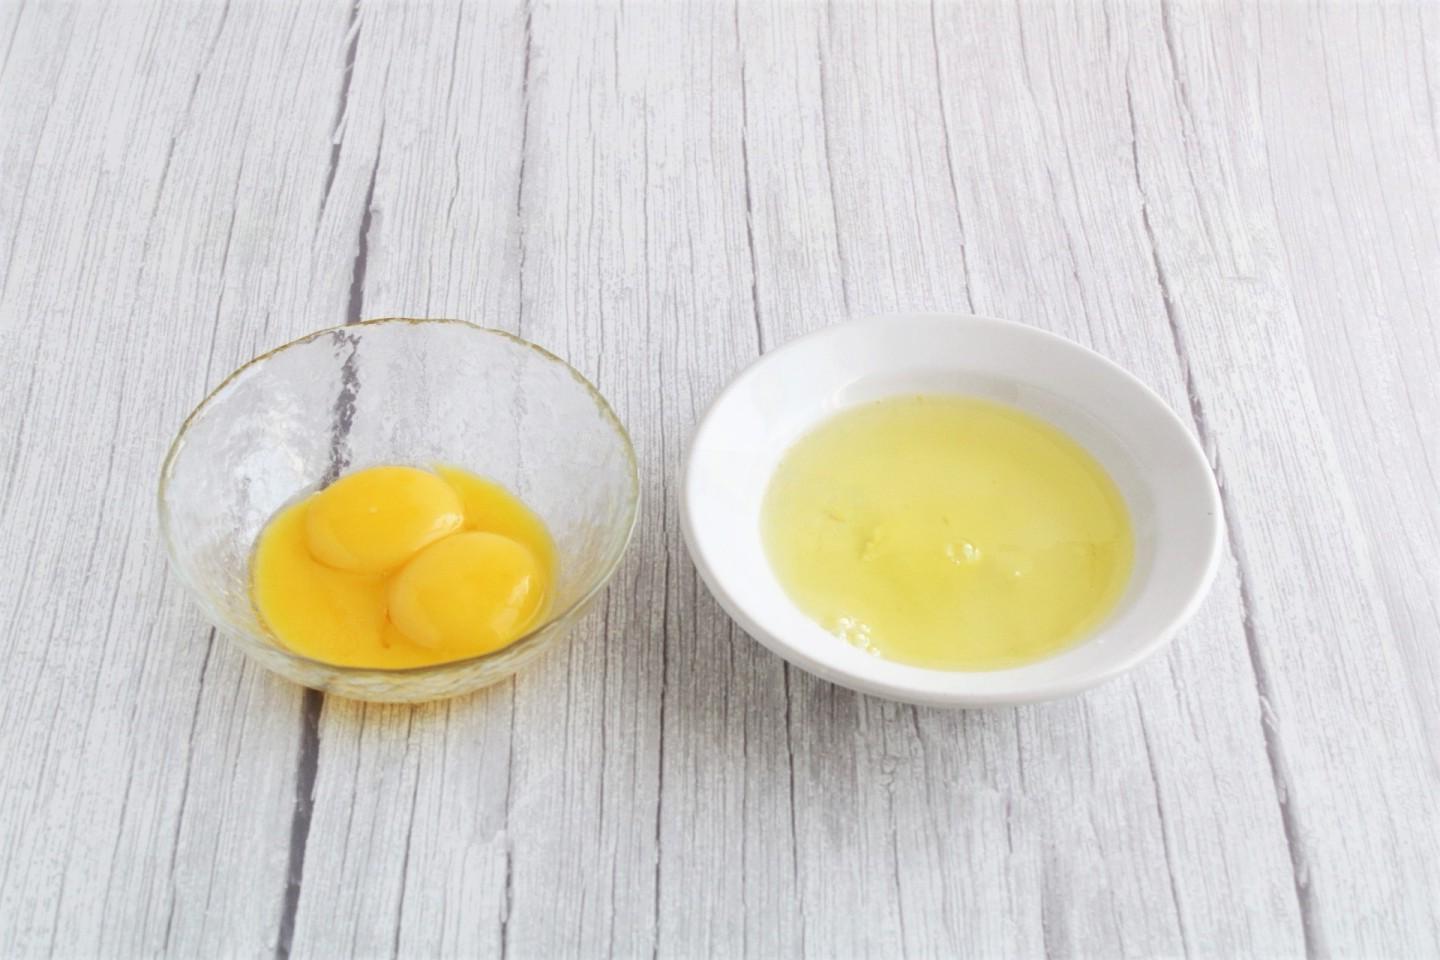
Wash the eggs and dry them well. Carefully separate the eggs into whites and yolks. Not a drop of yolk should get into the whites, otherwise it will be impossible to obtain a stable protein foam when whipping.

Step 4

Step 4
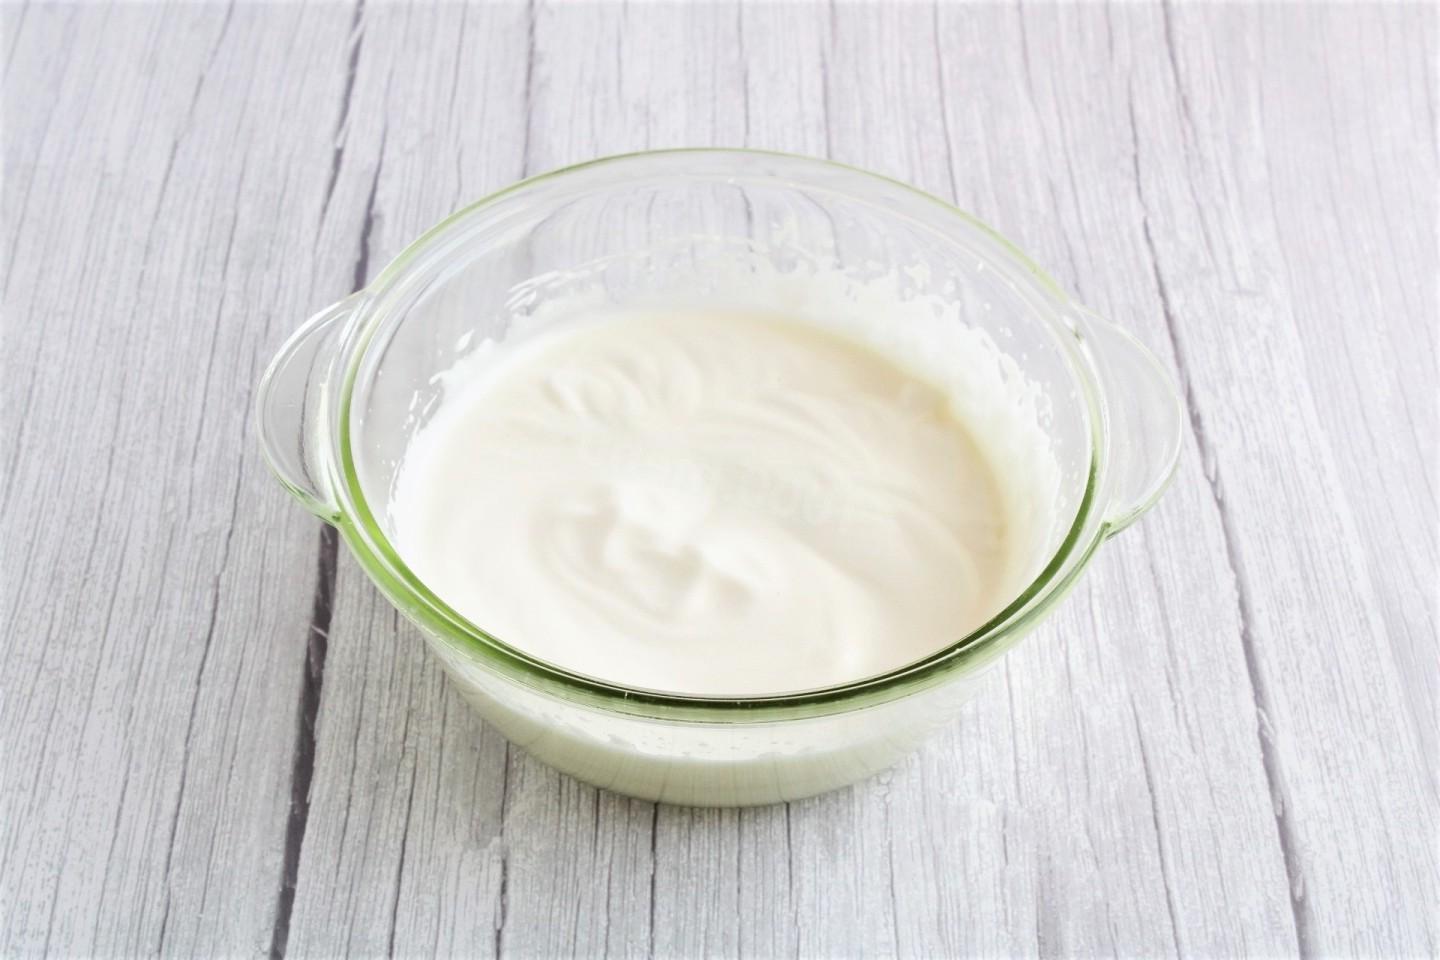
At high mixer speed, beat the yolks with half the amount of sugar and vanilla sugar for 5-6 minutes until a dense light mass.

Step 5

Step 5
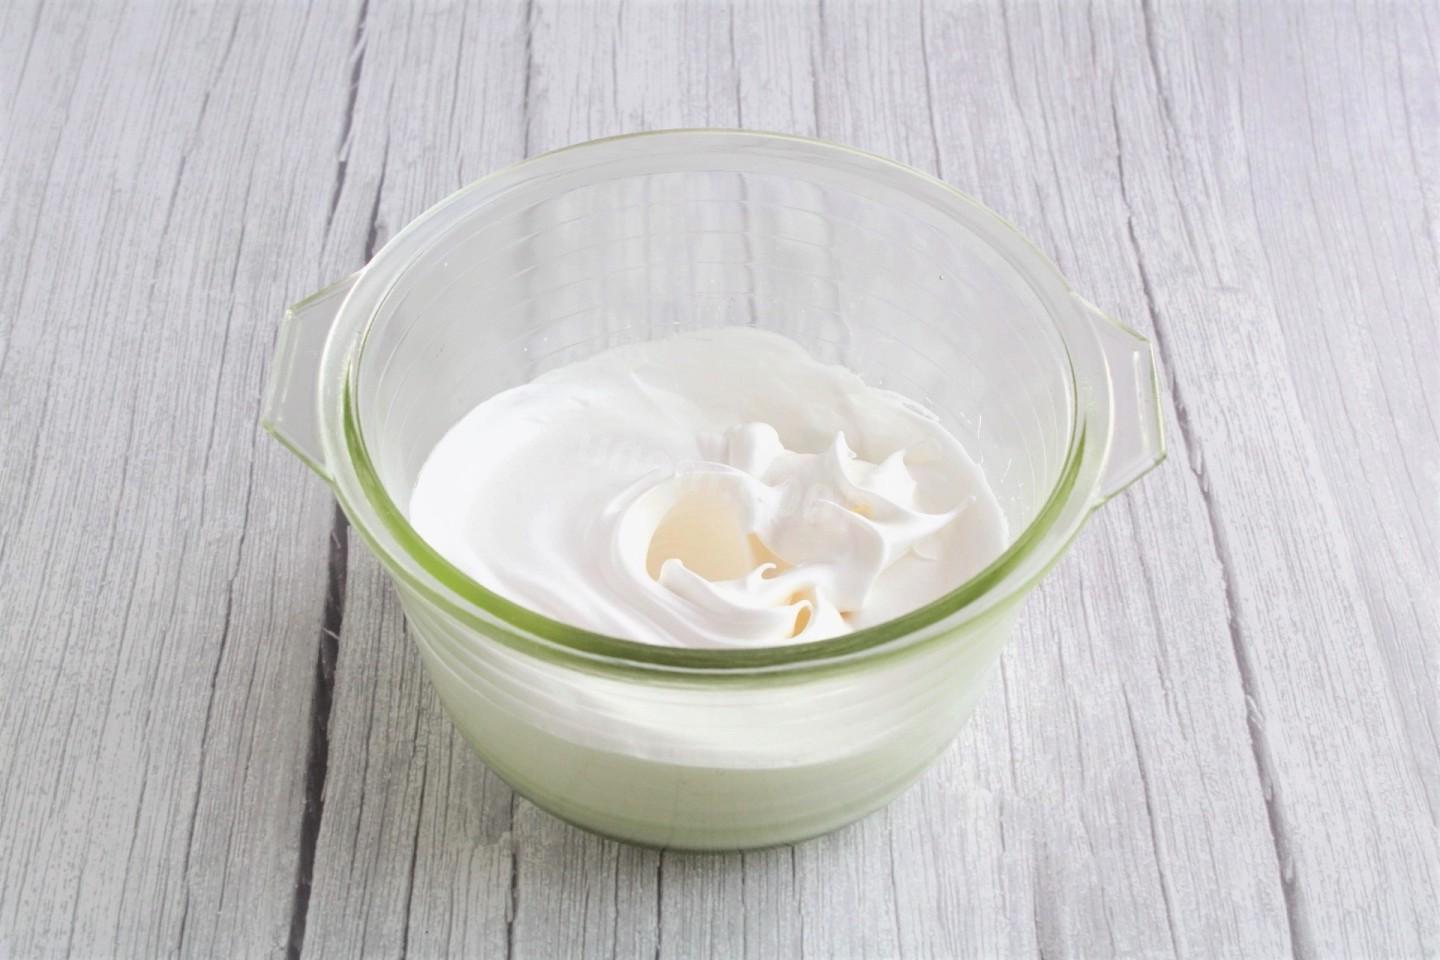
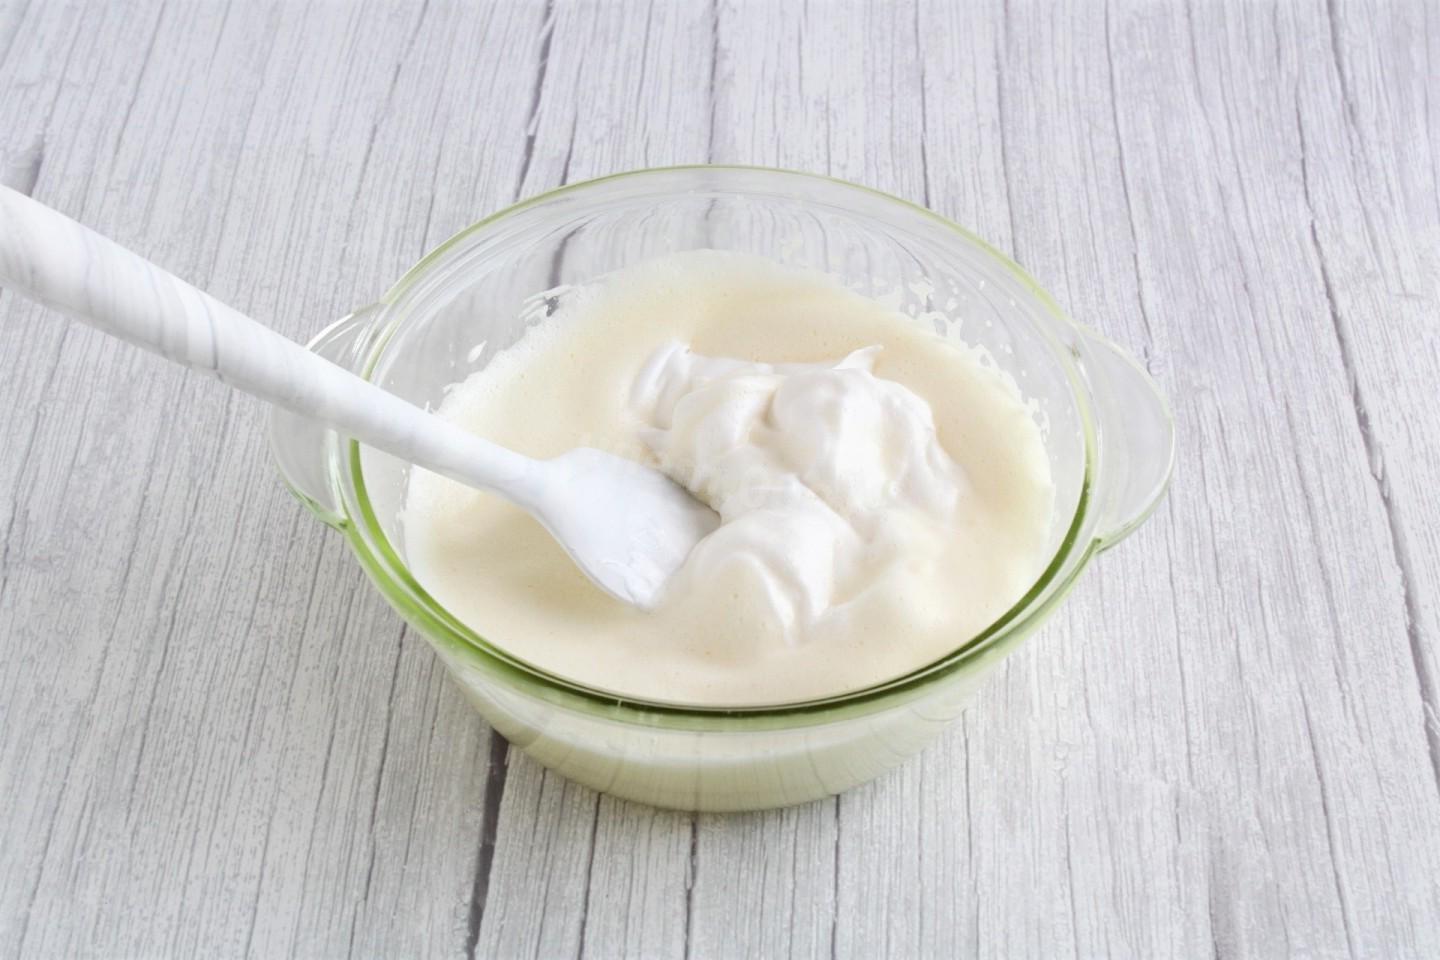
In a clean, dry, grease-free container, beat the egg whites with salt. Salt helps increase the stability of the protein foam. Begin beating on low speed until the whites thicken slightly. Without stopping whipping, add the remaining sugar in parts. Gradually increase the mixer speed to maximum. As a result, a stable, dense protein foam should form, which, when the container is turned over, is absolutely motionless.

Step 6

Step 6
Fold the whites into the yolk mixture little by little. Do this with a spatula very carefully, scooping from bottom to top, to keep the whites as airy as possible.

Step 7

Step 7
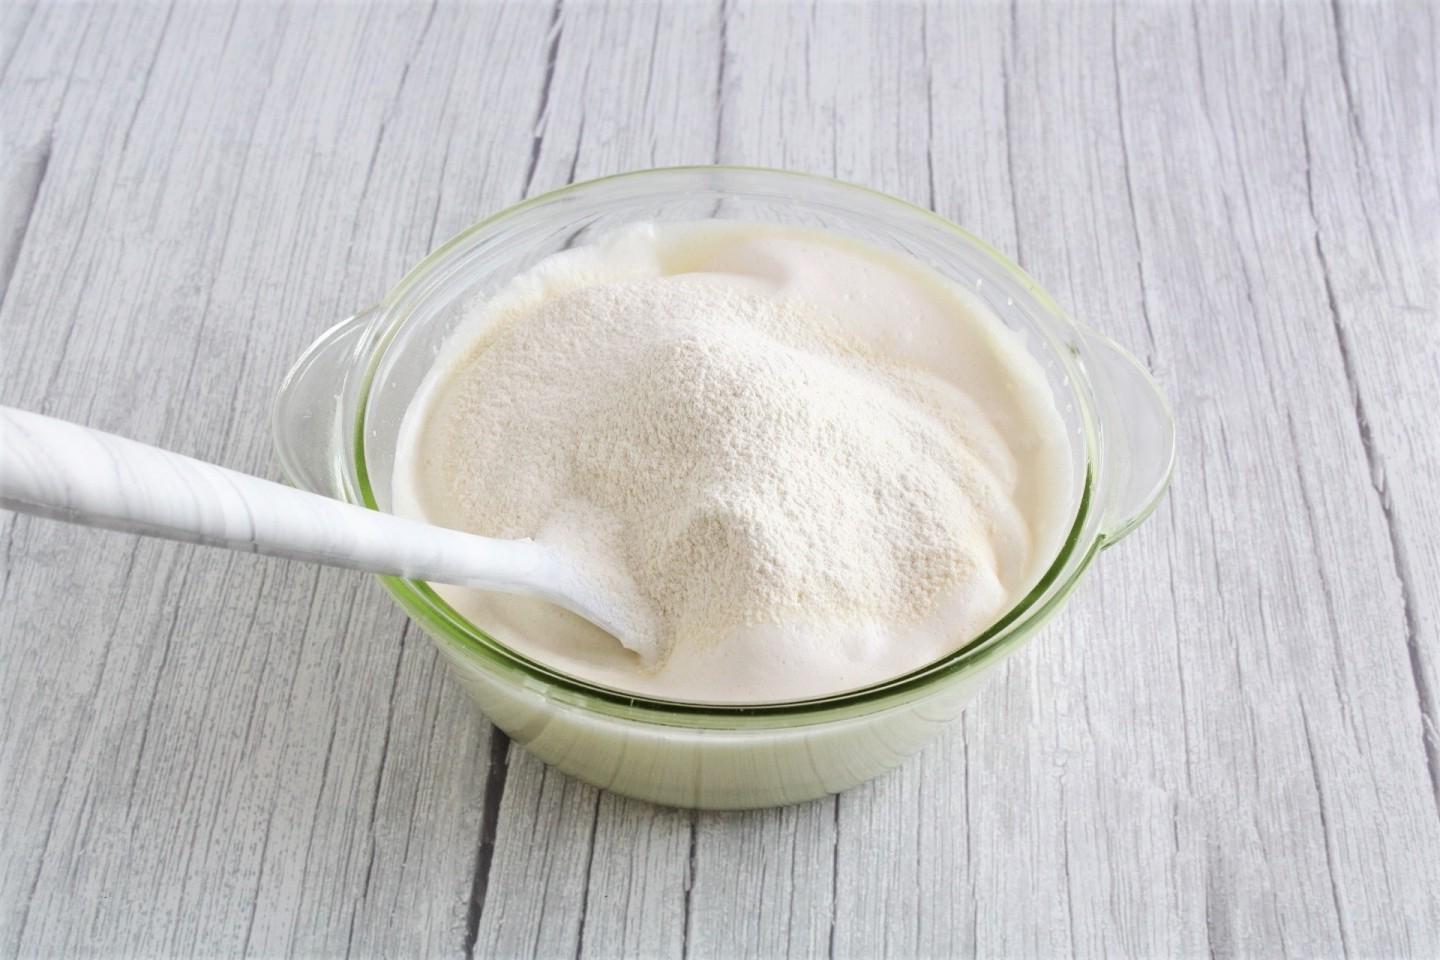
Gradually add sifted flour into the dough. I do this again through a sieve, thereby sifting the flour twice. Mix the dough carefully until it is completely homogeneous. There is no need to stir for a long time so that the air bubbles are preserved as much as possible.

Step 8

Step 8
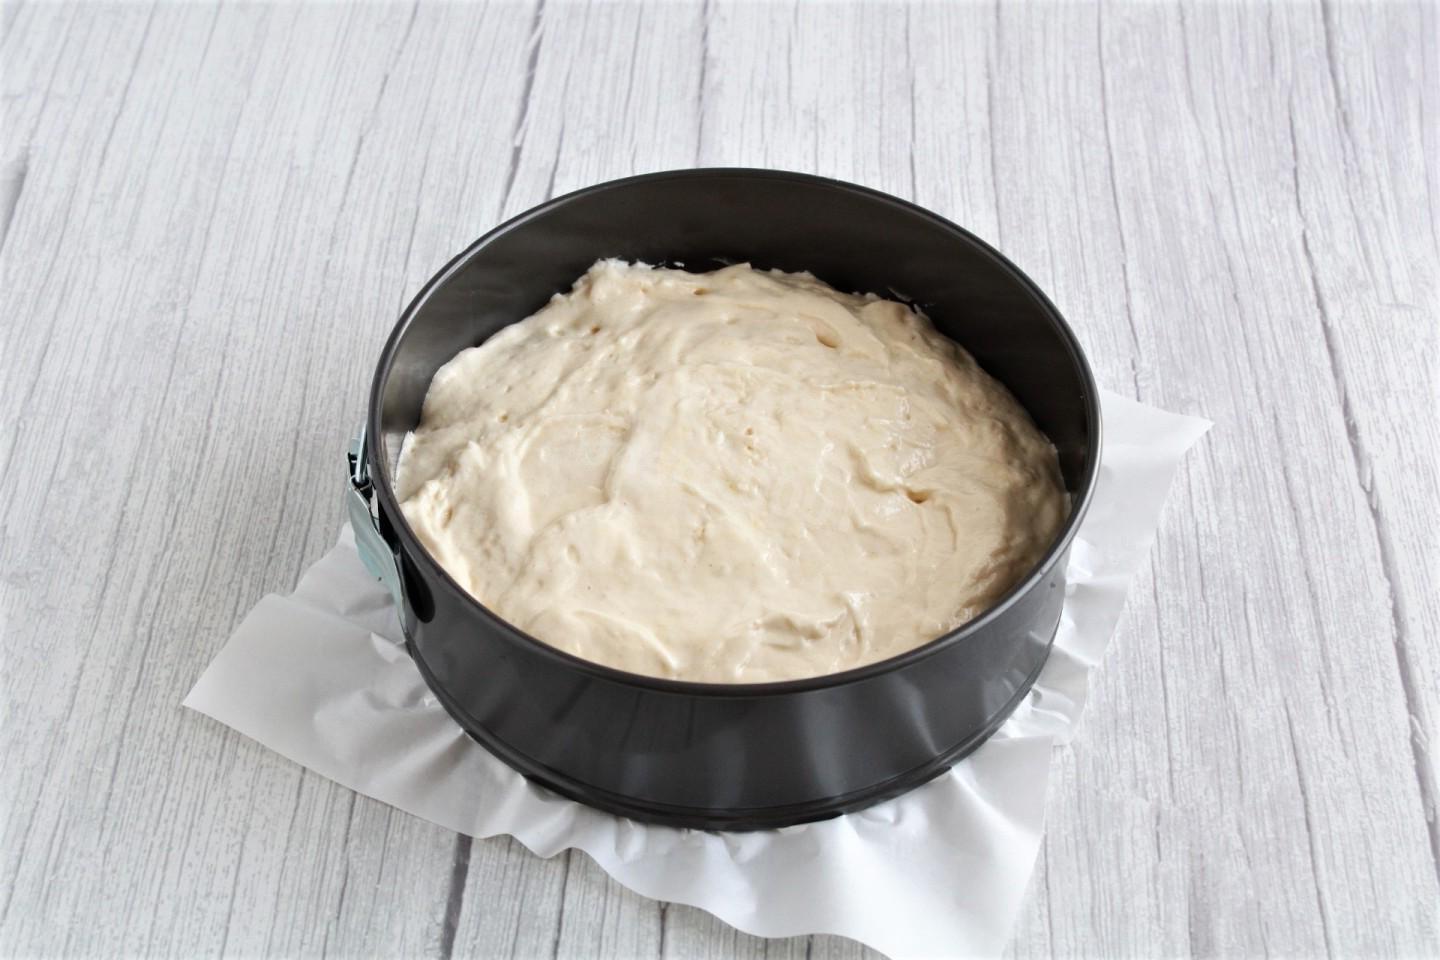
The result is a homogeneous, airy dough.

Step 9

Step 9
Cover the bottom of a baking dish (d=20-22 cm) with parchment. There is no need to grease the walls of the mold. This way the dough will rise better, as if clinging to the sides of the pan.

Step 10

Step 10
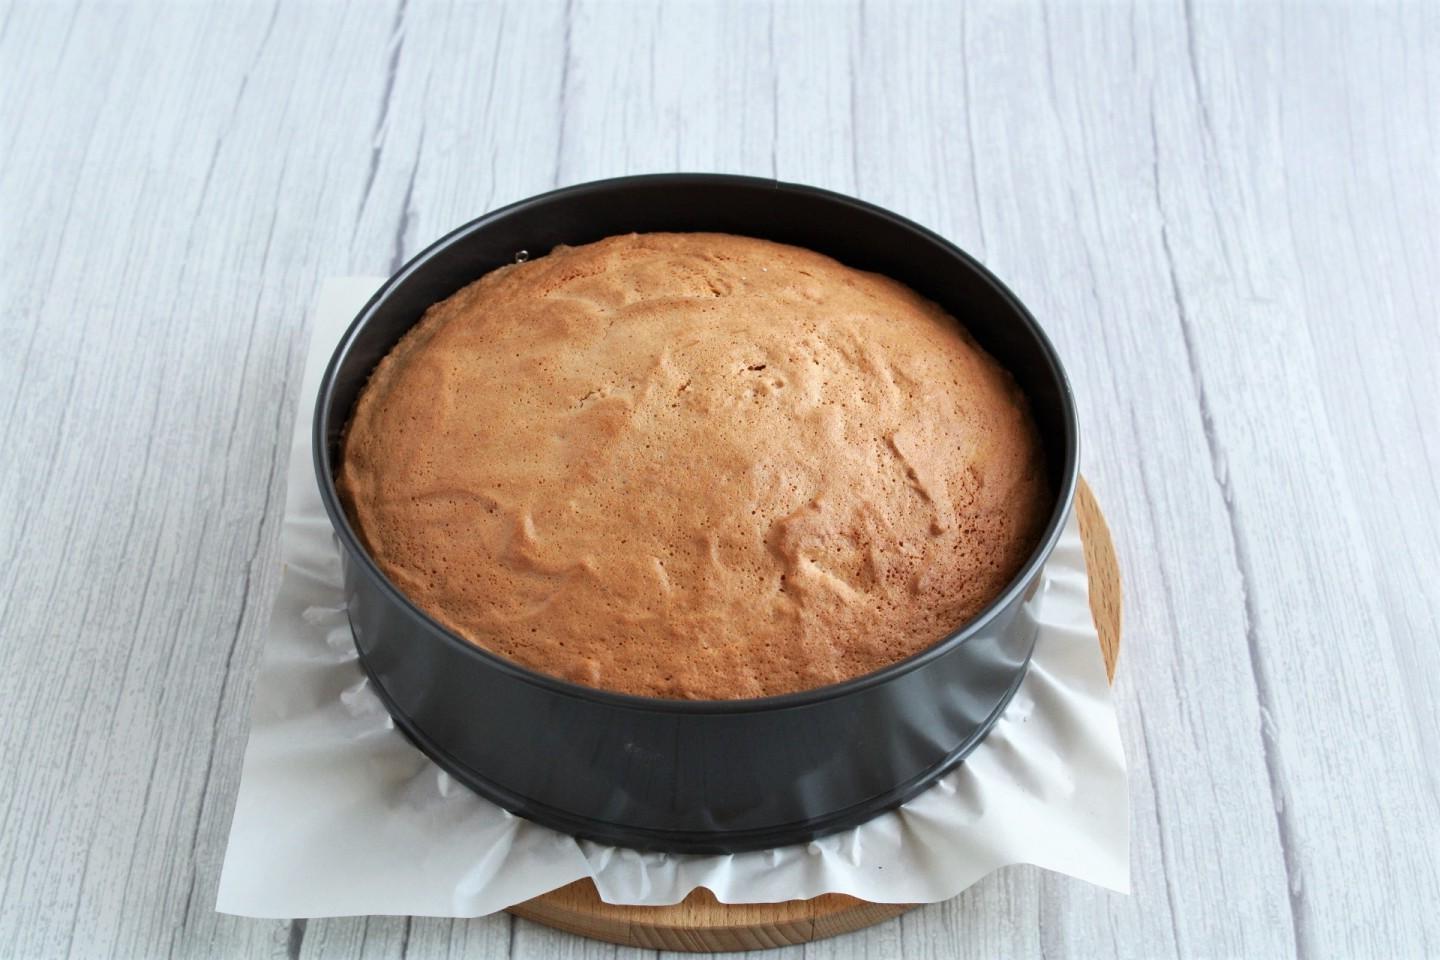
Bake the vanilla sponge cake in an oven preheated to 180C for about 30 minutes. Do not open the oven during baking so that the biscuit does not collapse due to temperature changes. After baking, leave the biscuit in the switched off oven for another 10-12 minutes. Cooking time may vary, depending on the operating characteristics of your oven. Cool the finished biscuit and remove it from the mold.

Step 11

Step 11
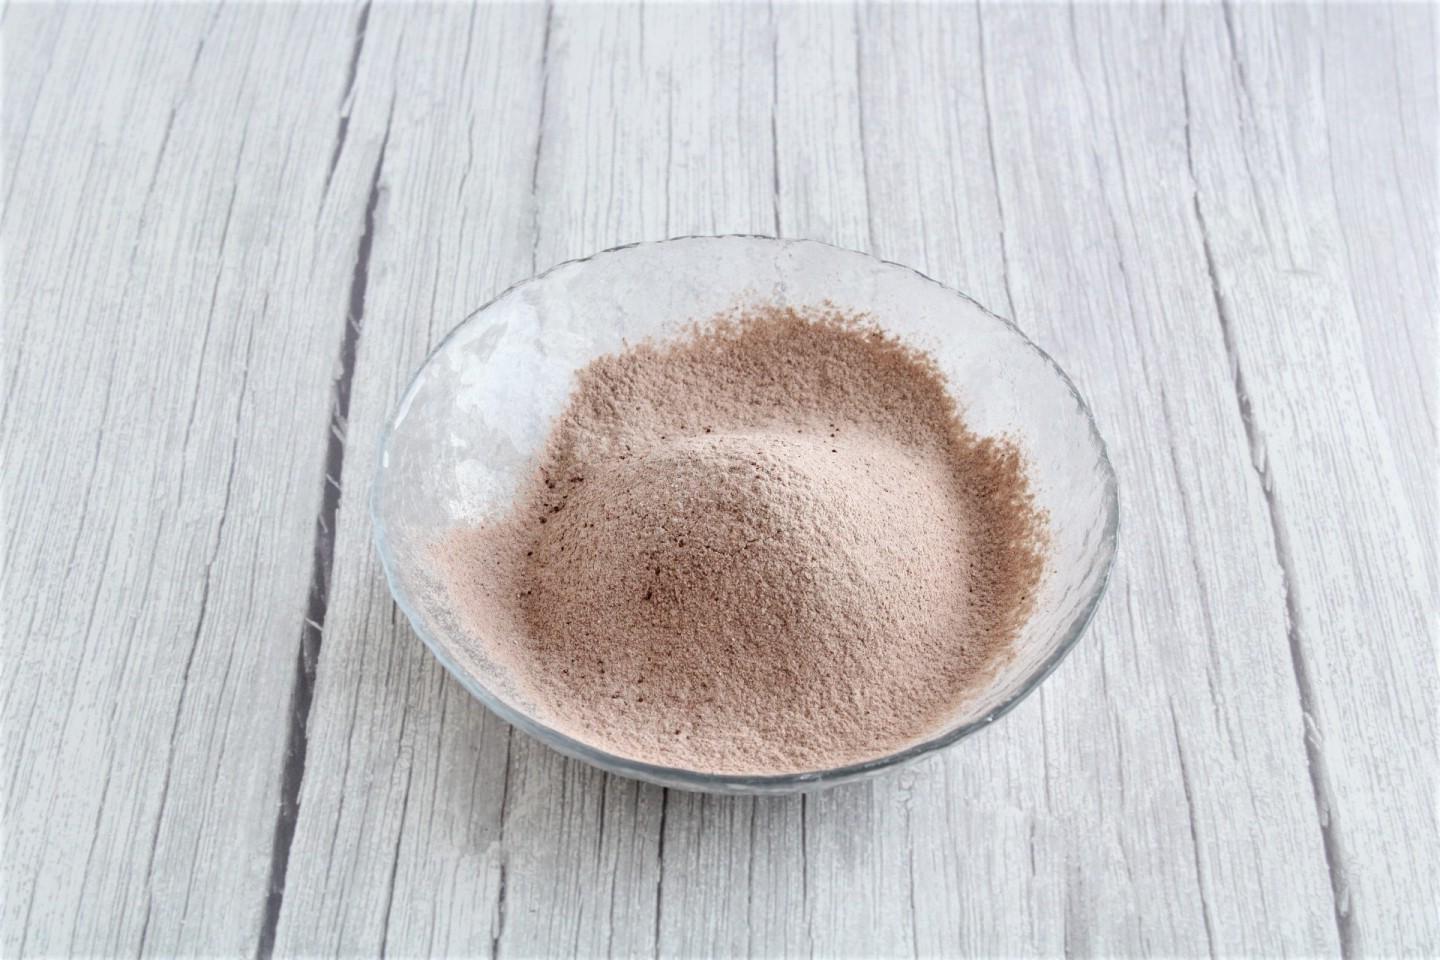
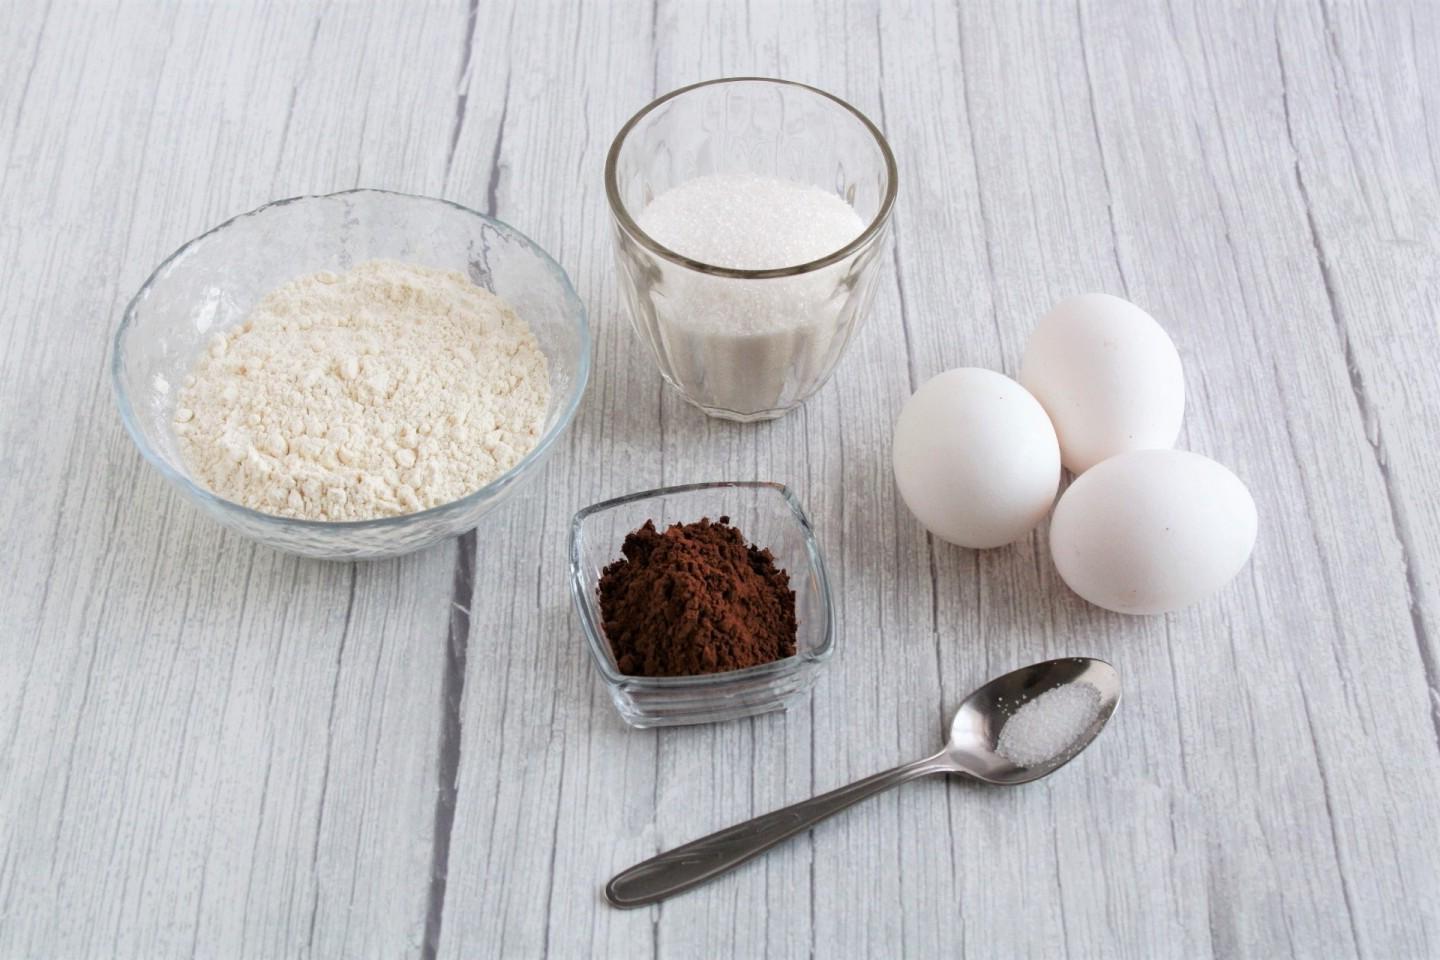
Prepare ingredients for making chocolate sponge cake.

Step 12

Step 12
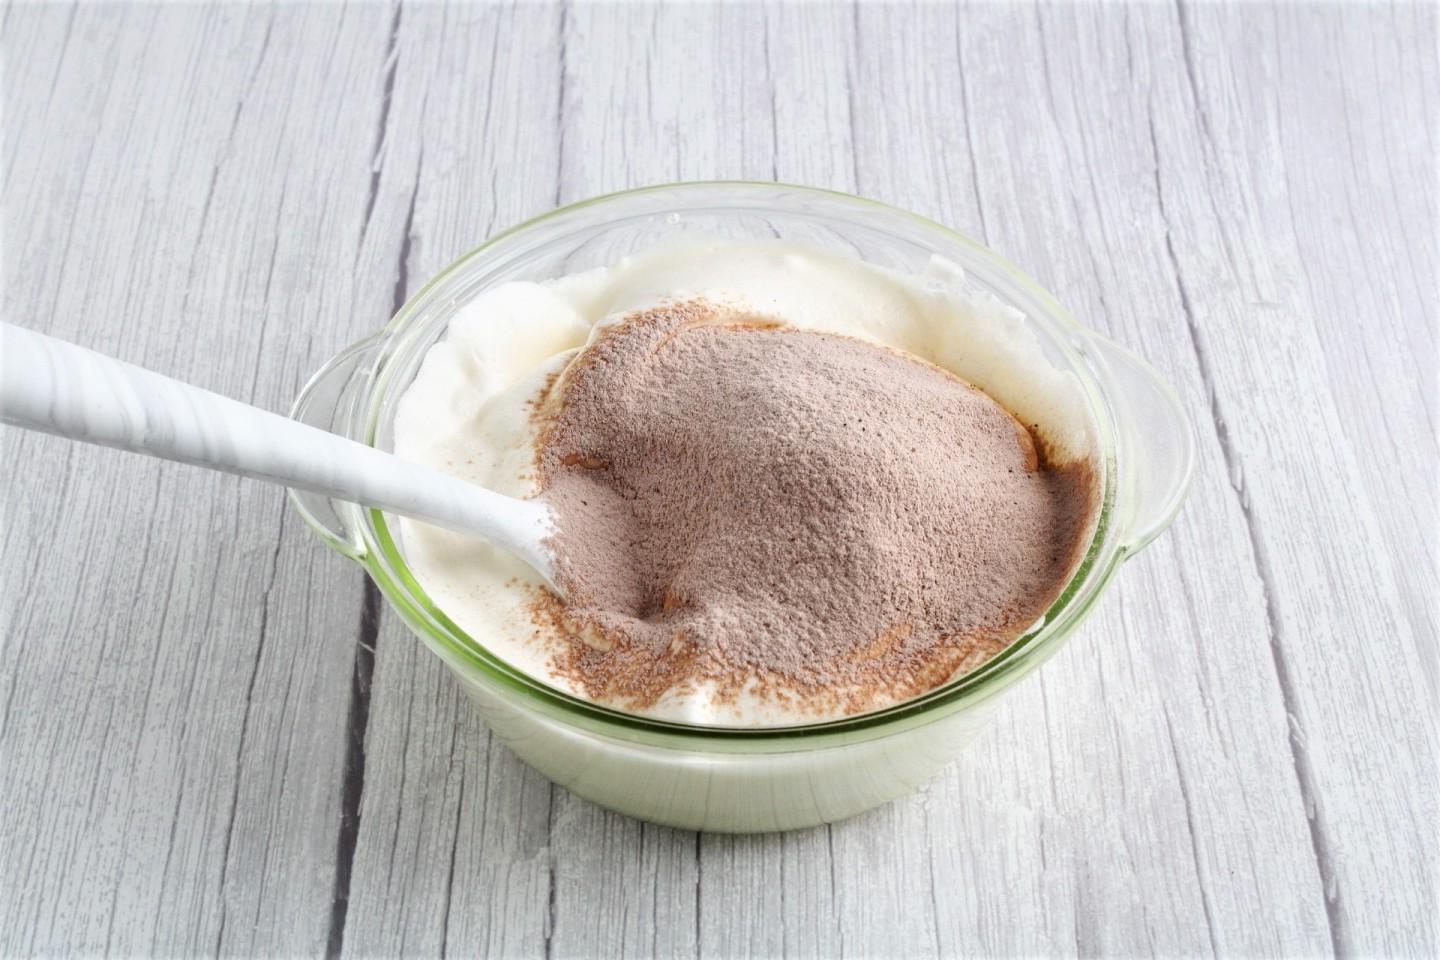
Combine flour with cocoa and sift through a sieve to increase its airiness and increase the rise of the sponge cake during baking. Then repeat steps 3-6.

Step 13

Step 13
Using a gentle scooping motion, fold the flour and cocoa mixture into the dough.

Step 14

Step 14
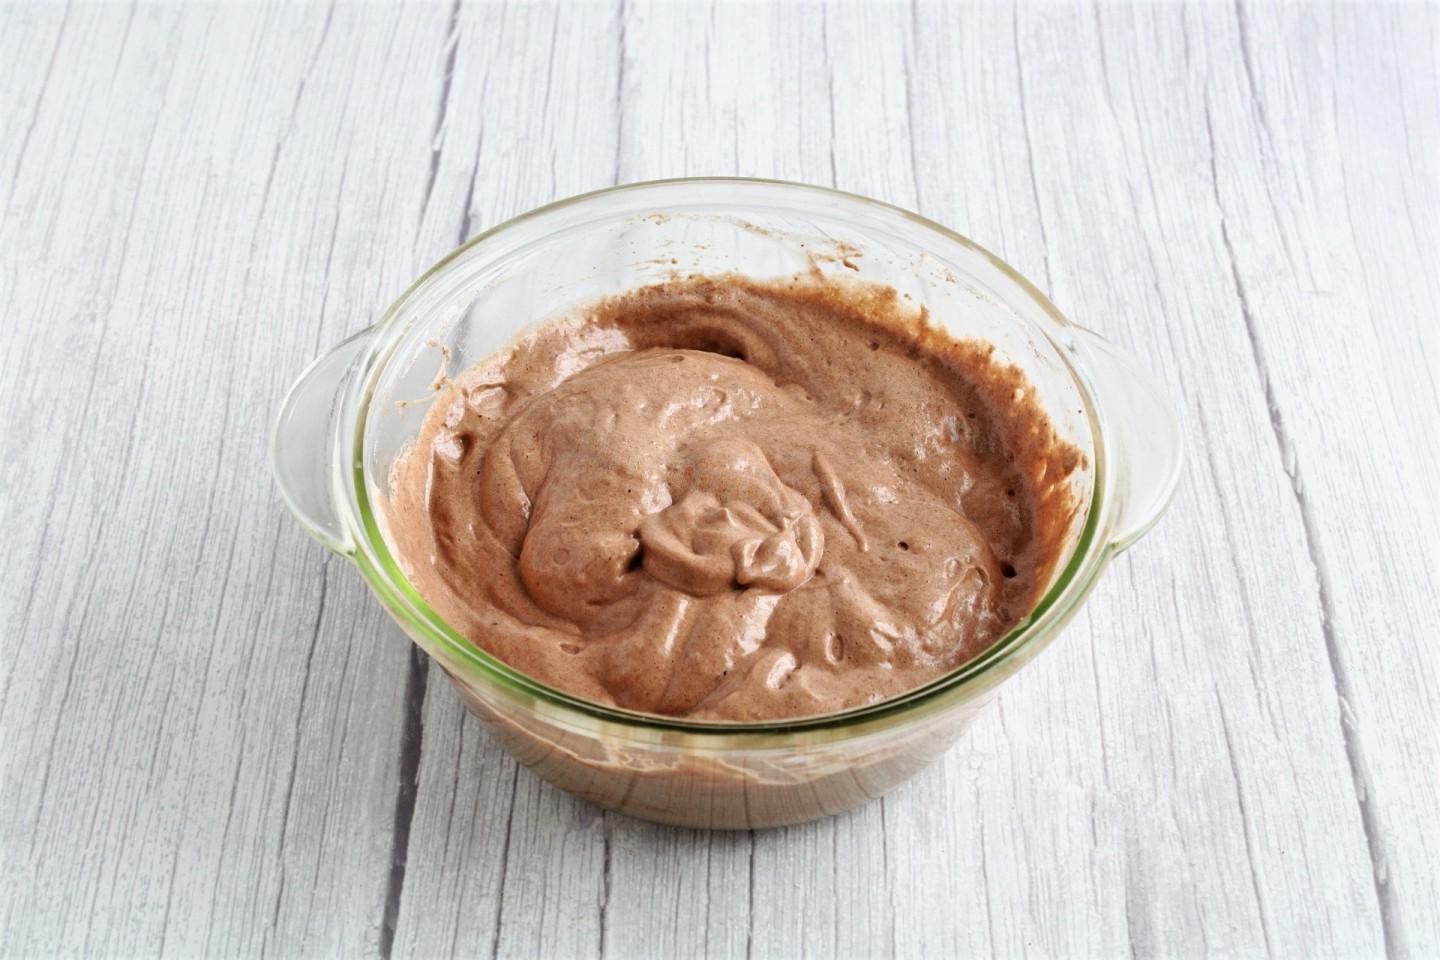
The dough turns out glossy, airy, homogeneous.

Step 15

Step 15
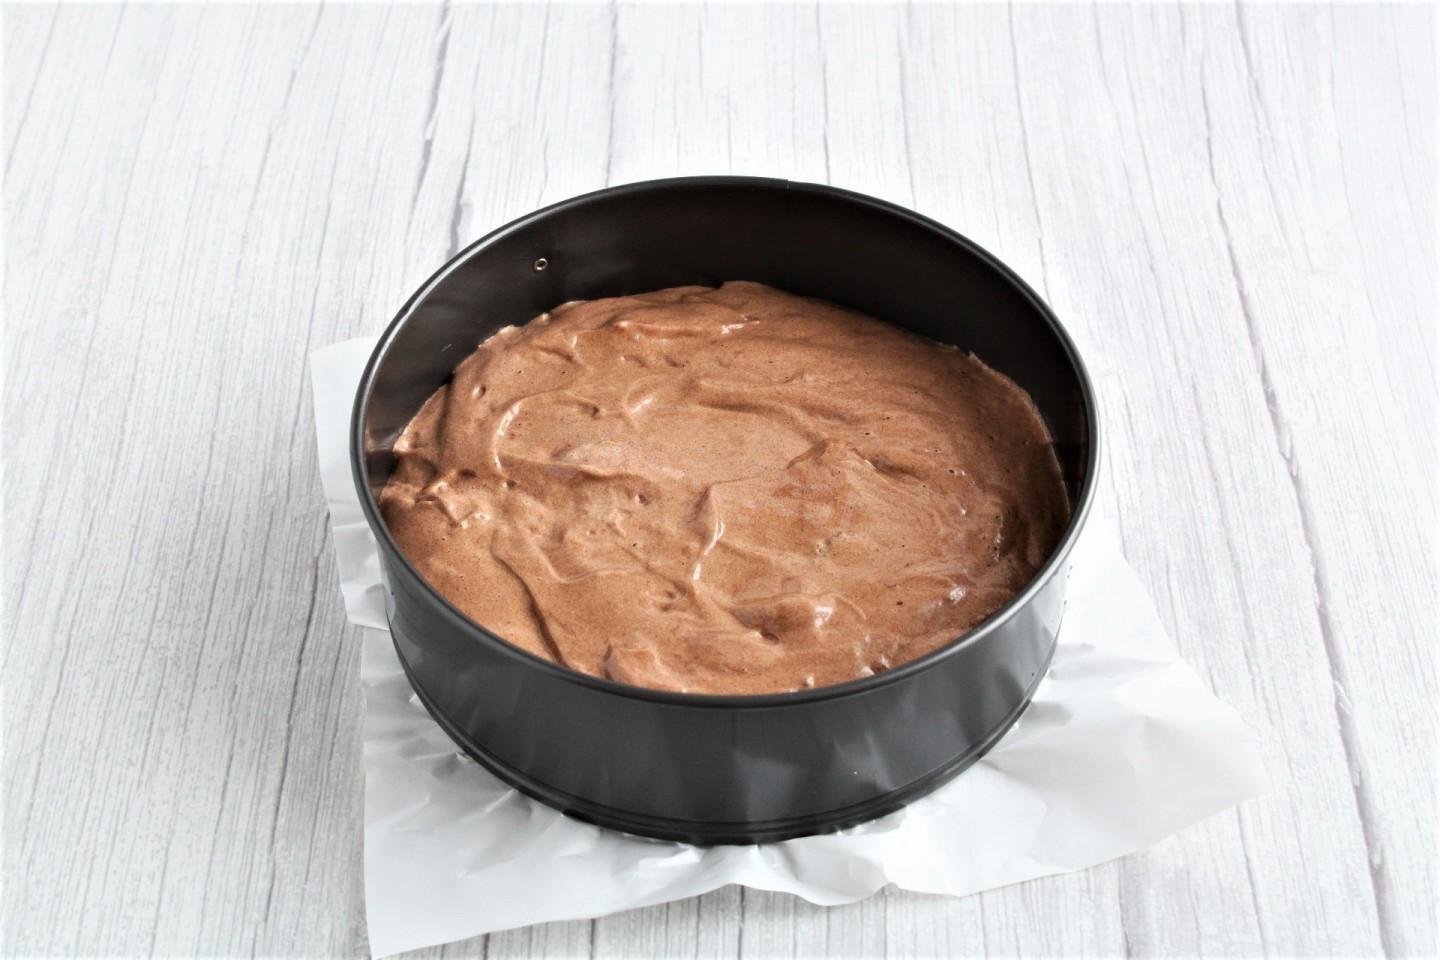
Place the chocolate dough into a parchment-lined pan.

Step 16

Step 16
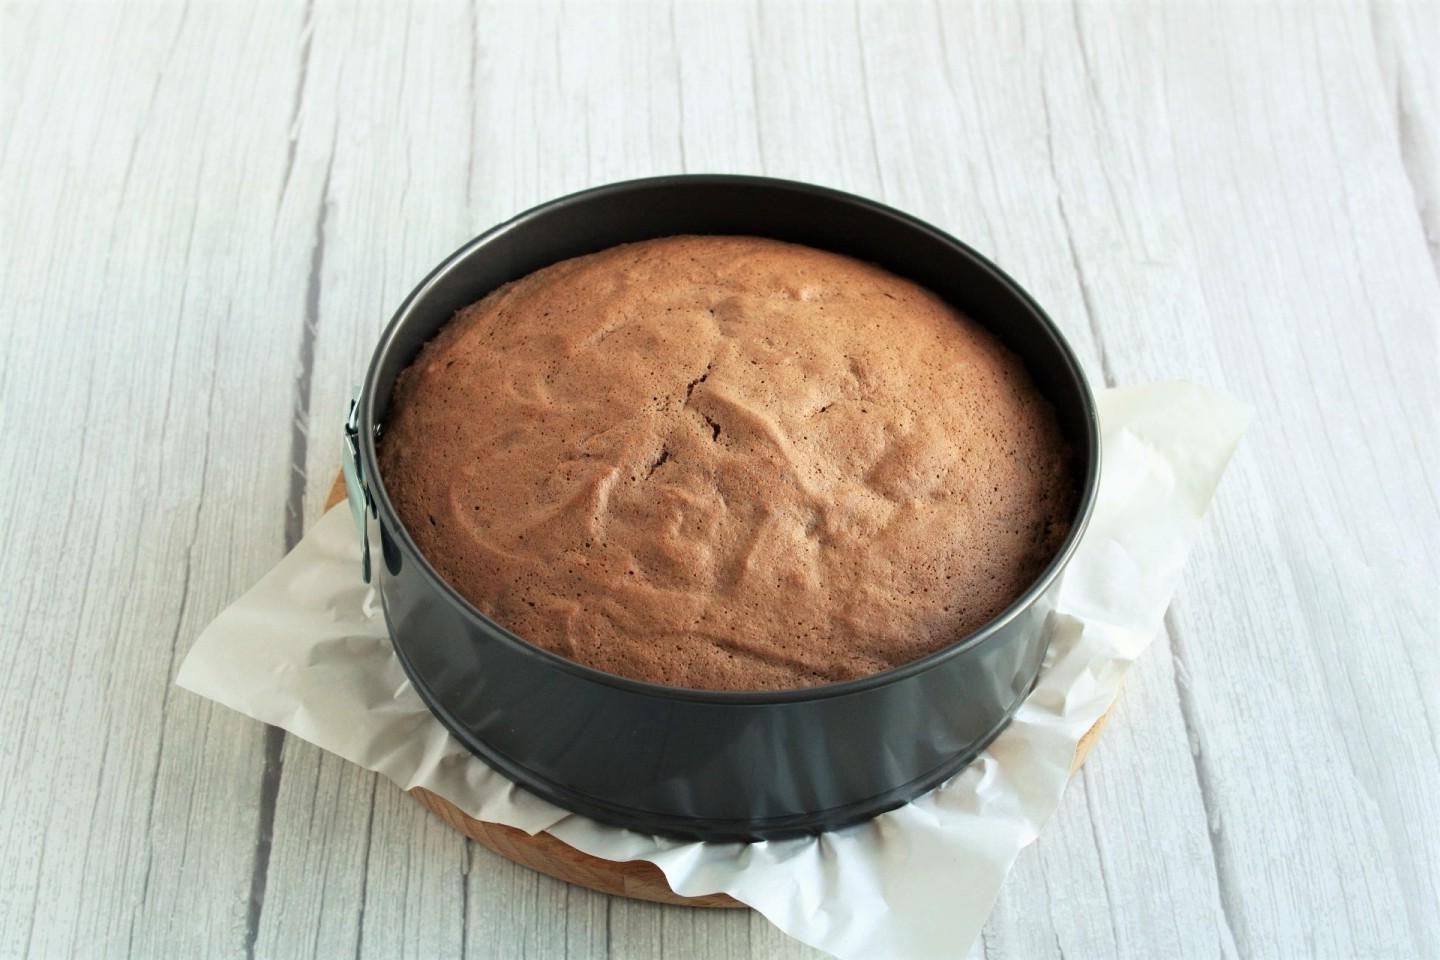
Bake the chocolate sponge cake in an oven preheated to 180C for 30-35 minutes. Leave it to cool in the switched off oven for 10 minutes, then remove. Determine the exact baking time and temperature based on your oven.

Step 17

Step 17
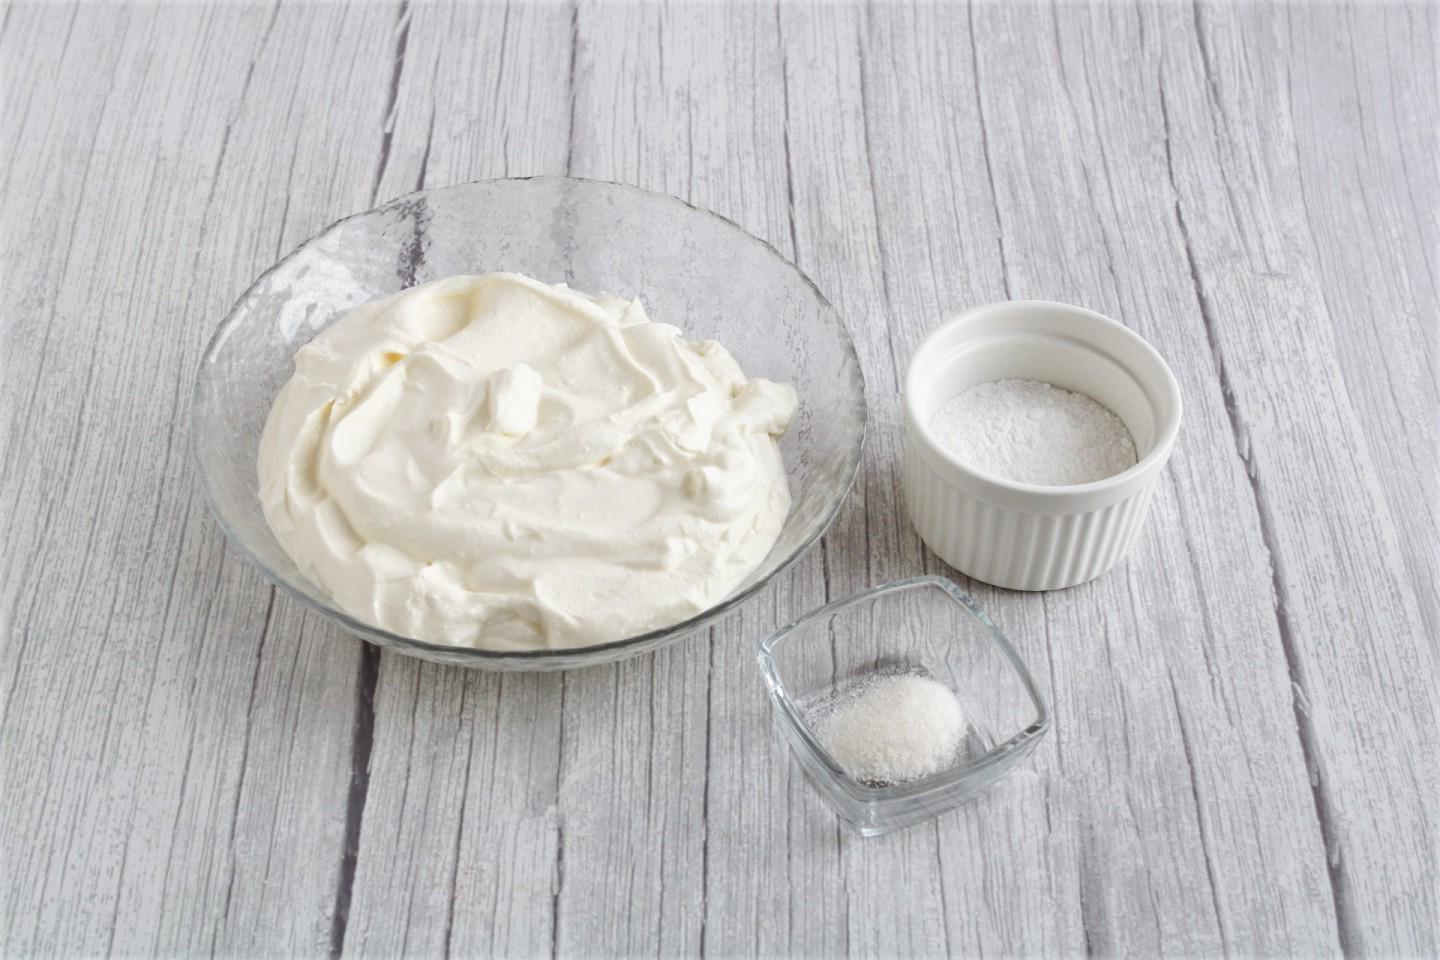
For the cream, take sour cream with a fat content of 15-25%. You can use sugar instead of powdered sugar, and vanillin is an alternative to vanilla sugar.

Step 18

Step 18
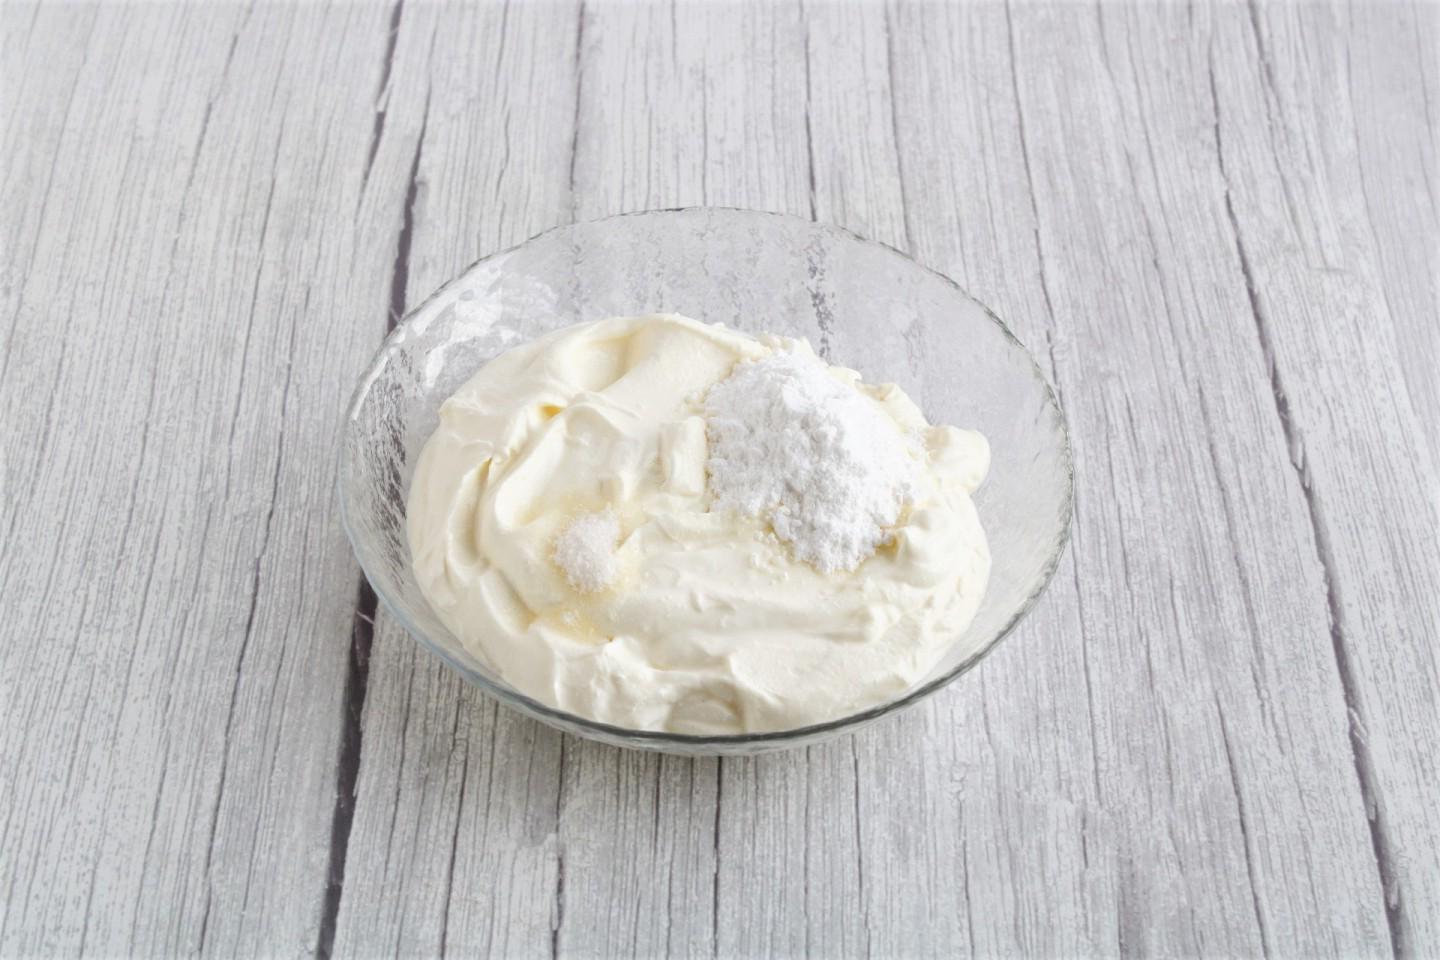
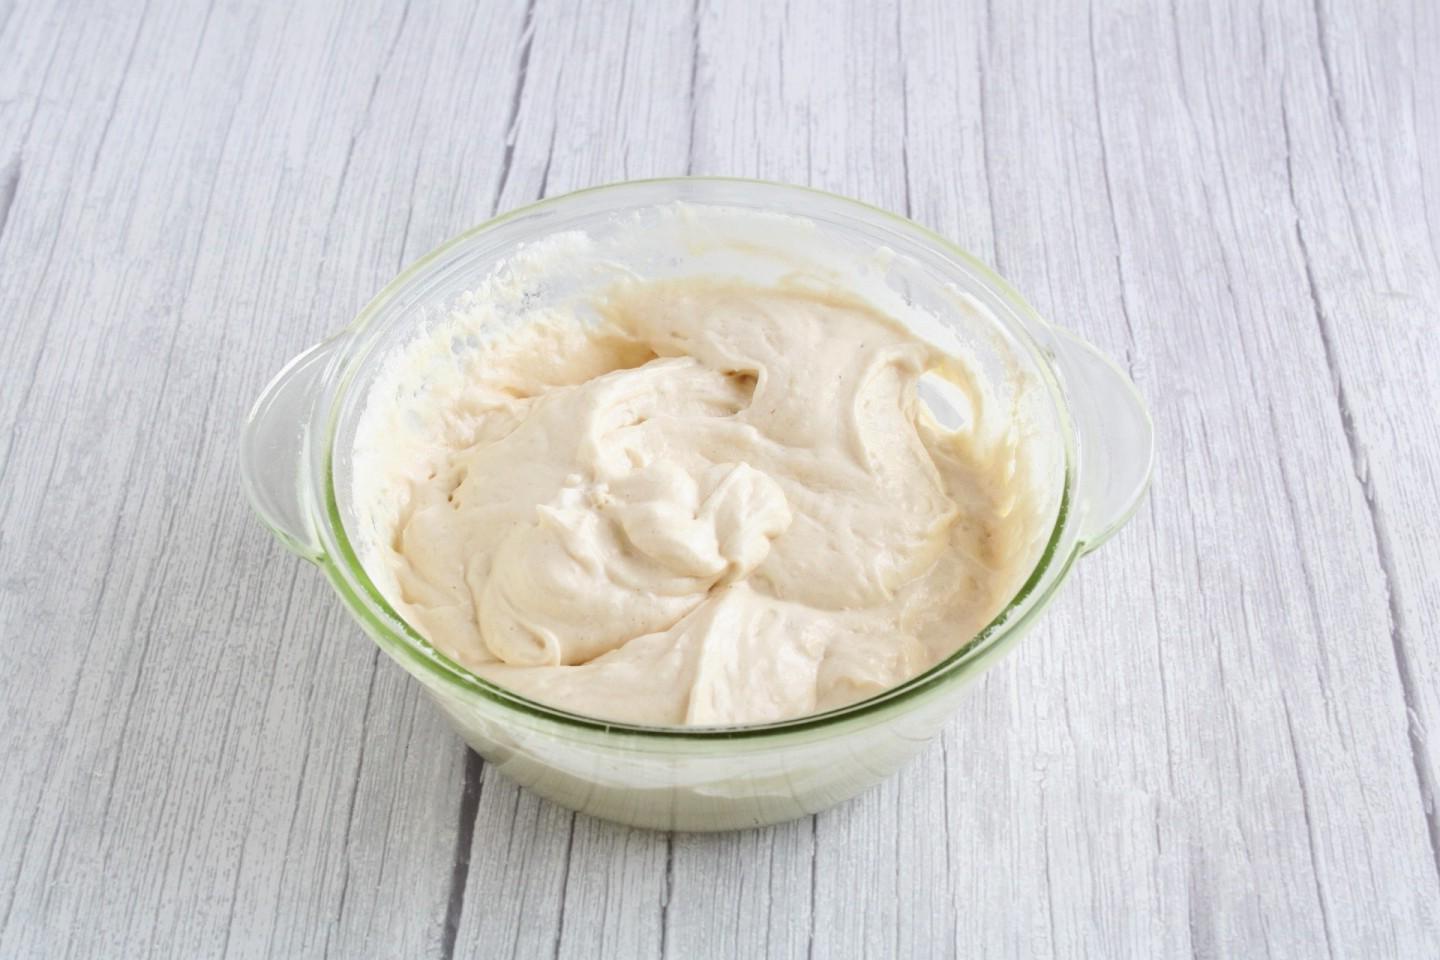
Combine sour cream with powdered sugar and vanilla sugar. Stir. Leave until the powdered sugar is completely dissolved.

Step 19

Step 19
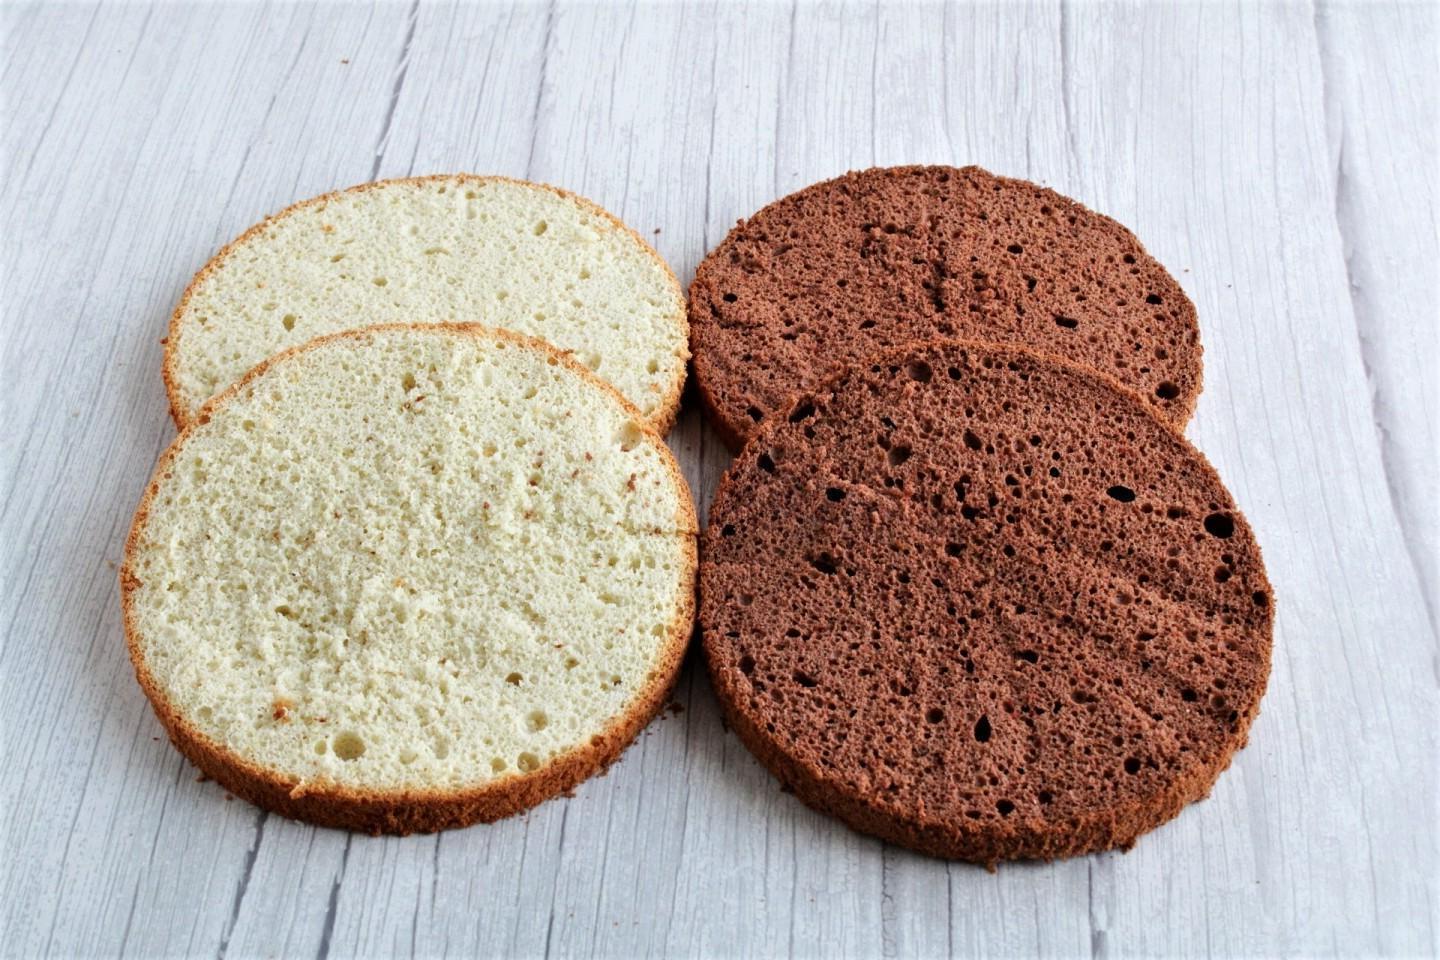
It is advisable to allow biscuits to stand for at least 8 hours. They will become denser and will not crumble when cut. Cut off the tops of the biscuits and cut each into 2 equal layers. You can cut off the top of only one sponge cake, then the top of the cake will be convex.

Step 20

Step 20
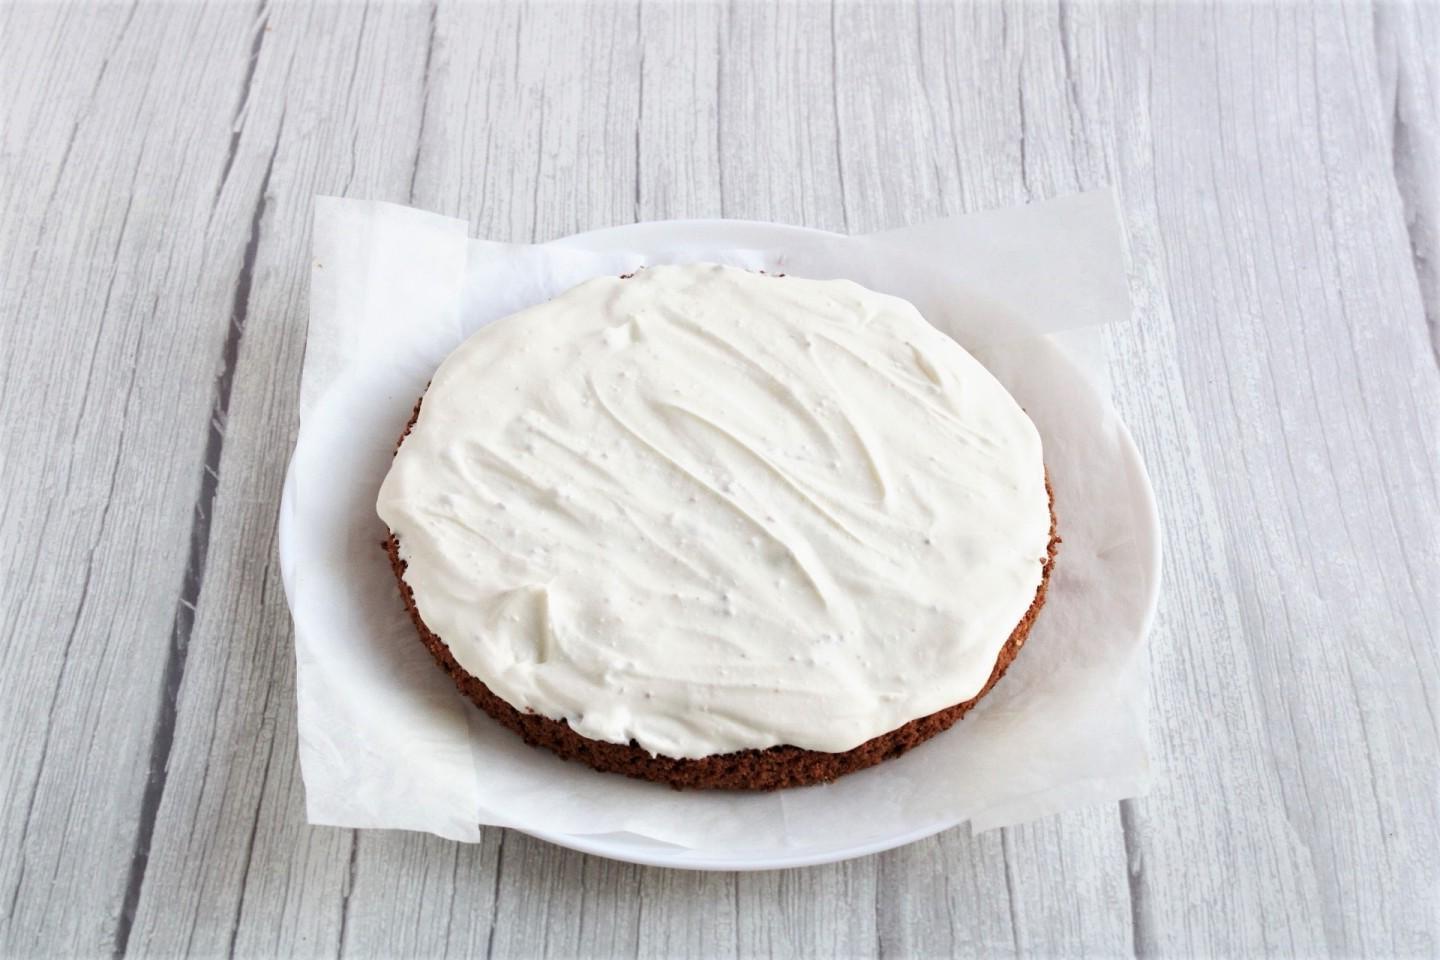
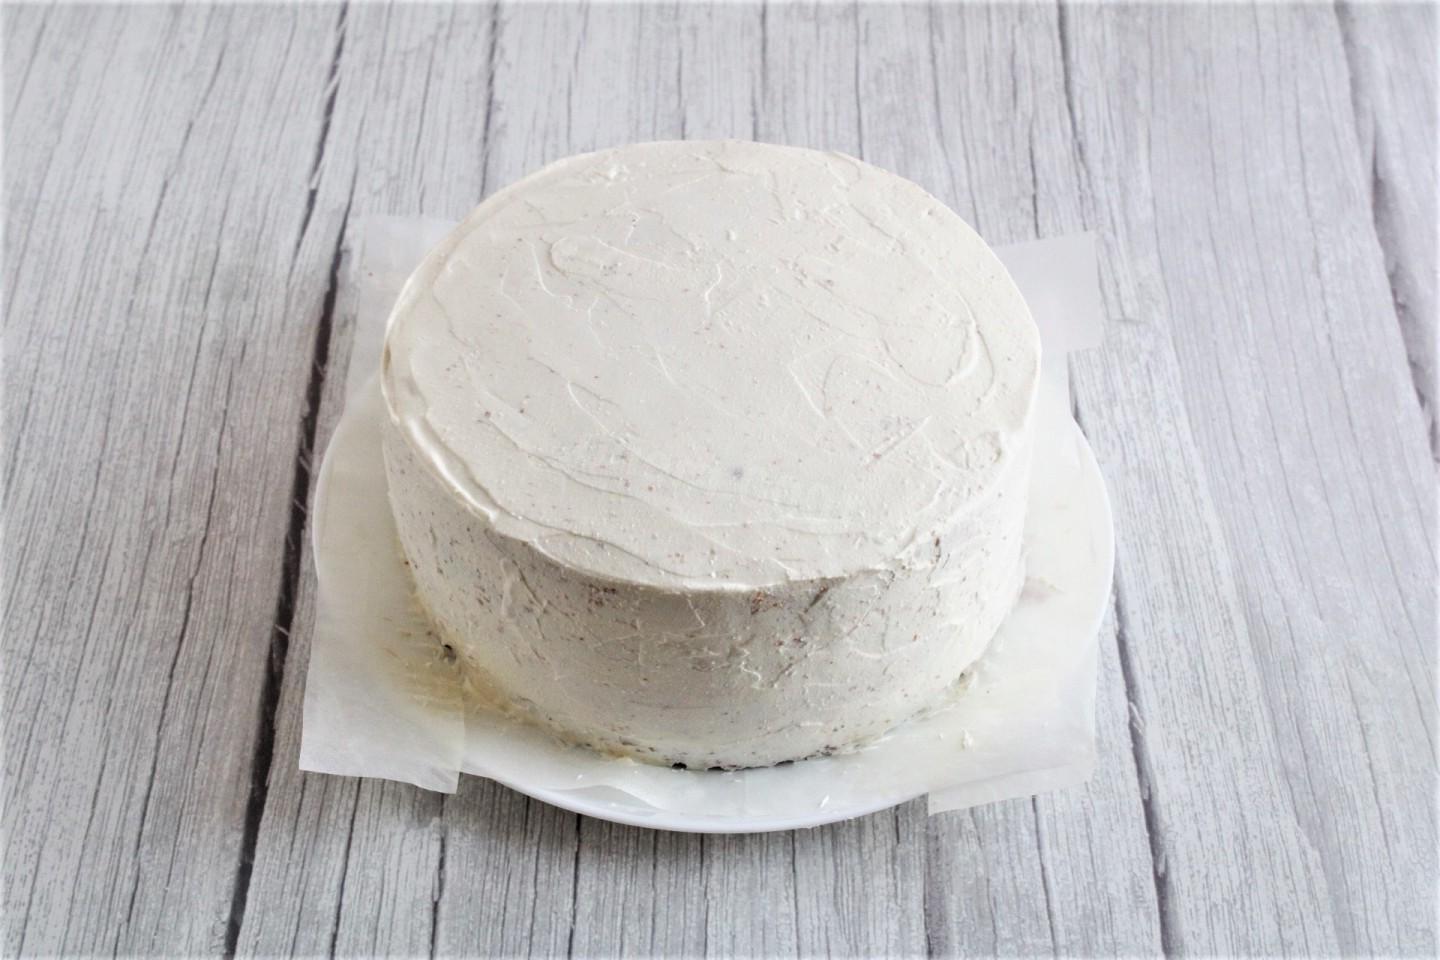
Start assembling the cake. Place the cake on a flat plate and brush it generously with sour cream. To keep the plate clean, I lined the edges with strips of parchment. This is not necessary.

Step 21

Step 21
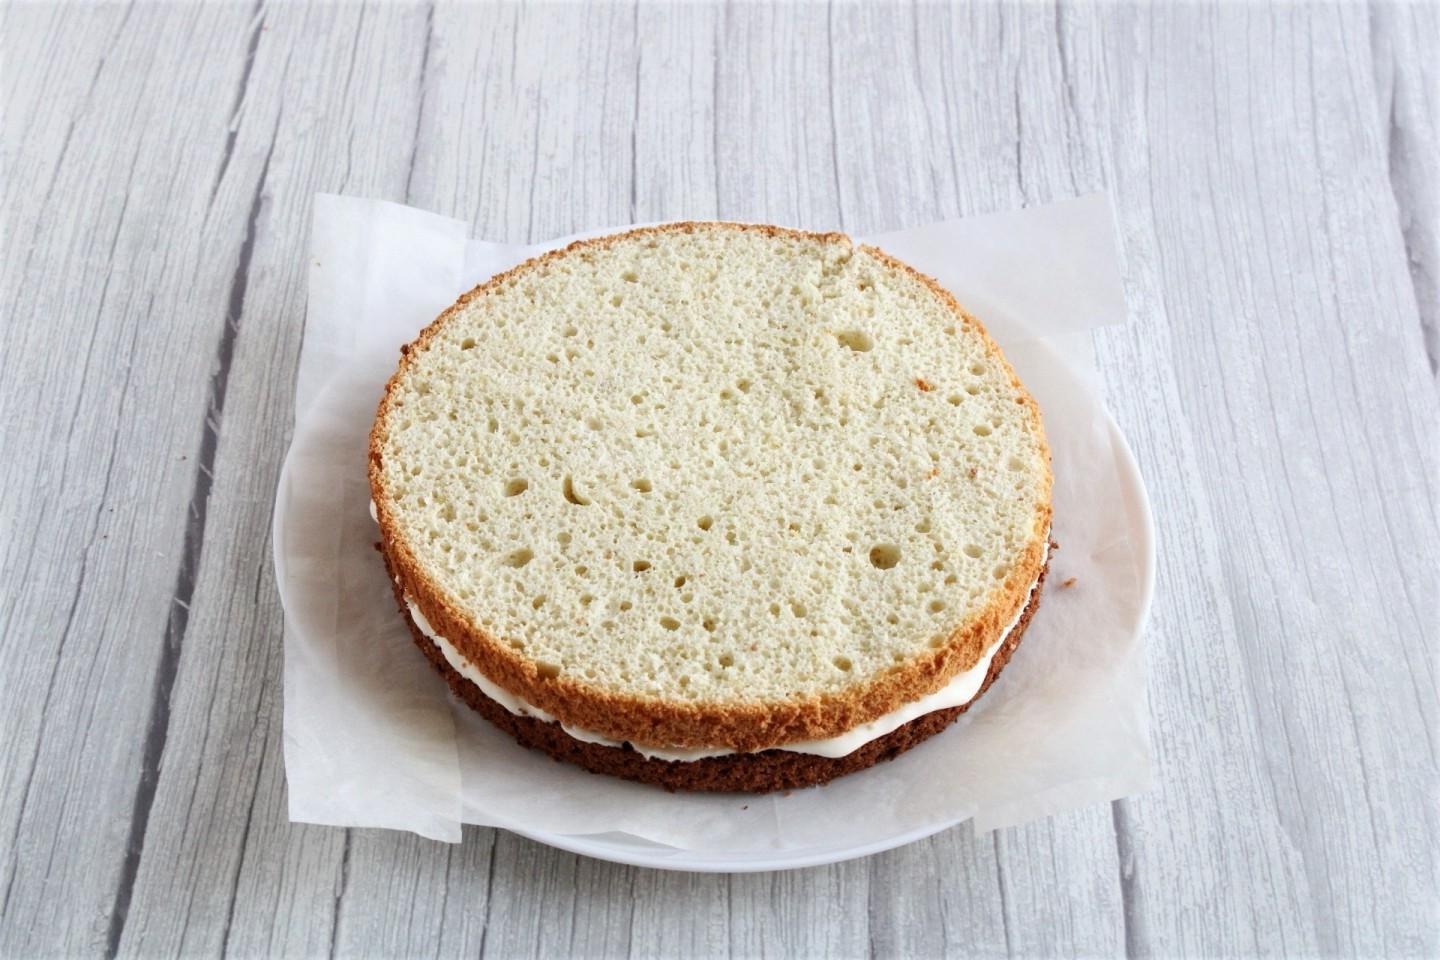
Place a different color cake on top.

Step 22

Step 22
Assemble the cake, alternating the layers by color and generously brushing each layer with sour cream. Cover the top and sides of the cake with cream as well. Place the cake in the refrigerator for 6-8 hours to soak.

Step 23

Step 23
Remove the strips of parchment. Decorate the sour cream cake as desired and to your taste. Cut the dessert into portions and serve. Bon appetit!