Butter and Raisin Cupcake (No Kefir or Milk)

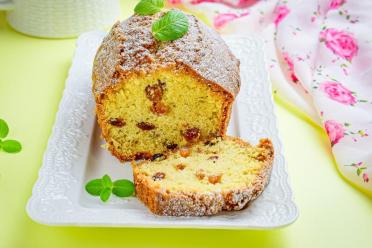
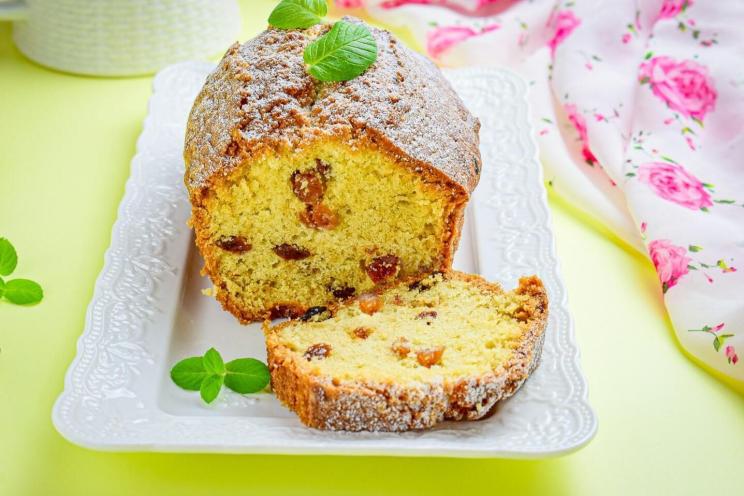
Incredibly tasty and soft, familiar to many from childhood! A cupcake without kefir and milk with raisins is prepared on the basis of butter and eggs. Its texture is dense, but at the same time delicate. Raisins perfectly complement the taste of this sweet pastry!
cook time: 1h
Owen Truitt
Butter and Raisin Cupcake (No Kefir or Milk)

Nutrition Facts (per serving)

388
Calories
19g
Fat
47g
Carbs
6g
Protein

Ingredients (4 portions)

Basic:

Salt to taste
Sugar 170 g
Wheat flour 240 g
Butter 180 g
Vanillin to taste
Eggs 3 pc
Raisin 150 g
Soda 0.3 tsp

Recipe instructions

Step 1
Step 1
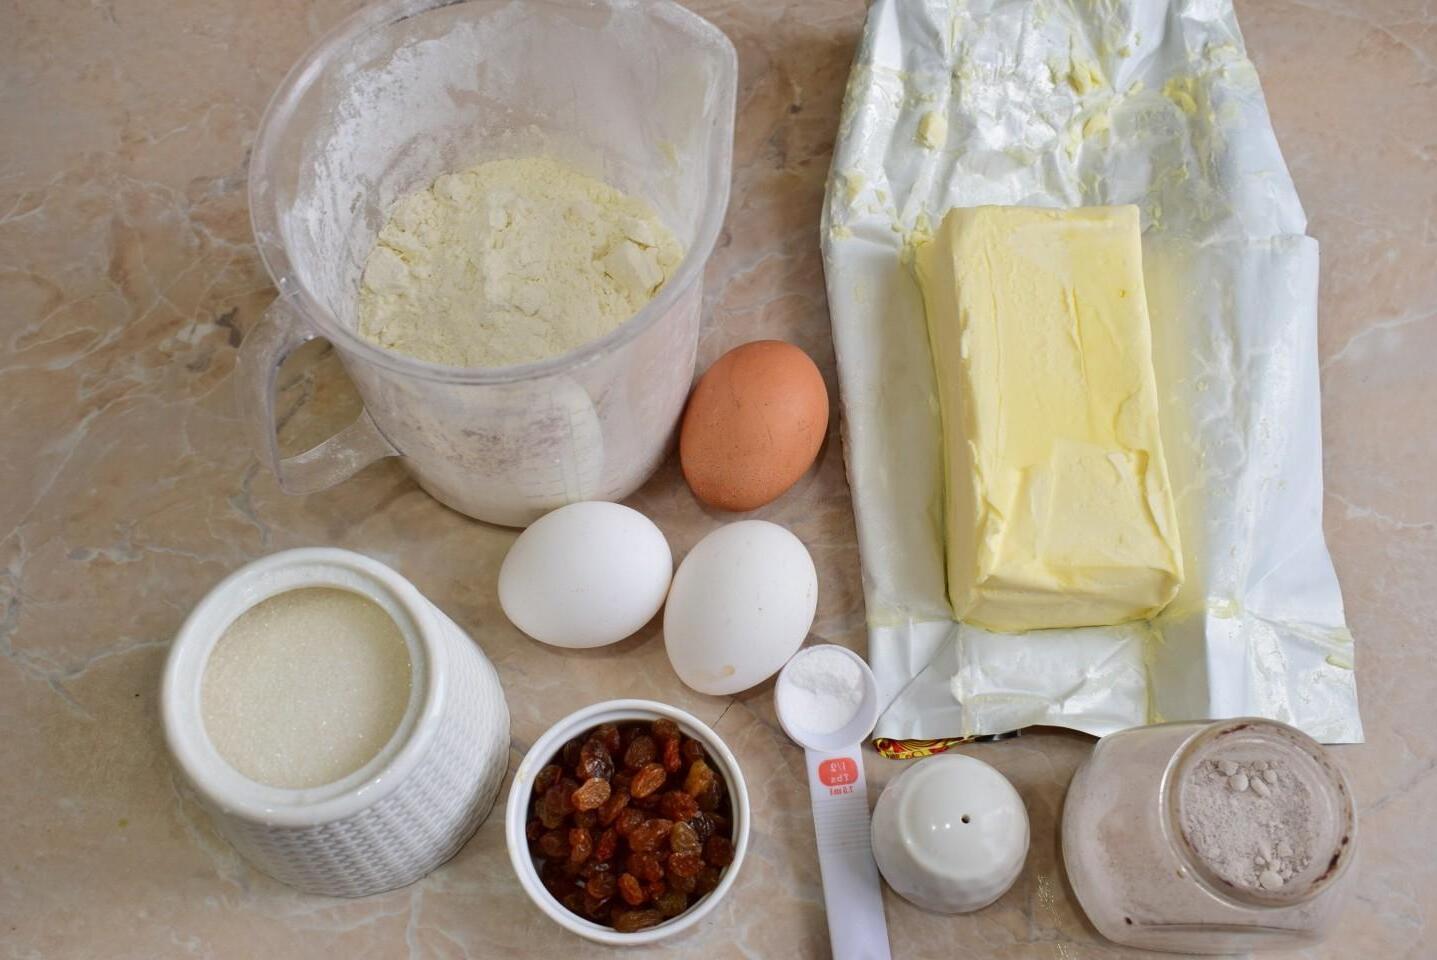
How to make a cupcake with raisins without kefir and milk? Prepare the necessary ingredients for this. Remove the butter from the refrigerator in advance and leave it at room temperature until it becomes soft. Sift the flour through a sieve to saturate it with oxygen. Thanks to sifting, the finished baked goods are fluffier and airier.

Step 2

Step 2
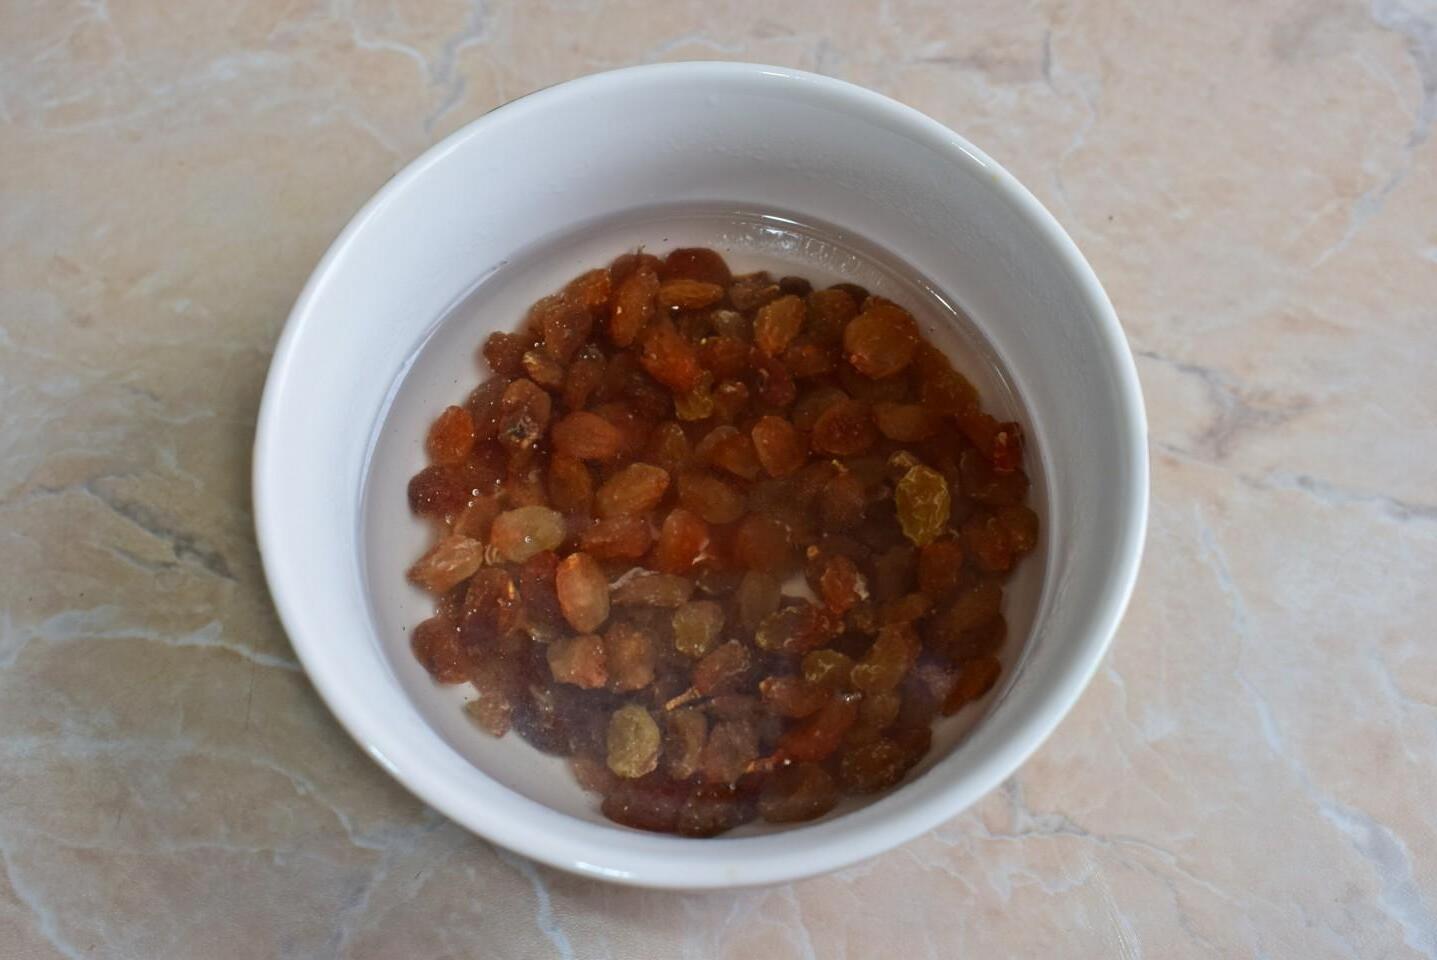
Pour boiling water over raisins for 1-2 minutes. Then rinse the raisins and place them on a paper towel to soak up excess moisture.

Step 3

Step 3
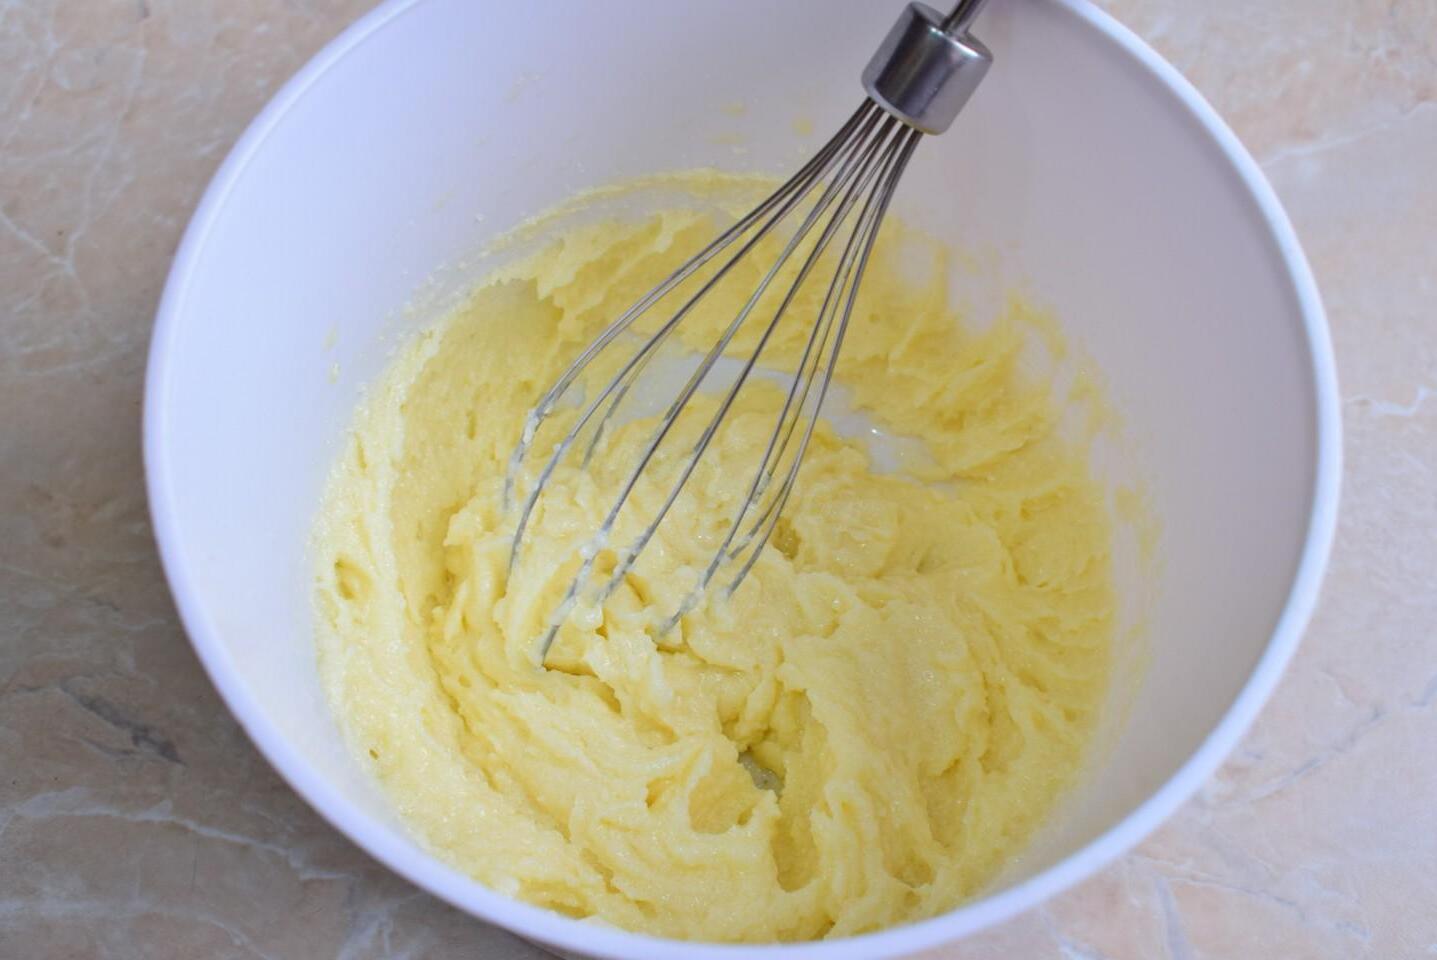
To prepare the dough, take a comfortable deep bowl and combine soft butter and sugar in it. Whisk until the butter becomes fluffy and slightly lighter.

Step 4

Step 4
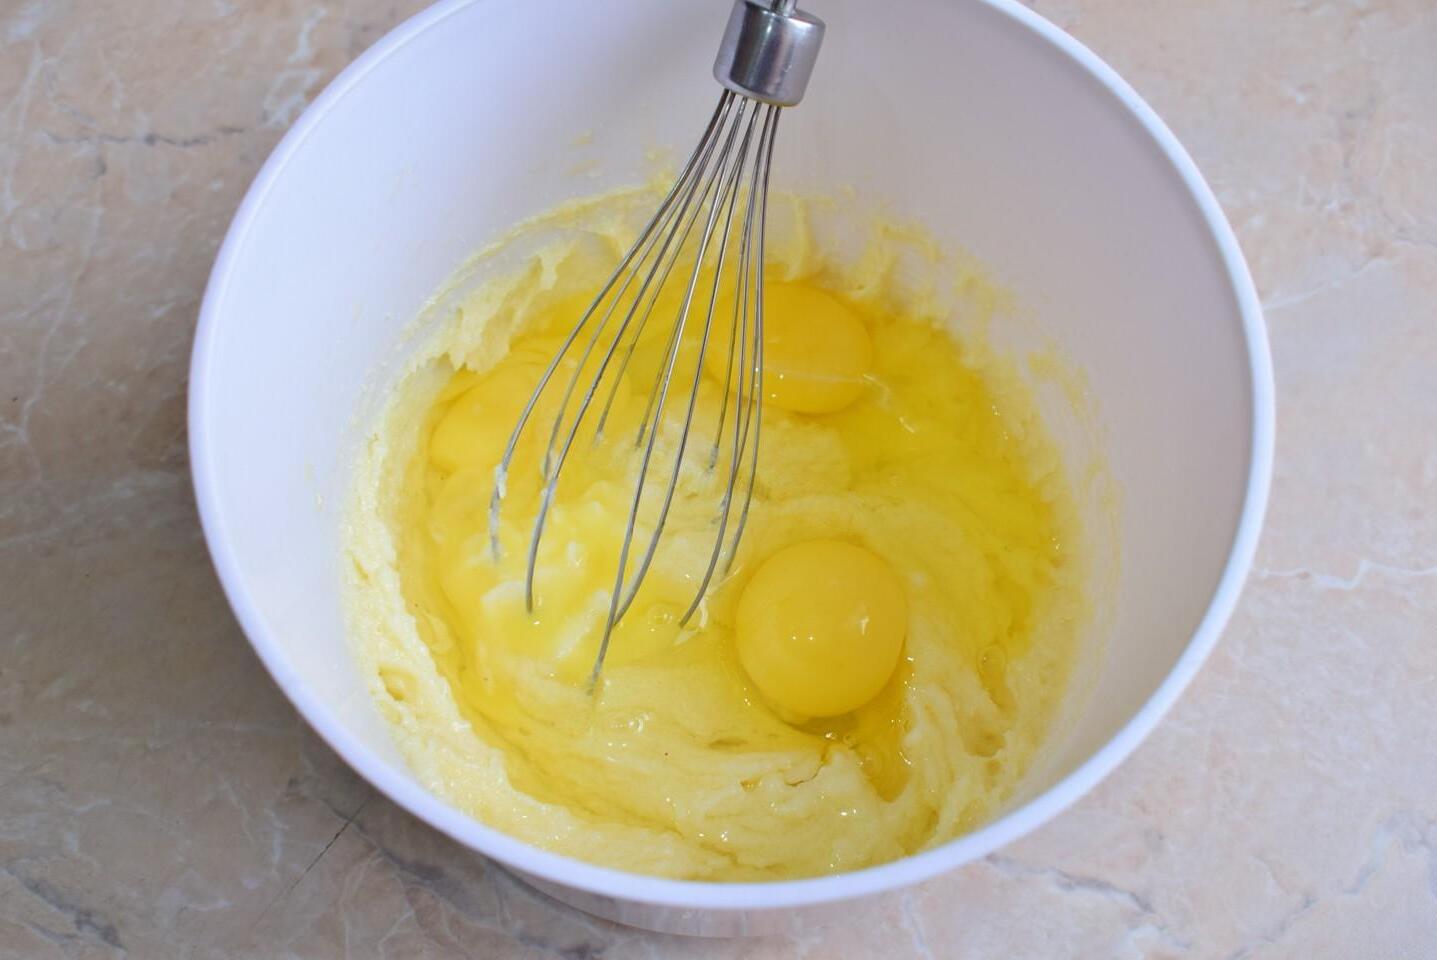
Then add the eggs to the bowl and stir them into the dough.

Step 5

Step 5
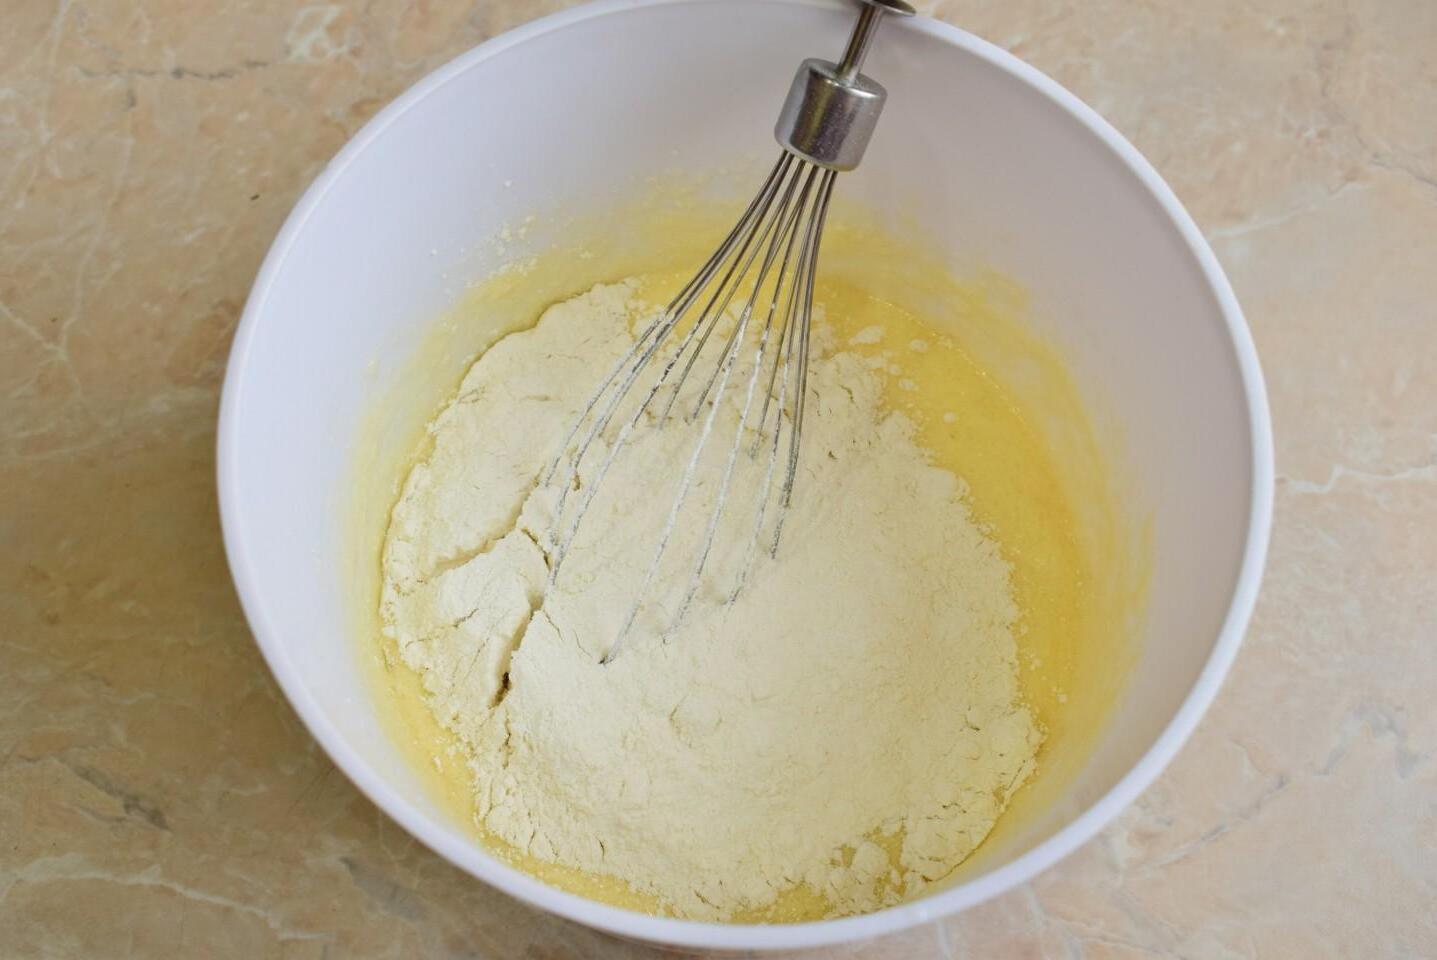
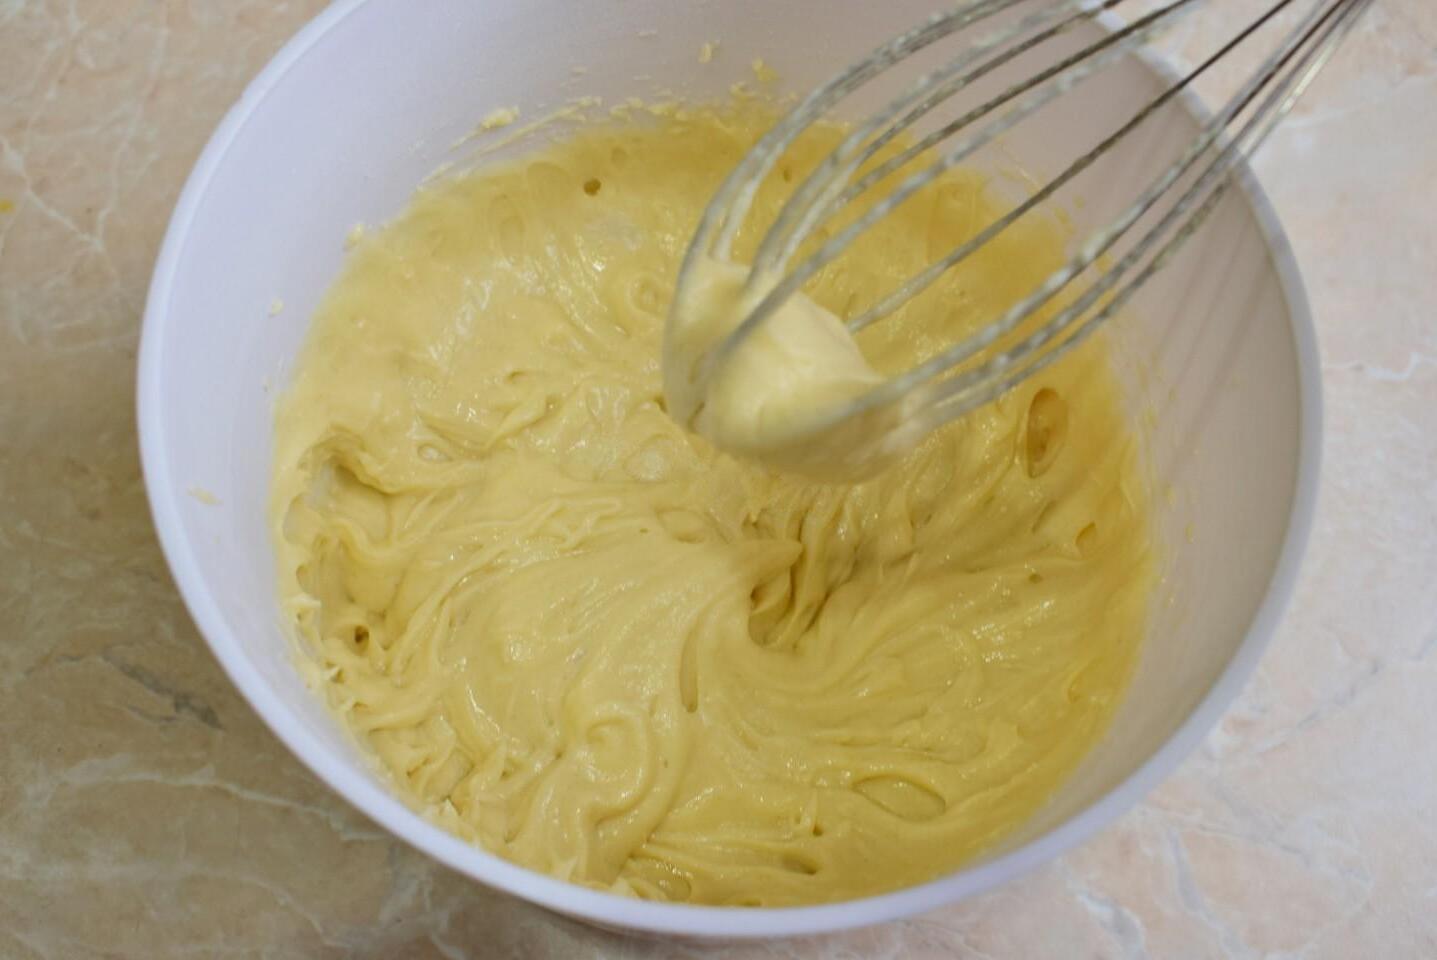
Gradually add flour and soda. Add a pinch of salt and vanilla. Mix all ingredients until smooth.

Step 6

Step 6
The finished dough will be quite thick, but there should be no lumps of flour in it. Use a mixer. The amount of flour depends on the consistency of the dough.

Step 7

Step 7
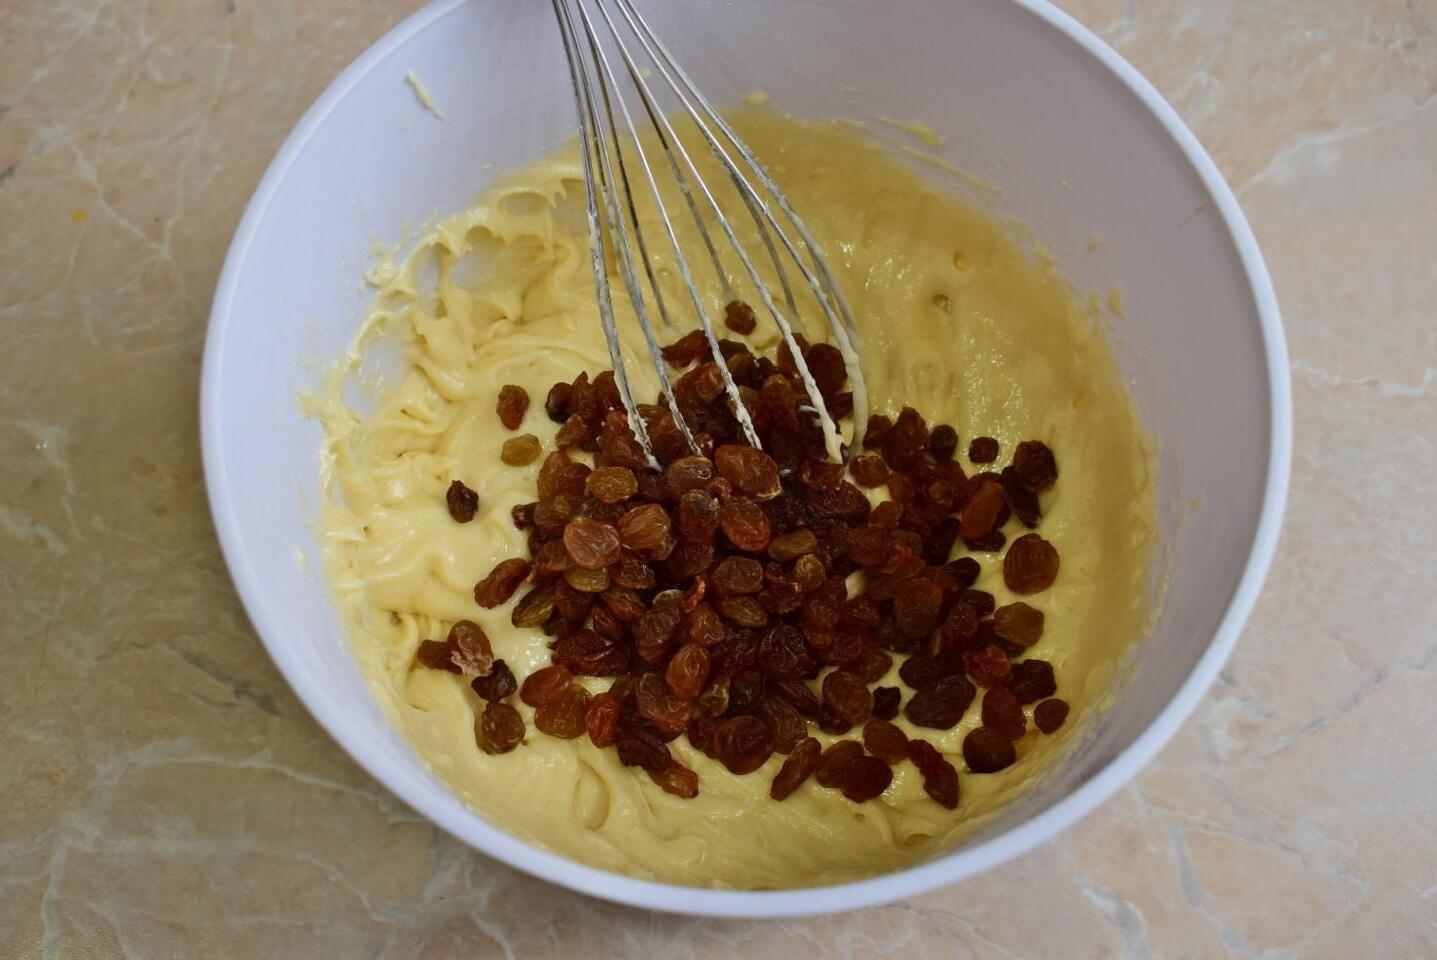
Then stir the prepared raisins into the dough.

Step 8

Step 8
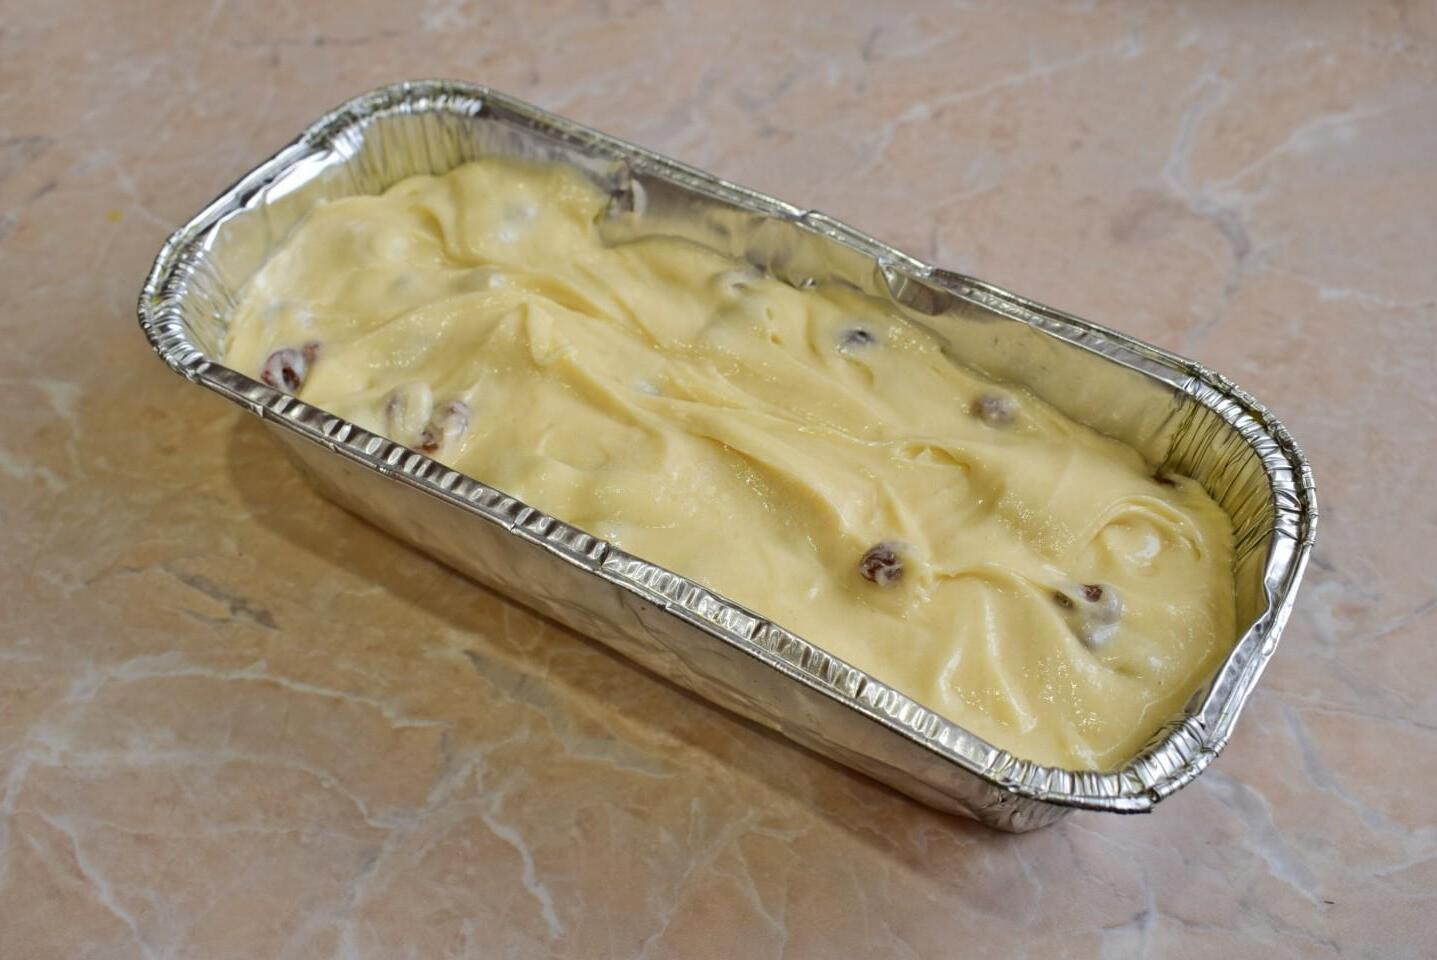
To bake the dough, you can use a silicone mold or, like mine, a disposable one made of foil. Lightly grease the bottom and sides of the pan with butter or vegetable oil. Place the finished dough with raisins into the mold and distribute it evenly. Place the pan in the oven, preheated to 180 degrees, for 45-60 minutes. When baking, use your oven as a guide.

Step 9

Step 9
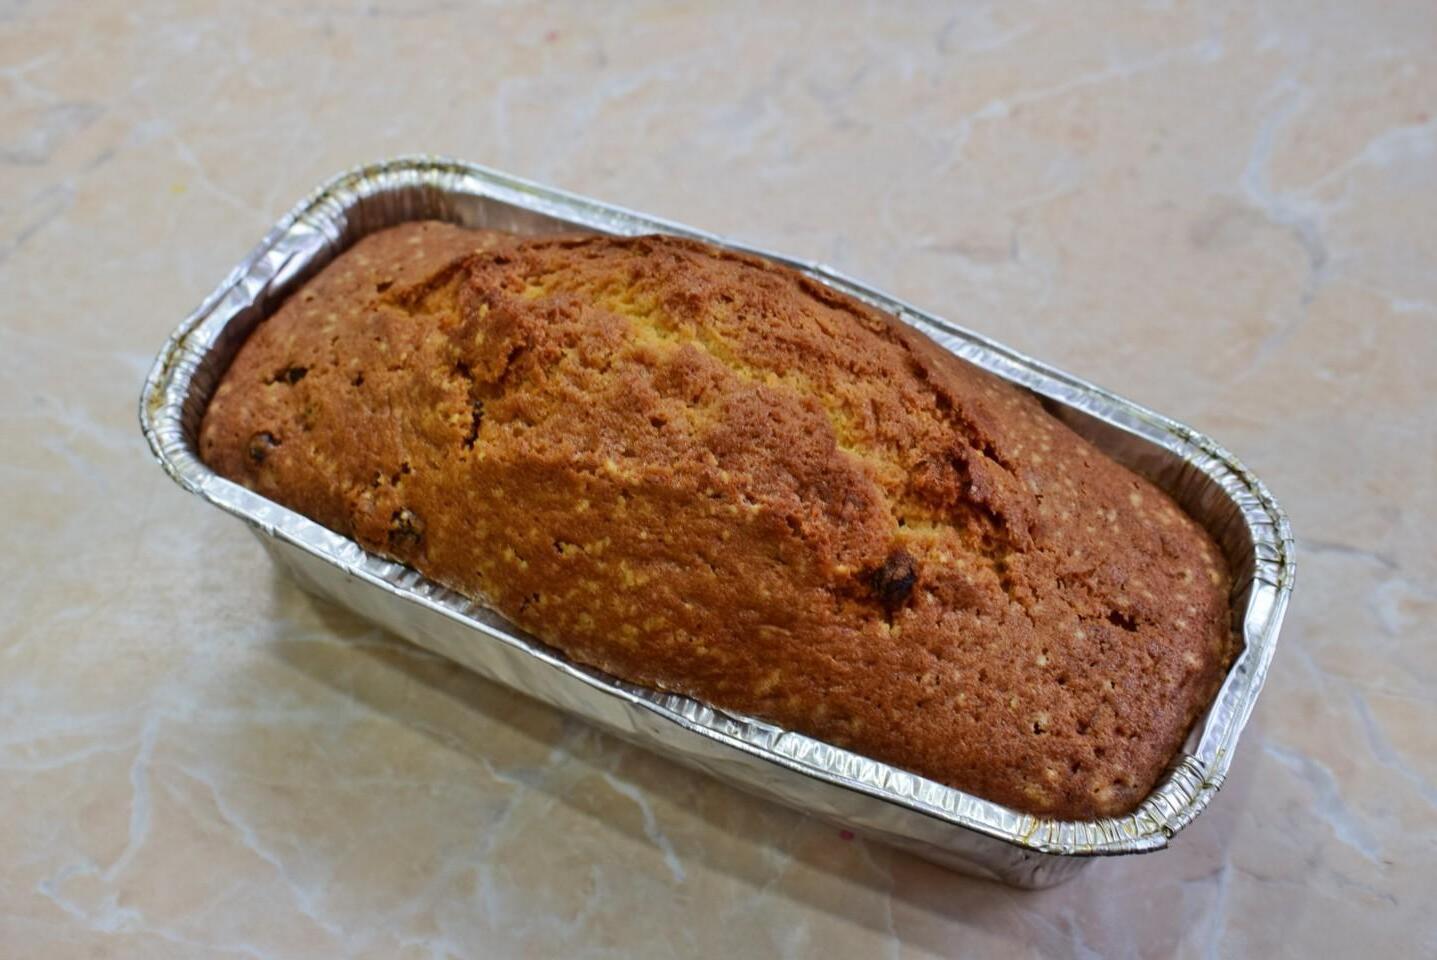
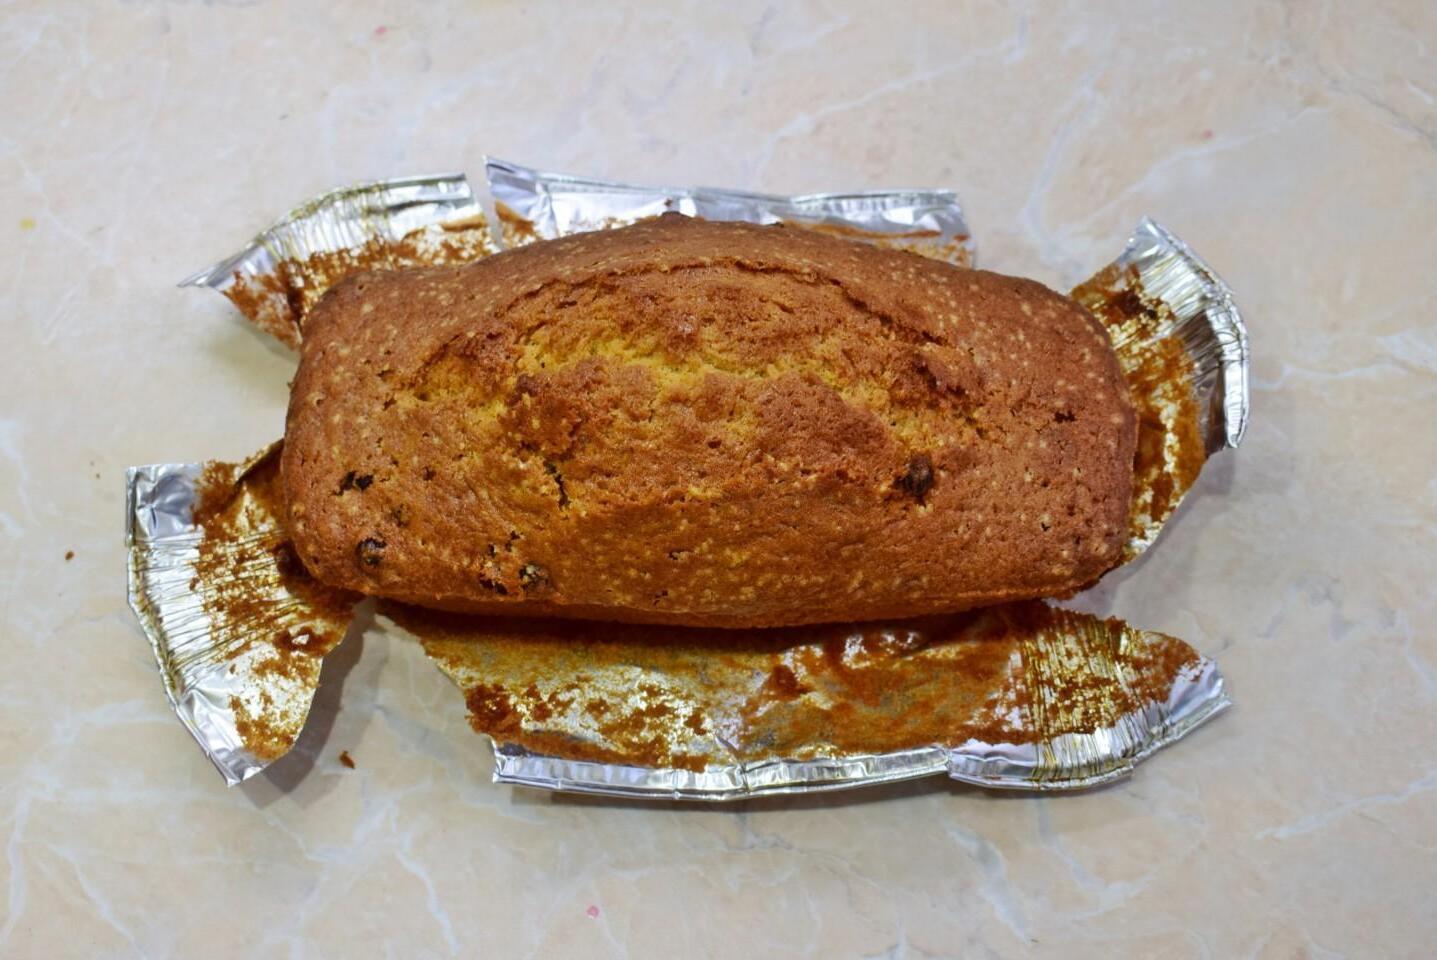
The finished cake will increase slightly in size, become a delicious golden color, and the center will spread slightly in the center.

Step 10

Step 10
Cool the cake slightly and remove from the pan. The advantage of a disposable mold is that it can simply be cut along the sides. Enjoy your tea!