Peach Delight Cake

A delicious and delicate cake for any occasion! Each cake is delicious and memorable in its own way. You can delight your family or friends on a holiday with this delicious and mouth-watering peach cake. Or you can just prepare it for Sunday tea!
cook time: 24h
Ava Prescott
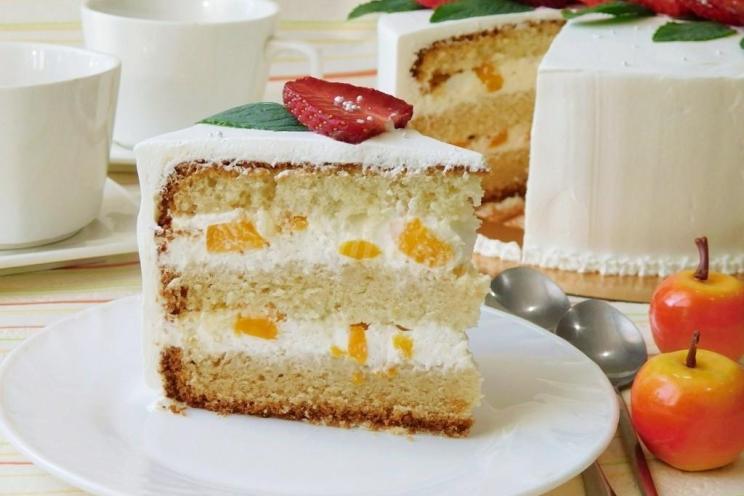
Peach Delight Cake

Nutrition Facts (per serving)

278
Calories
16g
Fat
30g
Carbs
4g
Protein

Ingredients (12 portions)

For the biscuit::

Eggs 3 pc
Butter 60 g
Milk 120 g
Sugar 170 g
Wheat flour 180 g
Soda 2 g
Vanillin 1 g

For filling::

Heavy cream 600 g
Powdered sugar 200 g
Peaches 300 g

Recipe instructions

Step 1
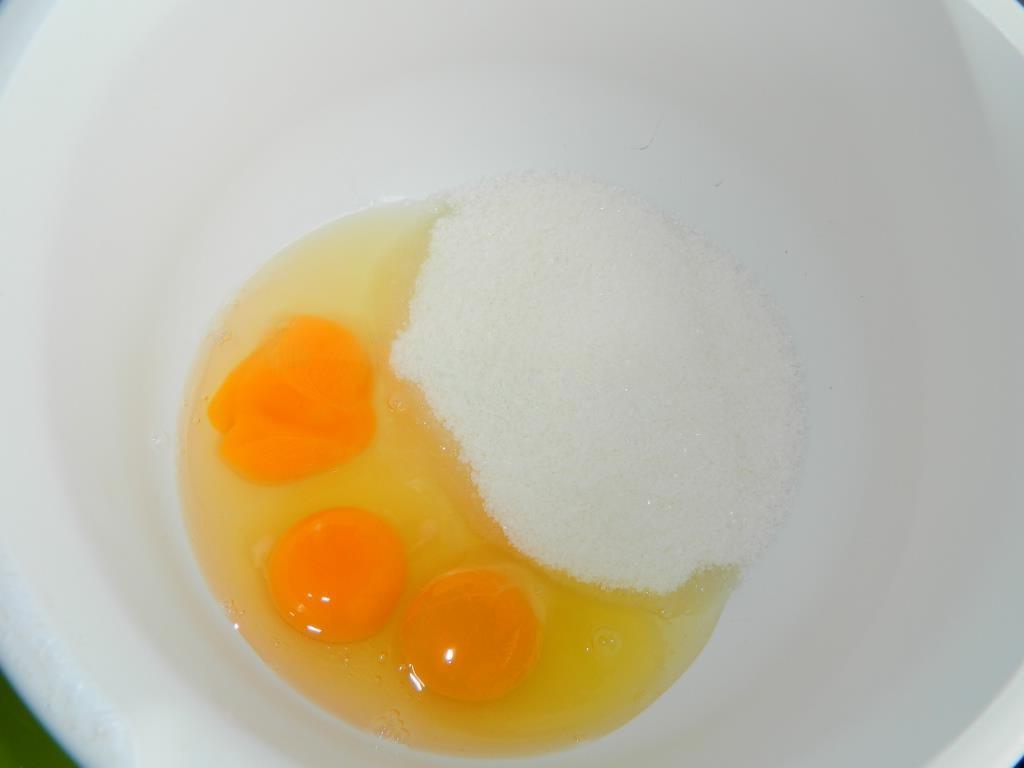
Step 1
Letʼs start preparing the cake by baking the sponge cake. To do this, combine the eggs and sugar in a mixing bowl. Beat them at the highest power of the mixer into a fluffy foam. Beaten eggs with sugar should turn out very fluffy, airy and thick.

Step 2

Step 2
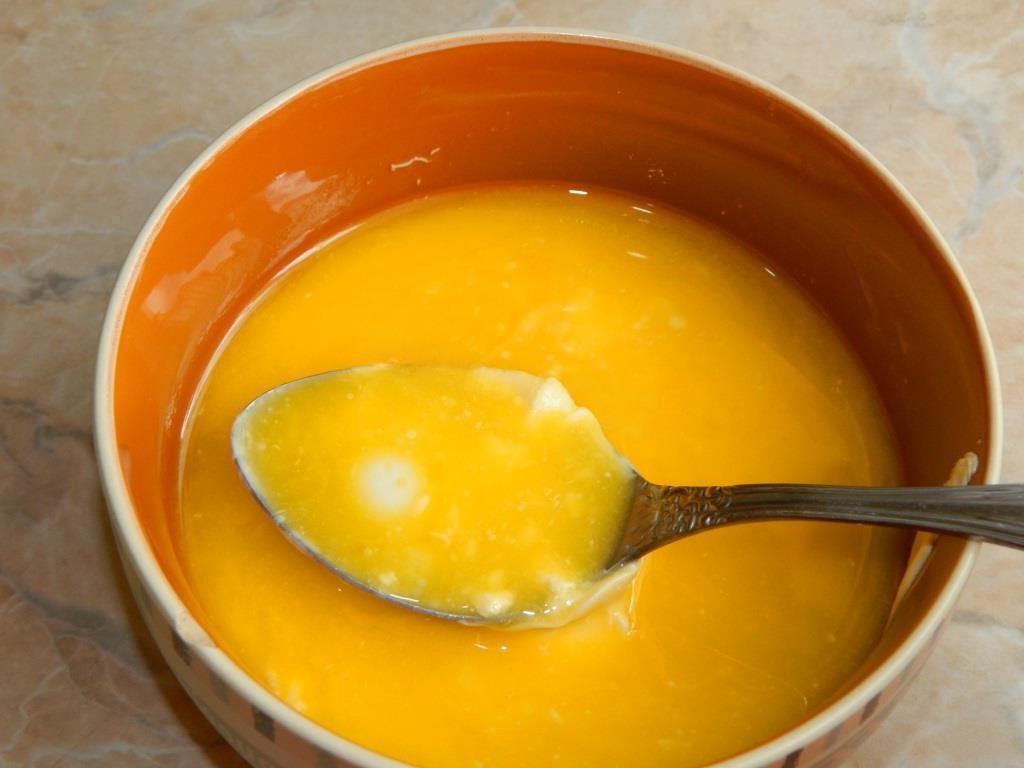
While the eggs are being beaten, separately bring the milk and butter to a boil. Boil a little so that the butter has time to melt.

Step 3

Step 3
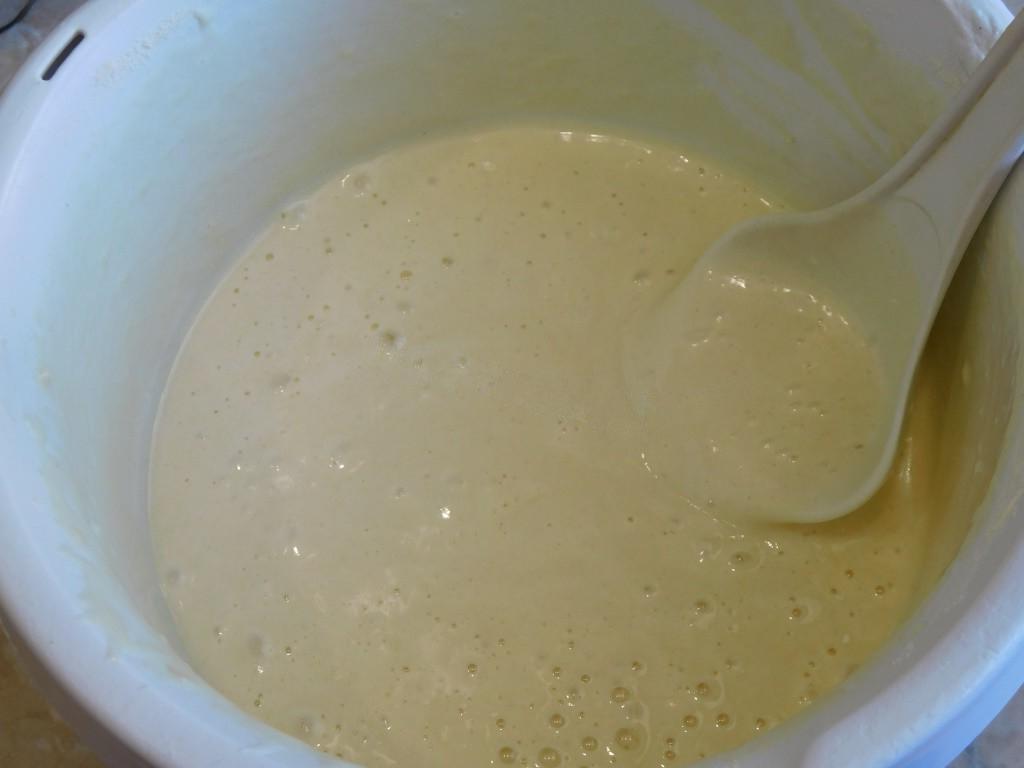
Alternately add hot milk with butter and flour with soda and vanilla to the whipped whites. Mix everything carefully with a whisk by hand so that the mass remains fluffy and airy. Enter everything in 3-4 doses. The dough should remain well saturated with oxygen.

Step 4

Step 4
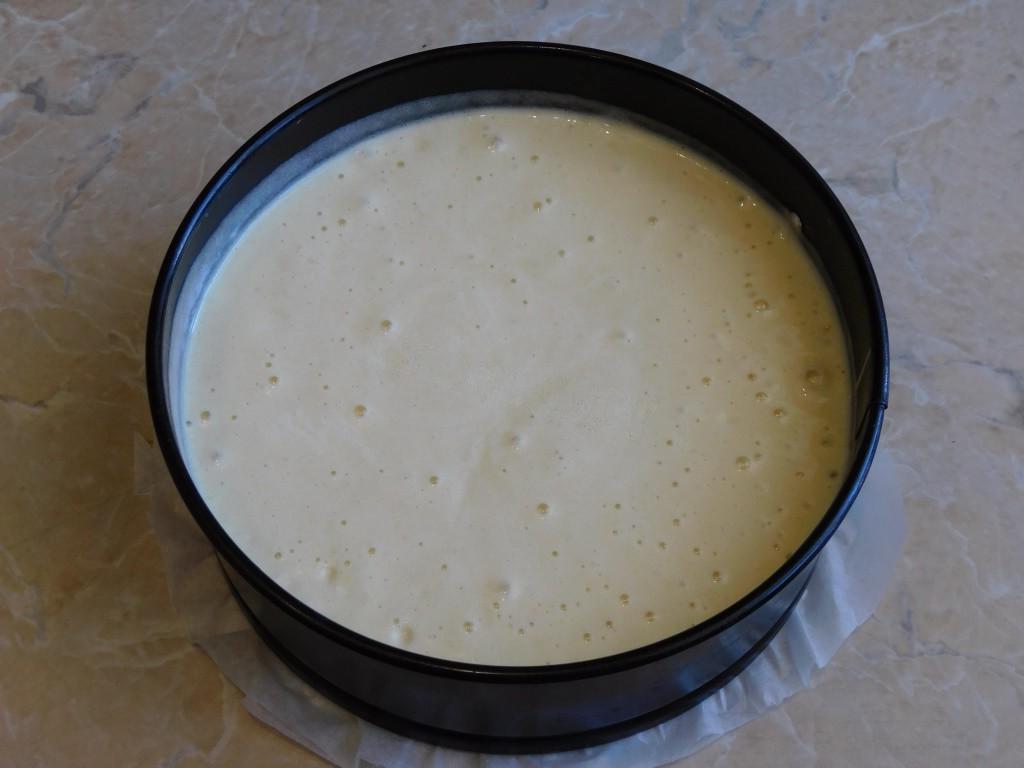
Pour the finished dough into a baking dish (18cm). Place the pan in the oven, preheated to 180 degrees for 40-50 minutes. Remove the finished biscuit from the mold and cool. Before assembling the cake, cut the sponge cake into 3 layers.

Step 5

Step 5
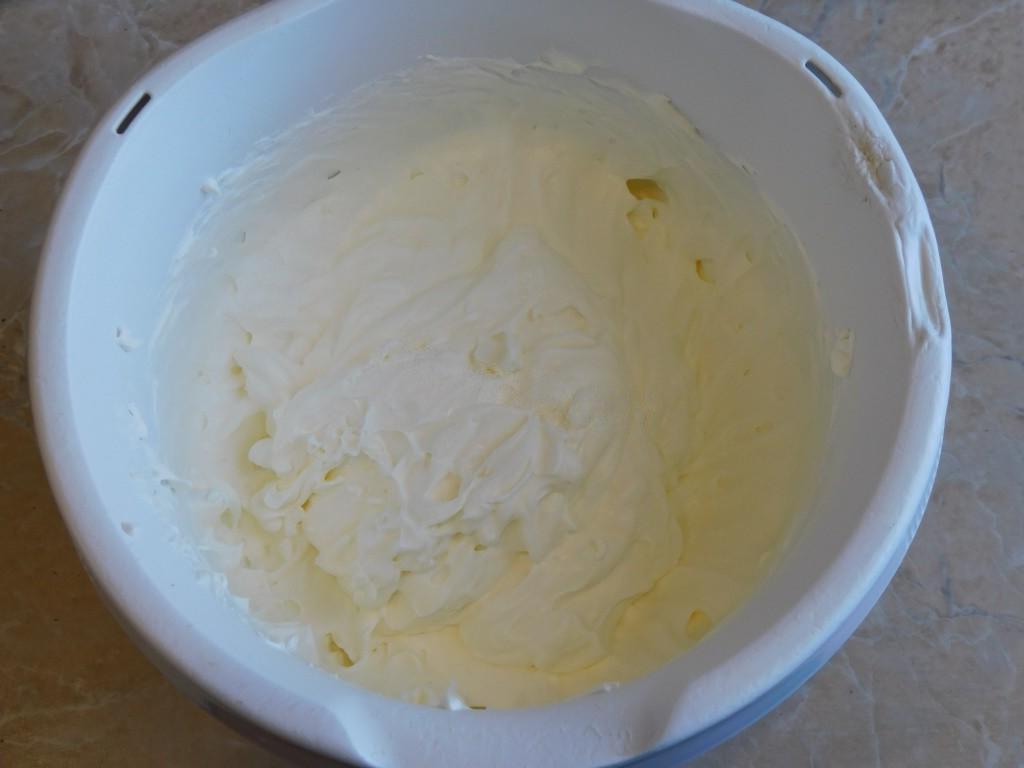
For the cream, combine heavy cream with powdered sugar. Beat them with a mixer until a fluffy, stable mass. Properly whipped cream should hold its shape well.

Step 6

Step 6
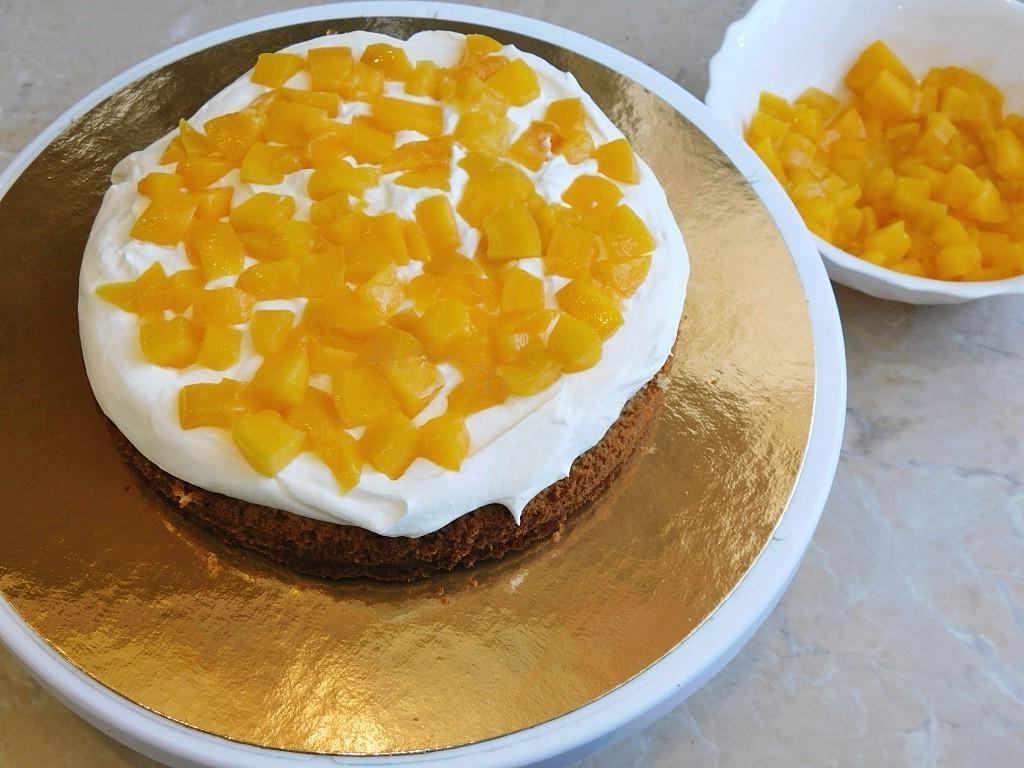
Drain the liquid from the canned peaches into a mug. Cut the peaches into pieces. Soak the cake layers with peach juice. Grease the soaked cakes with cream and add pieces of peaches.

Step 7

Step 7
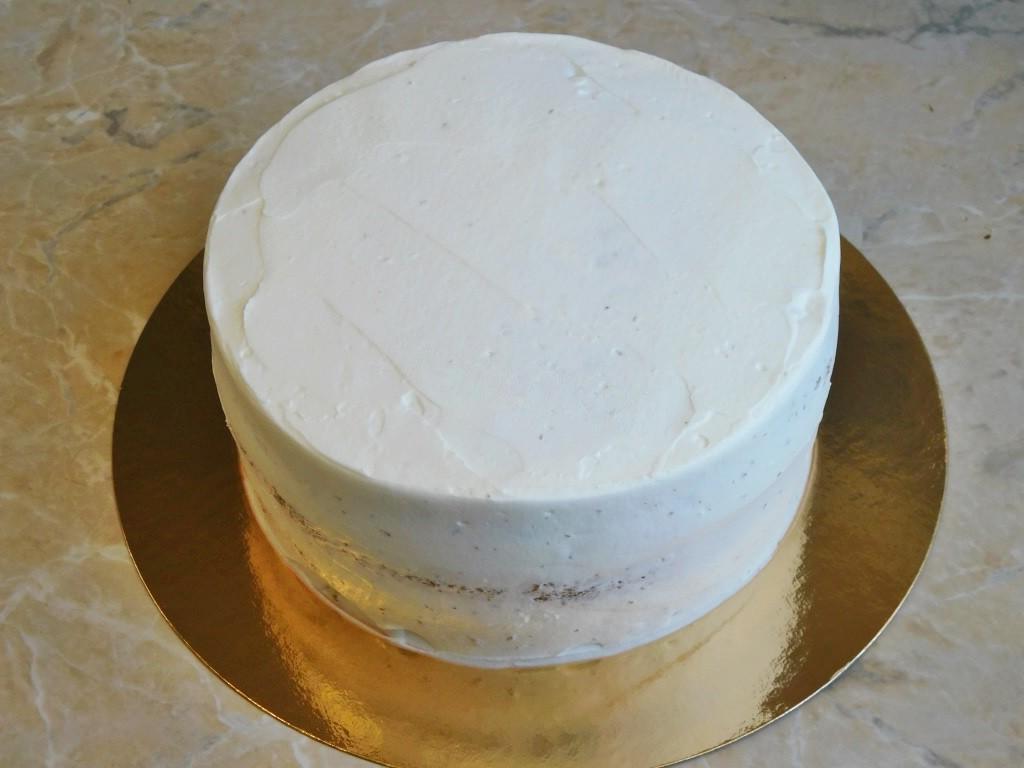
Assemble the cake. Cover the top and sides with cream as well. Place the cake in the refrigerator for several hours to allow the cake to soak and harden well.

Step 8

Step 8
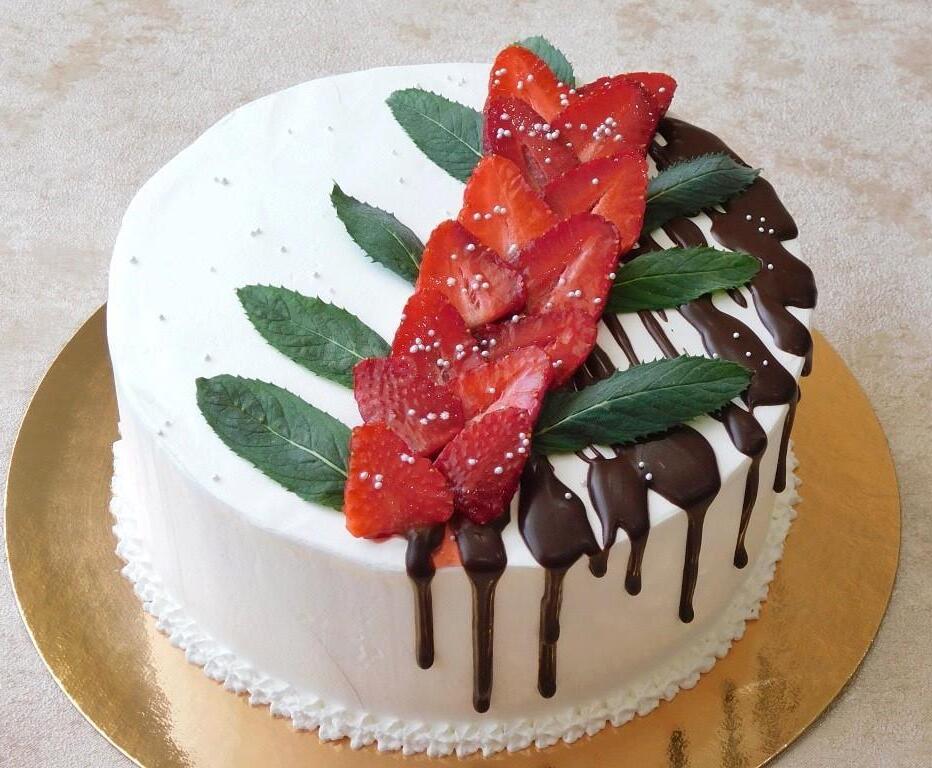
Decorate the frozen cake according to your taste or the upcoming celebration. Store the finished cake in the refrigerator, preferably covered, so that it does not dry out. Enjoy your tea!