Pistachio Raspberry Delight Roll

So tender and airy. Incredible pleasure! Pistachio roll with raspberries will win your heart! A light crispy crust with a wonderful creamy filling and notes of fresh berries will not leave anyone indifferent.
cook time: 1h 30 min
Hazel Farrow
Pistachio Raspberry Delight Roll

Nutrition Facts (per serving)

268
Calories
15g
Fat
28g
Carbs
5g
Protein

Ingredients (6 portions)

Basic:

Sugar 150 g
Raspberries 150 g
Vinegar 1 tsp
Starch 1 tbsp
Egg whites 4 pc
Pistachios 80 g

Cream:

Powdered sugar 1 tbsp
Heavy cream 200 g

Recipe instructions

Step 1

Step 1
How to make pistachio roll with raspberries? First, prepare the necessary ingredients for the cream, because it should sit in the refrigerator for several hours. When separating the whites from the yolks, you can take 1-2 more yolks if you have nowhere to put them. This will not really affect the consistency of the cream.

Step 2

Step 2
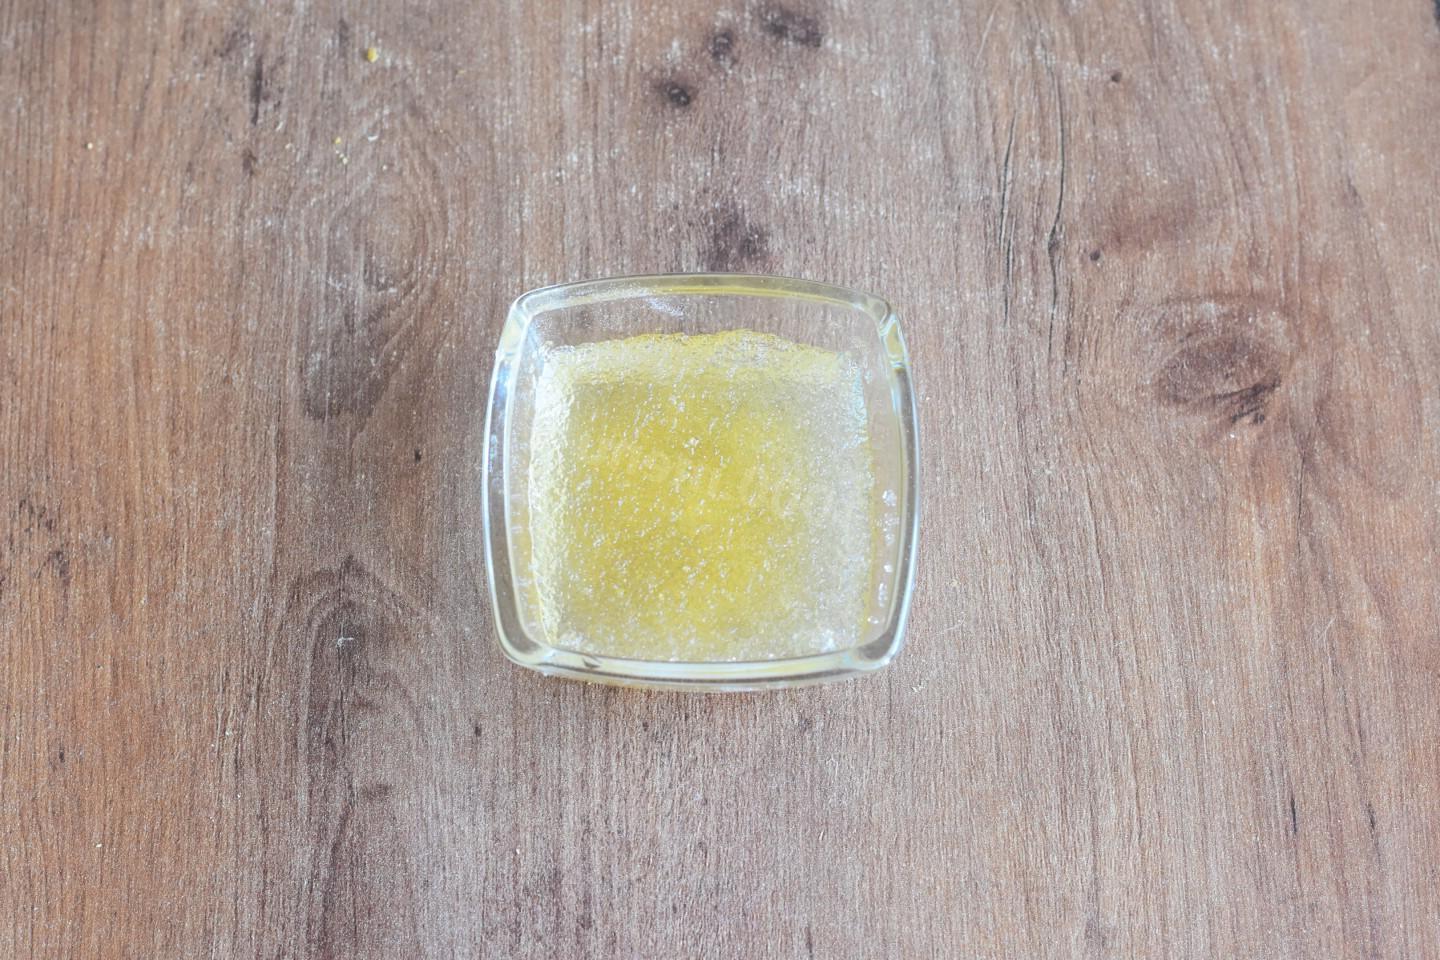
Pour 15 ml of cold water over the gelatin and leave to swell. Read about the subtleties and nuances of working with gelatin in a separate article, link at the end of the recipe.

Step 3

Step 3
Heat 70 ml of cream in a saucepan over low heat, but do not bring to a boil. Place the remaining cream in the refrigerator.

Step 4

Step 4
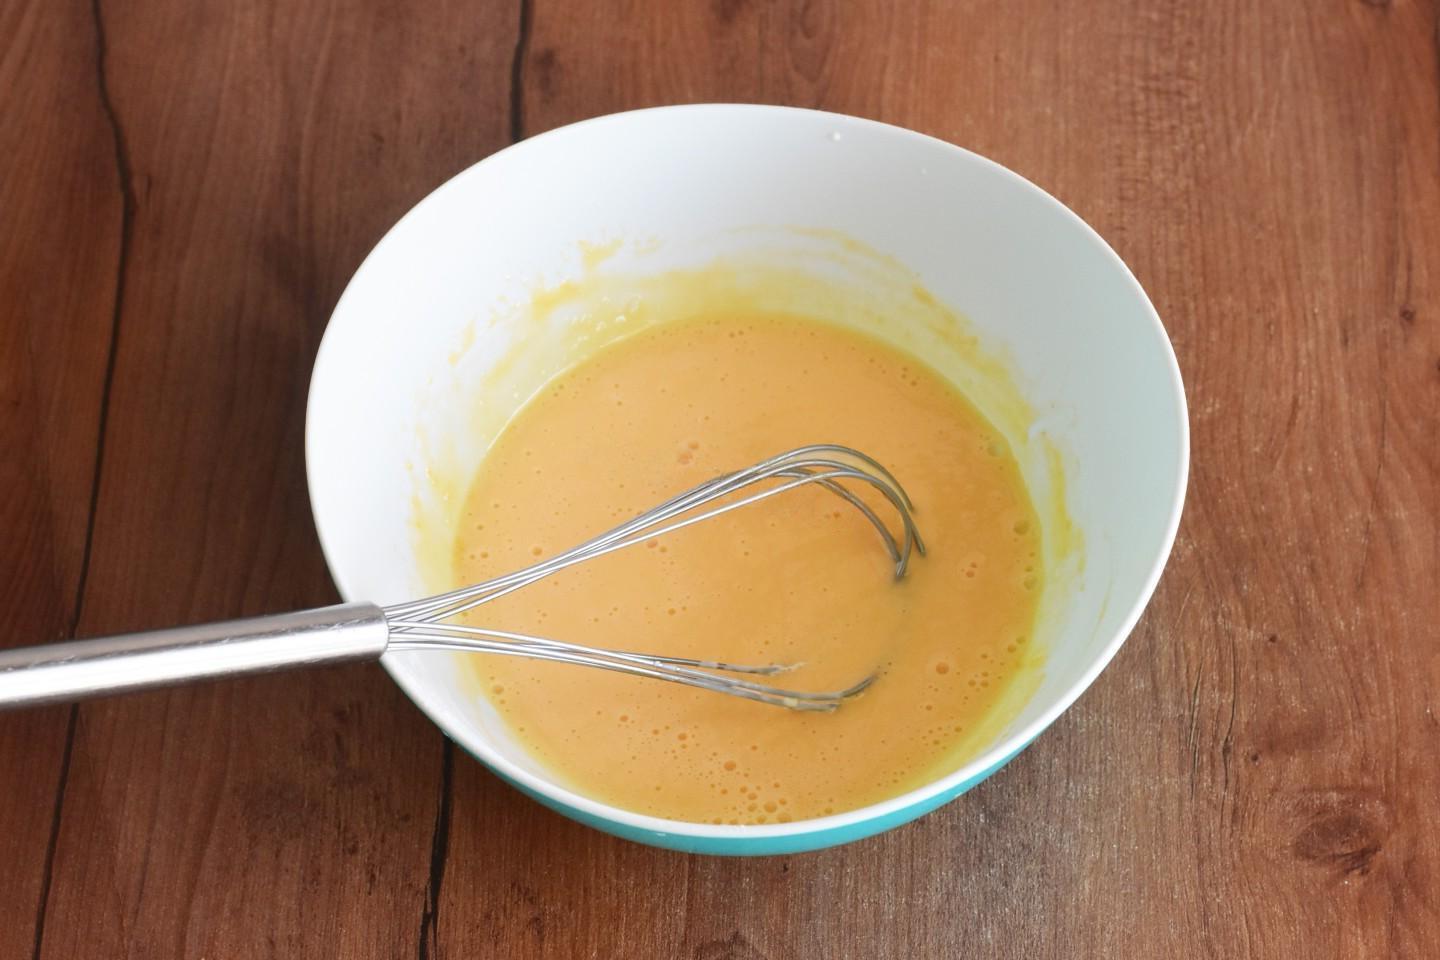
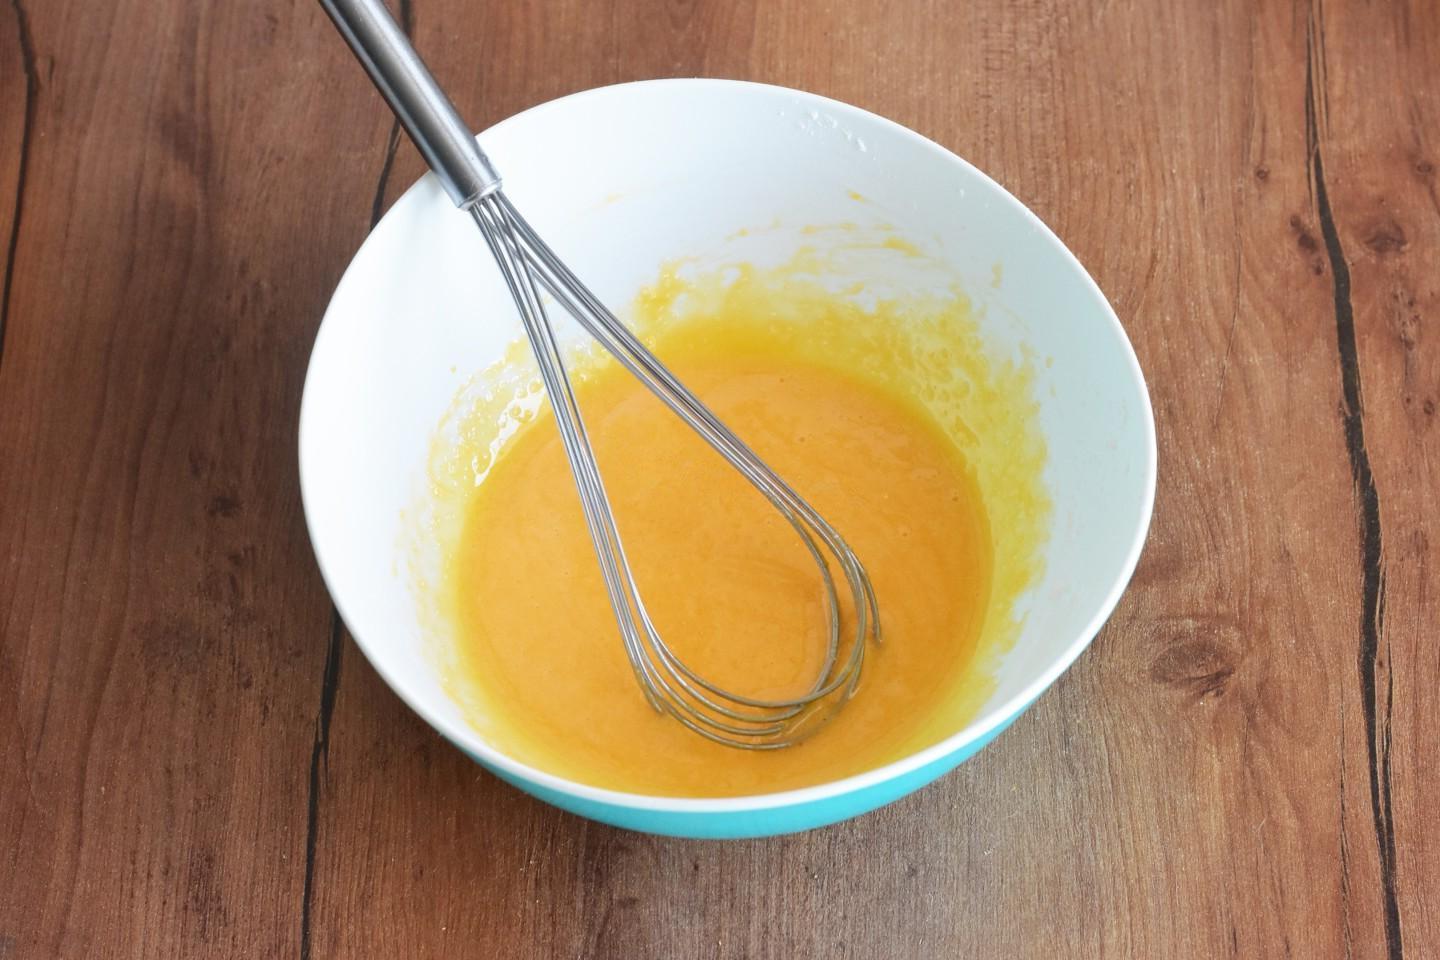
In a bowl, mix the yolks, sugar and cornstarch and whisk thoroughly.

Step 5

Step 5
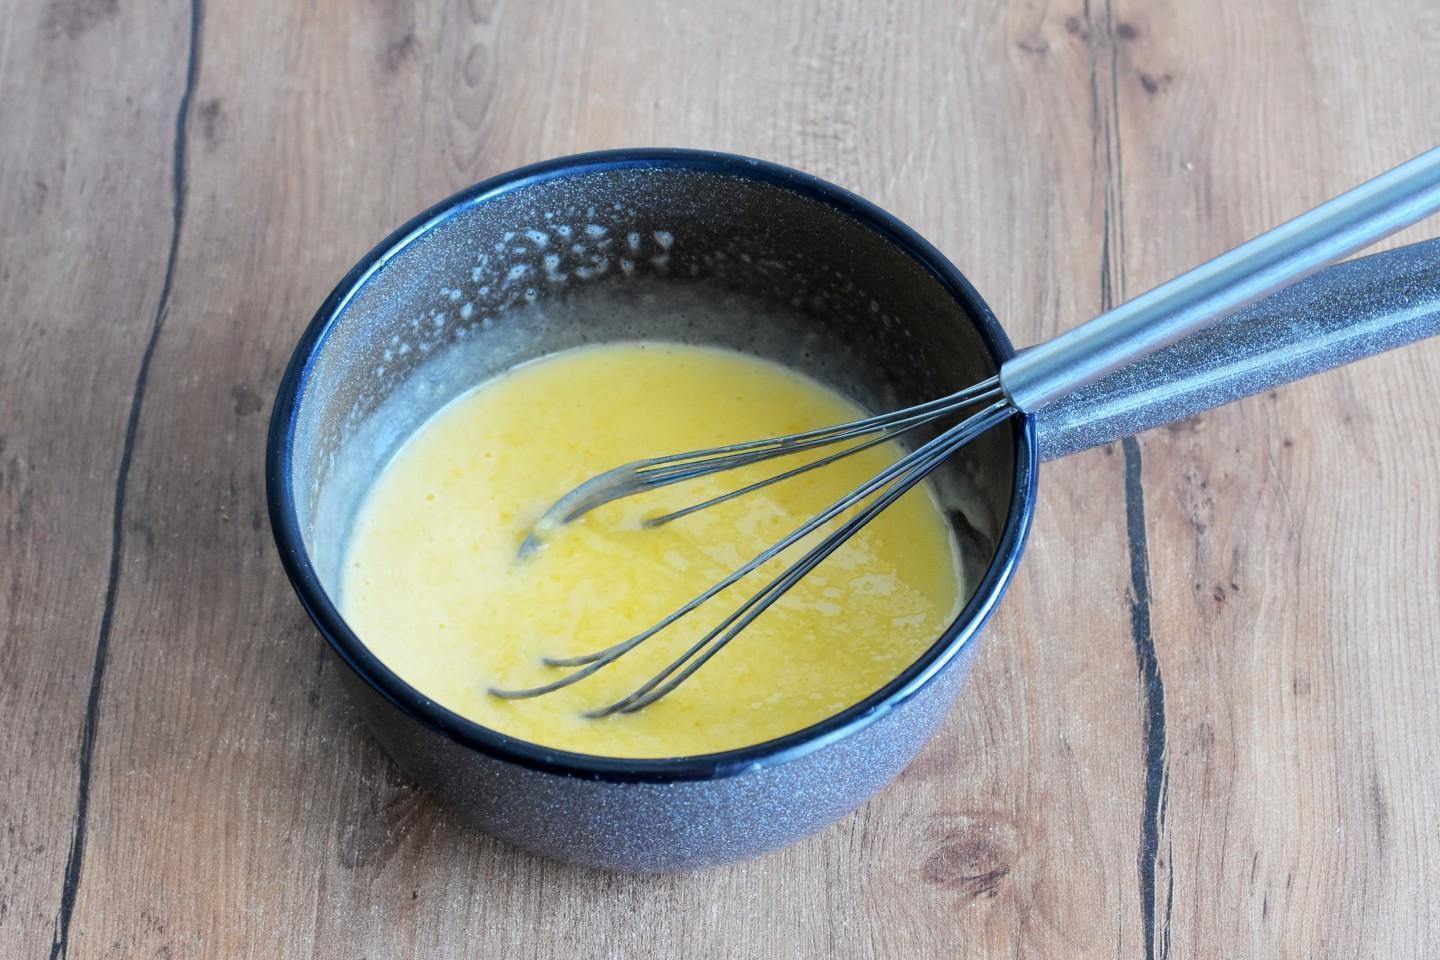
When the cream starts to steam, pour it into the yolk mixture in a thin stream while stirring constantly. This is necessary to prevent the yolks from curdling. If the yolks curdle, you will have to do everything again.

Step 6

Step 6
Return the creamy yolk mixture to low heat and cook the cream, stirring constantly, until slightly thickened. There is no need to thicken the cream much, because gelatin will be added to it.

Step 7

Step 7
Remove the cream from the heat, add the swollen gelatin, food coloring and thoroughly beat the mass with a submersible blender. You can add a little more coloring to your liking. Or you can not add it at all. If you have pistachio paste, you can add it instead of coloring.

Step 8

Step 8
Cover the cream with cling film and cool completely to room temperature or below. The cream I got was this beautiful pistachio color.

Step 9

Step 9
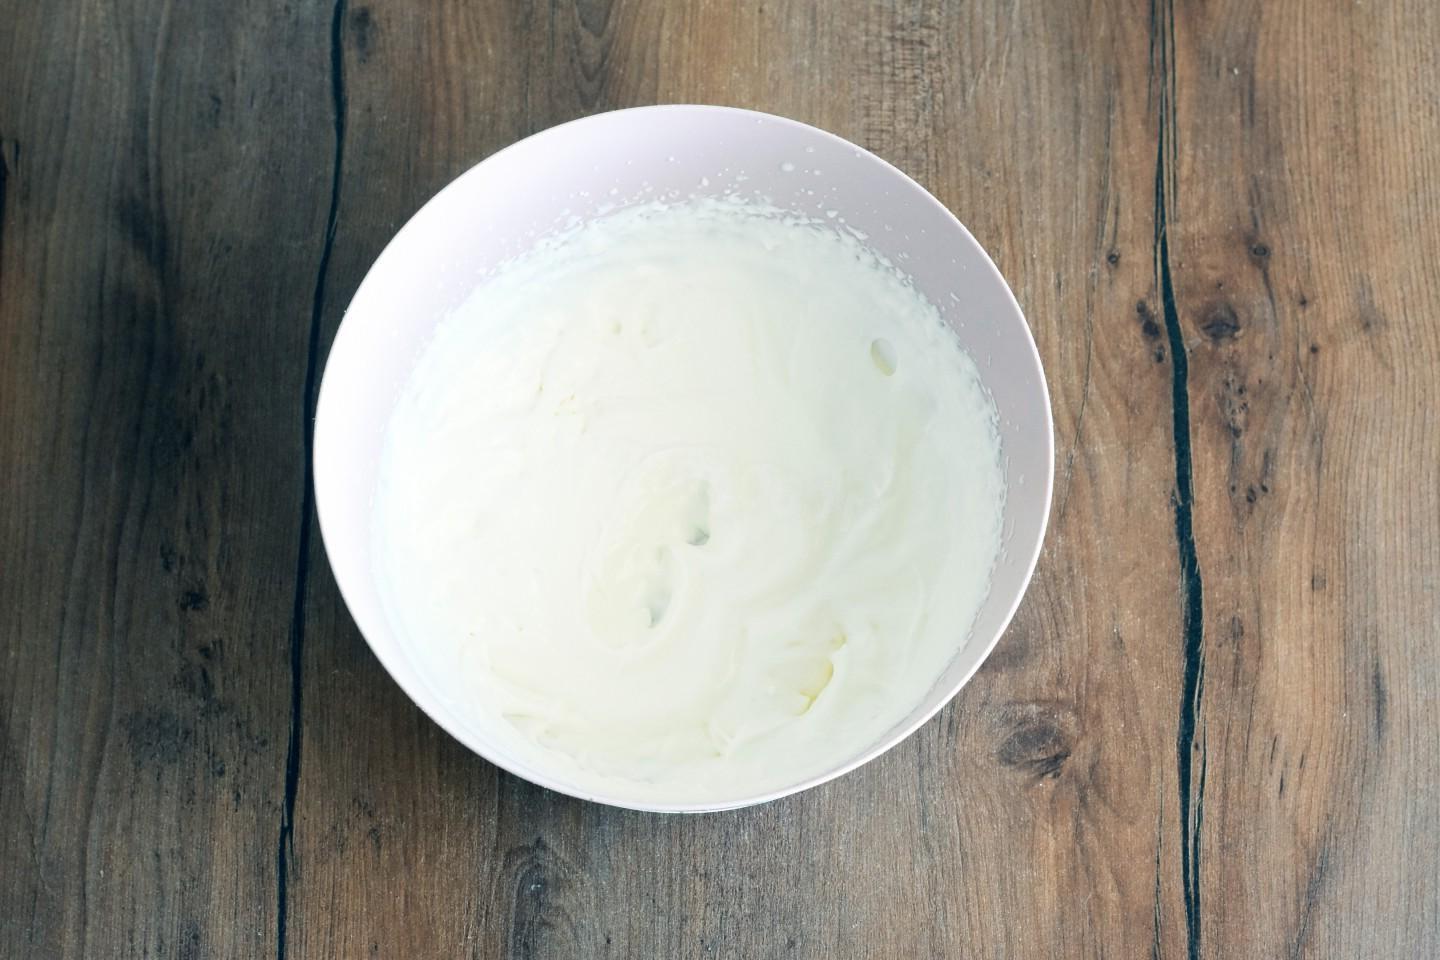
Whip cold cream with sugar until stiff peaks form. It is very important to choose high-quality cream that will whip well. For information on how to whip cream correctly, read the article below the steps.

Step 10

Step 10
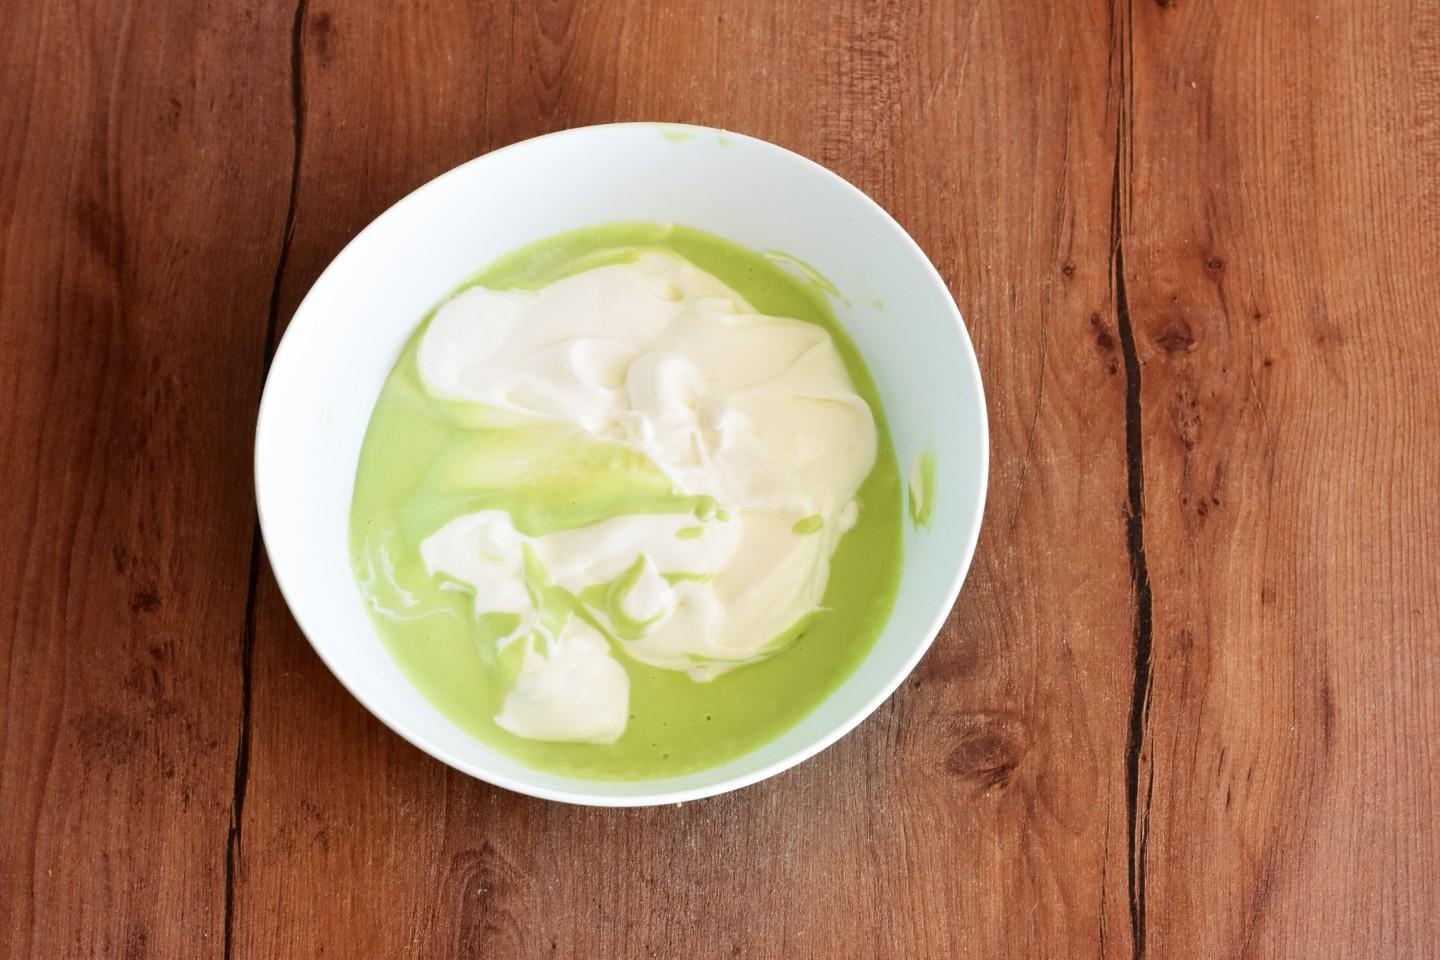
Gently fold the whipped cream into the cooled cream using a spatula.

Step 11

Step 11
Cover with cling film and refrigerate for 4-5 hours to stabilize. My cream set within 3 hours.

Step 12

Step 12
Now prepare the dacquoise. Instead, you can make a base of meringue or sponge cake. If you have pistachio flour, use it. Based on 100 g pistachio flour and 60 g wheat flour. I took 50 g of peeled pistachios and passed them through a fine-hole meat grinder twice. Turn on the oven to 170 degrees.

Step 13

Step 13
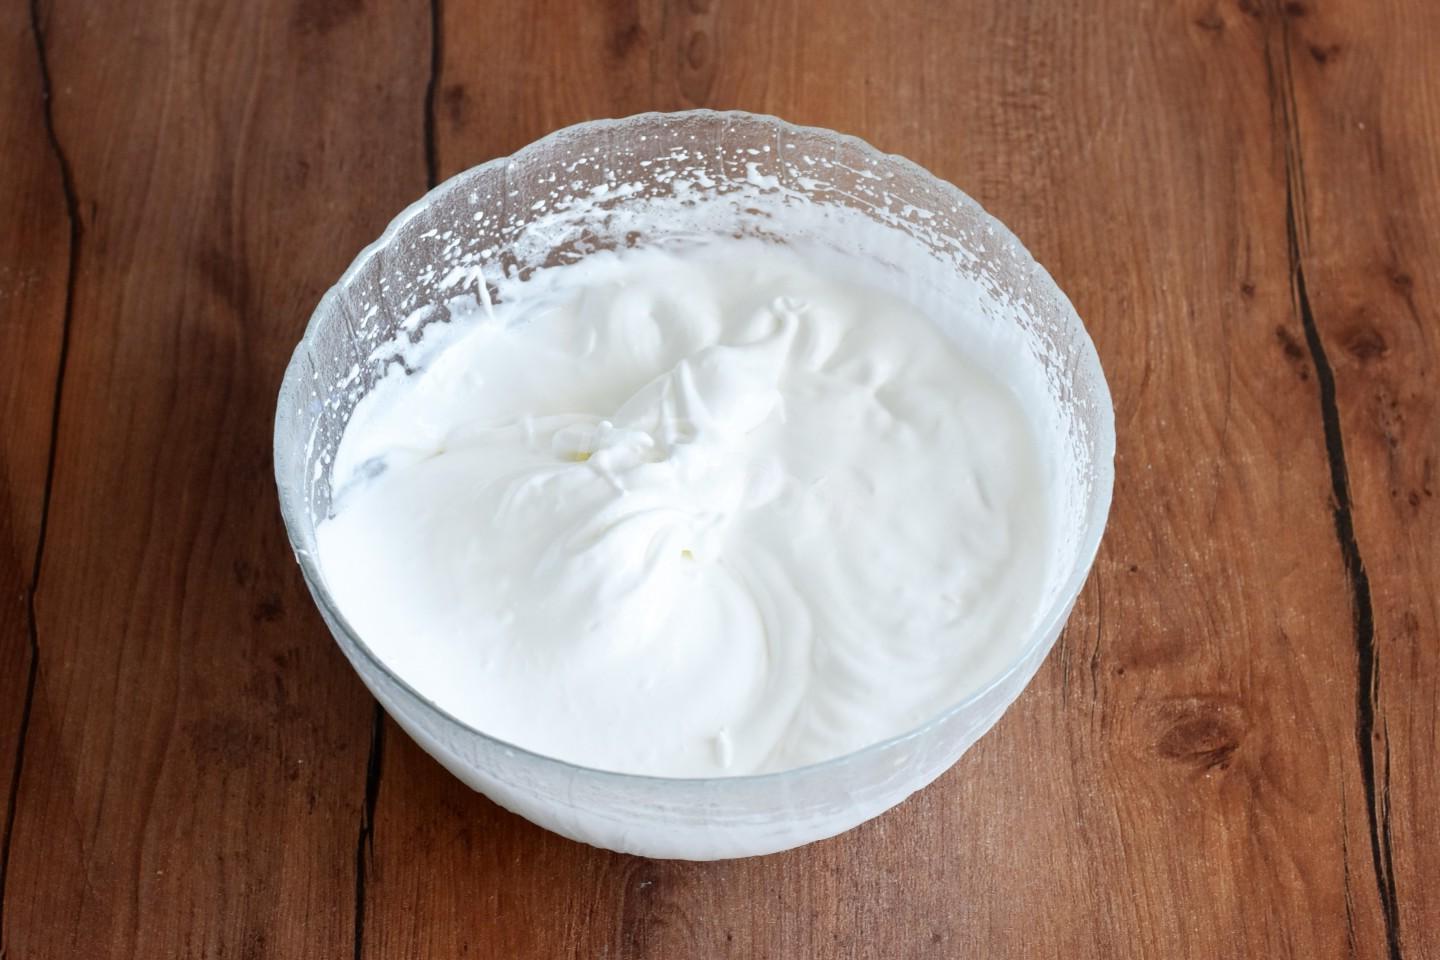
Beat the cold whites with a mixer, gradually adding sugar, until soft peaks form. Before beating, check that not a drop of yolk gets into the whites. The whites should be cold. The container in which the whites will be beaten must be clean, without droplets of water. If any of these conditions are violated, the whites will not whip into foam.

Step 14

Step 14
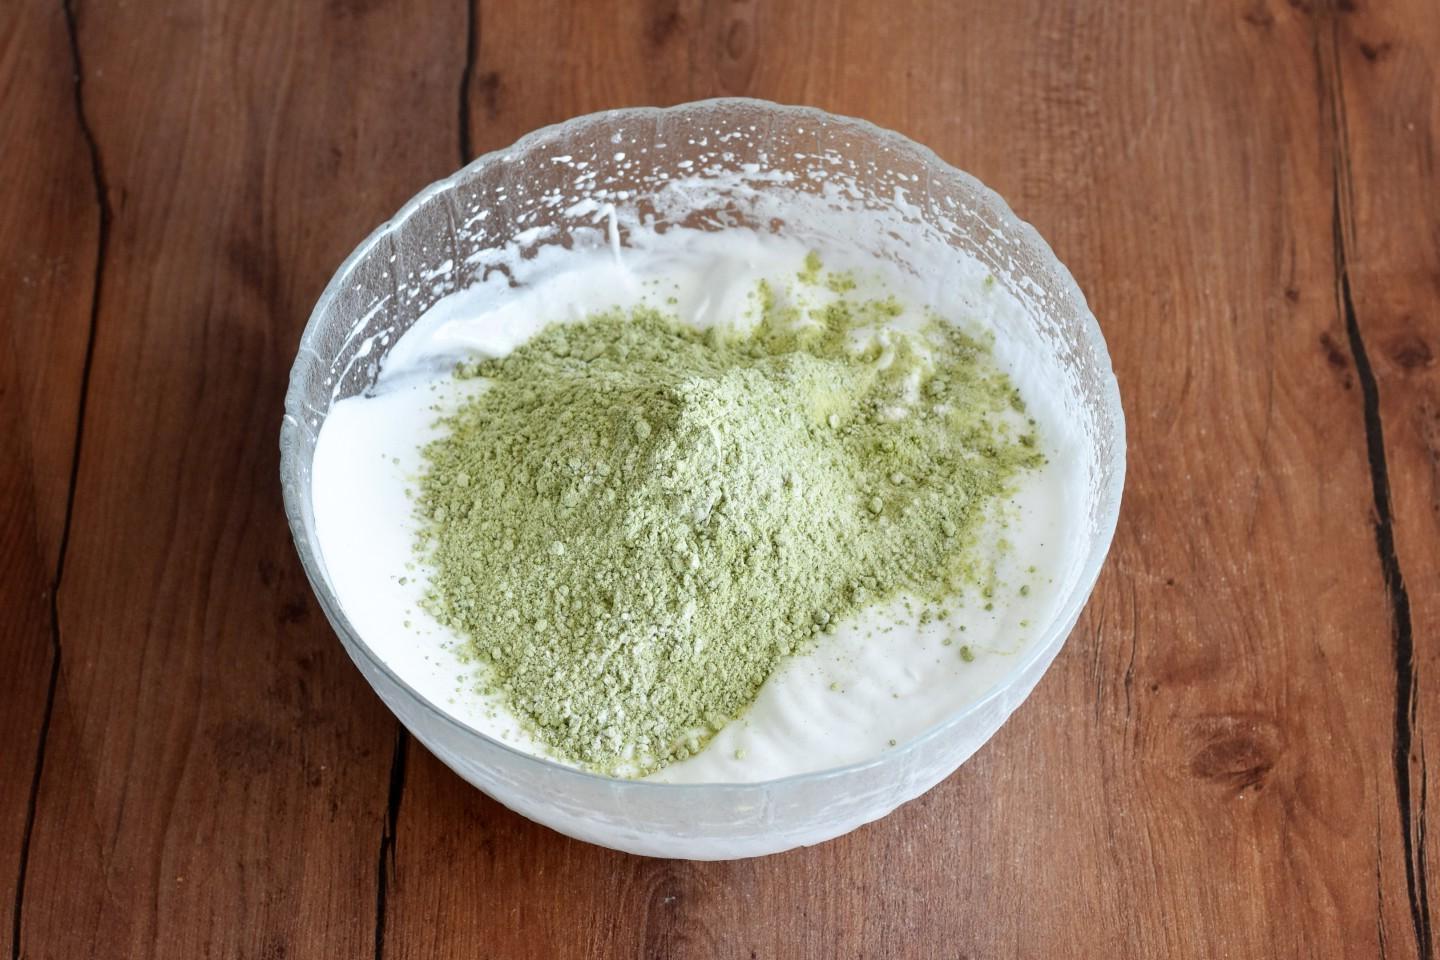
In a bowl, mix flour, chopped pistachios and matcha tea. It’s better to add less flour initially, then check the consistency. Add the flour mixture to the whipped meringue and mix gently with a spatula. Add more flour if necessary. The mass should be elastic, but not dense. It should drain from the shoulder blade, but slowly. If you donʼt like matcha tea, you can omit it. In this case, do not forget to adjust the consistency of the dough.

Step 15

Step 15
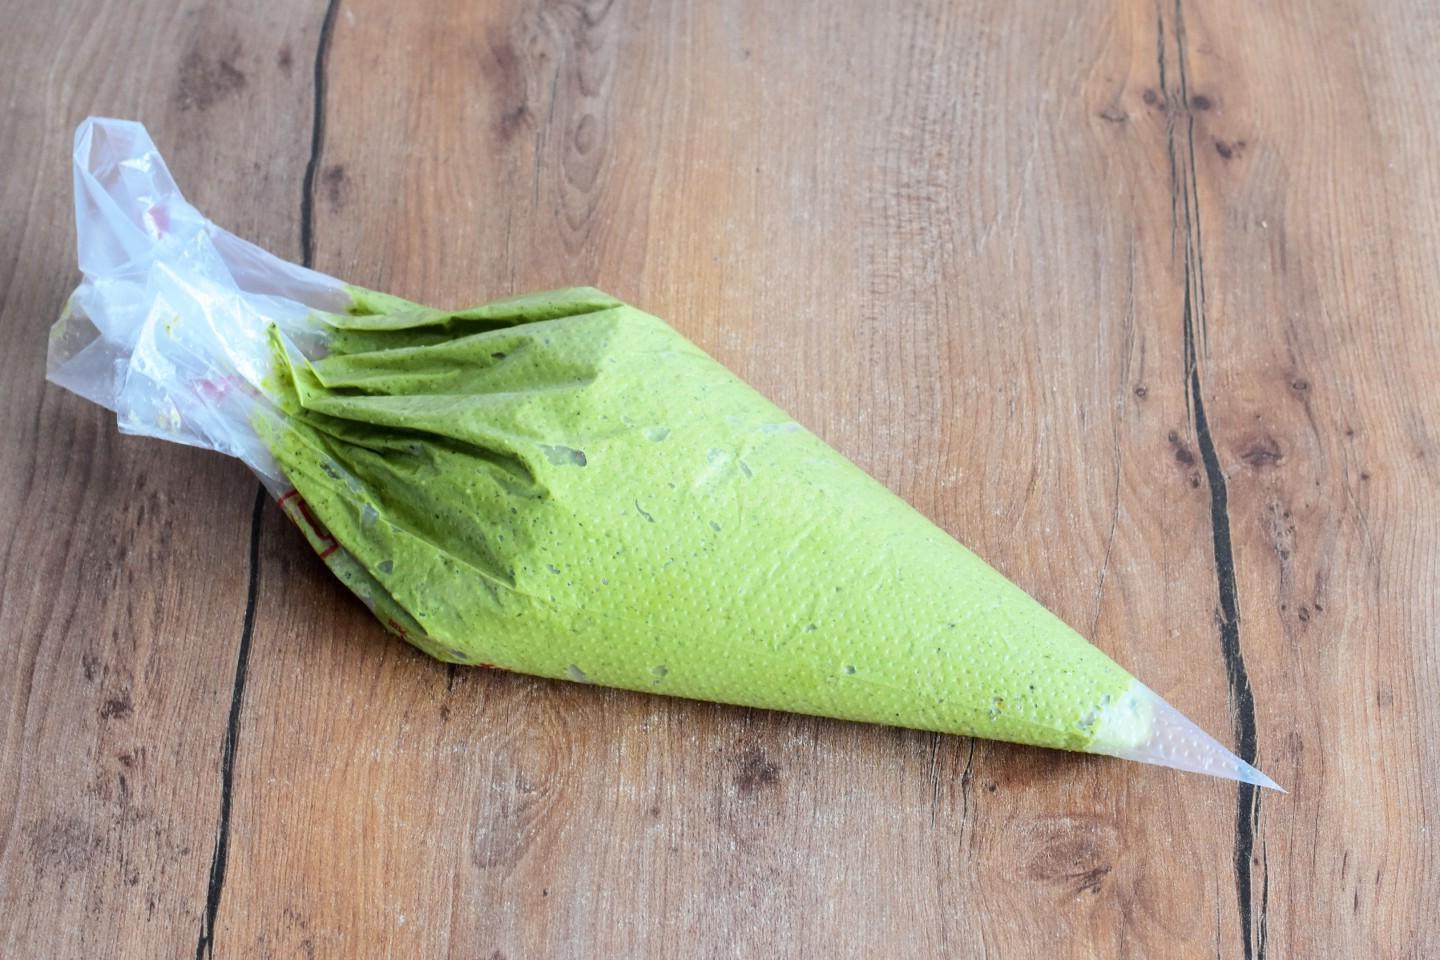
Place the dacquoise into a piping bag and cut off the tip.

Step 16

Step 16
Line a baking sheet with siliconized parchment, pipe dacquoise onto two-thirds of the baking sheet and spread with a spatula in an even layer.

Step 17

Step 17
If desired, sprinkle the dacquoise with powdered sugar on top through a strainer. I would skip the sprinkles the second time to better control the surface of the cake. Bake dacquoise at 170℃ for 10-15 minutes. It is important not to overdry the dacquoise. It should spring back when pressed. Read more about how to choose the right baking time and temperature in the article. The link is at the end of the recipe.

Step 18

Step 18
For the filling, use fresh raspberries. Rinse the berries and dry. You can replace raspberries with any berries.

Step 19

Step 19
Cover the finished dacquoise with parchment and cool slightly. Roll the roll while still warm, otherwise it may break. Then trim the dry edges and turn the cake right side down. Spread the cream evenly over the crust. Place raspberries on top.

Step 20

Step 20
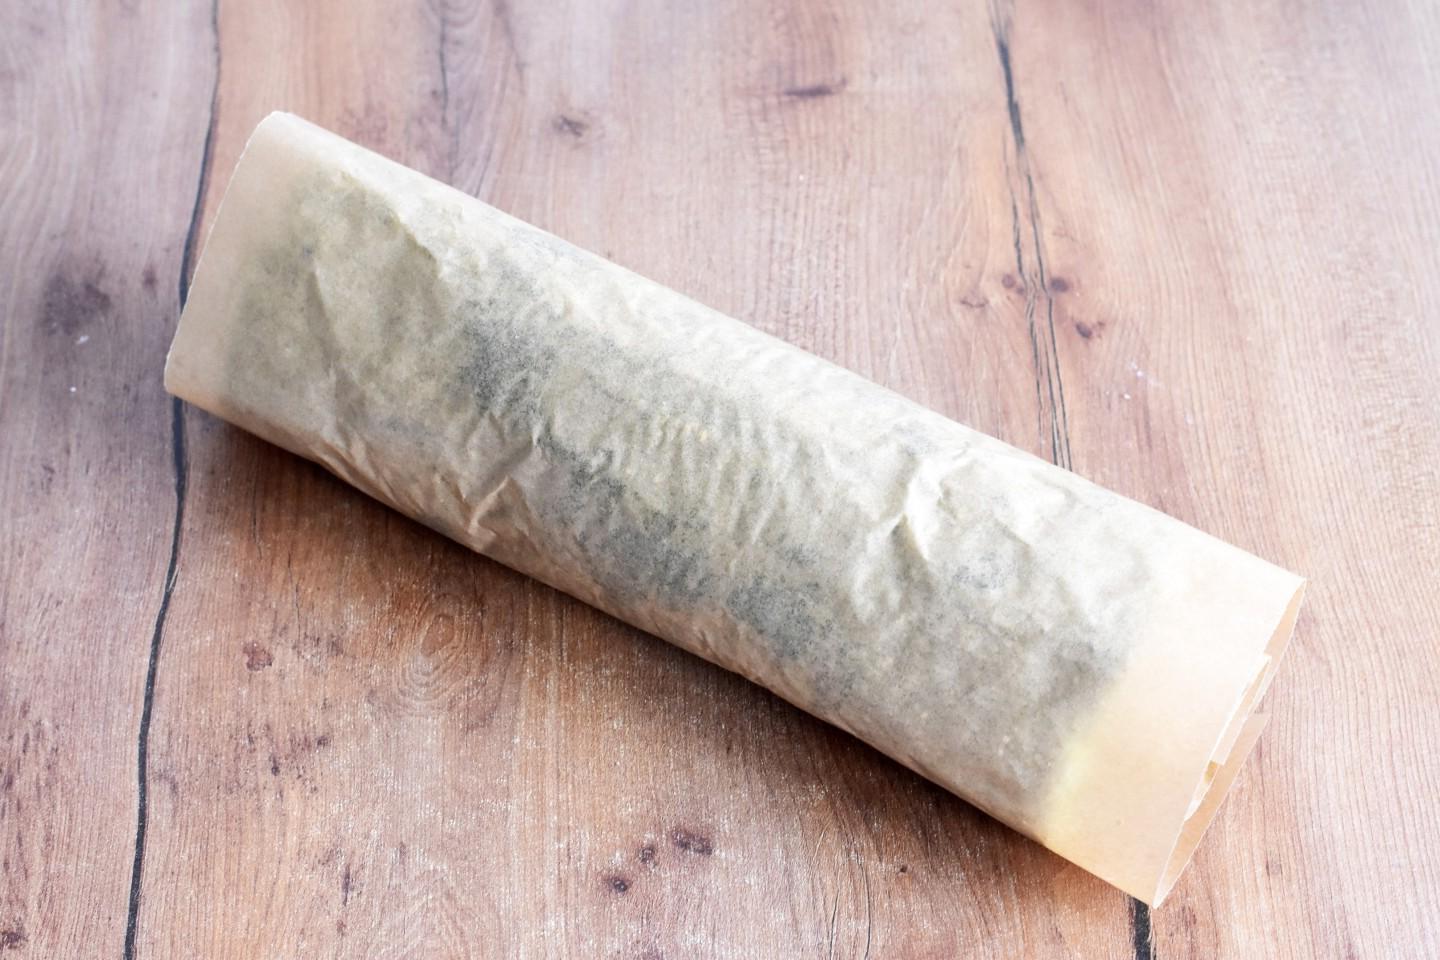
Carefully roll the cake into a roll, helping with the parchment on which it lies.

Step 21

Step 21
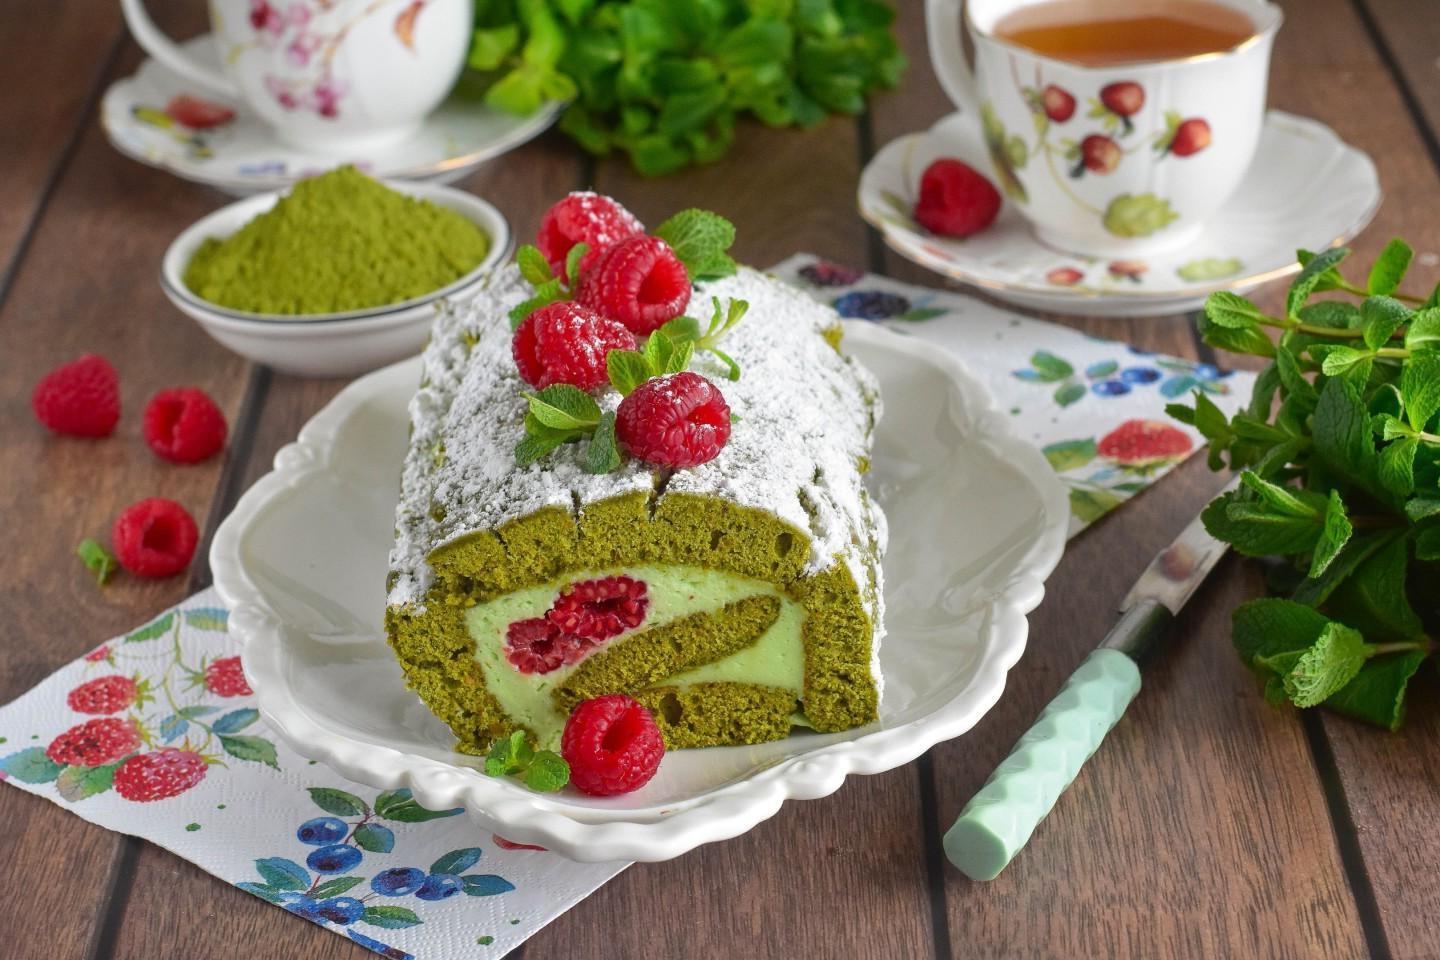
Sprinkle the finished roll with powdered sugar, garnish with raspberries and mint and serve. Bon appetit!

Additional rubrics