Delicious Chocolate Sponge Cake for Holidays

Insanely delicious, with original design, for a holiday! The classic Countʼs Ruins cake is very easy to decorate. no need to invent anything — just repeat all the steps. This is a very juicy, delicious chocolate sponge cake for any holiday table.
cook time: 1h
Nora Vaughn
Delicious Chocolate Sponge Cake for Holidays

Nutrition Facts (per serving)

295
Calories
12g
Fat
41g
Carbs
5g
Protein

Ingredients (8 portions)

DOUGH:

Sugar 1 cup
Wheat flour 2 cup
Cocoa 2 tbsp
Eggs 2 pc
Sour cream 1 cup
Baking powder 1 tsp

CREAM:

Sugar 1 cup
Sour cream 300 g

GLAZE:

Sugar 3 tbsp
Butter 50 g
Milk 7 tbsp
Cocoa 3 tbsp

To grease the mold:

Butter 10 g

Recipe instructions

Step 1
Step 1
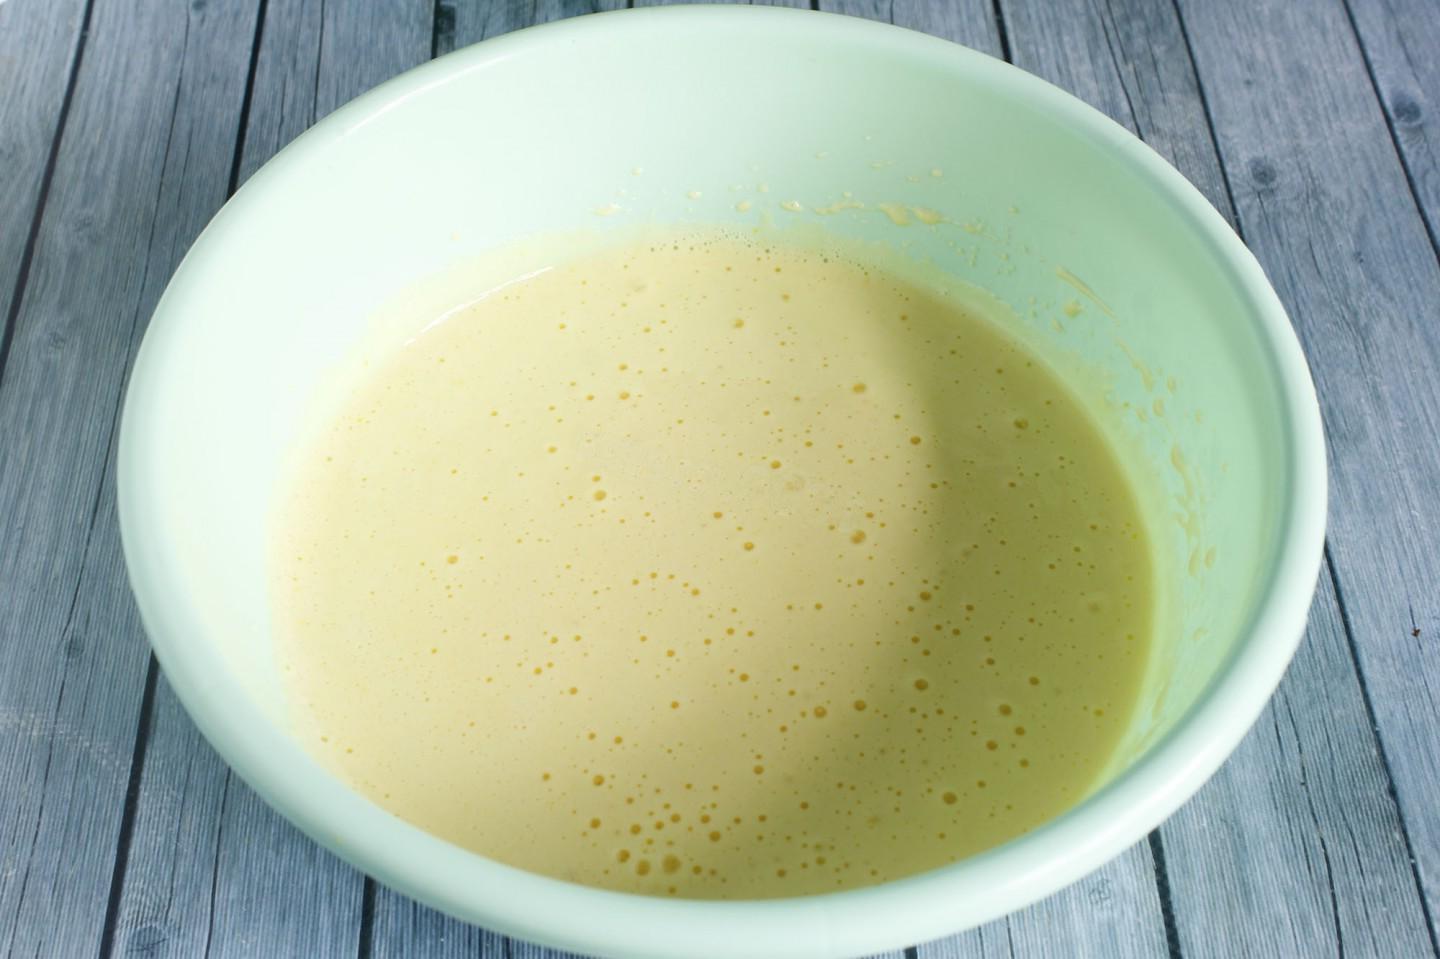
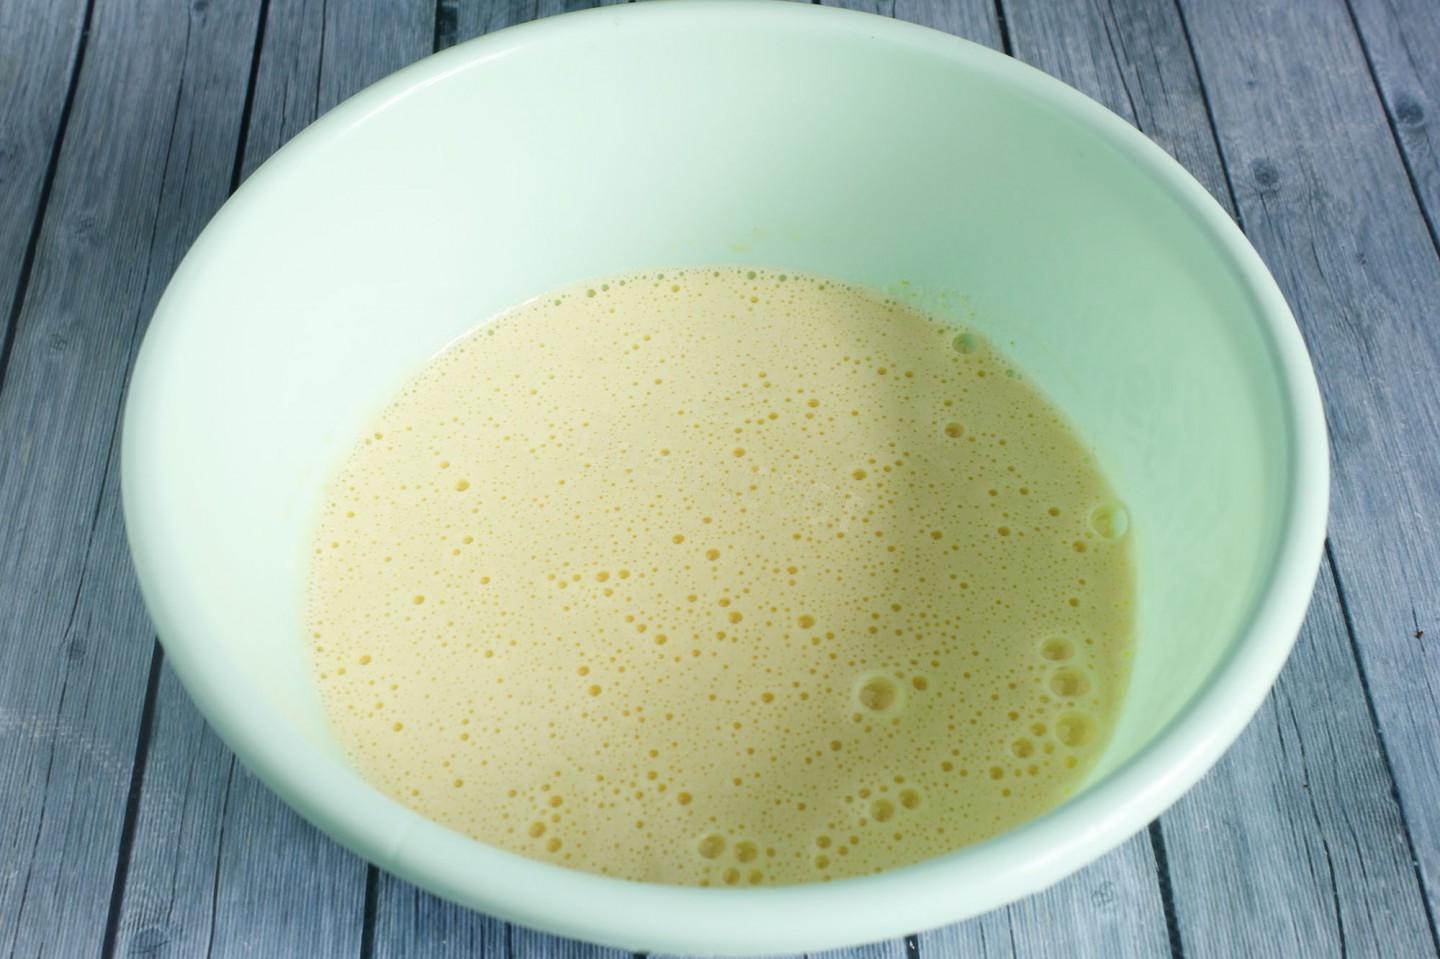
How to make a classic Count Ruins cake? Prepare your food. Pour raw eggs into a deep bowl and add sugar. Beat the eggs and sugar with a mixer at high speed for about 3-4 minutes until the sugar dissolves and the mass increases and whitens.

Step 2

Step 2
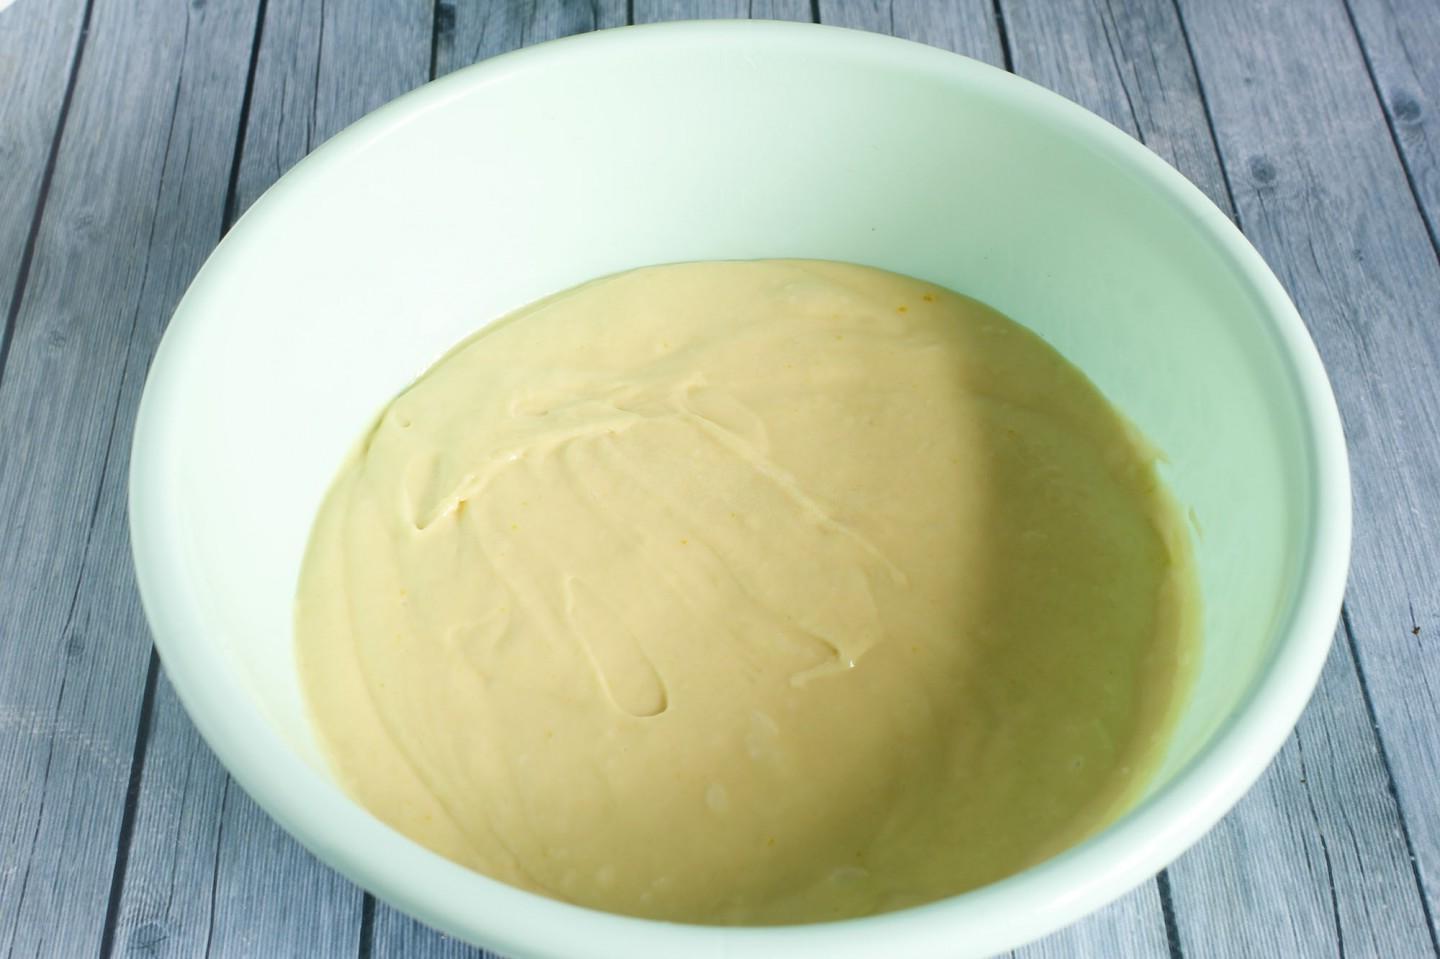
Add sour cream to the bowl and mix with a mixer at low speed until a homogeneous mass is formed.

Step 3

Step 3
Add the sifted flour (set aside 1 tablespoon, we will add it later) and baking powder and mix gently with a spatula from top to bottom. Adjust the amount of flour according to the consistency of the dough. It should be neither thick nor liquid.

Step 4

Step 4
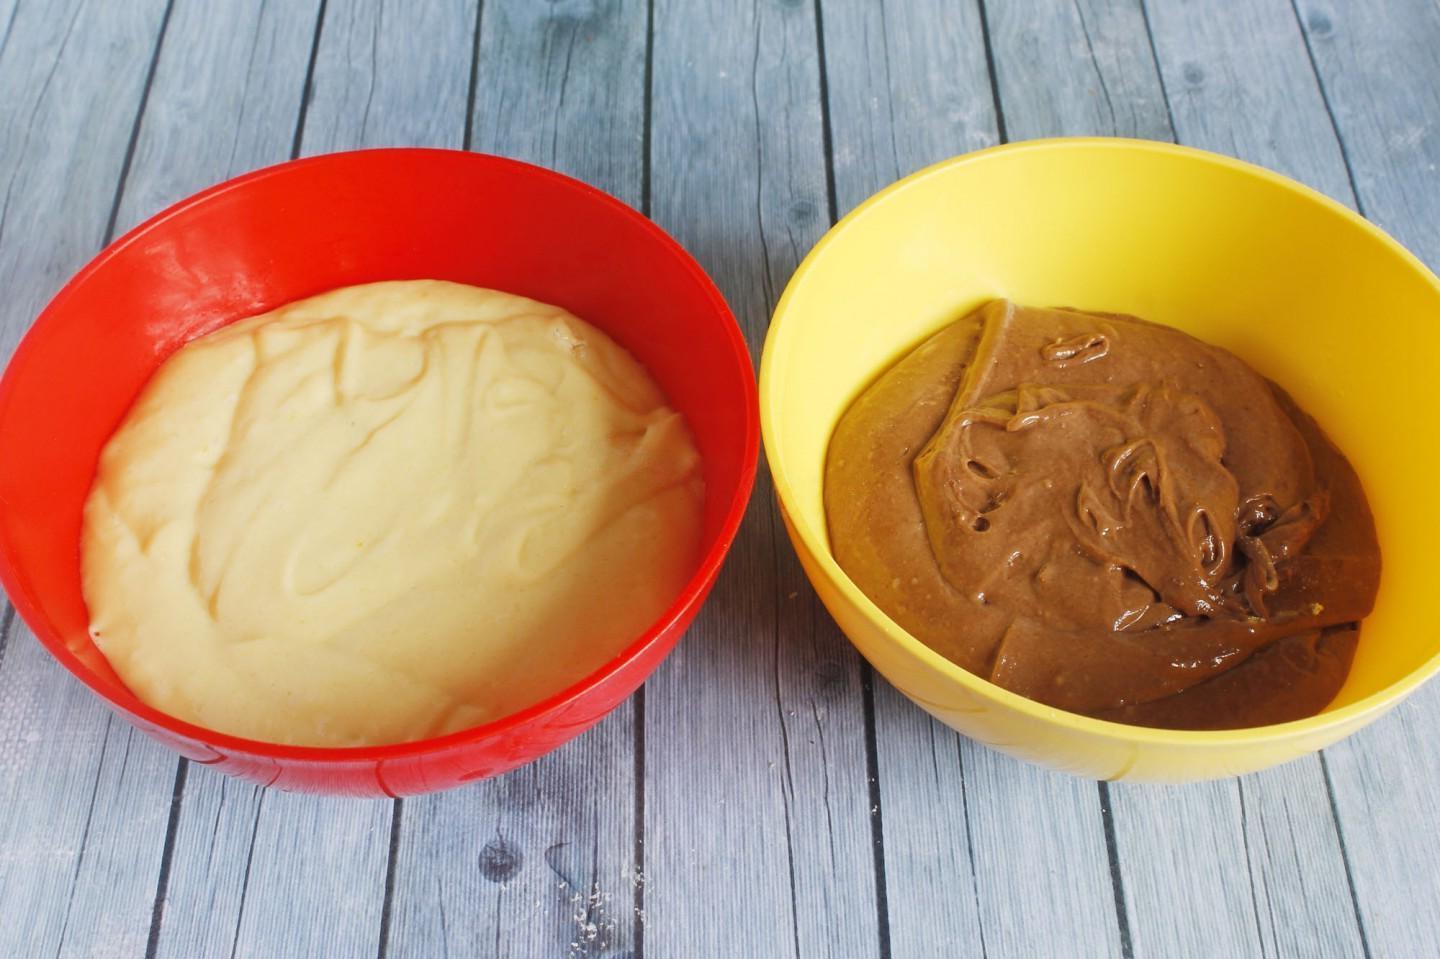
Divide the dough into 2 equal parts. Pour cocoa powder into one part of the dough through a strainer and mix with a spoon until smooth. Add the previously set aside spoonful of flour to the second part of the dough.

Step 5

Step 5
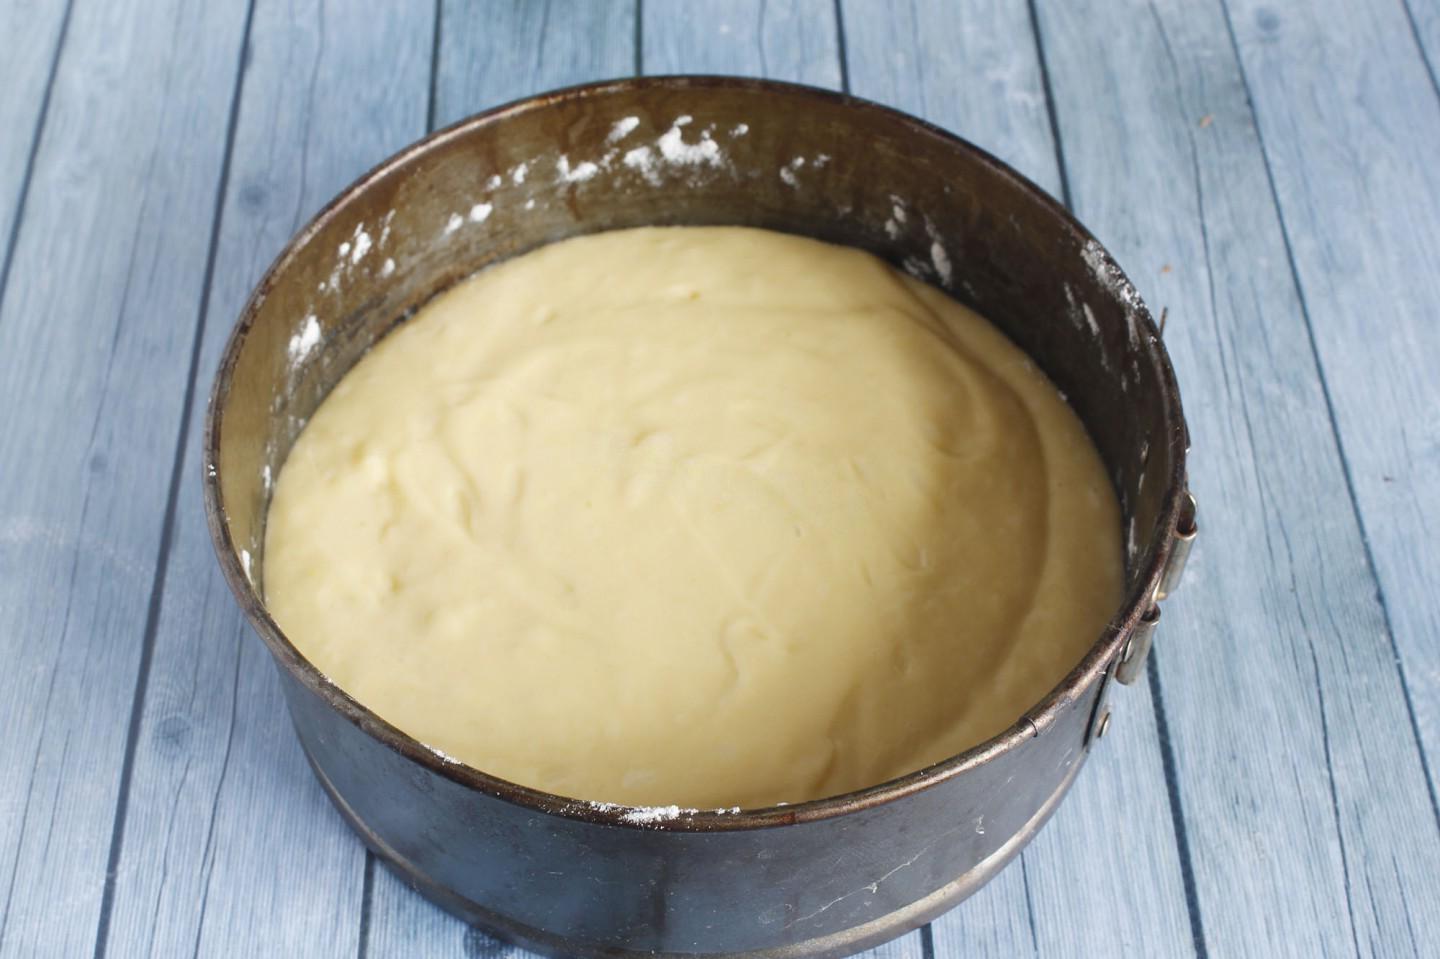
Take a round baking dish with a diameter of 20 cm. Cover the bottom with parchment paper, cutting out a circle of a suitable size. There is no need to grease the mold. For baking white cake, it is better to use a larger pan than for chocolate cake.

Step 6

Step 6
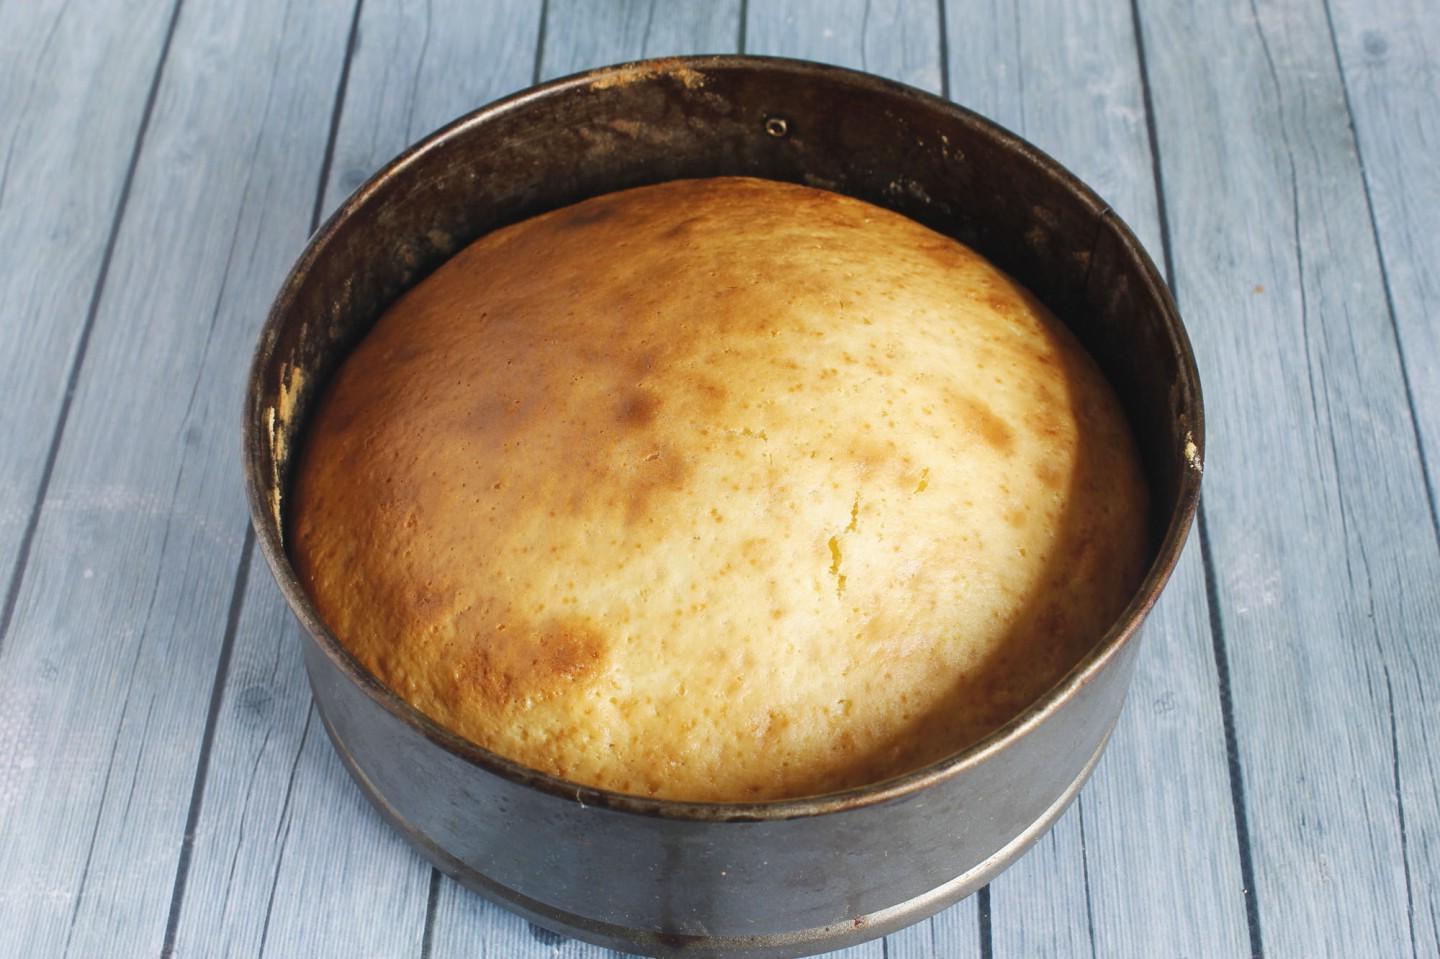
Bake the cake in the oven at 180 degrees for 30-40 minutes. Determine the time and temperature based on your oven. Remove the cake from the pan.

Step 7

Step 7
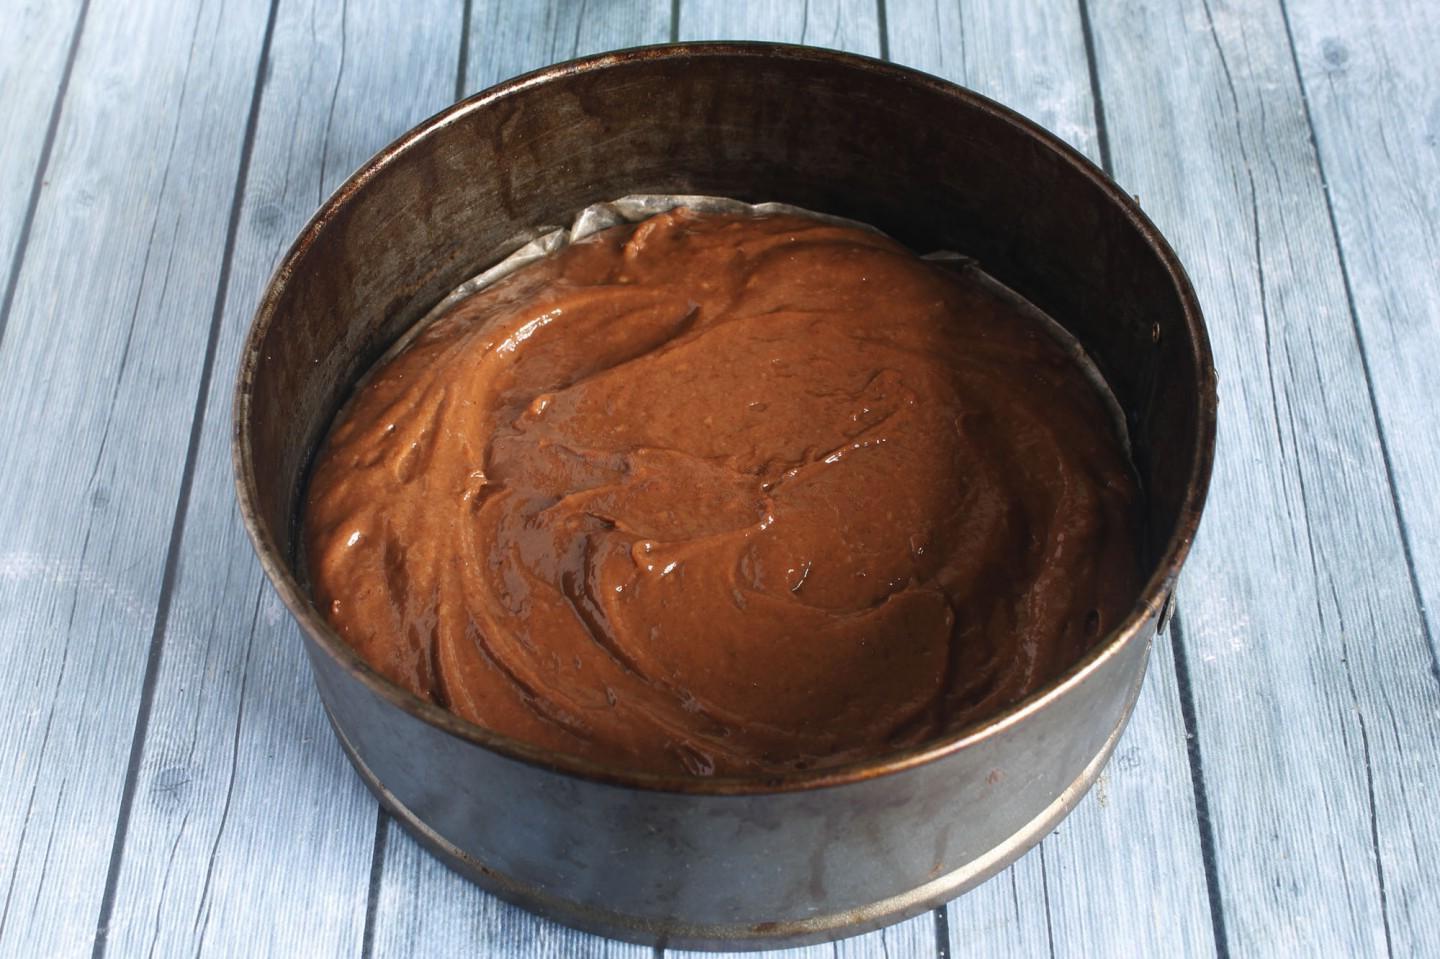
For the chocolate cake, take a round mold with a diameter of 20 cm. If you do not have a mold of this diameter, use the same mold in which the white cake was baked. Also line the bottom of the pan with parchment and grease it with butter. Pour the dough into the mold.

Step 8

Step 8
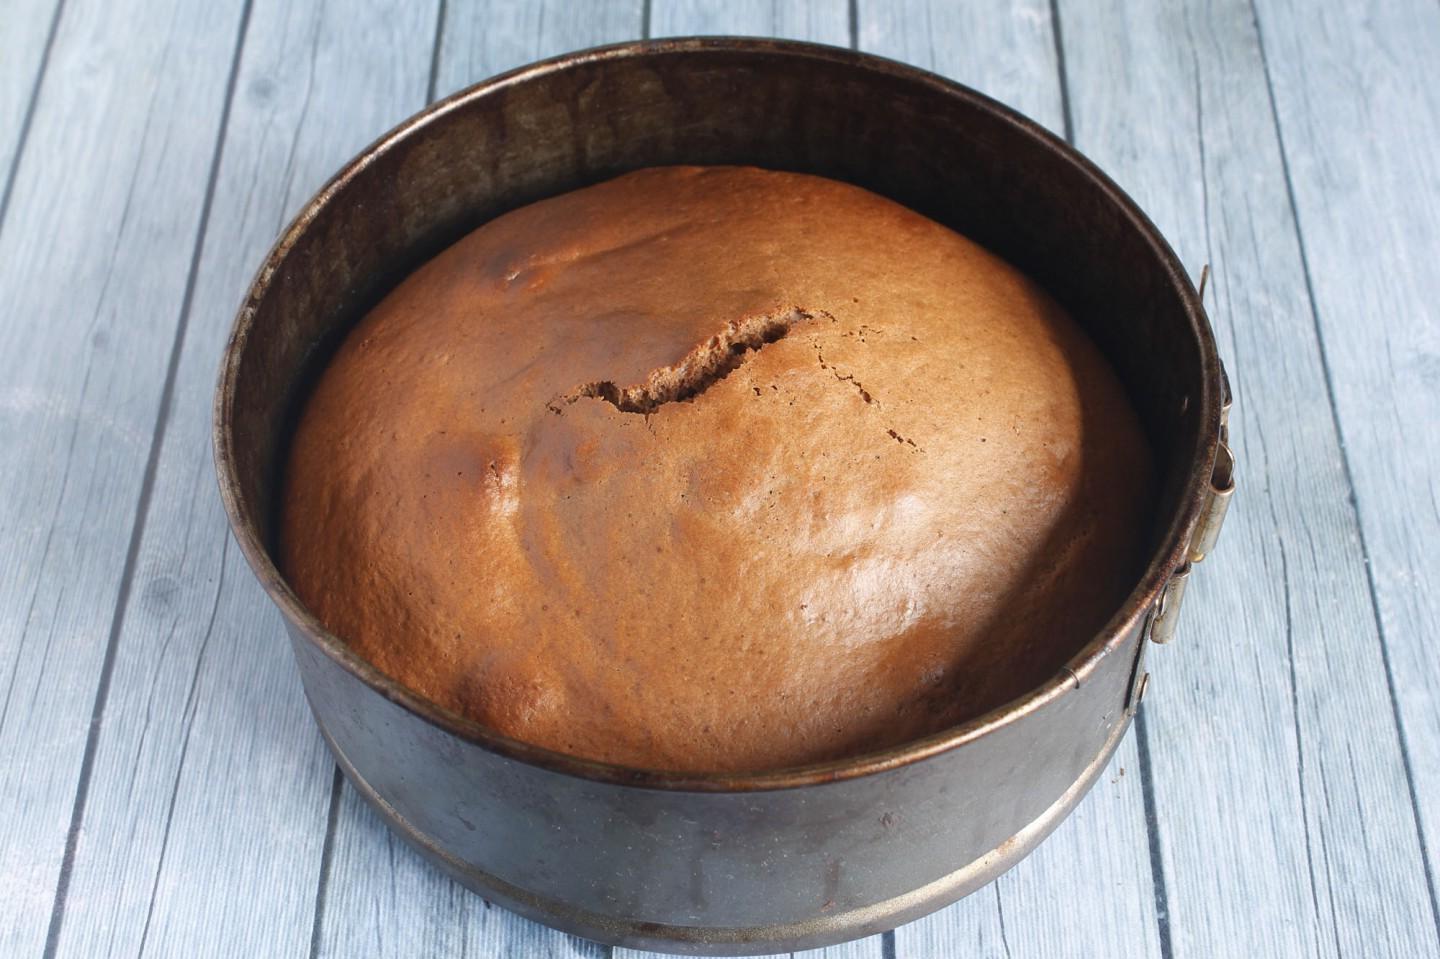
Bake the chocolate cake for 30-40 minutes at 180 degrees. Again, base the time and temperature on your oven. Remove the cake from the pan.

Step 9

Step 9
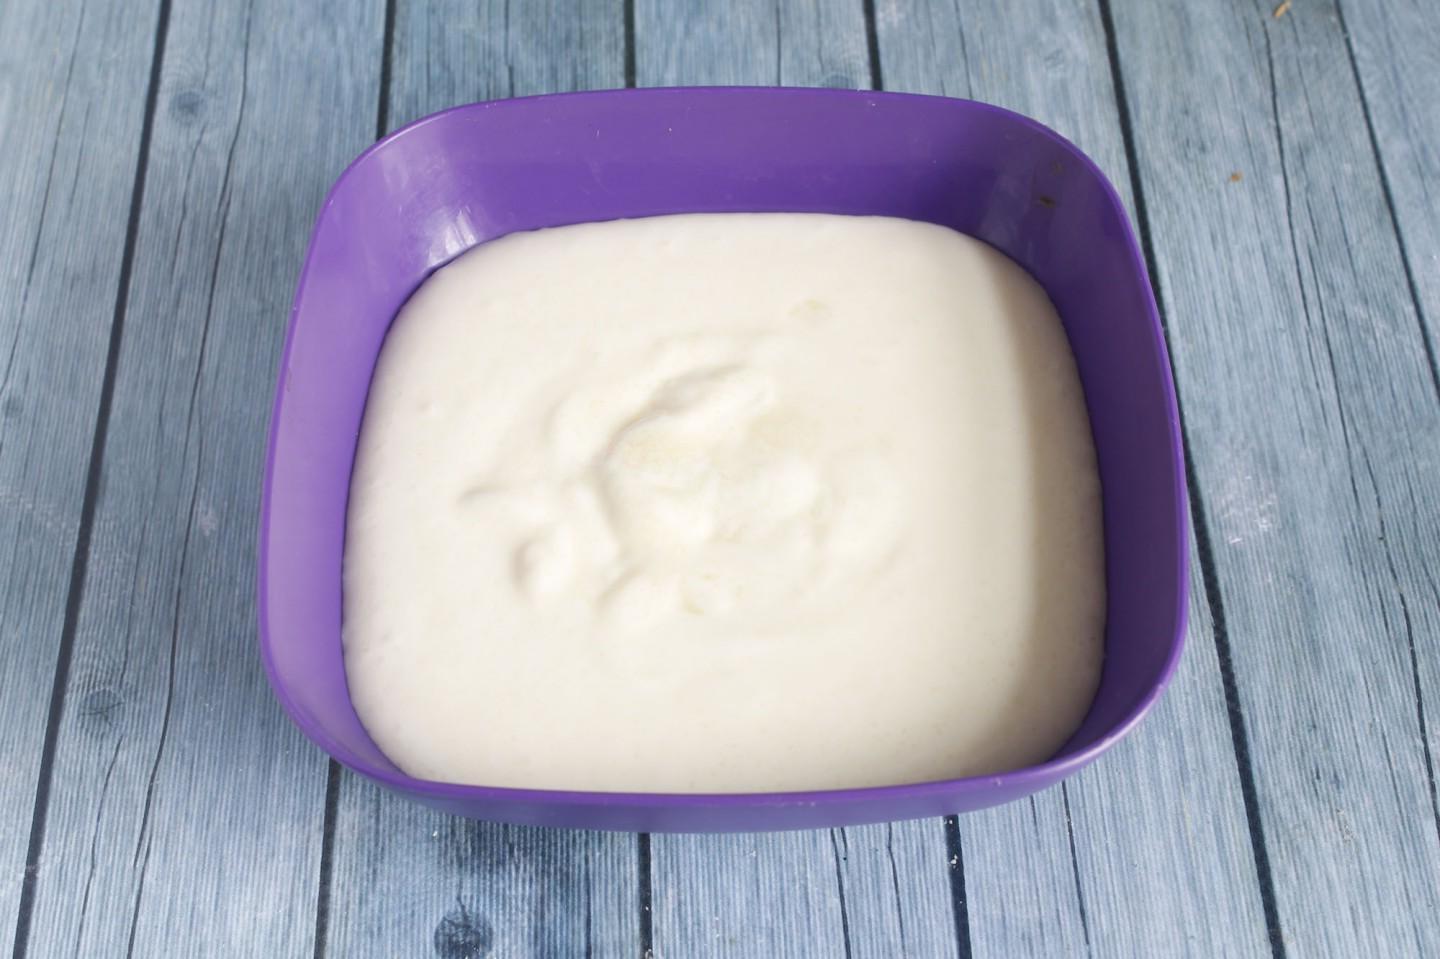
For the cream, beat the sour cream with sugar using a mixer.

Step 10

Step 10
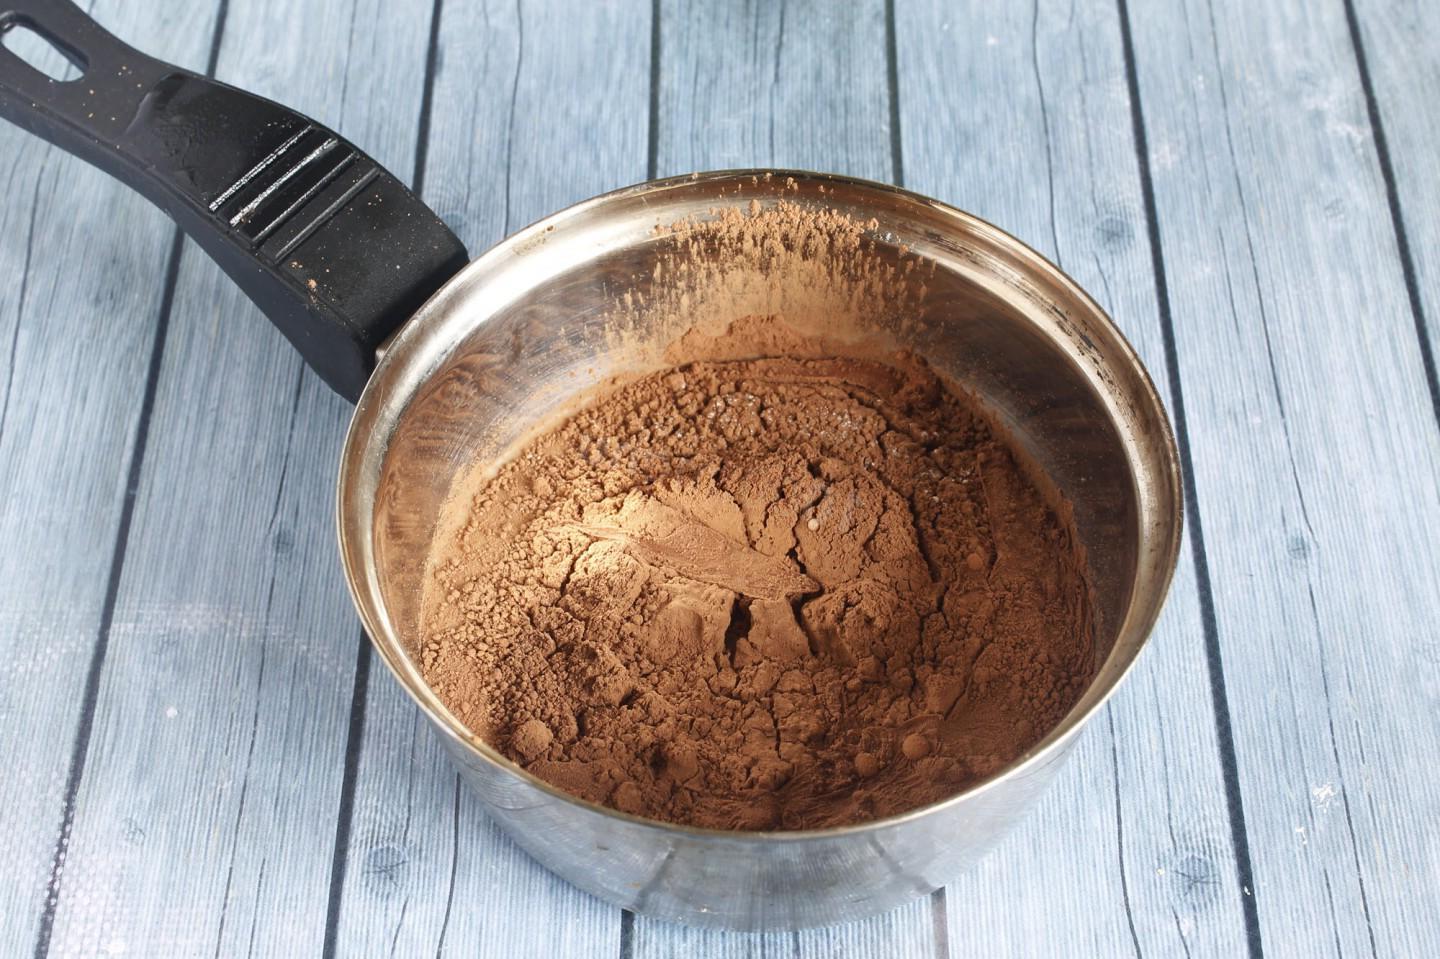
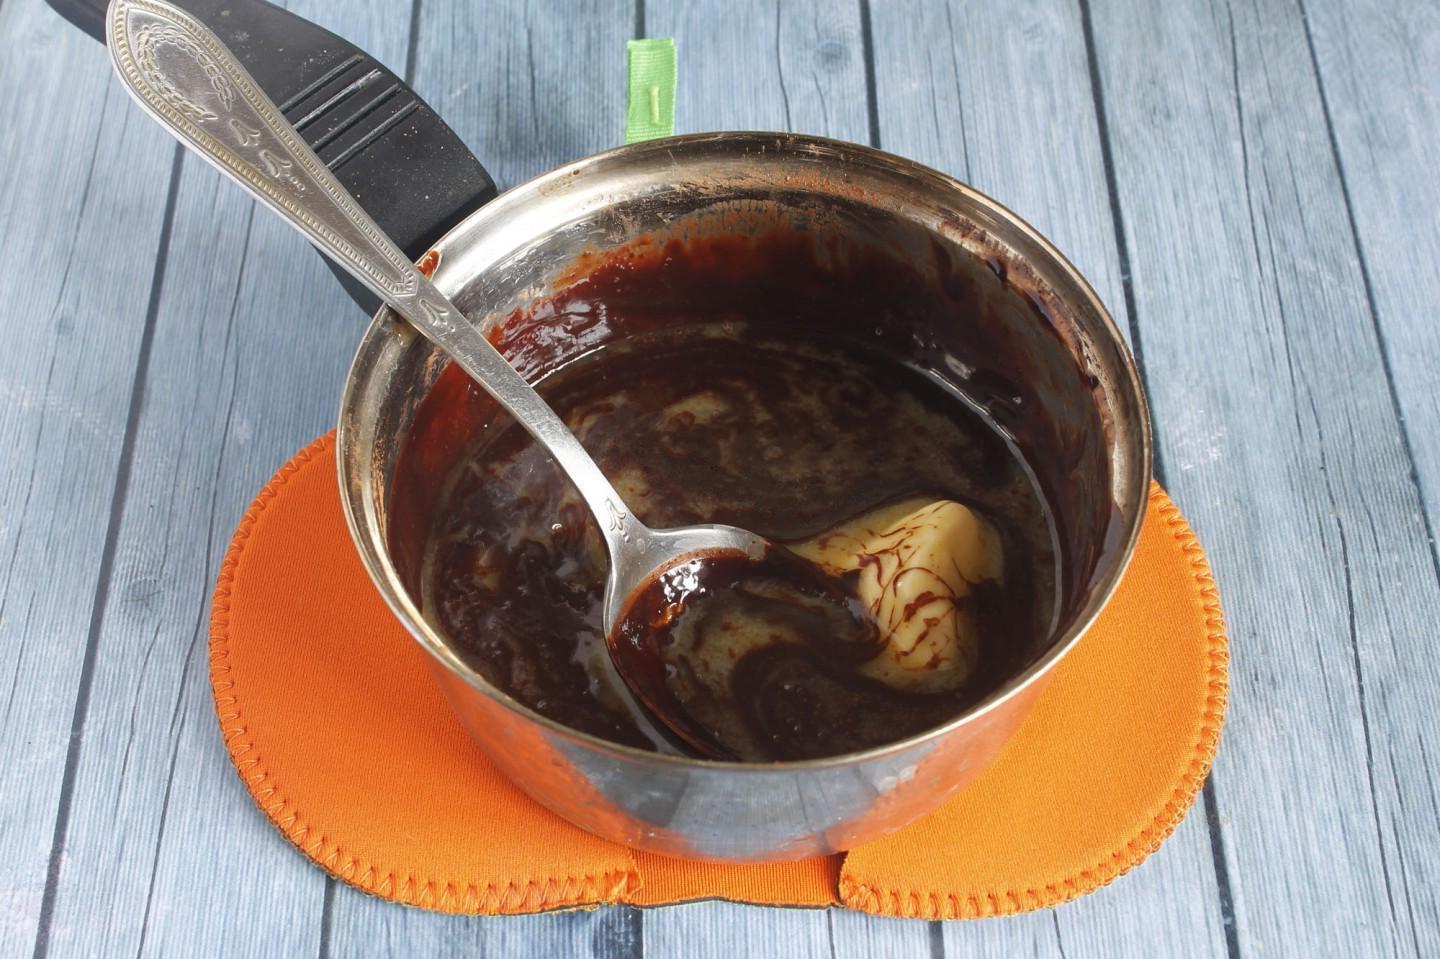
For the glaze, mix cocoa powder, sugar and milk in an iron bowl (since everyone has different spoons, it is better to add 5 tablespoons of milk first, and the remaining 2 tablespoons as needed during the boiling process, the glaze should not be too liquid, but also not too thick).

Step 11

Step 11
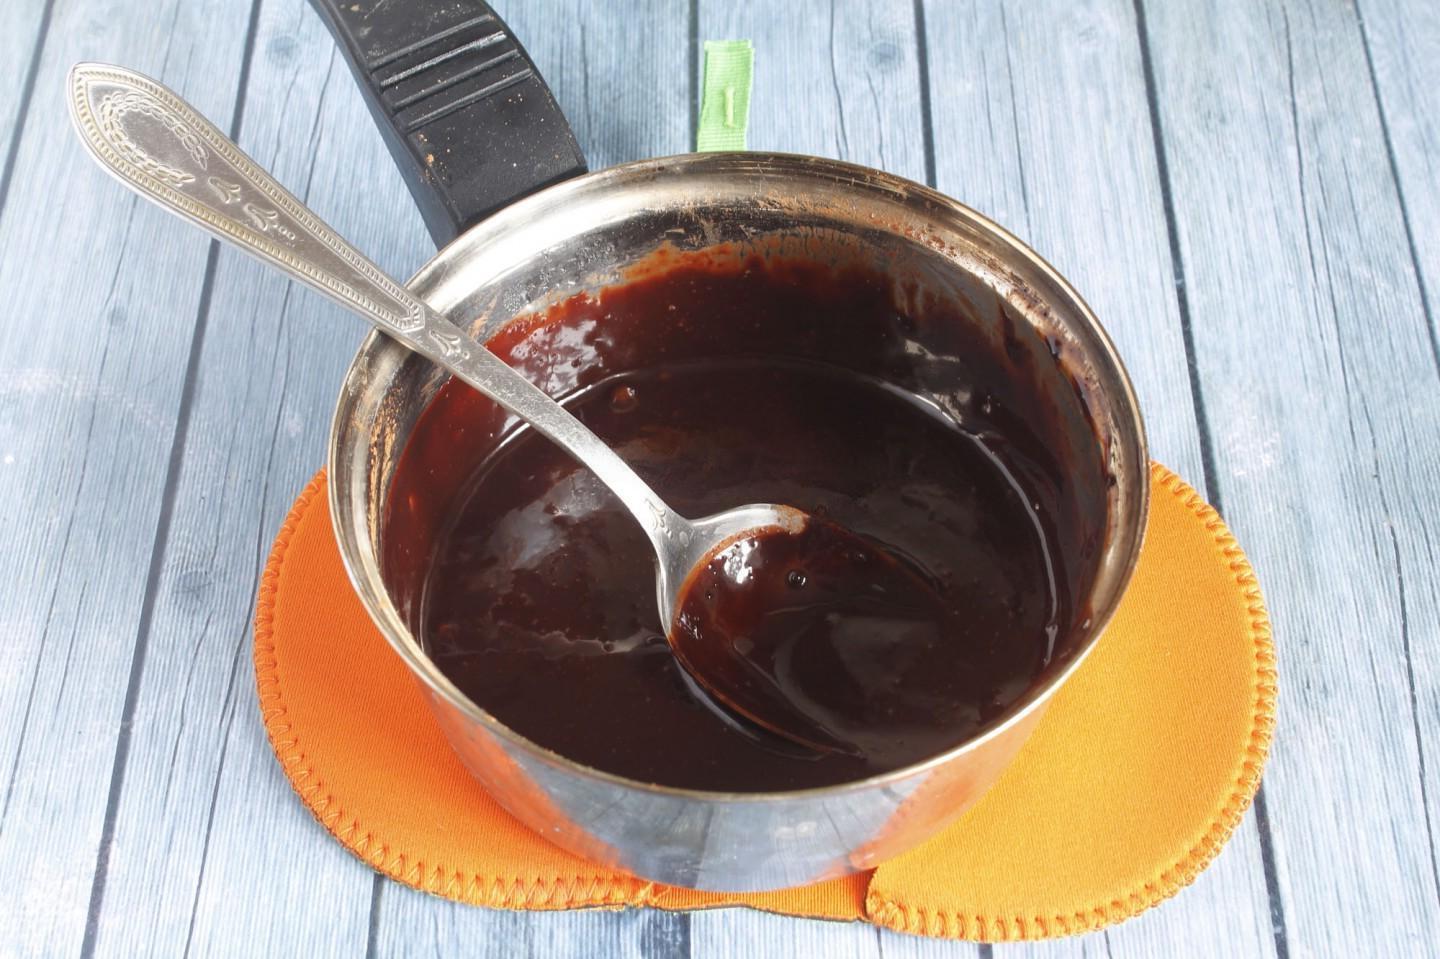
Boil the glaze over low heat with constant stirring for 4-7 minutes.

Step 12

Step 12
Add butter to the hot glaze and stir until completely dissolved. This glaze will thicken a little after cooling, but will not harden. Be sure to cool the glaze well so it thickens a little!

Step 13

Step 13
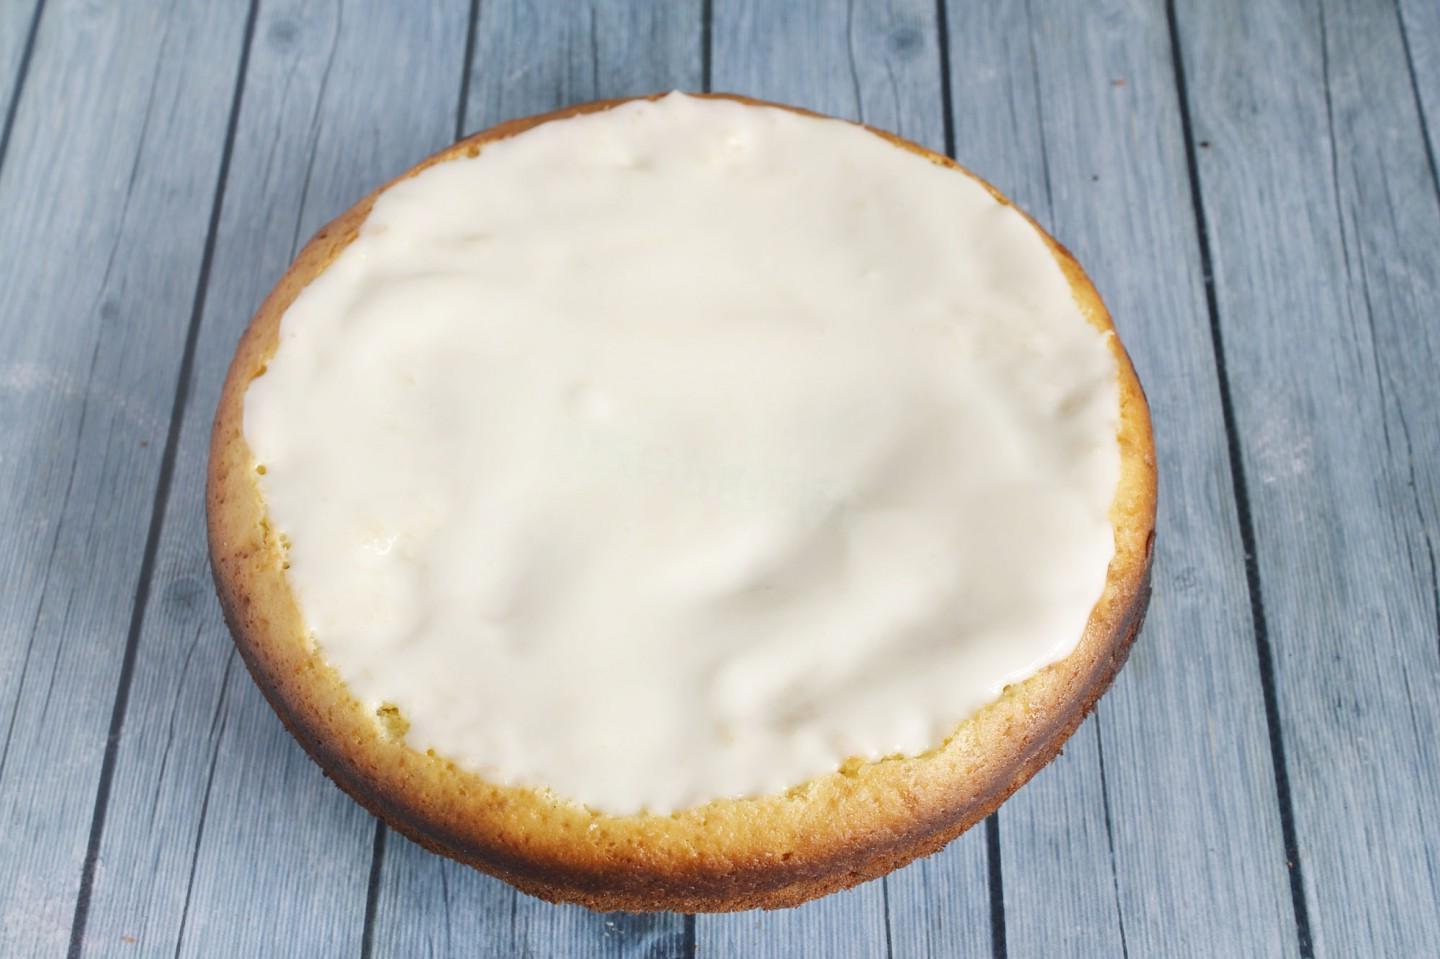
Cut the top off the white cake (just smooth it out a little, pieces can be added to the chocolate top) and spread with cream.

Step 14

Step 14
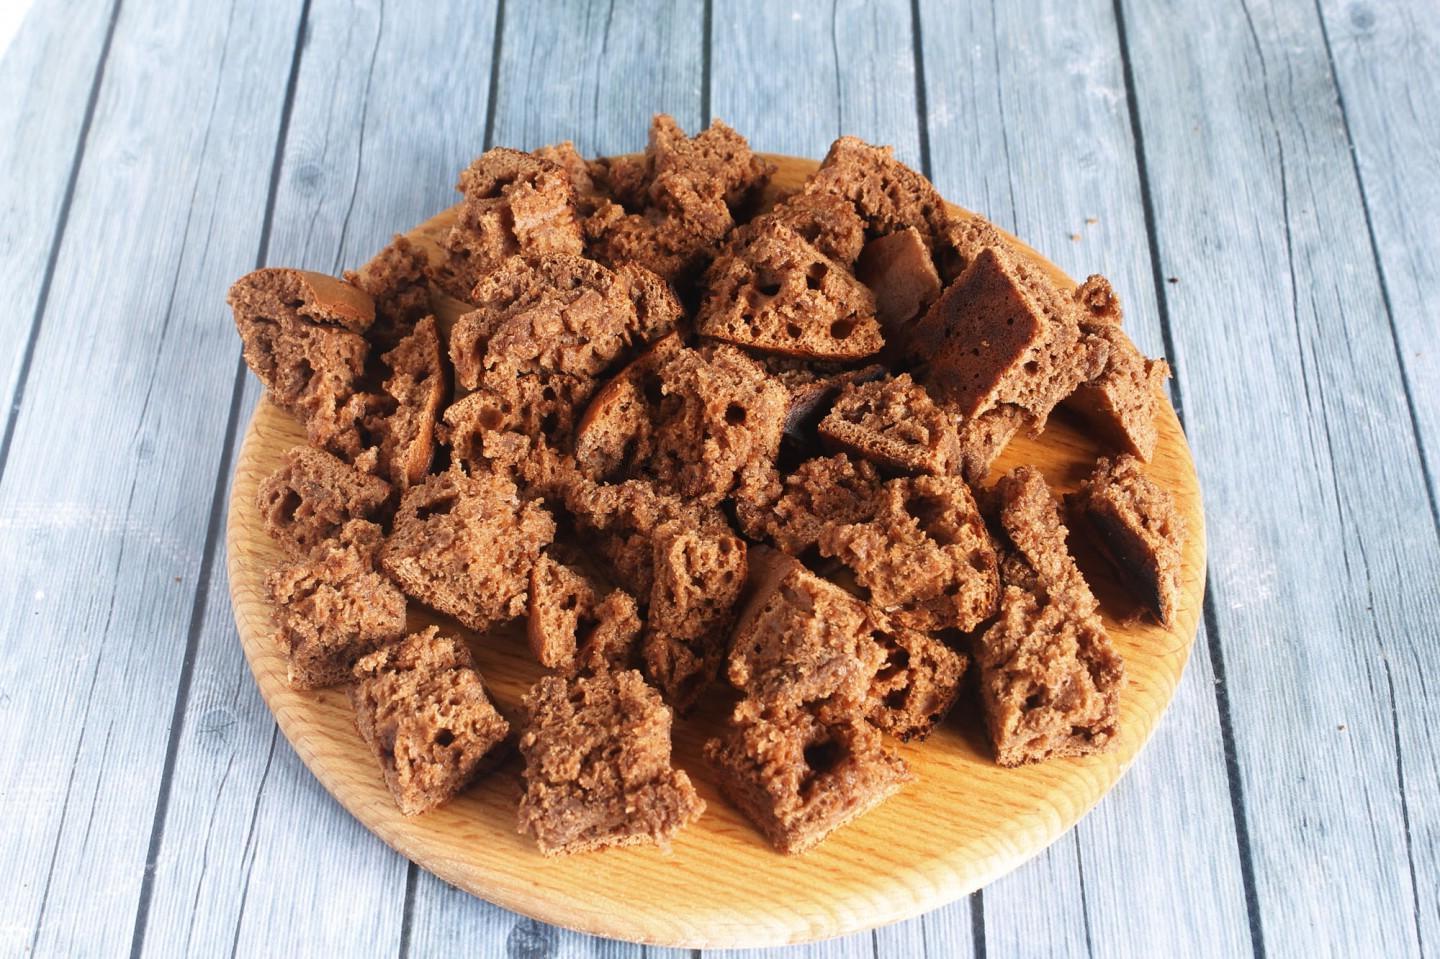
Cut the chocolate cake into 2 parts lengthwise and cut into small cubes.

Step 15

Step 15
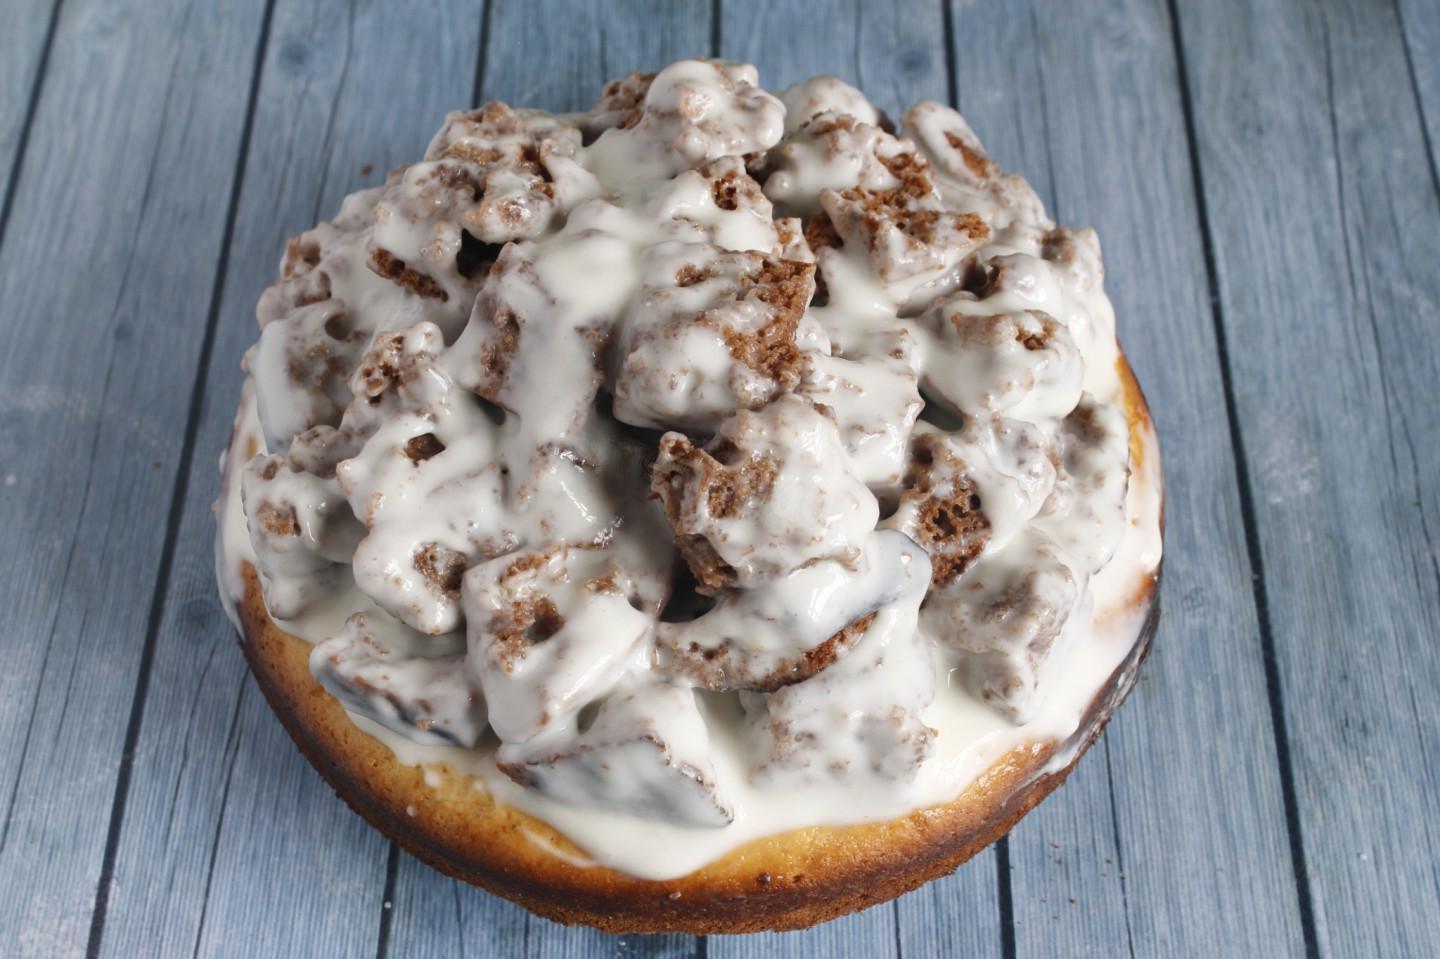
Dip the chocolate pieces one at a time into the cream and place them in a heap on the white cake layer. Not all the pieces fit, so I gave the advice that the white cake should be larger in size than the chocolate cake.

Step 16

Step 16
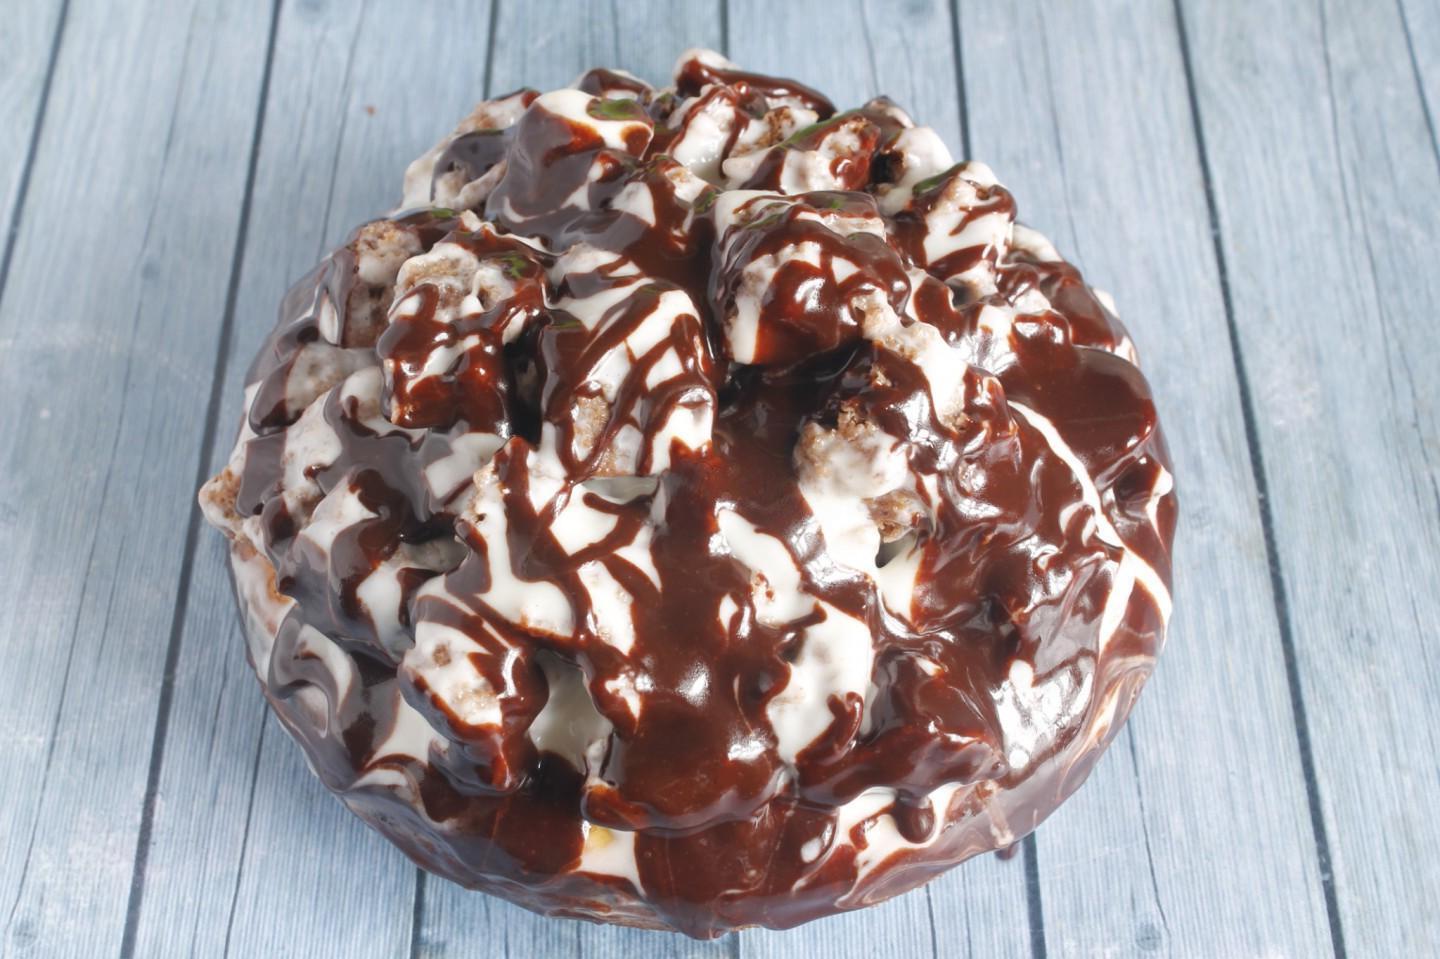
Pour the remaining cream on top of the cake and randomly pour a thin stream of glaze over it using a spoon, trying to fill the surface not with a continuous layer, but as in the photo. Let the finished cake soak for 2-3 hours.