Milk Ice Cream Made Easy

From ordinary products, inexpensive, tasty, for the whole family! Homemade ice cream can be made not only from cream, but also from milk, and it will turn out no worse than creamy ice cream. The process itself is not at all complicated; you donʼt need an ice cream maker. But, most importantly, homemade ice cream is very tasty and natural.
cook time: 5h
Logan Winslow
Milk Ice Cream Made Easy

Nutrition Facts (per serving)

179
Calories
5g
Fat
29g
Carbs
4g
Protein

Ingredients (4 portions)

Basic:

Sugar 1 cup
Milk 2.5 cup
Vanillin (on the tip of a knife) to taste
Egg yolks 4 pc

Recipe instructions

Step 1
Step 1
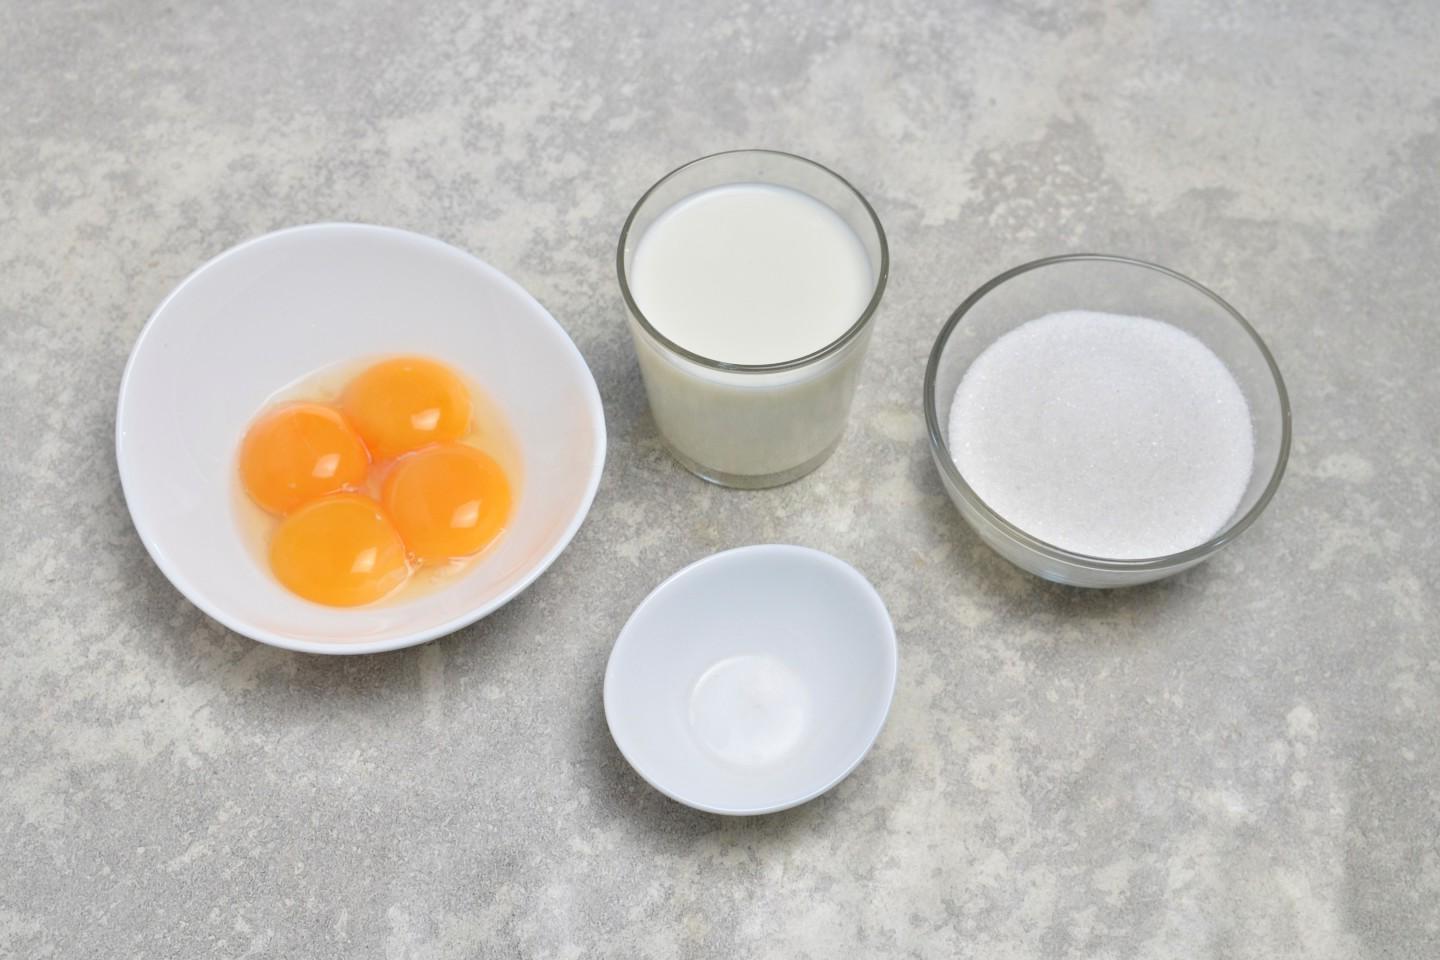
How to make homemade ice cream from milk? Prepare your food. Milk of any fat content is suitable, I used 2.5%. Take a measuring glass with a volume of 250 ml. You can reduce the amount of sugar to your taste, since the recipe is designed for those with a sweet tooth. Instead of vanillin, use vanilla sugar, natural vanilla or vanilla extract. Read about how to properly add this flavoring at the end of the recipe.

Step 2

Step 2
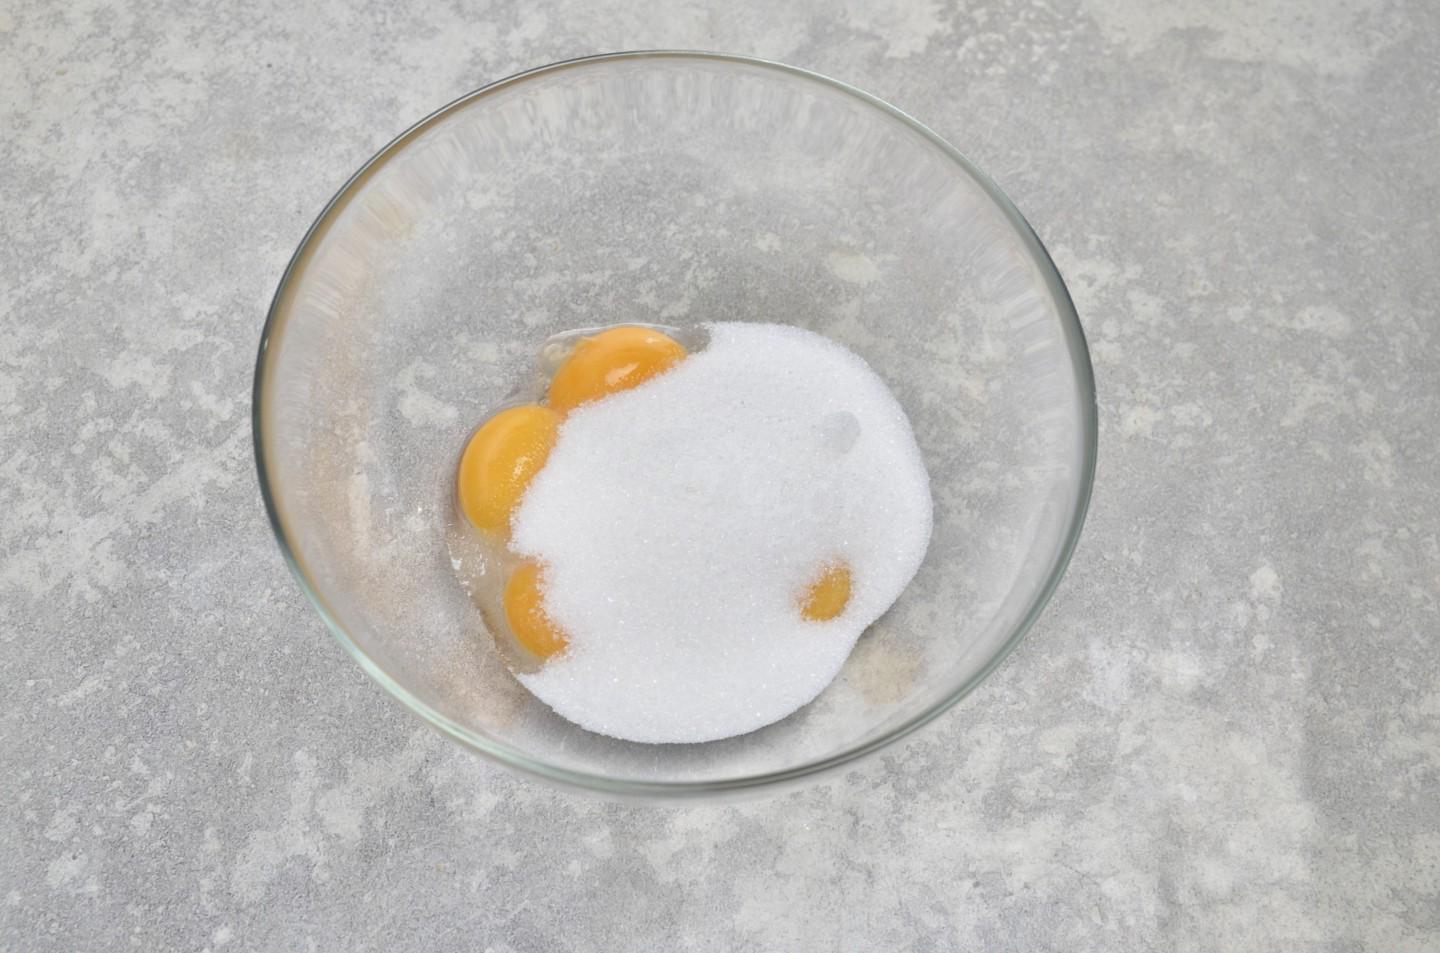
Wash the eggs well and separate into yolks and whites. Be sure to wash your eggs before using them, as even seemingly clean shells can harbor harmful bacteria. It is best to use food grade detergents and a brush. You can use the proteins that remain after separation to make meringues, omelettes or other dishes. Add sugar and vanillin to the yolks.

Step 3

Step 3
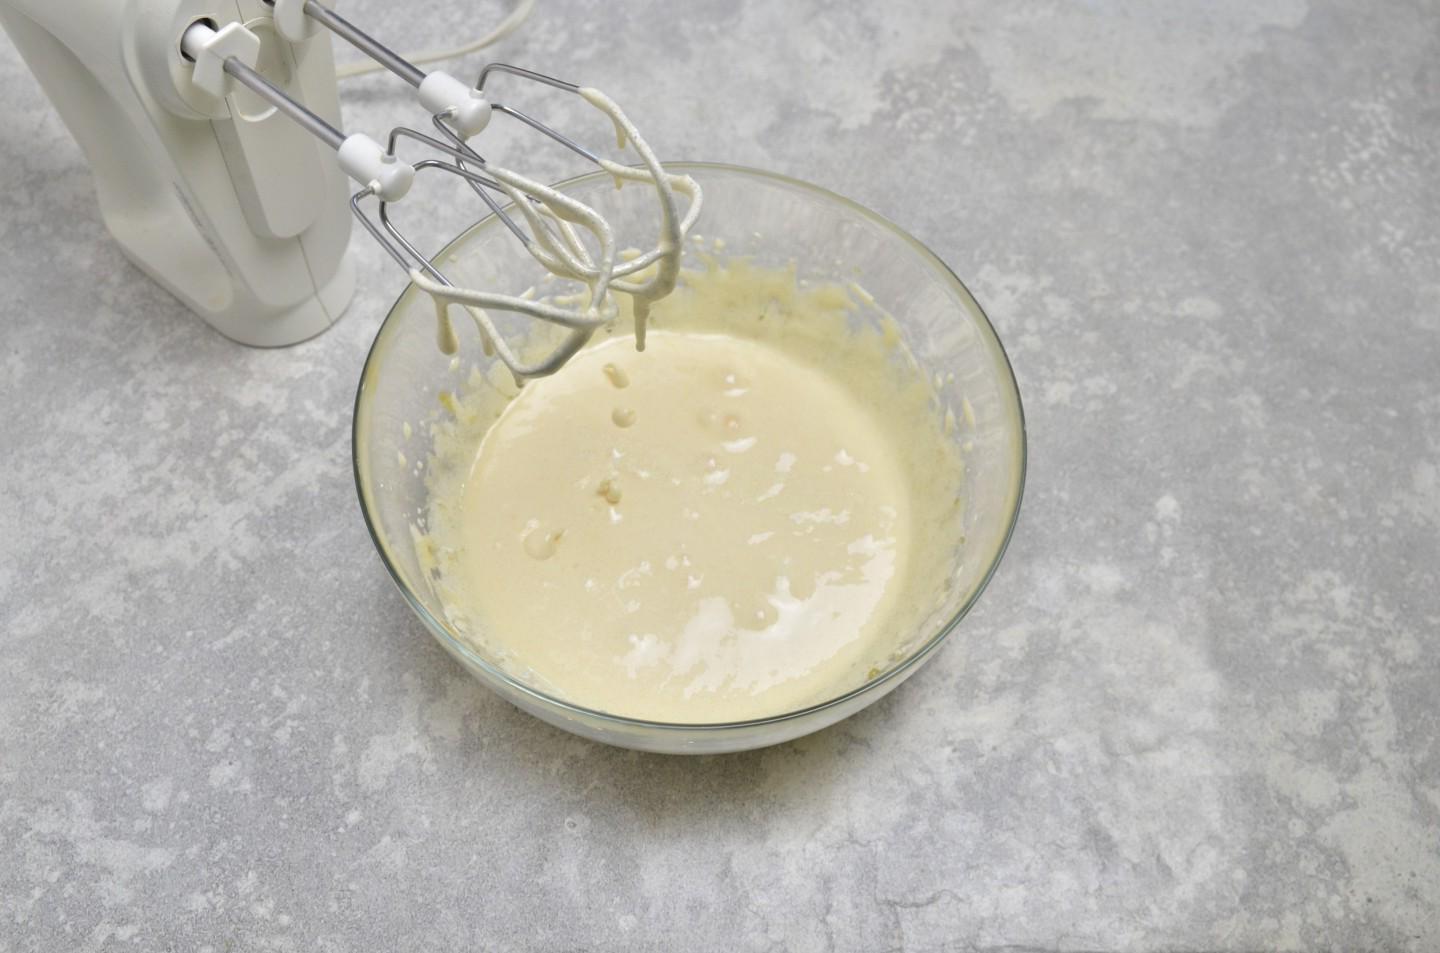
Using a mixer at high speed, beat the yolks with sugar until fluffy and light.

Step 4

Step 4
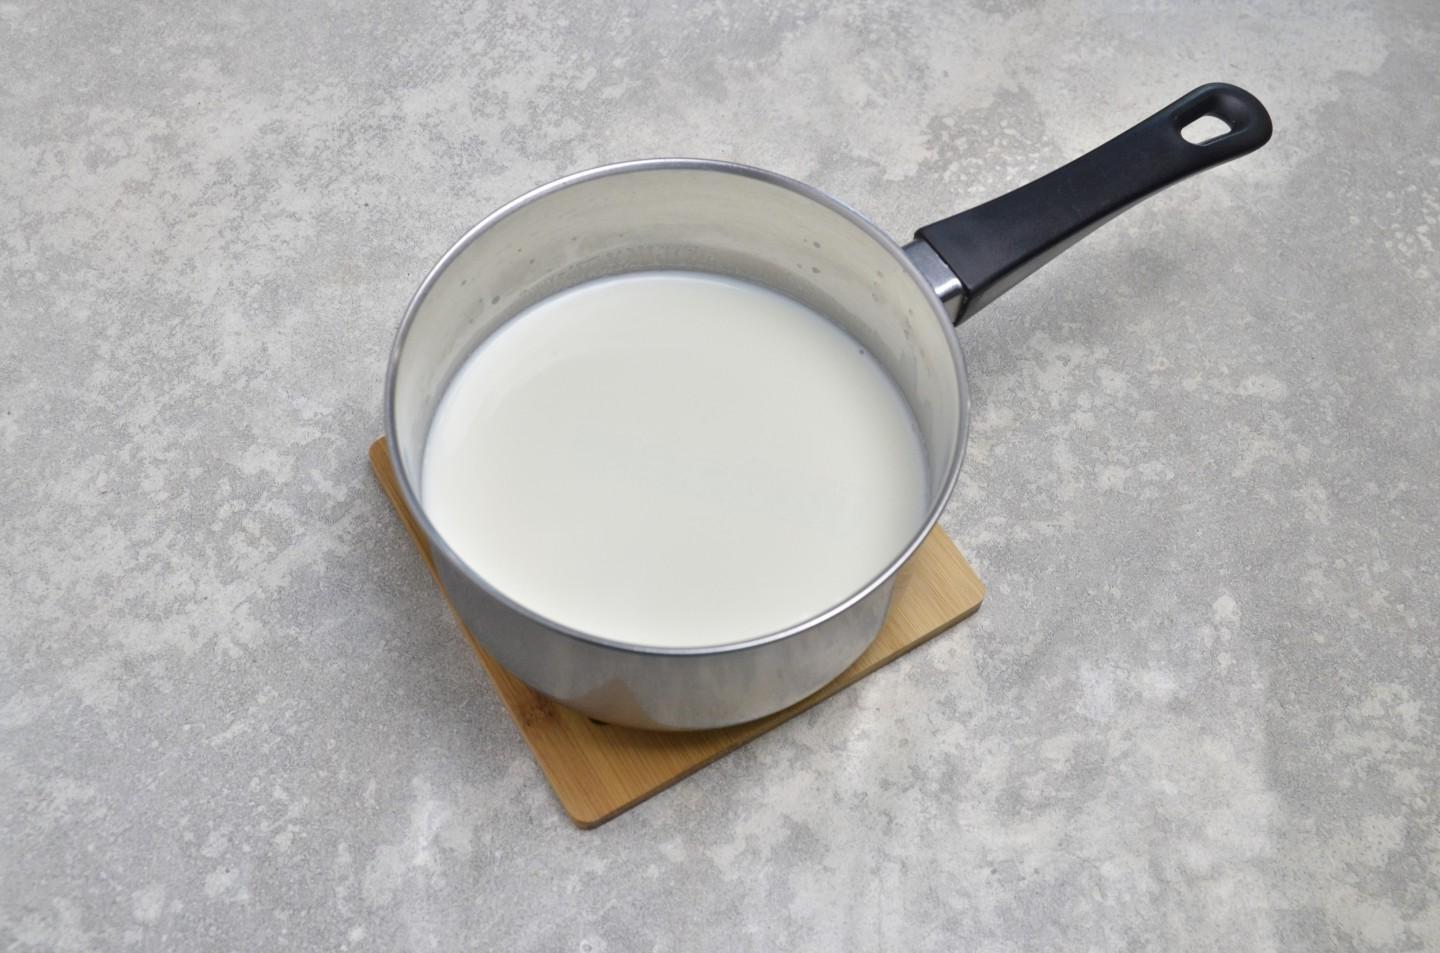
Pour the milk into a saucepan and heat until very hot. There is no need to boil the milk, but it should be scalding.

Step 5

Step 5
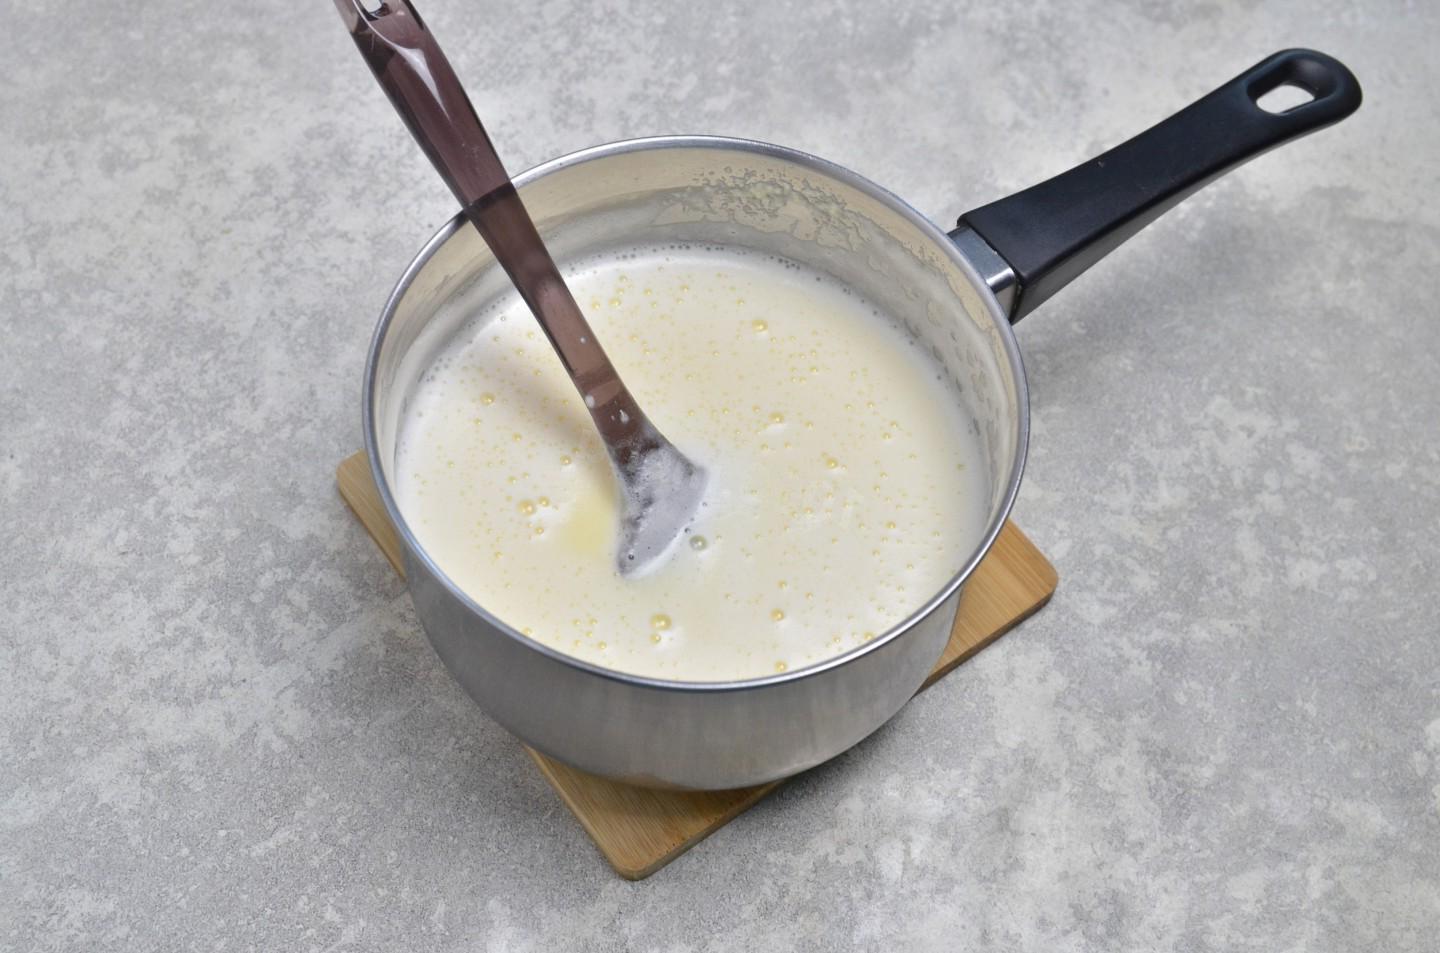
Pour a small amount of hot milk into the yolks and stir immediately — this way you will prevent the yolks from curdling during further cooking. Pour the next portion of milk into the yolks and mix again. The yolk mass will become quite liquid. Pour it into a saucepan with the remaining milk.

Step 6

Step 6
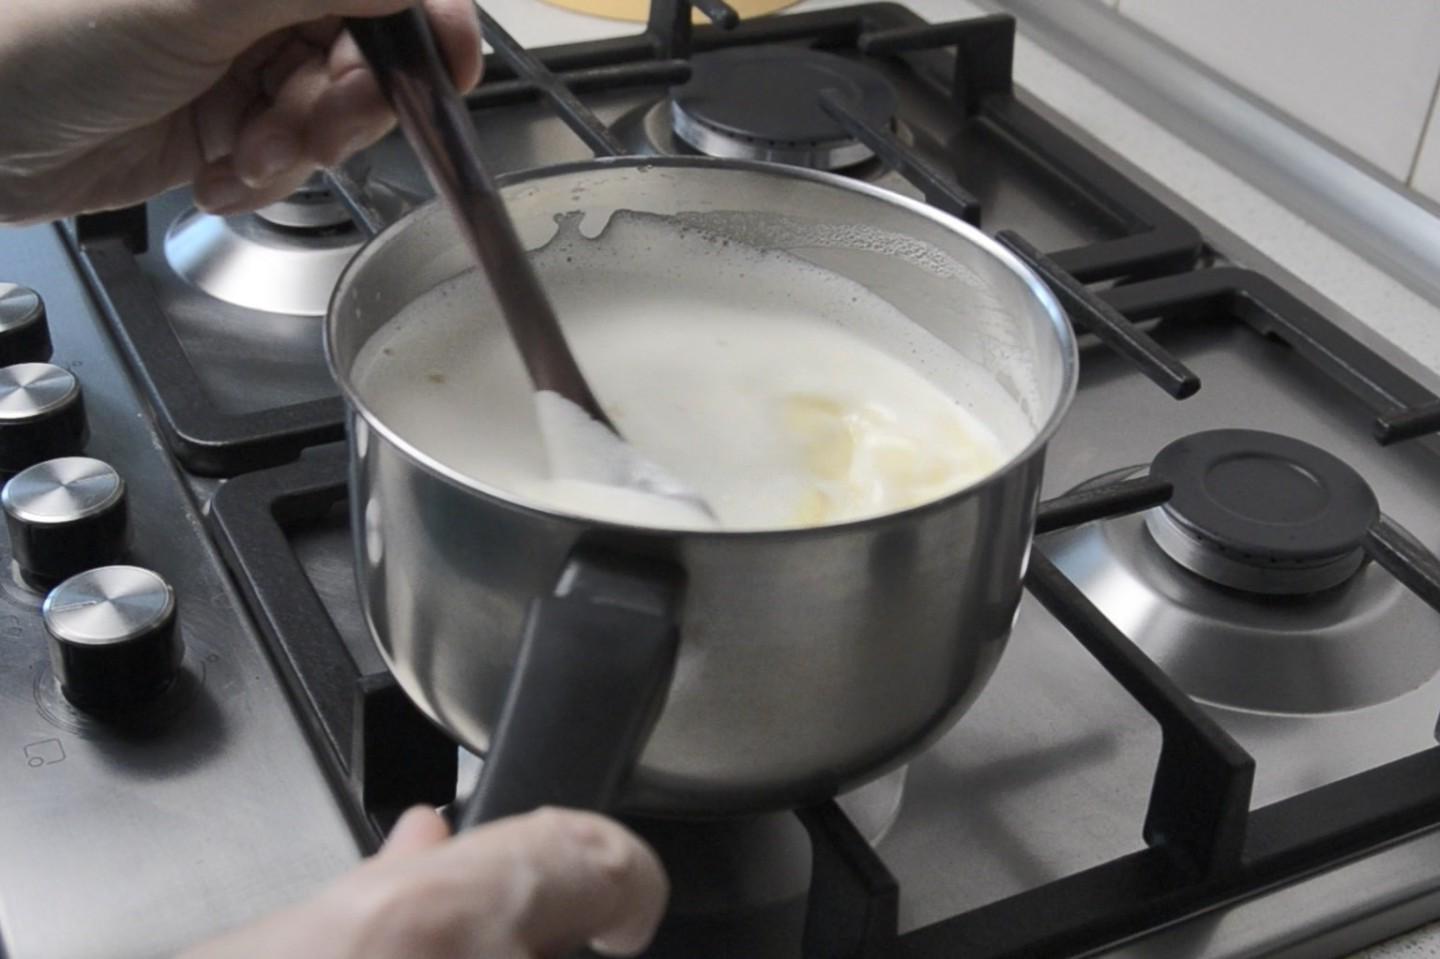
Place it on low heat and, stirring constantly, cook until the first bubbles appear. As soon as they appear, immediately remove the saucepan from the heat.

Step 7

Step 7
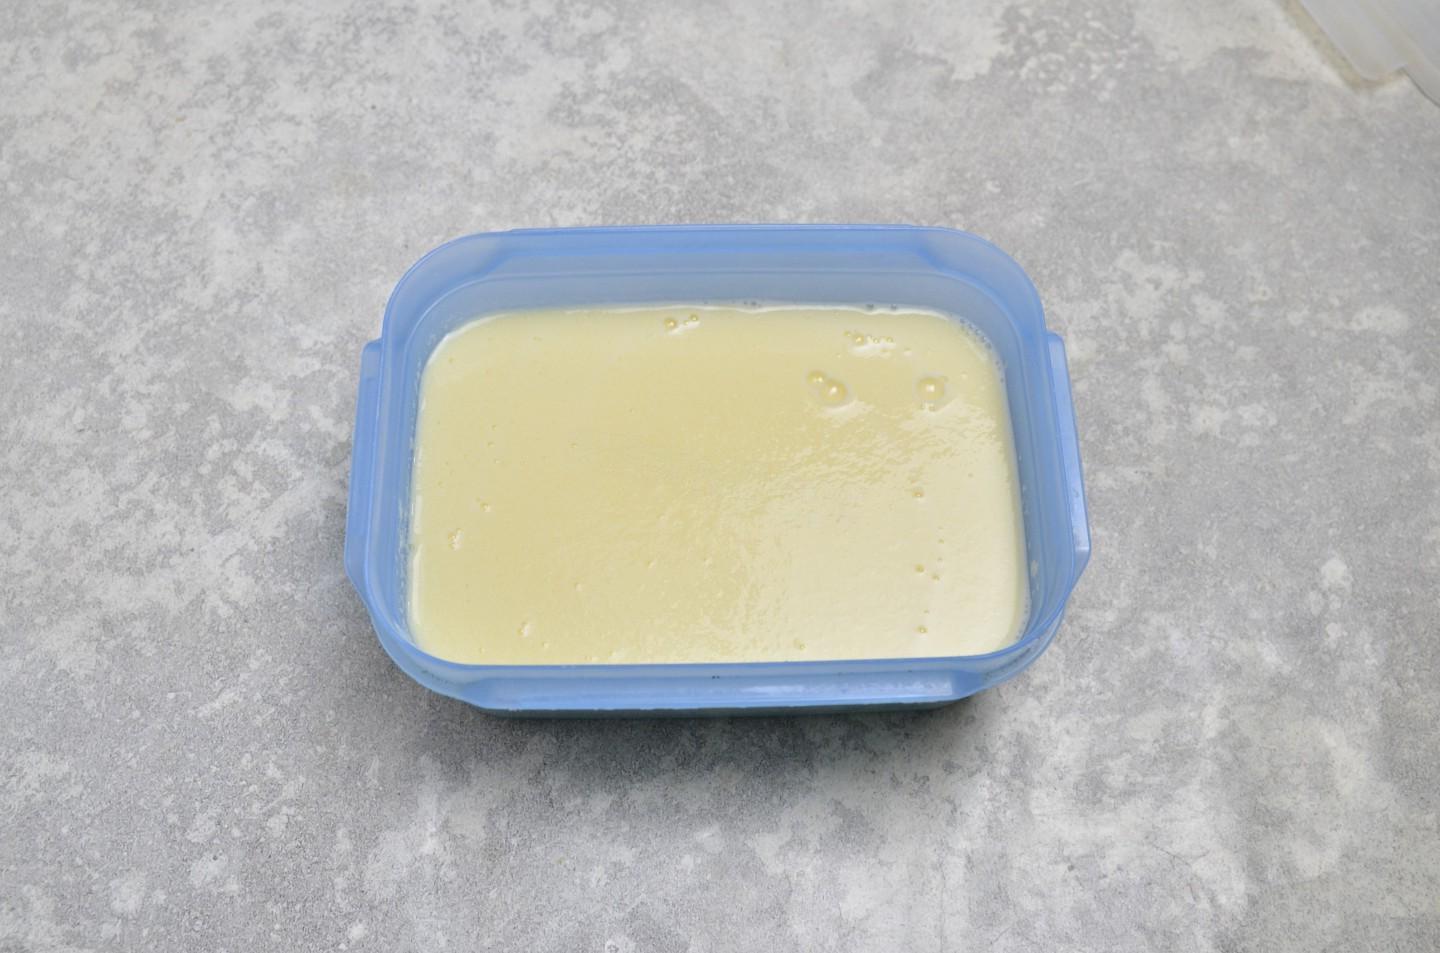
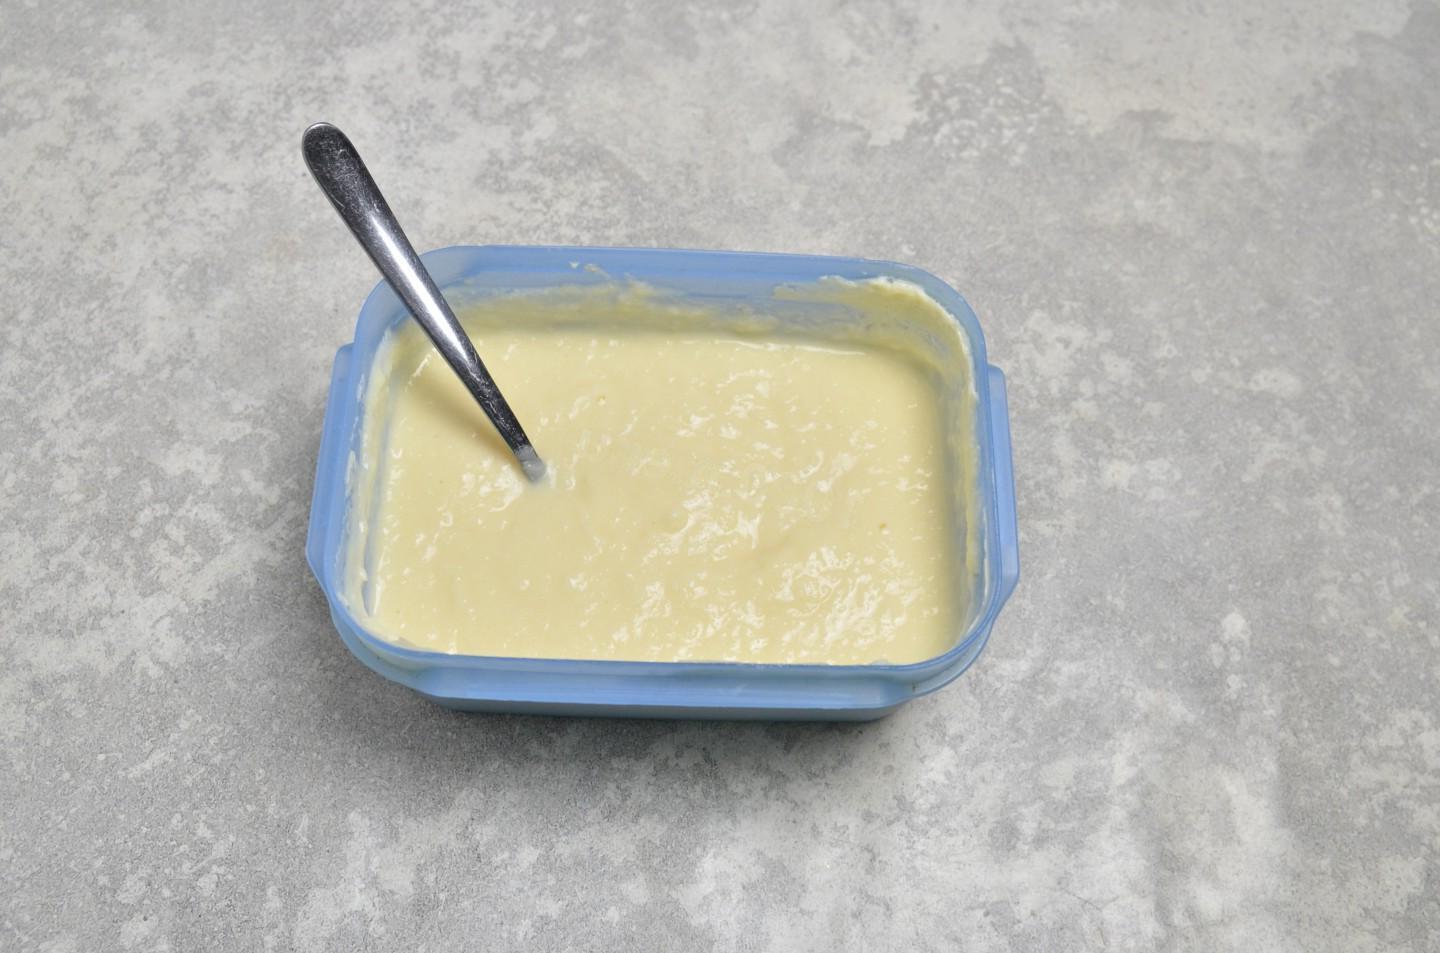
Cool the resulting mass until warm. Then pour it into a suitable container with a lid and put it in the freezer. To ensure that the ice cream is smooth and free of ice crystals, take it out every 40 minutes and stir with a spoon.

Step 8

Step 8
The ice cream will be liquid at first, then it will start to freeze. Keep it in the freezer for at least 4 hours. I left it overnight, stirring 4 times beforehand. Before serving, remove the container from the freezer 15 minutes before serving — then it will be easier to apply.

Step 9

Step 9
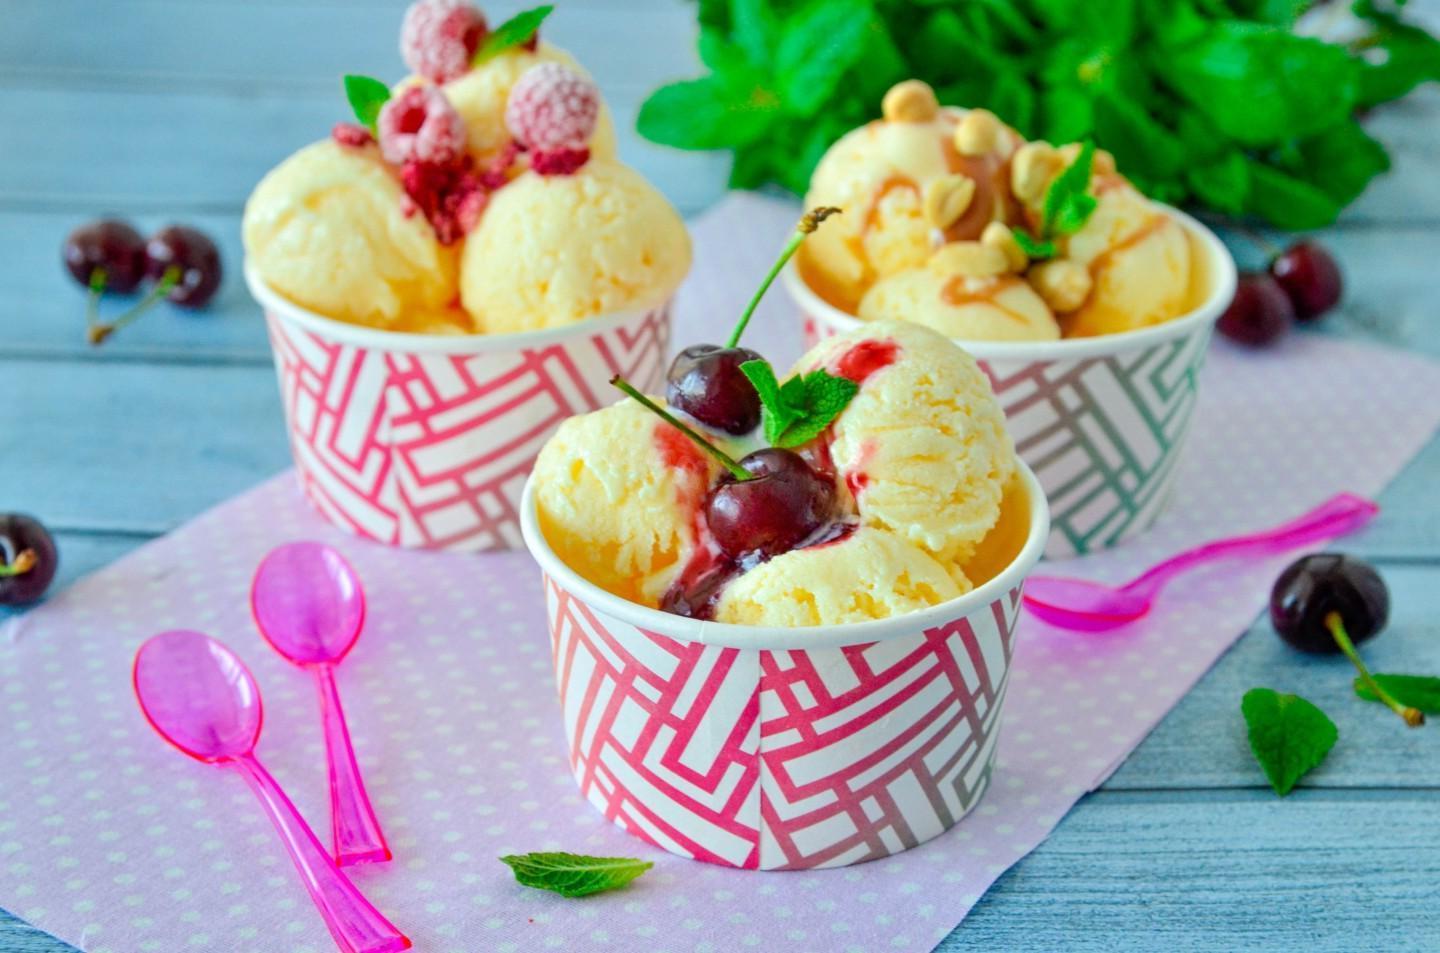
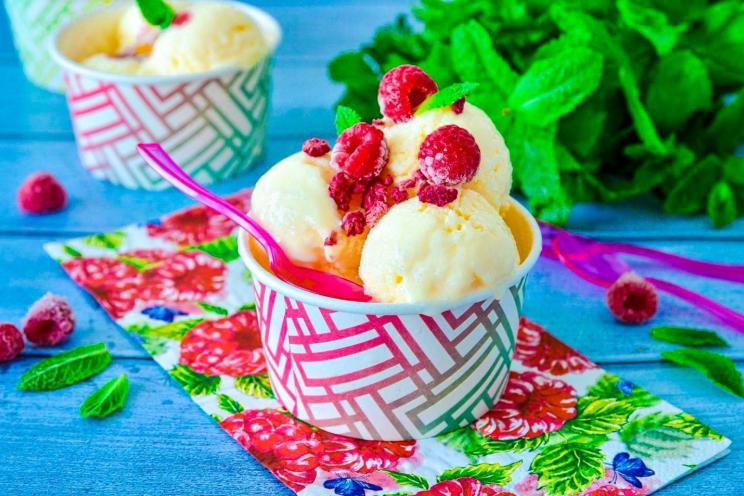
Serve the ice cream to the table. I used a special ice cream scoop to make balls. I poured one portion with caramel and sprinkled with nuts, another with cherry jam, and the third served with frozen and freeze-dried raspberries. Bon appetit!