Easy DIY Adyghe Cheese

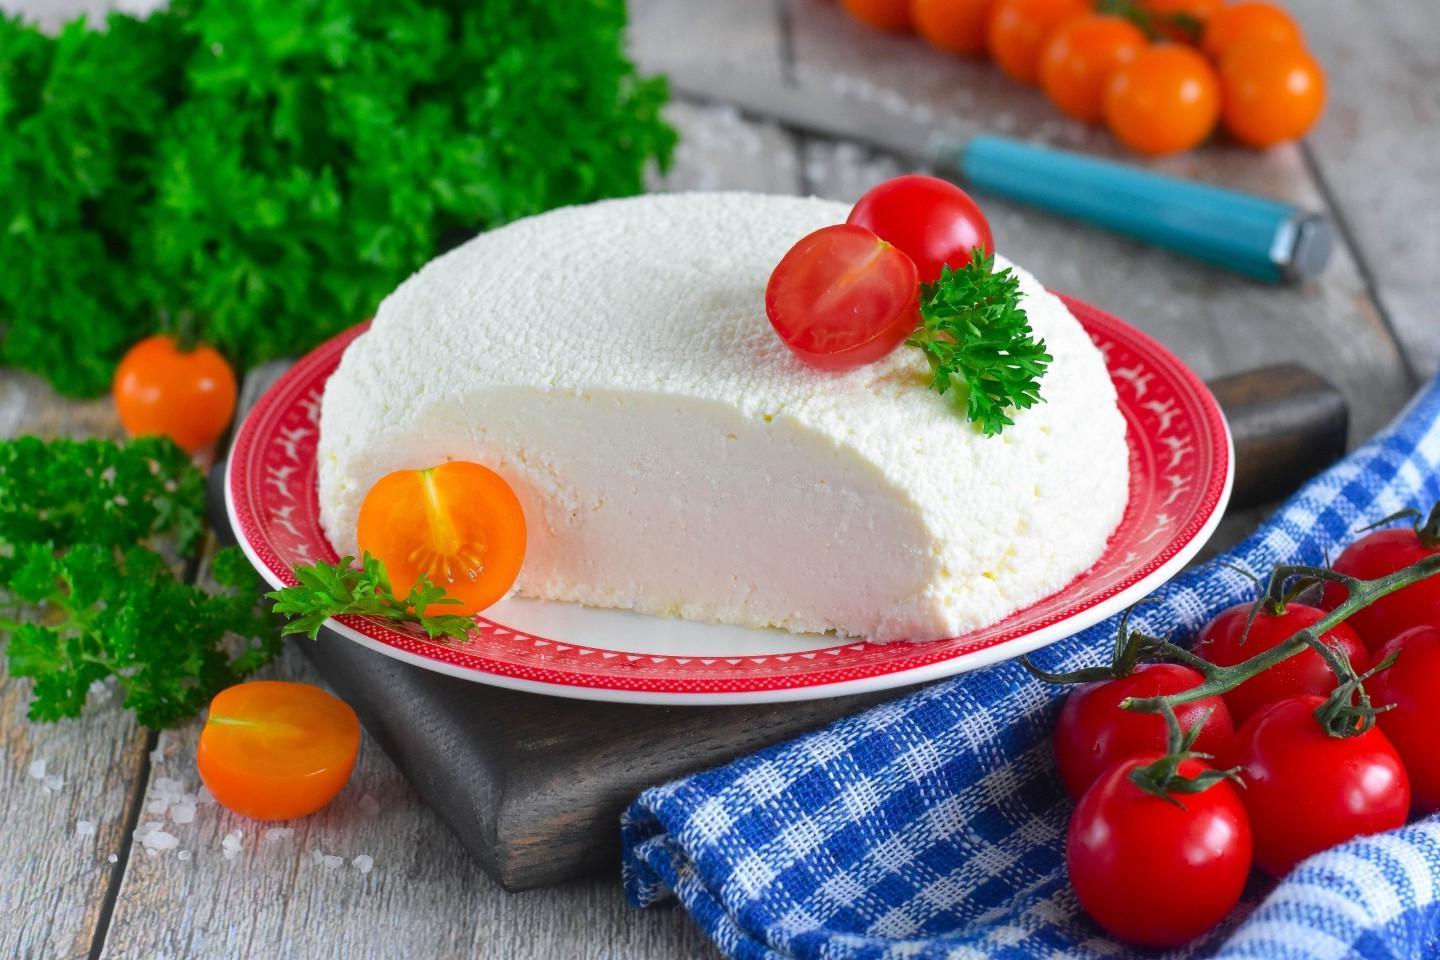
Very gentle, natural, without preservatives. Bliss! Homemade Adyghe cheese is incredibly easy to prepare. Moreover, such cheese can be made in two ways — with vinegar or with curd or kefir whey. This cheese is eaten in a matter of minutes.
cook time: 12h
Hazel Farrow
Easy DIY Adyghe Cheese

Nutrition Facts (per serving)

65
Calories
3g
Fat
5g
Carbs
3g
Protein

Ingredients (6 portions)

Basic:

Salt (with a small slide) 2 tbsp
Water (boiled) 80 ml
Milk (whole pasteurized 2.3-3.6%) 4 l
Vinegar (9%, based on 20 ml of vinegar per 1 liter of milk) 80 ml

Recipe instructions

Step 1
Step 1
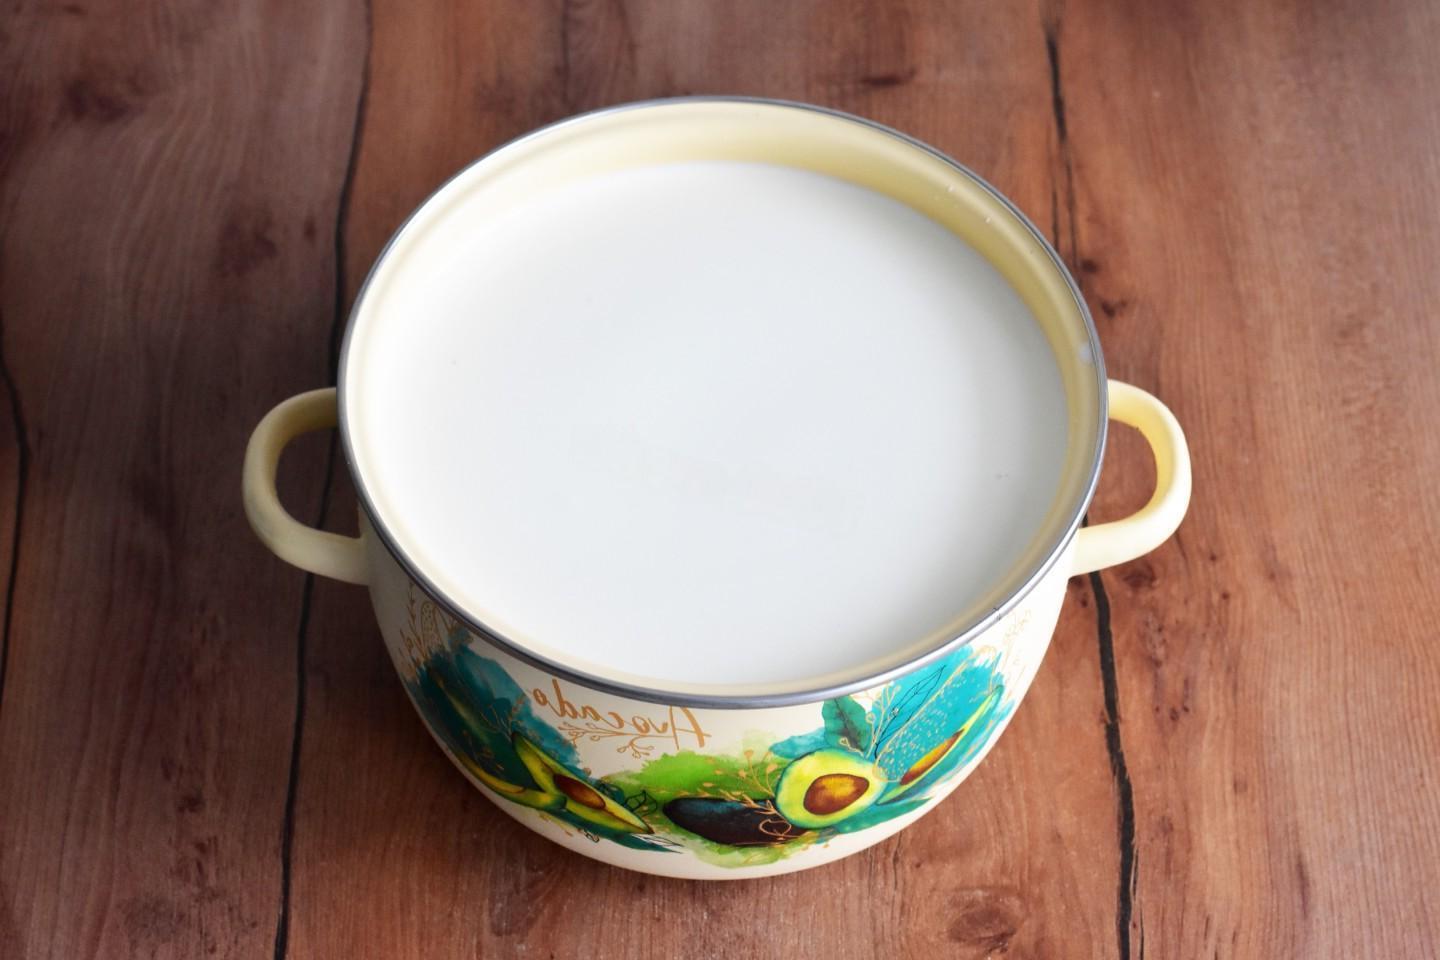
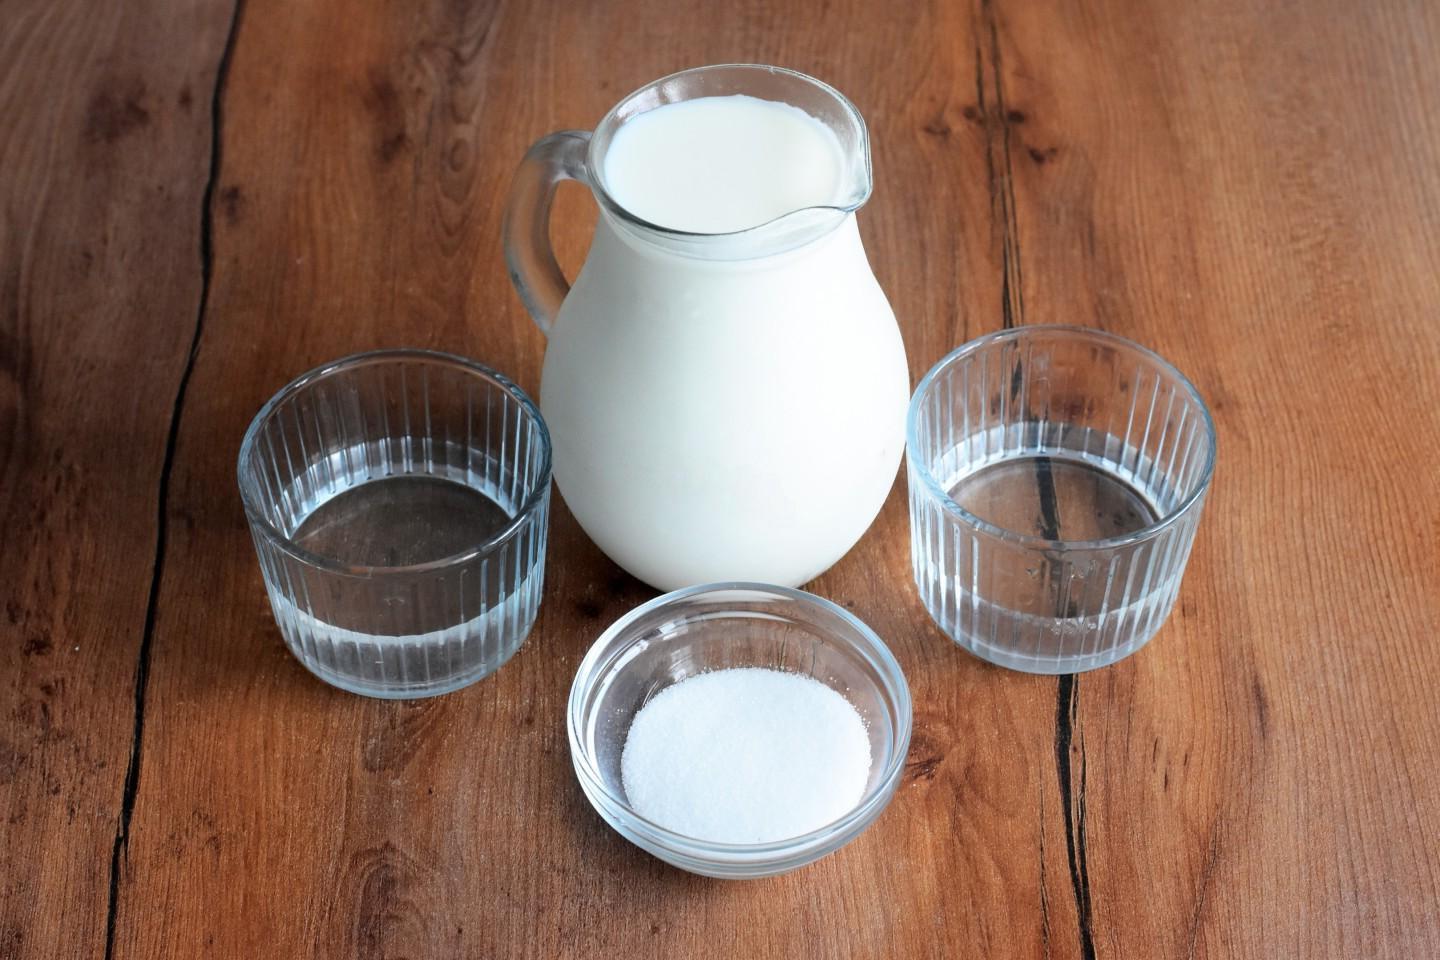
How to make Adyghe cheese at home from store-bought pasteurized milk and vinegar? Prepare the necessary ingredients. You can adjust the amount of salt to your taste. You can add aromatic herbs, pieces of olives or sun-dried tomatoes to the cheese. There is no point in taking milk with a higher fat content than indicated in the recipe — all the fat will still go into the whey. You will also need a cooking thermometer.

Step 2

Step 2
Pour milk into a large saucepan and add salt. If you like your cheese blander, add salt before pressing (step 5). The article on saucepans, link at the end of the recipe, will help you choose the ideal pan.

Step 3

Step 3
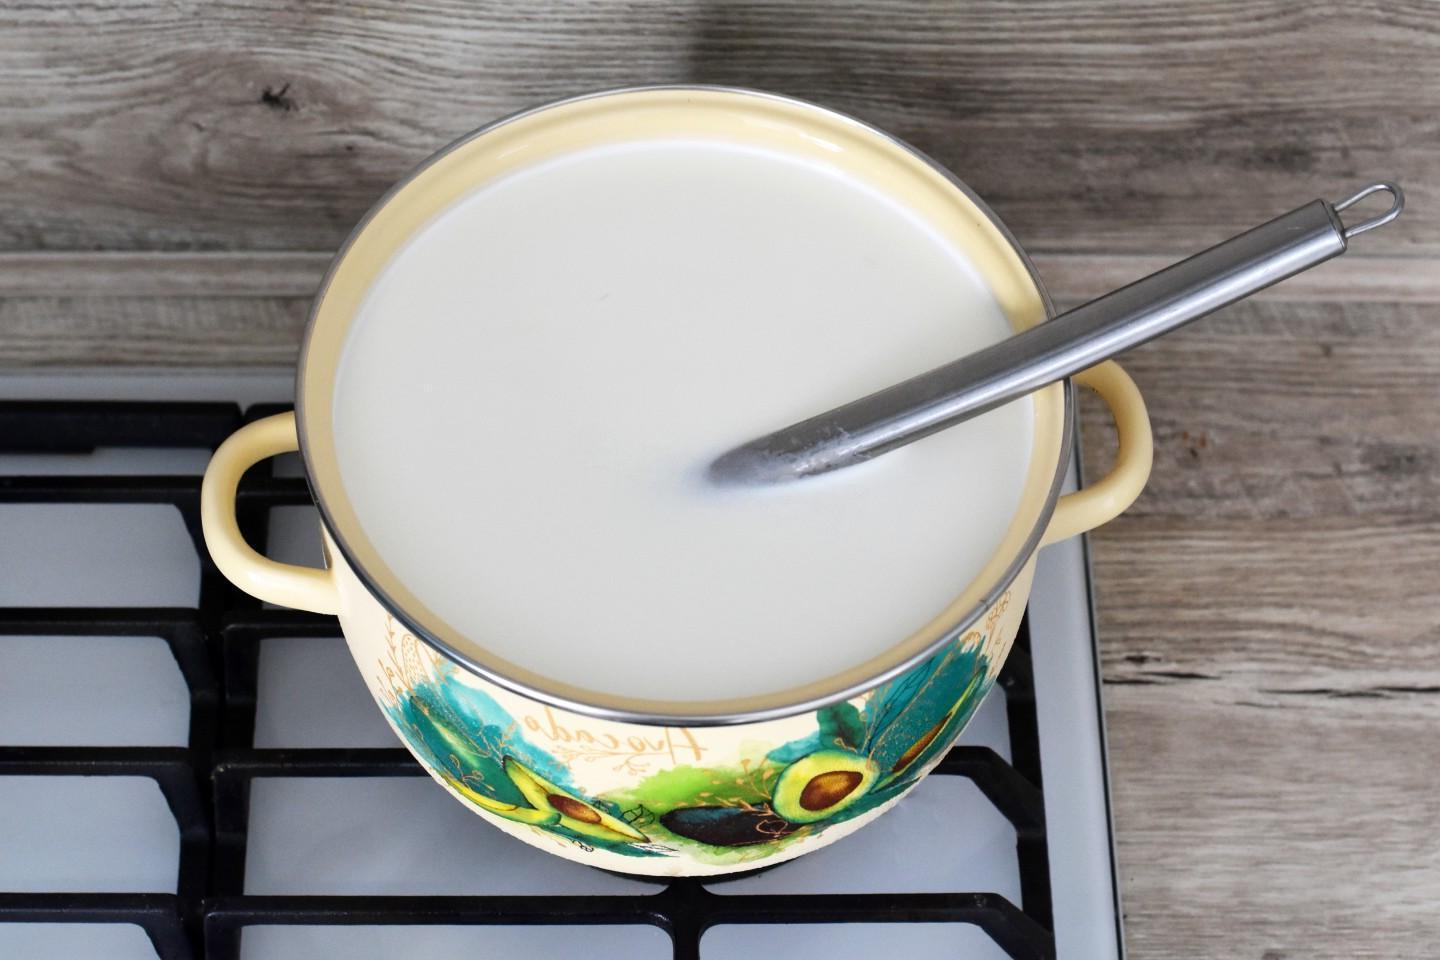
Place the pan over medium heat and heat to a temperature of 90-96℃ while stirring constantly. Check the temperature with a cooking thermometer. Milk should not be brought to a boil, otherwise the cheese will not turn out. Dilute the vinegar with boiled water. Using a teaspoon, pour the vinegar around the edge of the pan, while simultaneously stirring the milk with a spatula. It is necessary to maintain the milk temperature at 90-96℃.

Step 4

Step 4
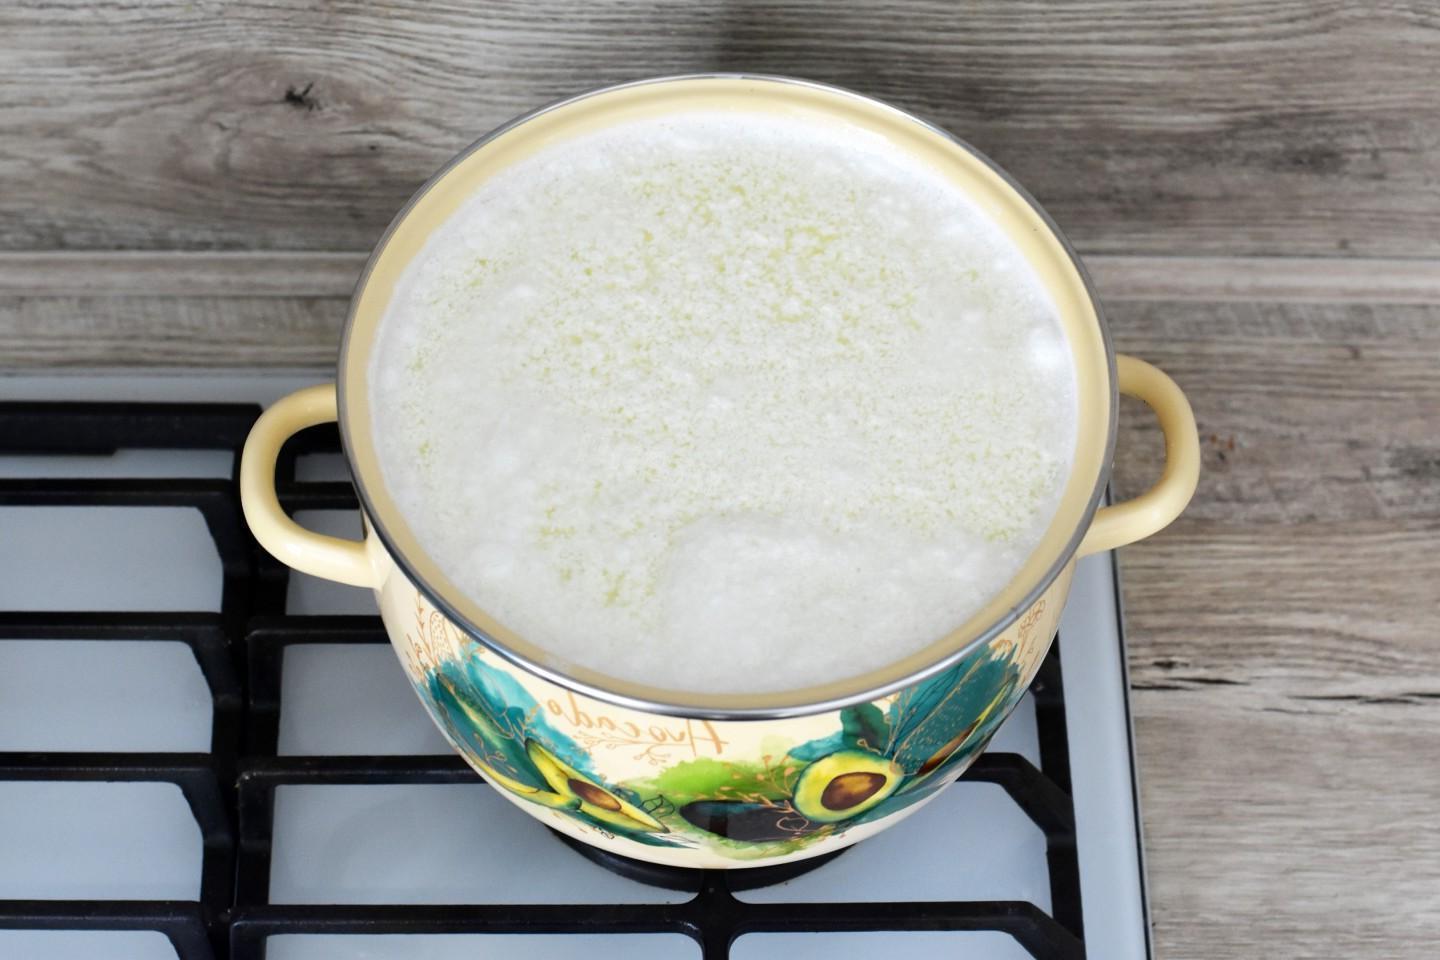
Continue stirring even after all the vinegar is in the milk. Very soon, clots will begin to appear in the milk and yellowish-green whey will begin to separate. Reduce heat to low and continue cooking milk for 20-25 minutes. During the process, check the readiness of the cheese: lightly knead the curd with your fingers. If the consistency resembles an omelette, then you can turn off the heat.

Step 5

Step 5
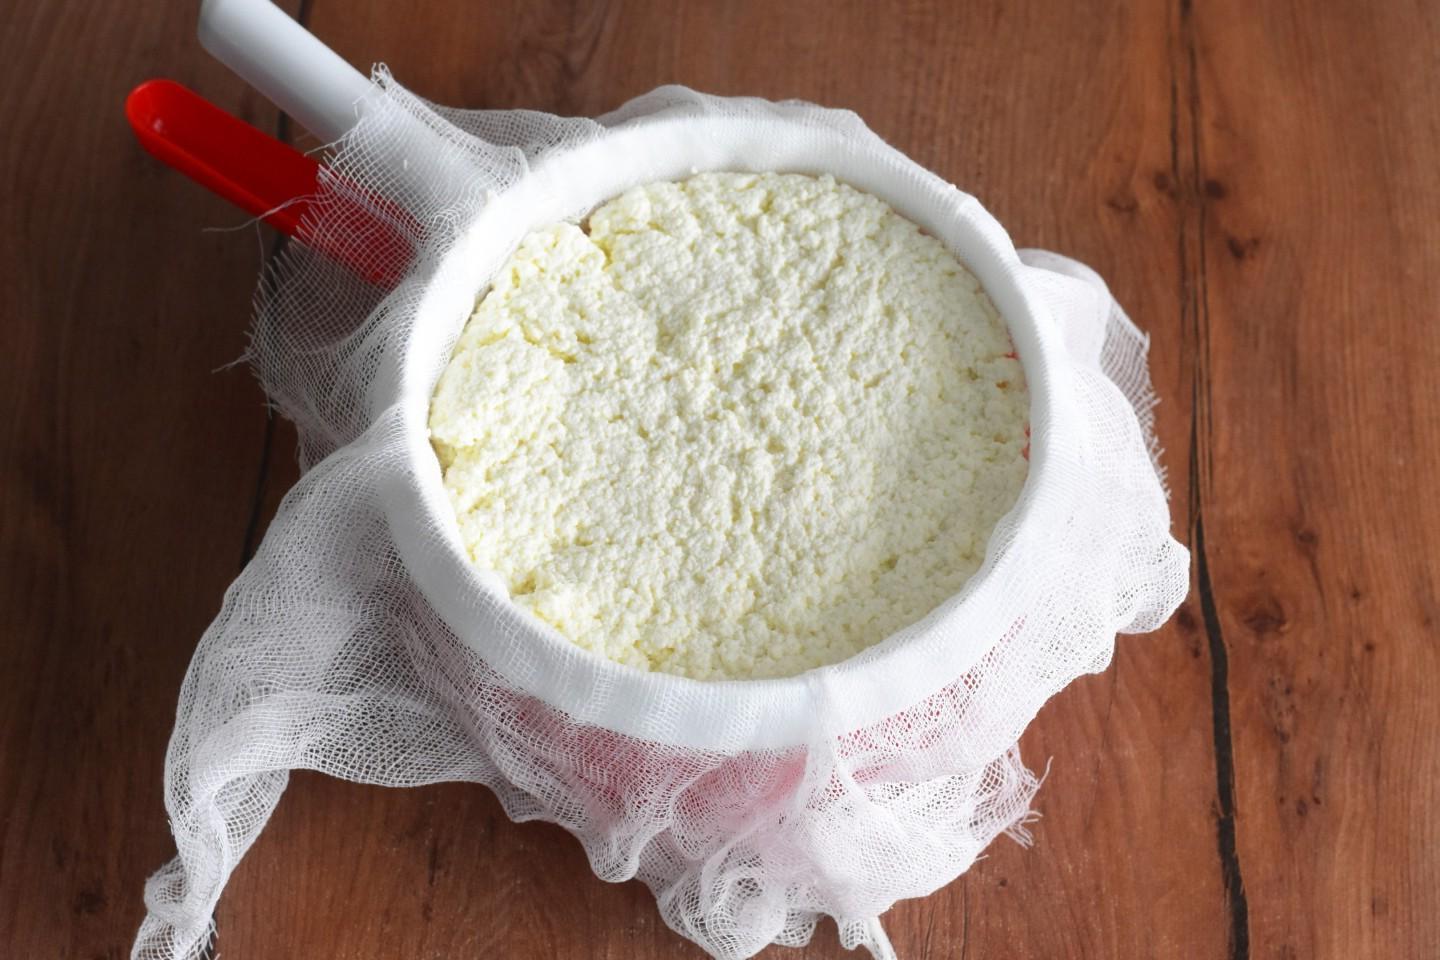
Pour some of the whey into another bowl. Using a slotted spoon, transfer the cheese grain into a special cheese mold lined with gauze. If you don’t have a mold, a colander or sieve will do, but you will need to place a bowl under them to catch the whey. In this case, the clots must not be mixed or deformed in any way. Just press down lightly with a spoon, removing excess moisture, and smooth so that the cheese is better compressed.

Step 6

Step 6
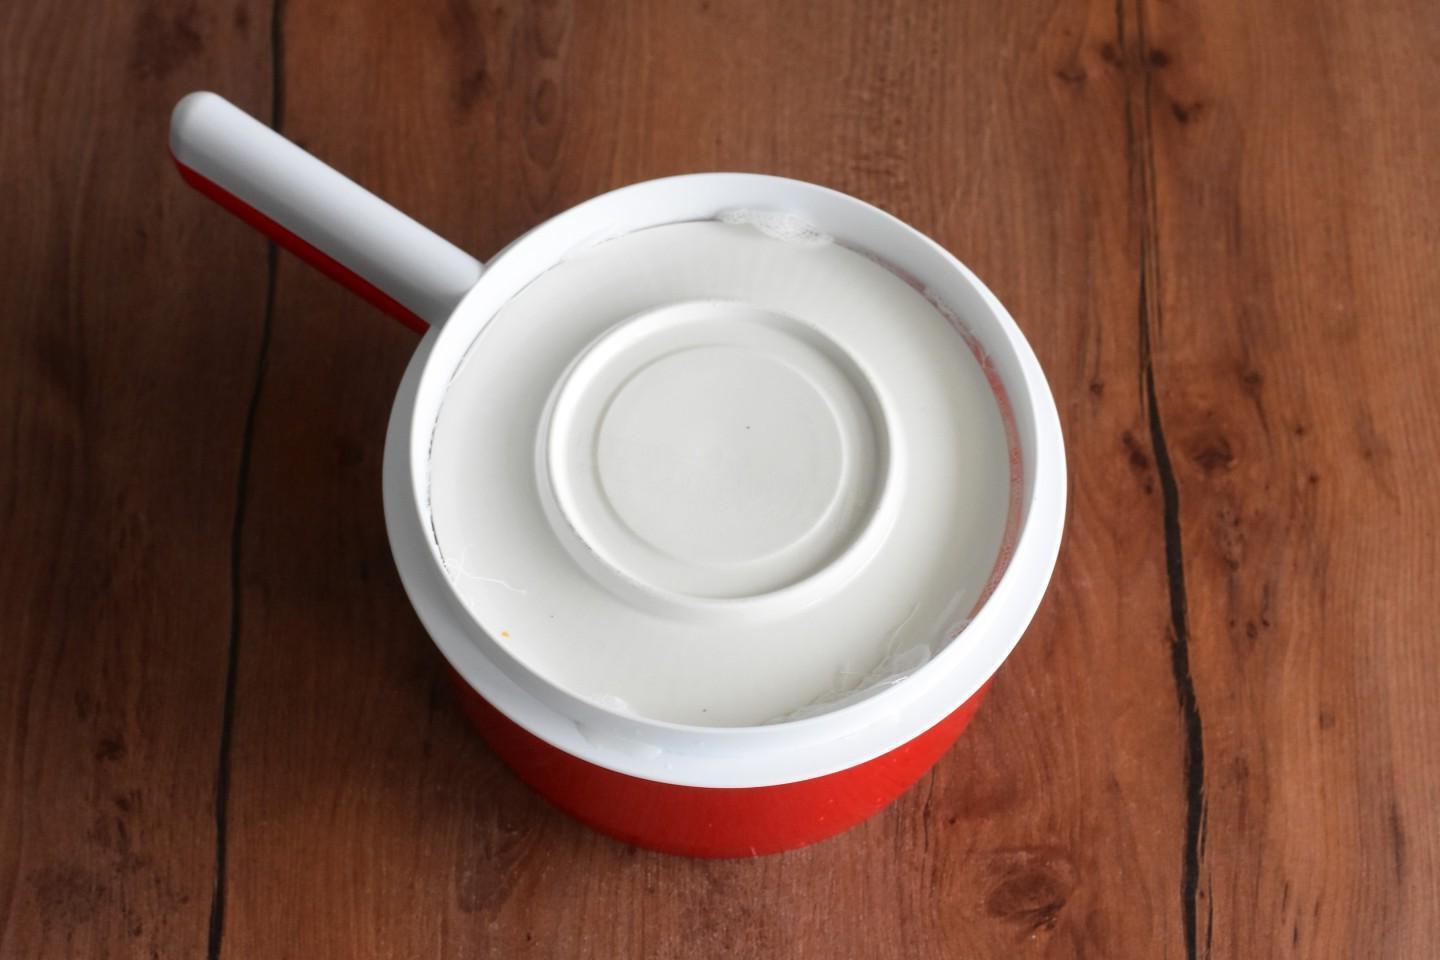
Cover the cheese with gauze and place a plate or saucer. I have a cheese pan with a diameter of 15 cm. It is designed for 800 g of cheese.

Step 7

Step 7
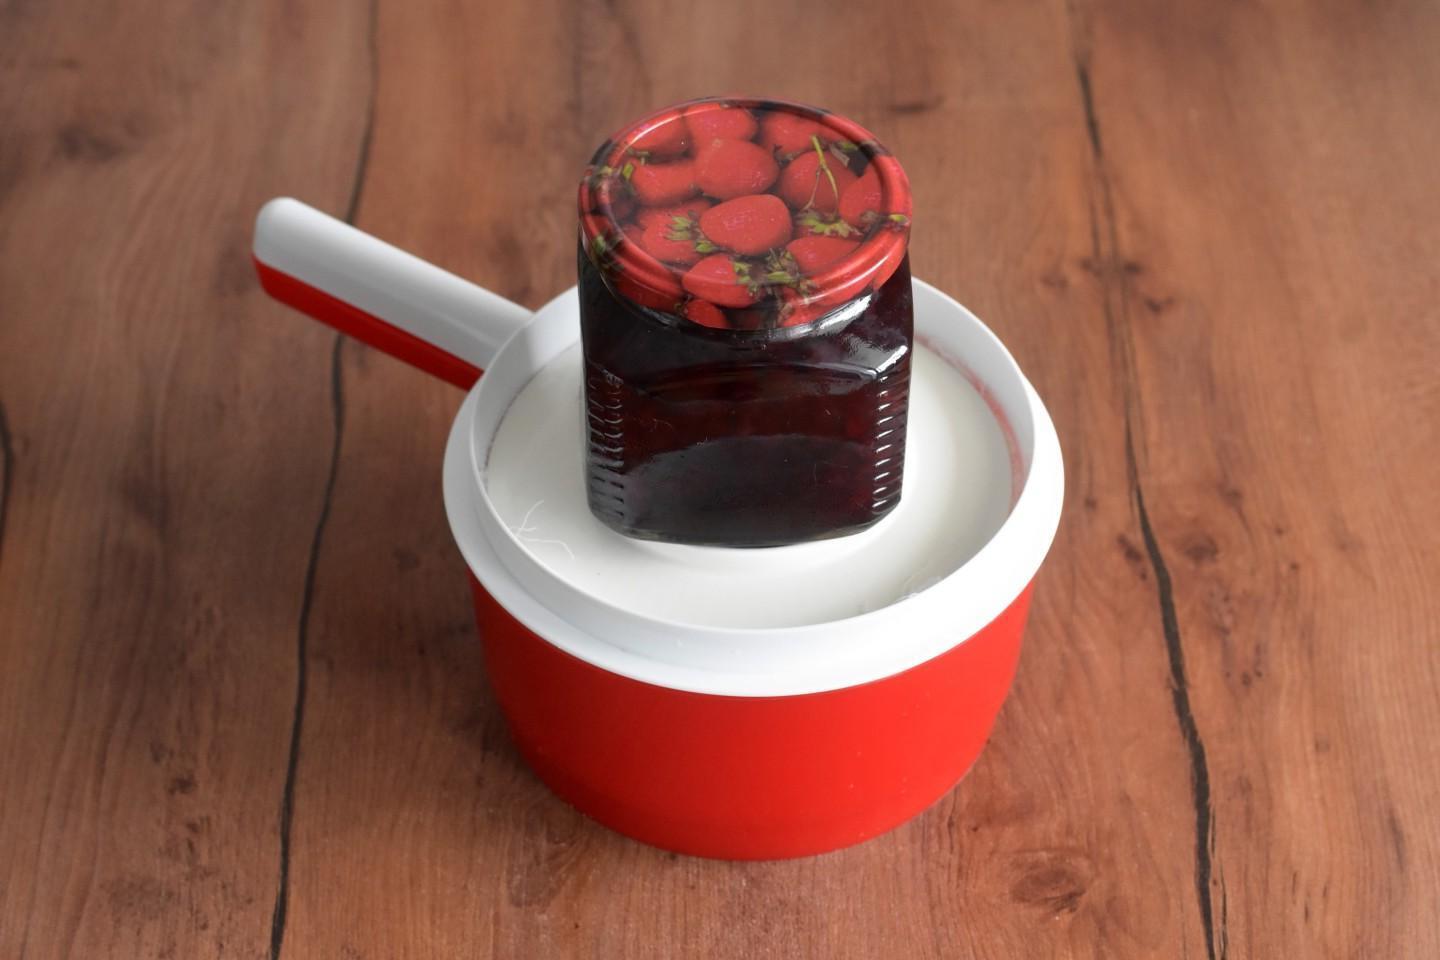
Place some weight on top. Place the cheese in the refrigerator for 8 hours, or preferably overnight. You can also make cheese with whey instead of vinegar. You can read more about this at the end of the recipe under the steps.

Step 8

Step 8
Cut the finished cheese into slices. Store in the refrigerator in cheesecloth for no longer than a week. Bon appetit!