Coconut and Strawberry Dacquoise Cake

Delicate fragrant cake for coconut lovers. Tasty and healthy! This cake has an unusual taste, thanks to the original combination of coconut, curd cream and strawberry filling. It can decorate a holiday table. Suitable for a childrenʼs party, but you must be sure that children are not allergic to the ingredients of the dish. Making this cake is somewhat labor-intensive, but not at all difficult and interesting. In principle, such a coconut sponge cake does not rise very high, so it is almost always supplemented with cream or some original filling. But if you want the cake to be taller, take a mold with a diameter of 20-21 cm. I took a mold with a larger diameter, so the sponge cake turned out not very tall, but nevertheless very tasty. I will continue to cook Daquoise. The recipe I proposed can be considered basic. I saw this cake with different creams and fillings, which is good because you can experiment with it at your leisure. Sometimes, in addition to coconut flour, almond flour is added to the dough.
cook time: 2h
Ava Prescott
Coconut and Strawberry Dacquoise Cake

Nutrition Facts (per serving)

246
Calories
13g
Fat
24g
Carbs
8g
Protein

Ingredients (10 portions)

For dough:

Salt to taste
Sugar 100 g
Wheat flour 35 g
coconut flakes 100 g
Egg whites 140 g

For filling:

Sugar 25 g
Gelatin 3 g
Starch 5 g
Strawberry 100 g

For cream:

Sugar 50 g
Vanillin to taste
Cream 150 g
Cottage cheese 250 g

Recipe instructions

Step 1
Step 1
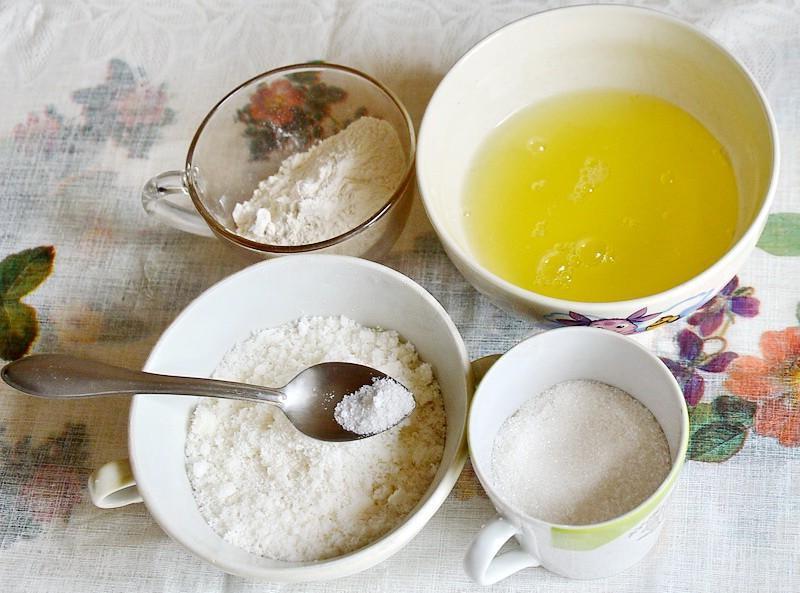
Ingredients for making coconut dacquoise sponge cake. Sift the wheat flour. Using a coffee grinder, grind the coconut flakes to flour as follows — in the “pulse” mode: press, release, shake. The resulting coconut flour can also be sifted through a sieve with large holes. The whites must first be separated and thoroughly cooled in the refrigerator (I had some left over from baking Easter cakes).

Step 2

Step 2
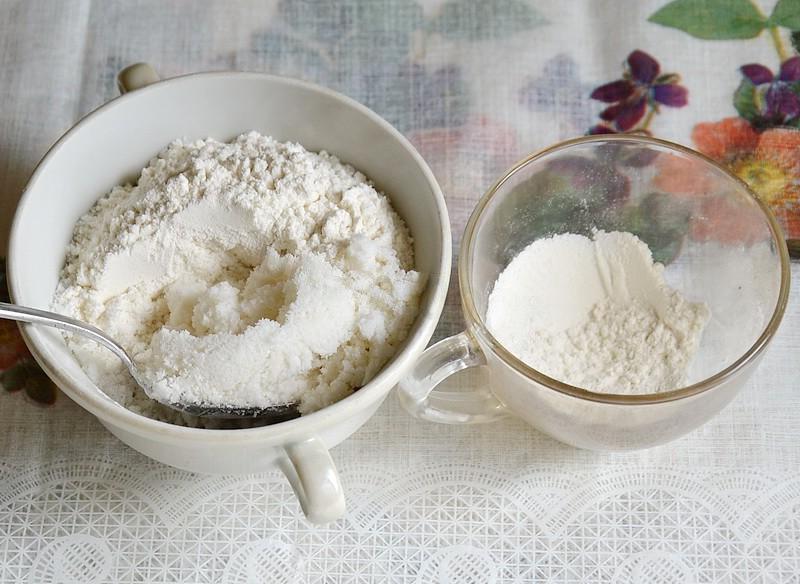
Add coconut flour to wheat flour. Mix thoroughly.

Step 3

Step 3
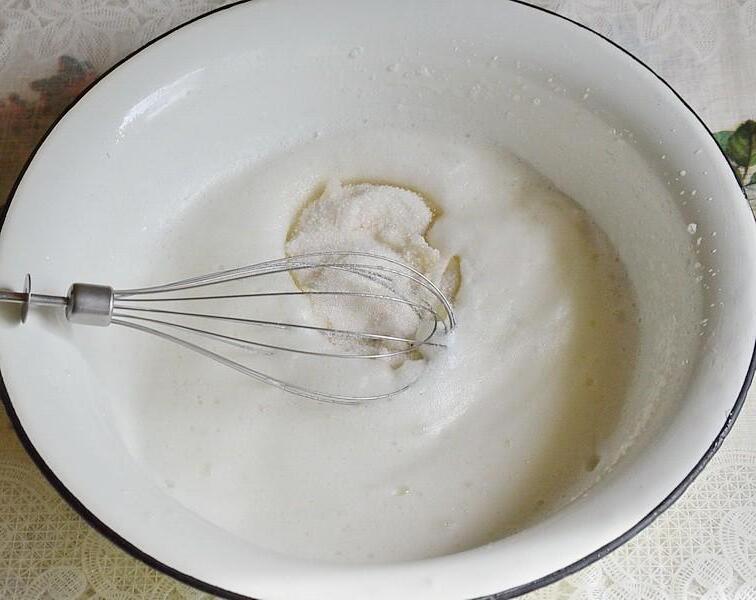
Beat the whites with salt until white. Add sugar.

Step 4

Step 4
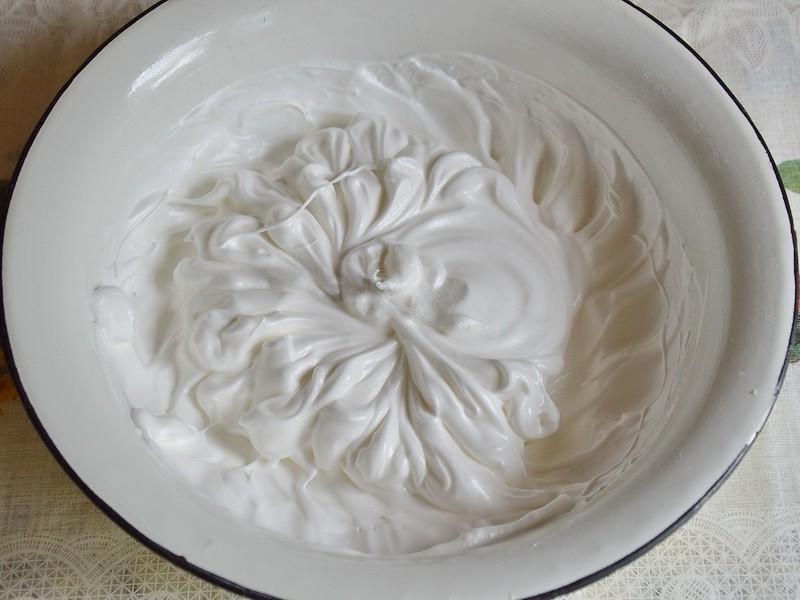
Beat the protein mass until stable peaks form.

Step 5

Step 5
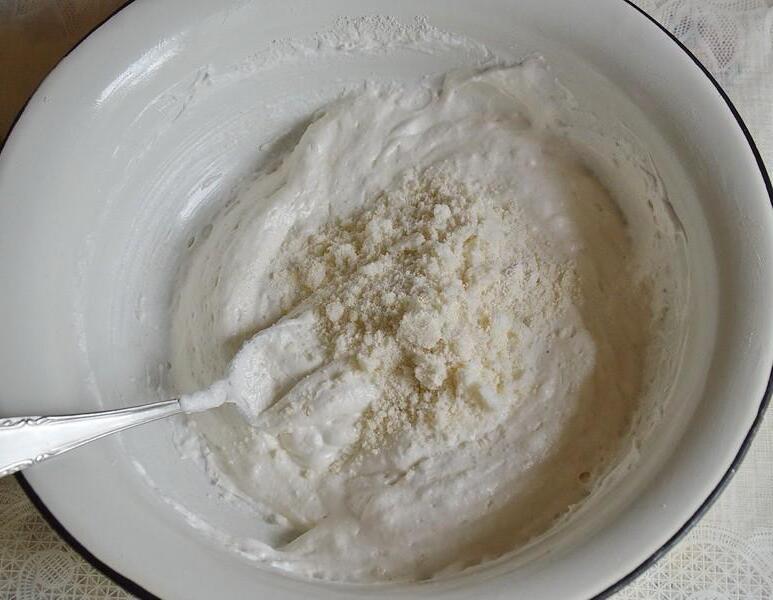
Carefully add the sifted dry ingredients and stir the mixture from top to bottom until smooth.

Step 6

Step 6
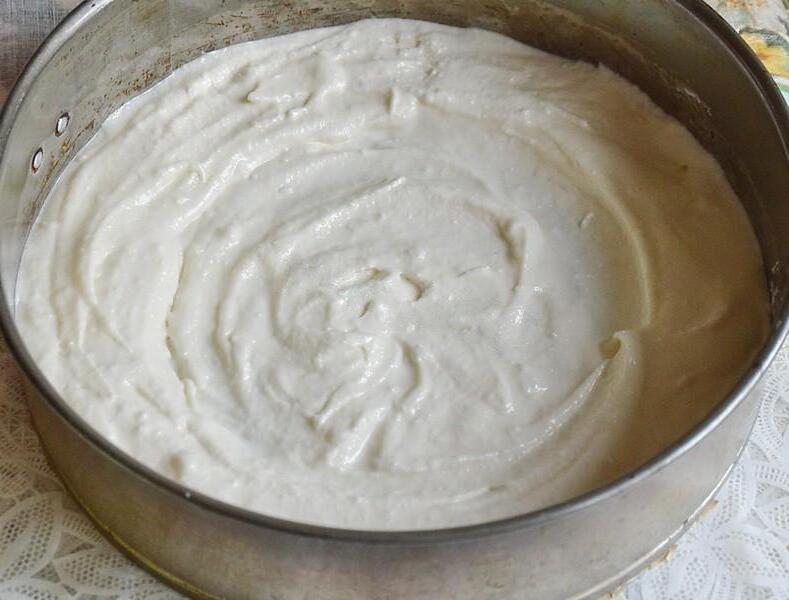
Preheat the oven to 180 degrees. Cut out a circle from parchment paper with a diameter equal to the bottom of the baking pan, place it on the bottom, and grease it with oil. Place the dough in the mold: the middle of the cake should be slightly lower, and the side should be higher. You can place the coconut mass in a pastry bag with a 12-14 mm round tip and, moving from the center in a spiral, pipe the bottom of the base, and then the sides. For the sides, we plant the mass in large balls.

Step 7

Step 7
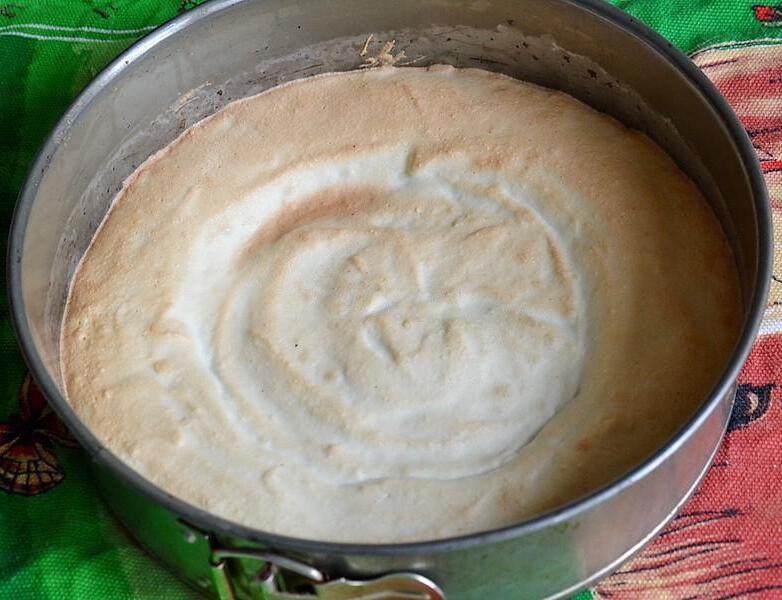
Bake the coconut biscuit for 20-25 minutes at 180 degrees. The cake should rise a little and brown, but, nevertheless, remain soft, since this is a sponge cake, not a meringue. Donʼt overdry it! Remove the biscuit from the oven and let it cool. Using a sharp thin knife, run along the edge of the mold and remove the biscuit from it.

Step 8

Step 8
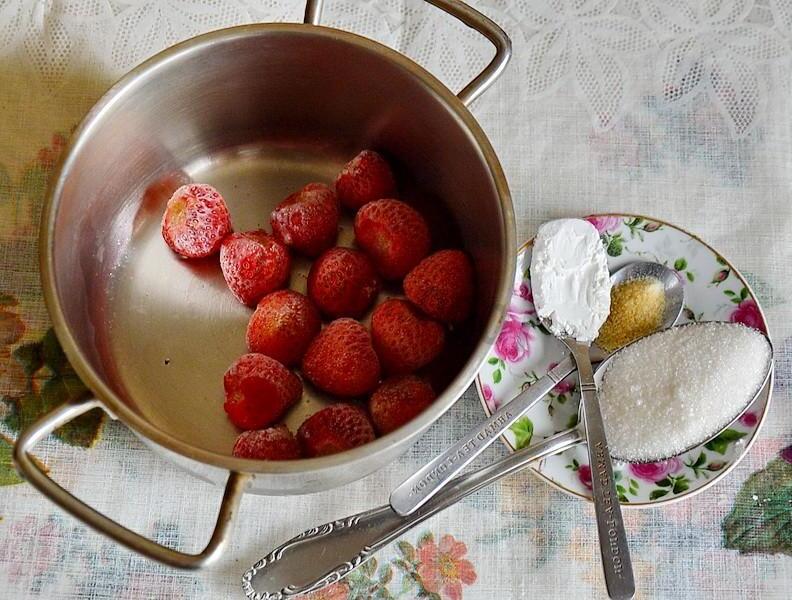
Ingredients for making strawberry filling. Sift the starch. We take fresh strawberries or defrost frozen ones.

Step 9

Step 9
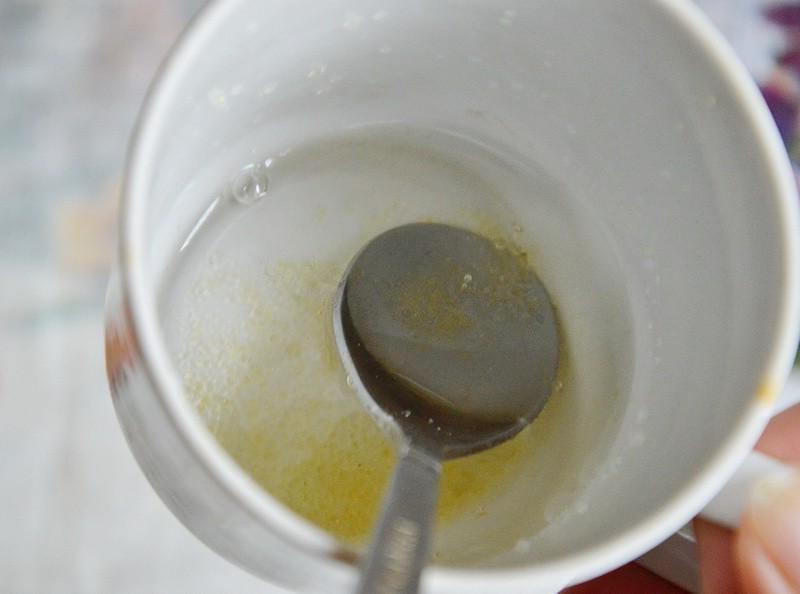
Soak the gelatin in a small amount of hot water, stir thoroughly and let it completely dissolve.

Step 10

Step 10
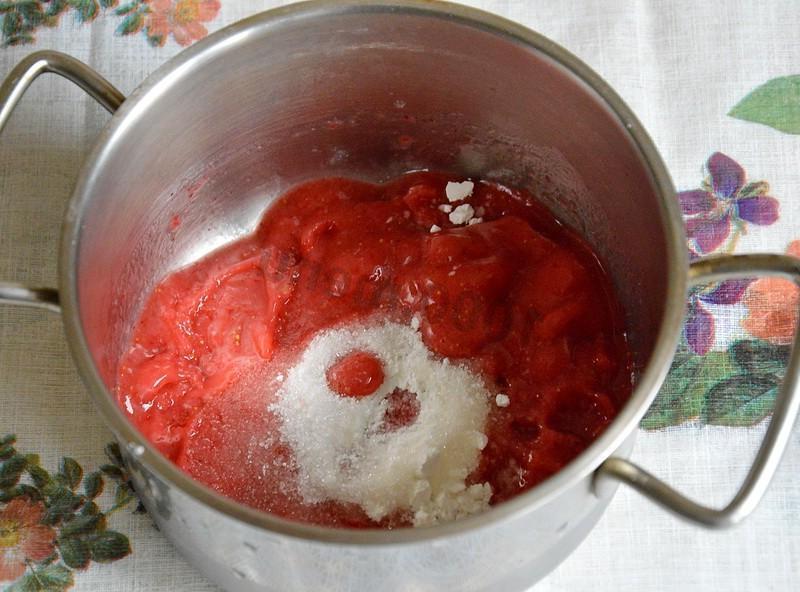
Grind the strawberries with an immersion blender, or you can rub them through a sieve. Add sugar and starch to the strawberry puree and mix well. Put the puree on the fire, let the starch brew.

Step 11

Step 11
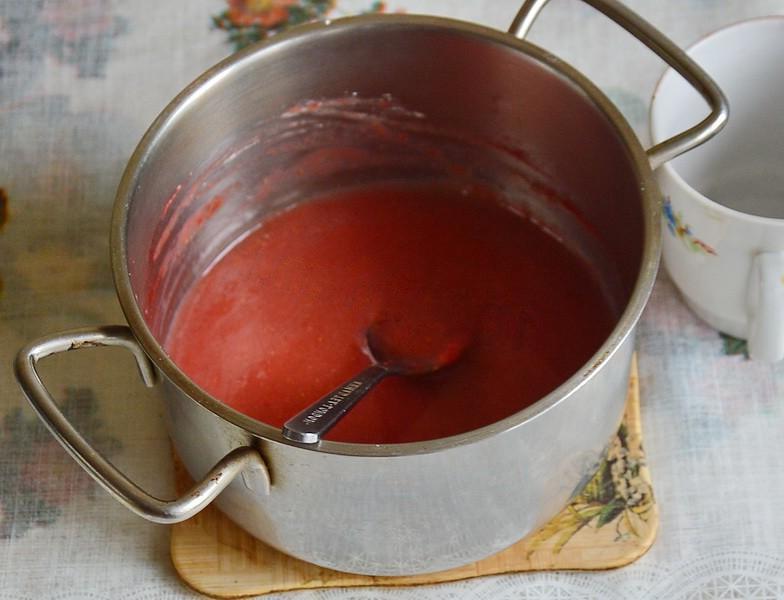
Remove the mixture from the heat, add the gelatin, which has already completely dissolved by then, stir until smooth, and cool.

Step 12

Step 12
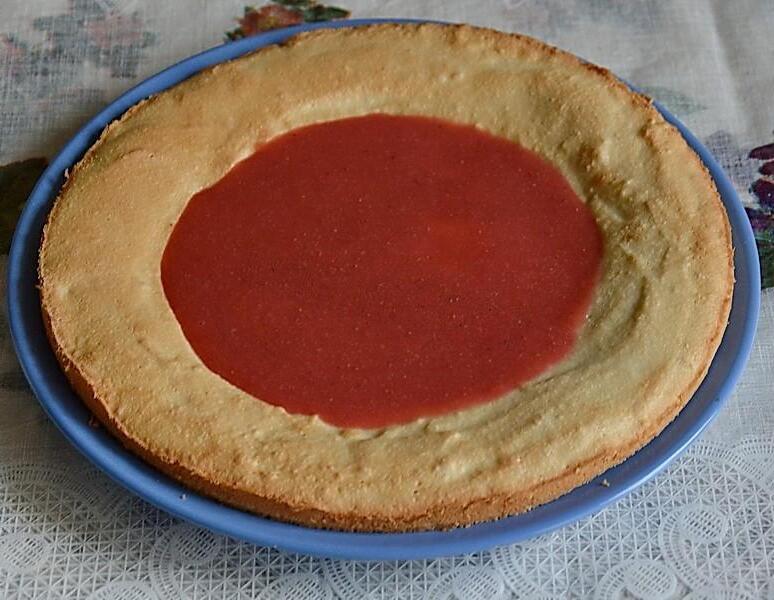
Pour the filling into the cavity in the middle of the crust. But, if suddenly the cake turns out to be with an insufficiently high side, carefully draw a circle in the center of the sponge cake with a very sharp knife and select the dough a couple of millimeters deep, thus making a depression for the strawberry filling. We put the sponge cake in the freezer for 15-20 minutes to speed up the hardening of the filling and quickly continue further assembly of the cake.

Step 13

Step 13
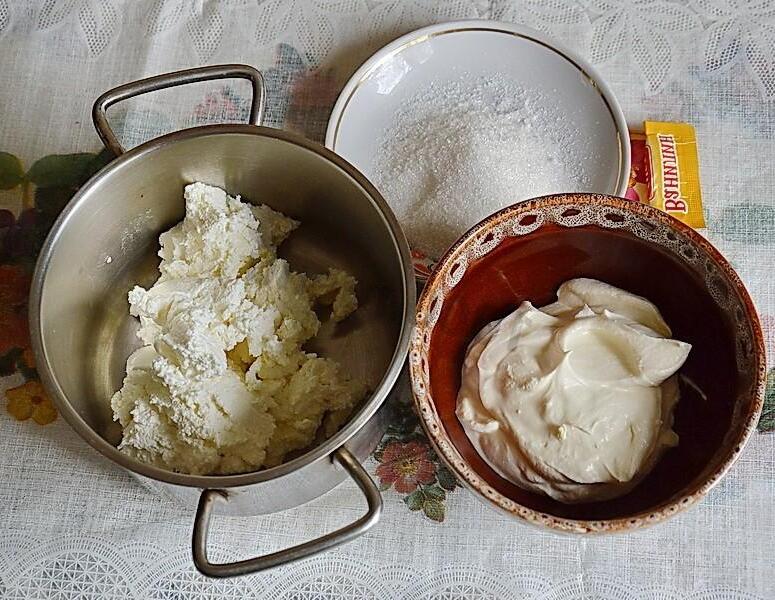
Products for making cream. Cream and cottage cheese should be well cooled.

Step 14

Step 14
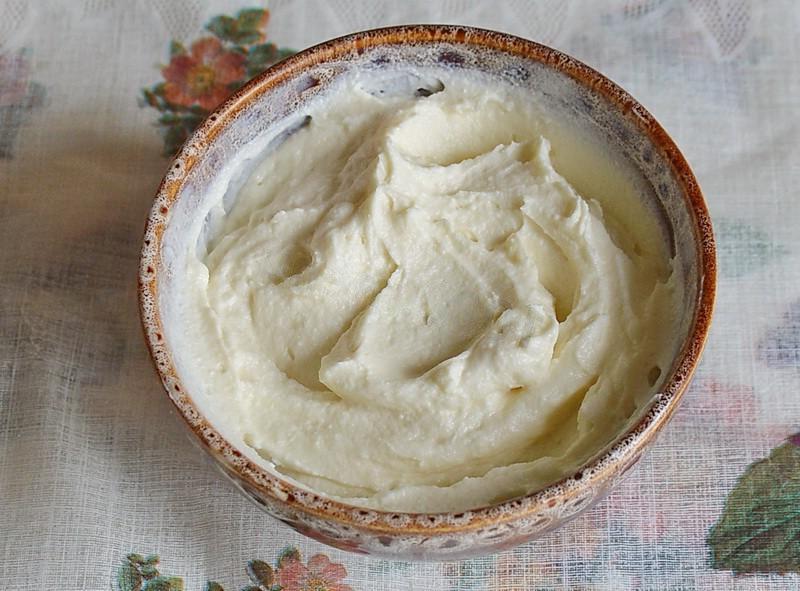
Beat the cottage cheese with a submersible blender with sugar and vanilla until smooth.

Step 15

Step 15
Separately, whip the cream in a heavily chilled container until stiff peaks form.

Step 16

Step 16
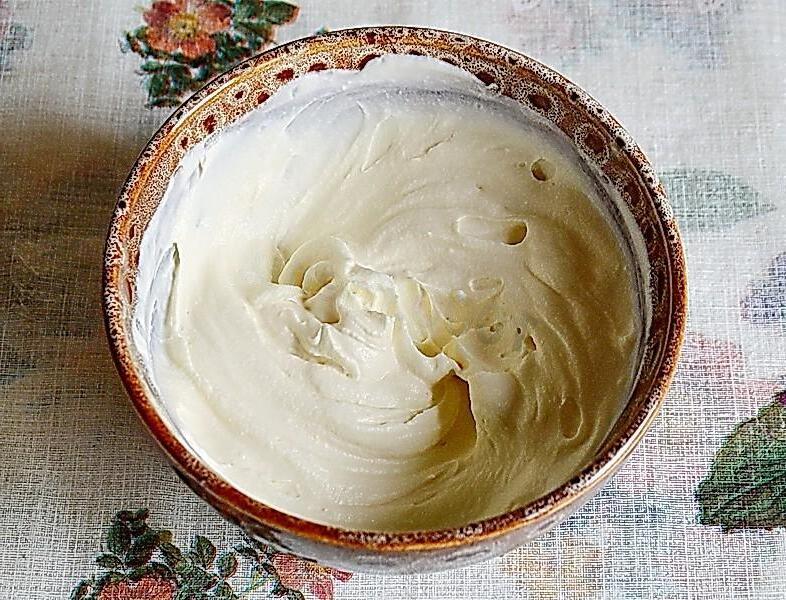
Combine a few spoons of curd mass with cream and mix gently. Gradually combine all the remaining cottage cheese with the curd-cream mass and place the finished cream in the refrigerator for 20-30 minutes. The cream can be fixed with a special thickener if the room is hot and there is a suspicion that the cream will float slightly at room temperature.

Step 17

Step 17
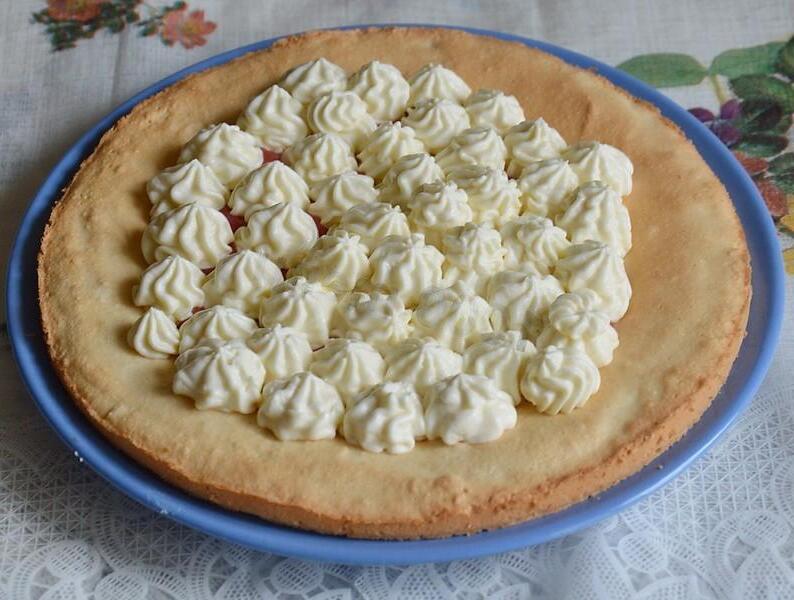
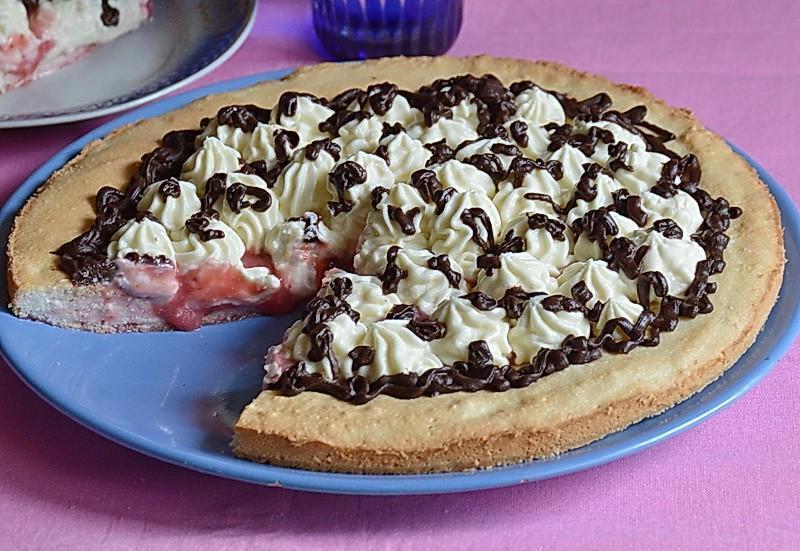
Place the cooled cream in a pastry bag with the tip you like best, and pipe the cream around the perimeter of the cake, starting from the pink center. I only had enough cream to cover this middle. Or you can make a little more cream and cover the entire surface of the cake with it. At the same time, it is better not to put all the cream into a pastry bag at once. We deposit the cream onto the cake in 2-3 fillings, and before that we cool our hands a little in cold water.

Step 18

Step 18
Again, slightly cool the cake in the freezer (10-15 minutes), remove and decorate to your liking. I poured melted chocolate over it. Thatʼs it, the cake is ready, help yourself!