Candy-Filled Bun Pie

Interesting, tasty, airy, perfect for tea drinking! Razbornik pie with candies got its name due to the fact that it consists of small buns with filling. You can add soft caramels, marmalade or chocolate pieces to your baked goods.
cook time: 3h 30 min
Elijah Stroud
Candy-Filled Bun Pie

Nutrition Facts (per serving)

305
Calories
15g
Fat
42g
Carbs
9g
Protein

Ingredients (12 portions)

For dough:

Salt 0.5 tsp
Sugar 80 g
Wheat flour 550 g
Butter 50 g
Milk 250 g
Eggs 2 pc
Yeast 12 g

For filling:

Candies 300 g

Additionally:

Butter 50 g
Eggs 1 pc

Recipe instructions

Step 1

Step 1
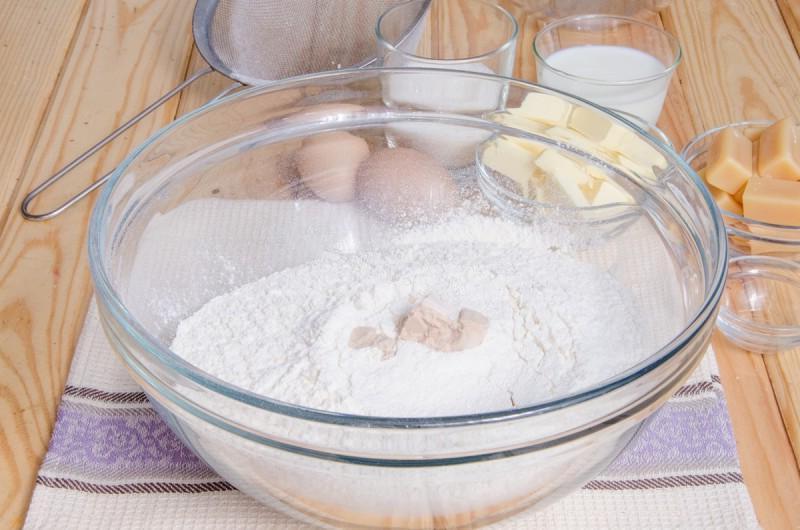
How to bake a Razbornik pie with candies? First prepare all the ingredients. Remove food from the refrigerator in advance so that it is at room temperature.

Step 2

Step 2
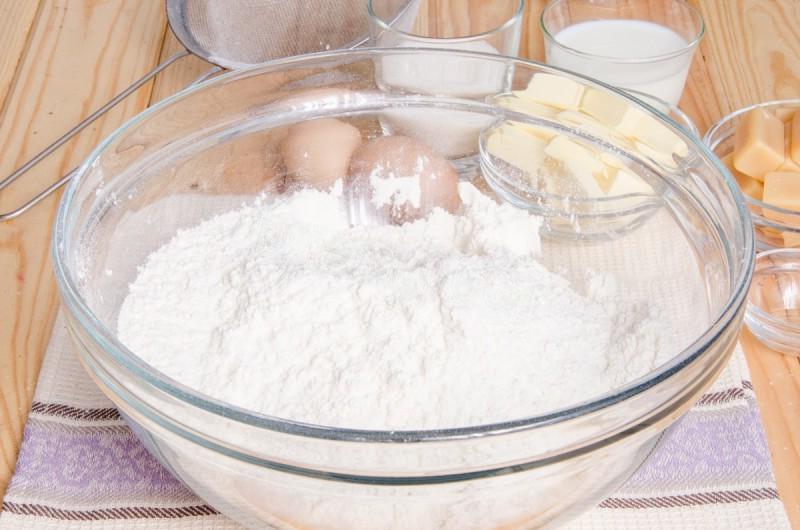
Sift the flour into a large bowl through a sieve or using a special mug. Add fresh pressed yeast to it.

Step 3

Step 3
Rub the yeast into the flour very thoroughly with your hands, trying to achieve a fine, fine crumb.

Step 4

Step 4
Next add soft butter.

Step 5

Step 5
Again, very thoroughly rub the flour mixture into the butter.

Step 6

Step 6
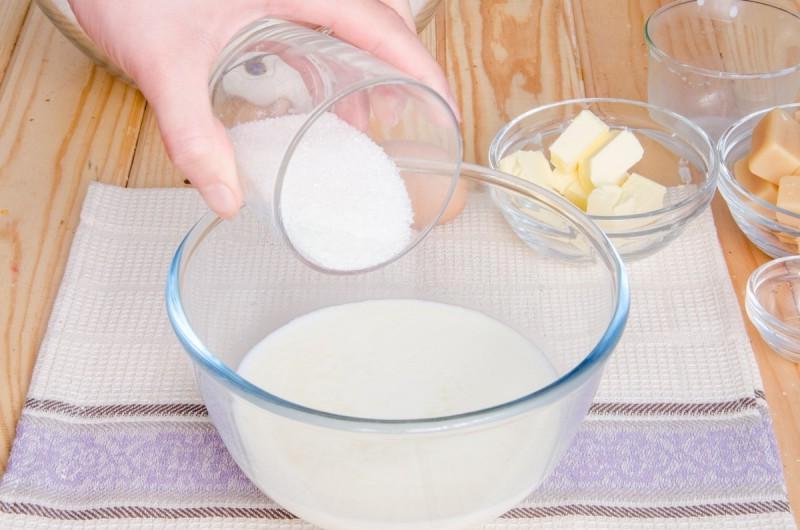
Heat the milk slightly on the stove or in the microwave (the temperature should be about 35-40 C, no more, otherwise the yeast may die). Add sugar and a pinch of salt to the milk. Stir thoroughly with a whisk until the sugar is completely dissolved. By the way, if you wish, you can add yeast not to the flour, but first dissolve it in warm milk and at the same time check the activity of the yeast if you are not sure about it. Act in the way that is more familiar to you.

Step 7

Step 7
Next, add two eggs to the sweet milk and mix thoroughly with a whisk.

Step 8

Step 8
Make a “well” in the center of the flour mixture and pour the milk mixture into it.

Step 9

Step 9
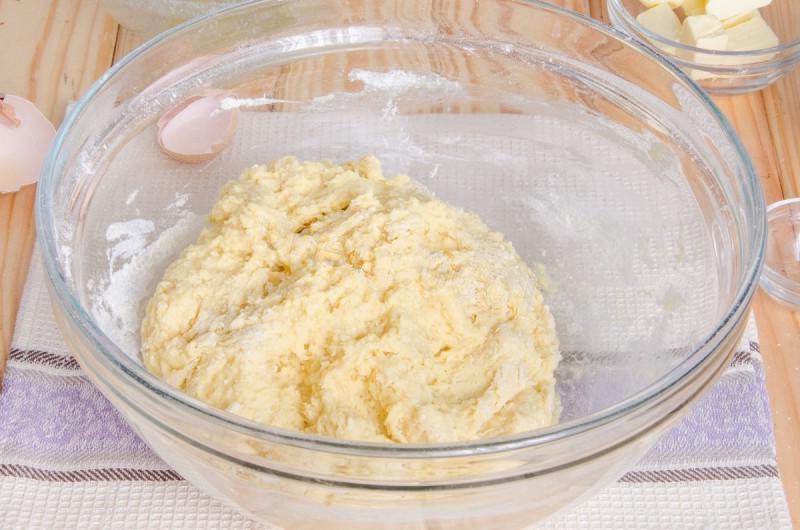
Knead the dough first with a spatula or spoon, and when it comes together, continue with your hands. You should get a soft dough. Different flours have different properties, so you may need less or more of it.

Step 10

Step 10
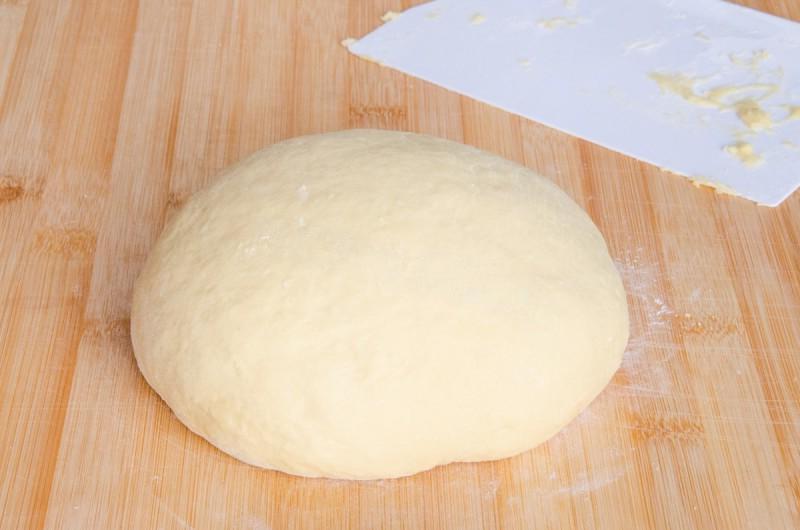
Lightly dust your work surface with flour, place the dough on top and knead it thoroughly for 10-15 minutes. The dough turns out very soft, so if necessary, you can add about 50 g of flour to it, but it is advisable not to add more. By the way, you can safely knead this dough using a bread machine or a mixer with dough attachments.

Step 11

Step 11
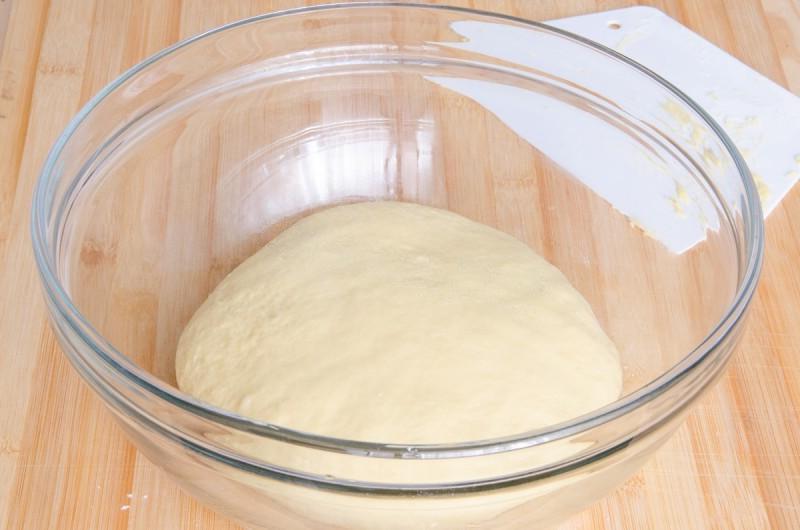
Roll the finished kneaded dough into a smooth ball and place in a bowl greased with vegetable oil. Cover the bowl with cling film or a slightly damp towel and leave in a warm place for about 1 hour until the dough rises.

Step 12

Step 12
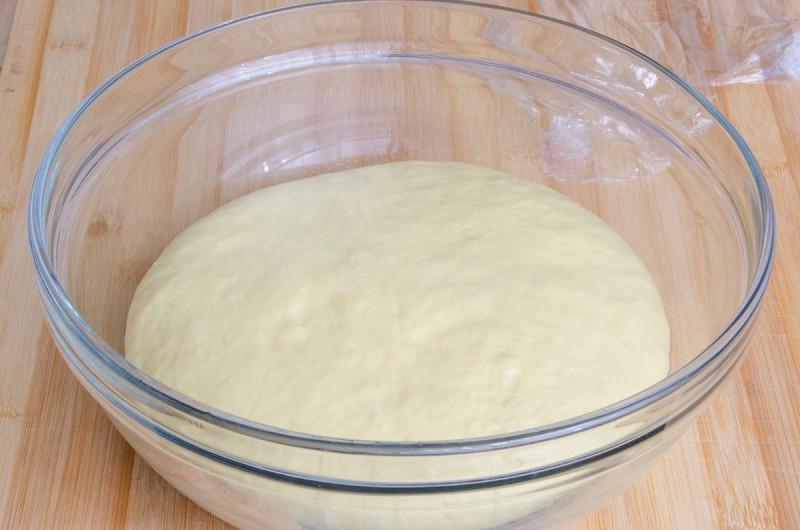
Depending on the ambient temperature and the strength of the yeast, it may take a little more or less time to rise, so wait until the dough has at least doubled in size.

Step 13

Step 13
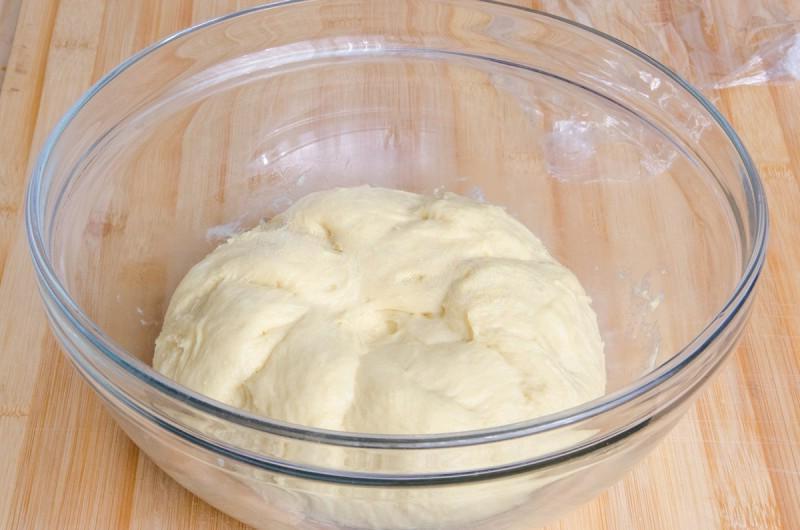
Punch down the risen dough; to do this, pull the dough from the edges to the center and so on in a circle. Then turn the dough over, cover the bowl again with film or a towel and let the dough rise again. The second time the dough rises faster, on average it will take about 30 minutes. By the way, if you don’t have much time, you don’t have to leave the dough to proof again.

Step 14

Step 14
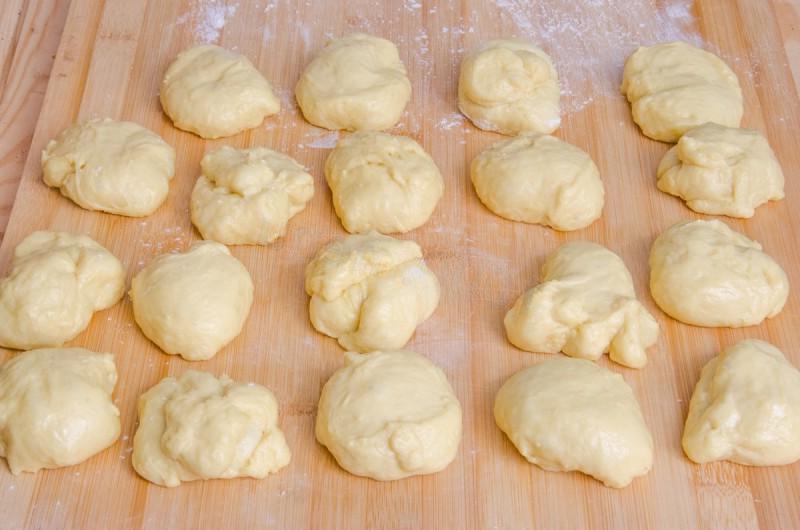
Carefully remove the dough that has risen a second time from the bowl and divide it into equal pieces of the desired size. I divided it into 19 pieces weighing about 50 g each. The dough turns out to be quite soft, so to prevent it from sticking to your hands while working, grease your hands with oil or dust them with flour (I used oil).

Step 15

Step 15
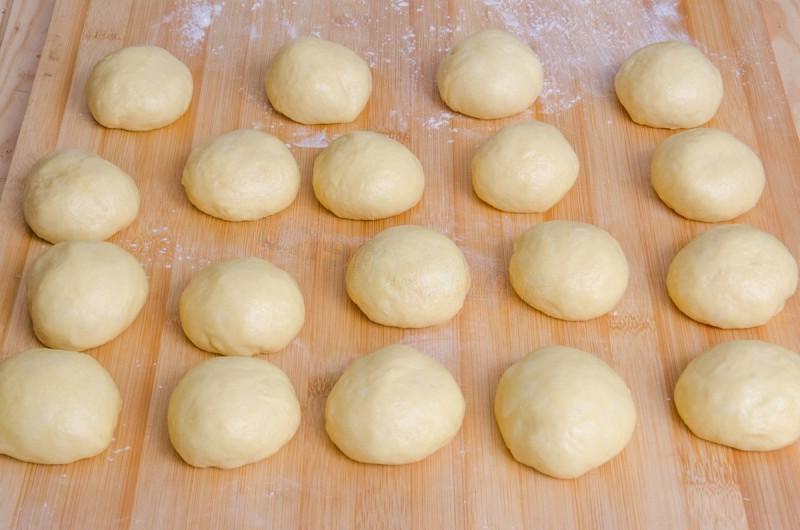
Roll each piece of dough into a smooth ball, cover them with film on top and leave for 5-10 minutes so that the dough rests slightly.

Step 16

Step 16
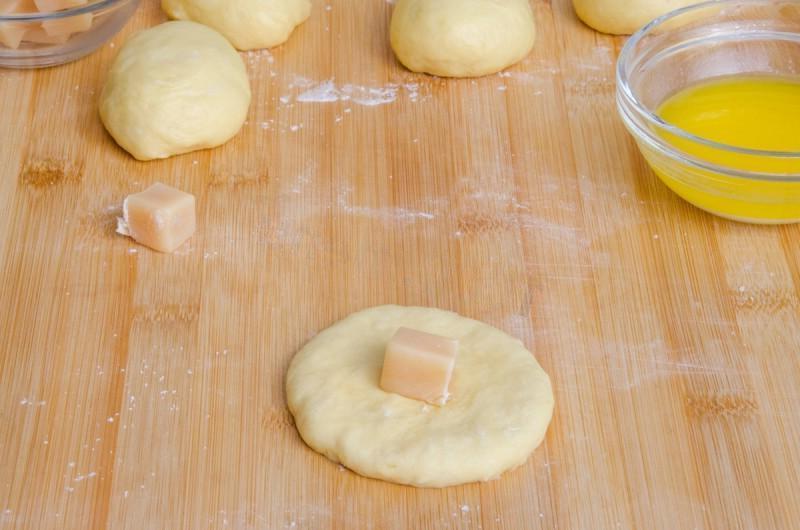
Shape our buns. Lightly knead each ball of dough with your hands into a small flat cake, place a candy in the center (I have large candies, so I cut them into 2 parts, although if you wish, you can take whole candies).

Step 17

Step 17
Seal the edges of the dough and form into a round bun.

Step 18

Step 18
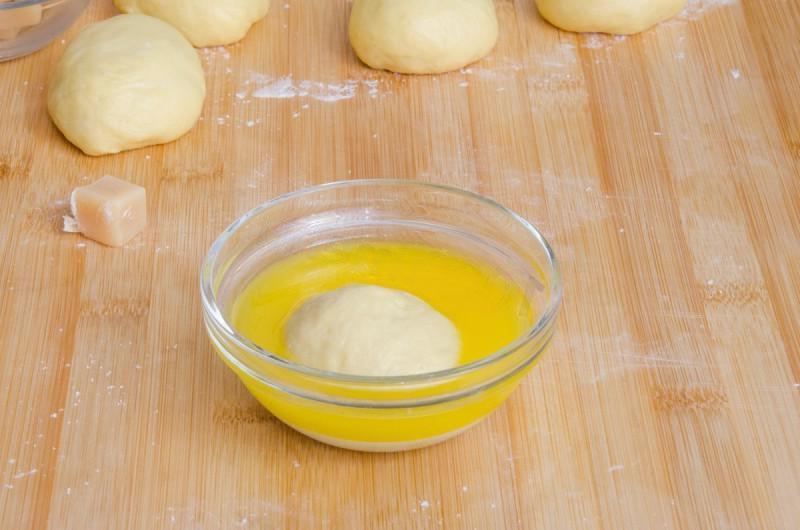
Melt the butter on the stove or in the microwave and let it cool completely. Dip the formed bun into the melted butter and let the excess butter drip off. Thanks to this butter, the buns will turn out creamier and when finished they will be much easier to divide among themselves, but, if you wish, if you want to reduce the number of calories, you can skip this step.

Step 19

Step 19
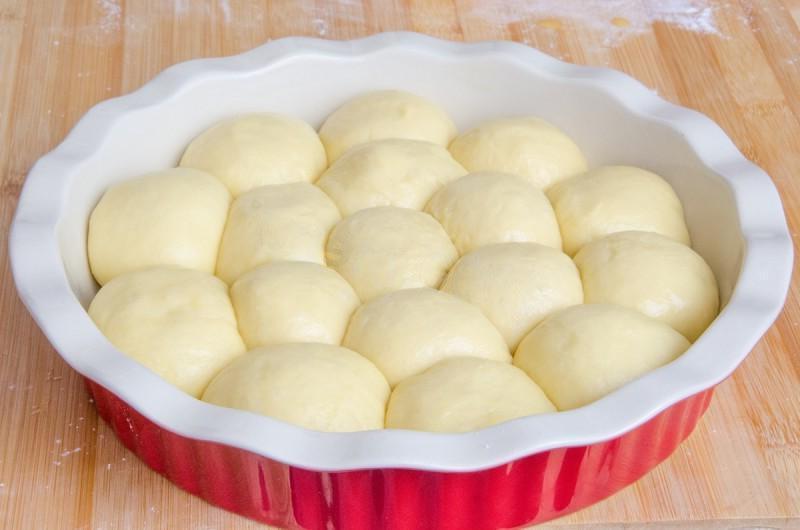
Place the prepared buns in the mold, leaving a little free space between them so that the buns have room to grow. The diameter of my mold is 24 cm.

Step 20

Step 20
Cover the cake pan with film and leave it for 20-30 minutes to rise.

Step 21

Step 21
Brush the risen Razbornik pie with a beaten egg.

Step 22

Step 22
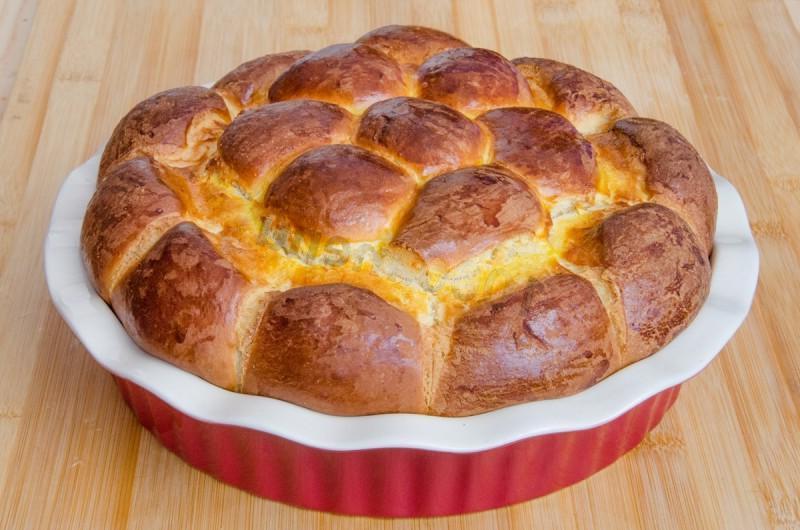
Place the pan in an oven preheated to 170-180 degrees and bake for about 35-45 minutes until a beautiful golden brown crust. Since everyoneʼs oven operates differently, baking times may vary.

Step 23

Step 23
Let our pie cool to a lukewarm state, lightly sprinkle with powdered sugar (optional) and serve.

Step 24

Step 24
Our Razbornik pie with candies is ready. The delicious filling will delight both children and adults. Bon appetit!

Additional rubrics