Classic Soviet Zebra Cake: A Striped Delight

Very tasty, made from simple ingredients, a holiday every day! The classic Soviet Zebra cake is probably familiar to many from childhood. This is the famous Soviet cake-cake, with chocolate flavor, striped inside. It is so beautiful in cut that it does not require additional decorations. And how easy it is to prepare!
cook time: 1h
Isla Thatcher
Classic Soviet Zebra Cake: A Striped Delight

Nutrition Facts (per serving)

292
Calories
12g
Fat
37g
Carbs
7g
Protein

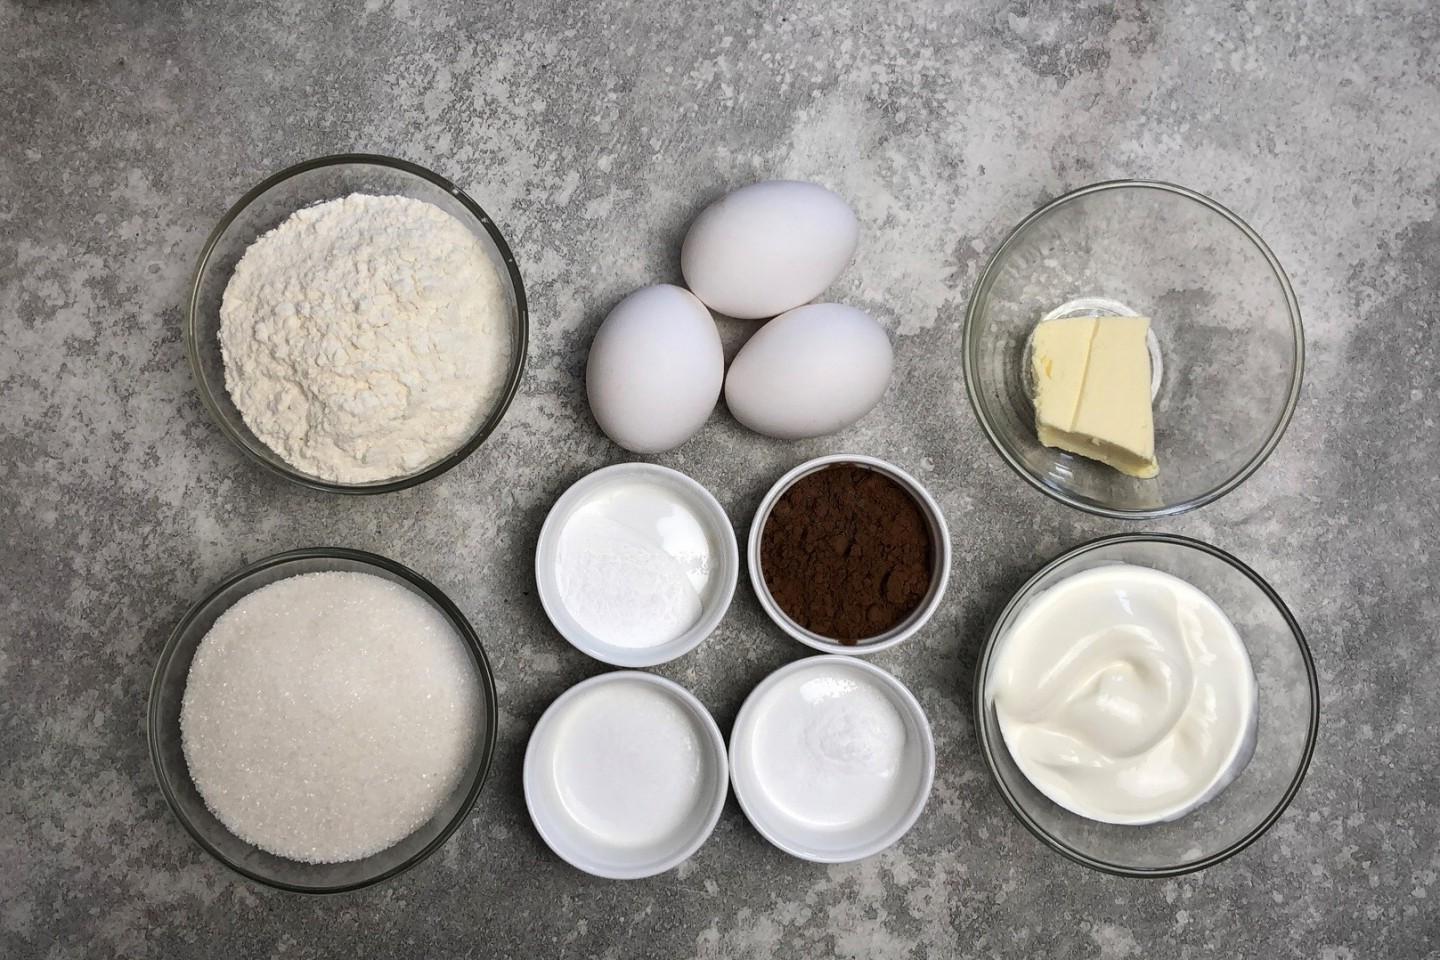
Ingredients (8 portions)

Basic:

Salt (pinch) to taste
Sugar 200 g
Wheat flour 300 g
Butter 30 g
Vanillin (on the tip of a knife) to taste
Cocoa 3 tbsp
Eggs 3 pc
Sour cream (20% fat) 400 g
Baking powder 12 g

Recipe instructions

Step 1
Step 1
How to make a classic Soviet Zebra cake? Prepare your food. For the biscuit to rise well, all ingredients must be at room temperature. Therefore, remove them from the refrigerator in advance. Melt the butter any way you like, it should have cooled down by the time you beat the eggs. Wash the eggs and dry with napkins.

Step 2

Step 2
Take a bowl, sift flour into it. Sifting saturates it with oxygen, making the baked goods more fluffier and airier. Add baking powder, salt and vanilla. Mix the ingredients. Please note that you may need a little less or more flour than I did, rely on the consistency of the dough. You can learn more about the properties of flour from an article on this topic. The link is at the end of the recipe under the steps.

Step 3

Step 3
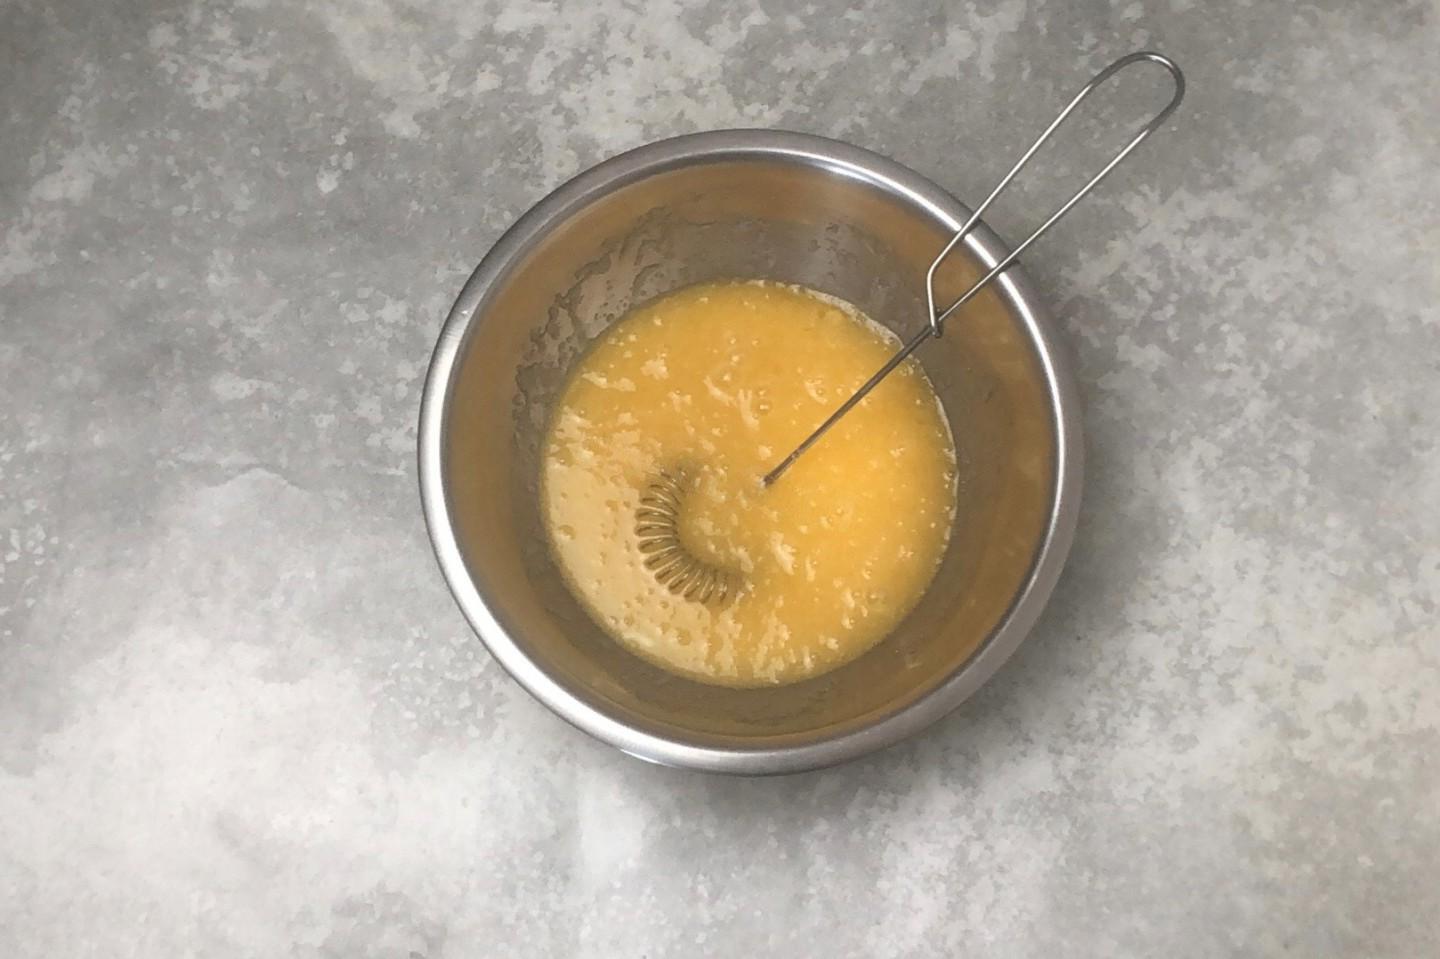
Break the eggs into a separate bowl. add sugar. Lightly beat them with a whisk, without much fanaticism. They should just become well mixed. Wash eggs before using, as there may be harmful bacteria on their surface.

Step 4

Step 4
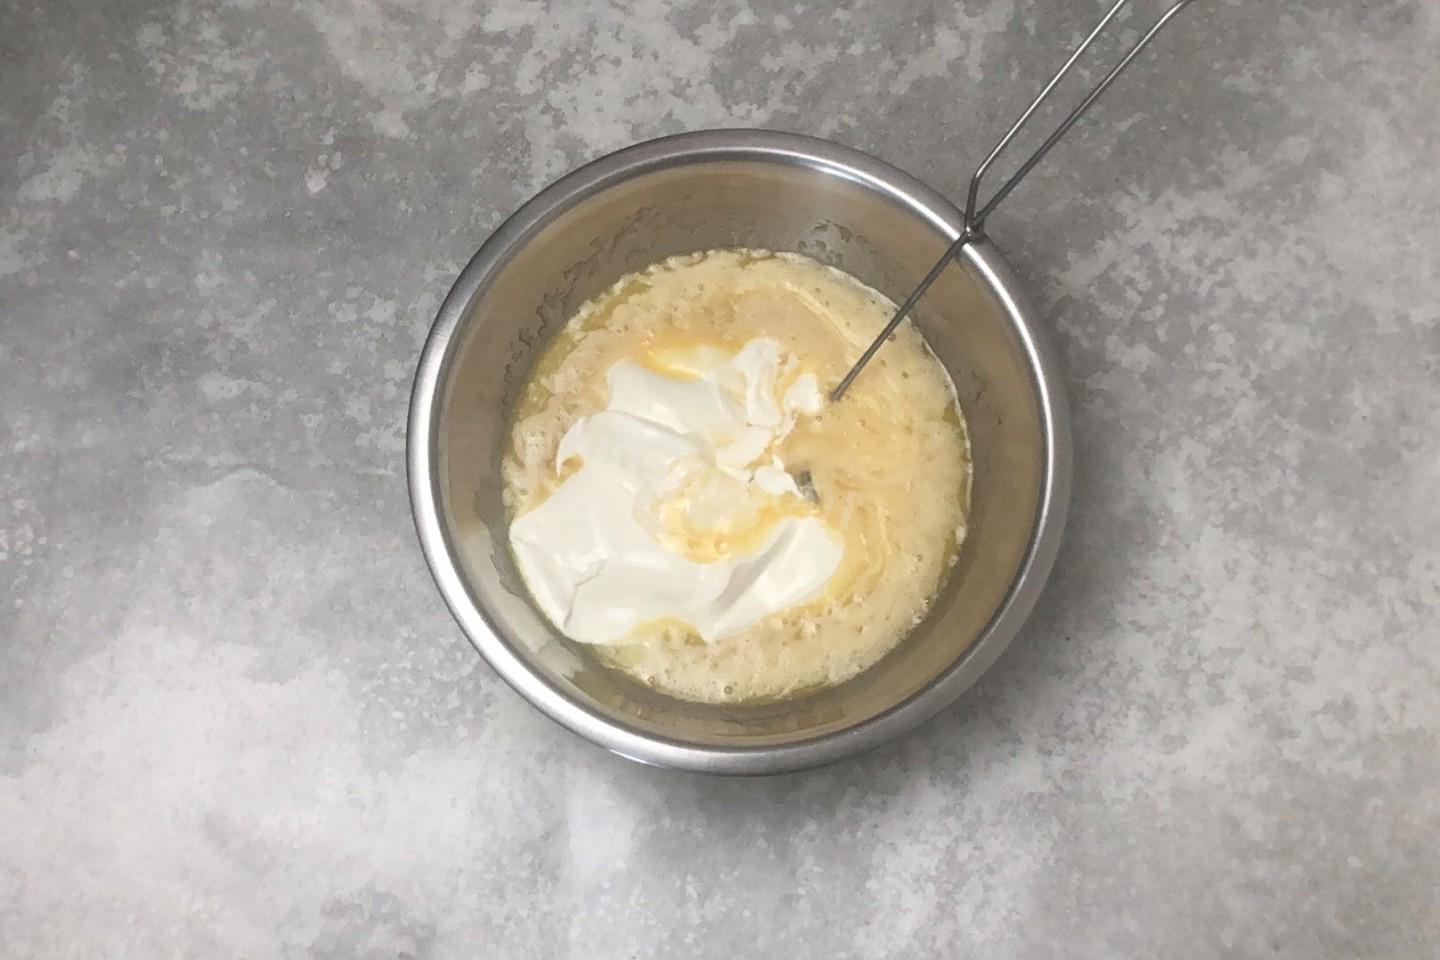
Pour the cooled melted butter into the beaten eggs. Add sour cream (it should be fresh, natural, high quality and thick enough).

Step 5

Step 5
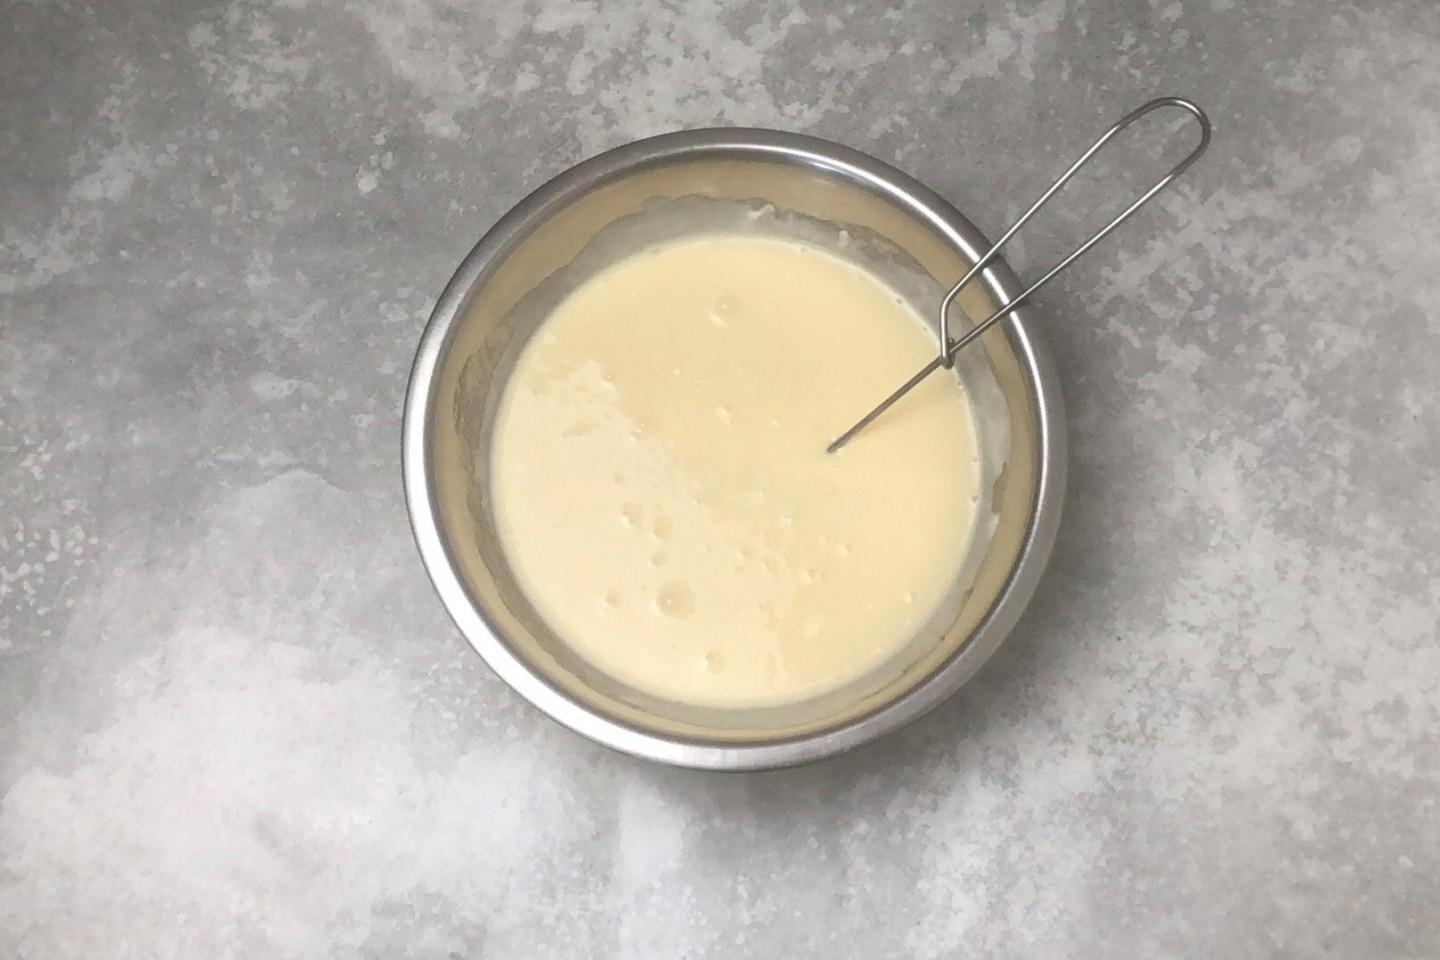
Mix all ingredients thoroughly. The mixture should become completely homogeneous.

Step 6

Step 6
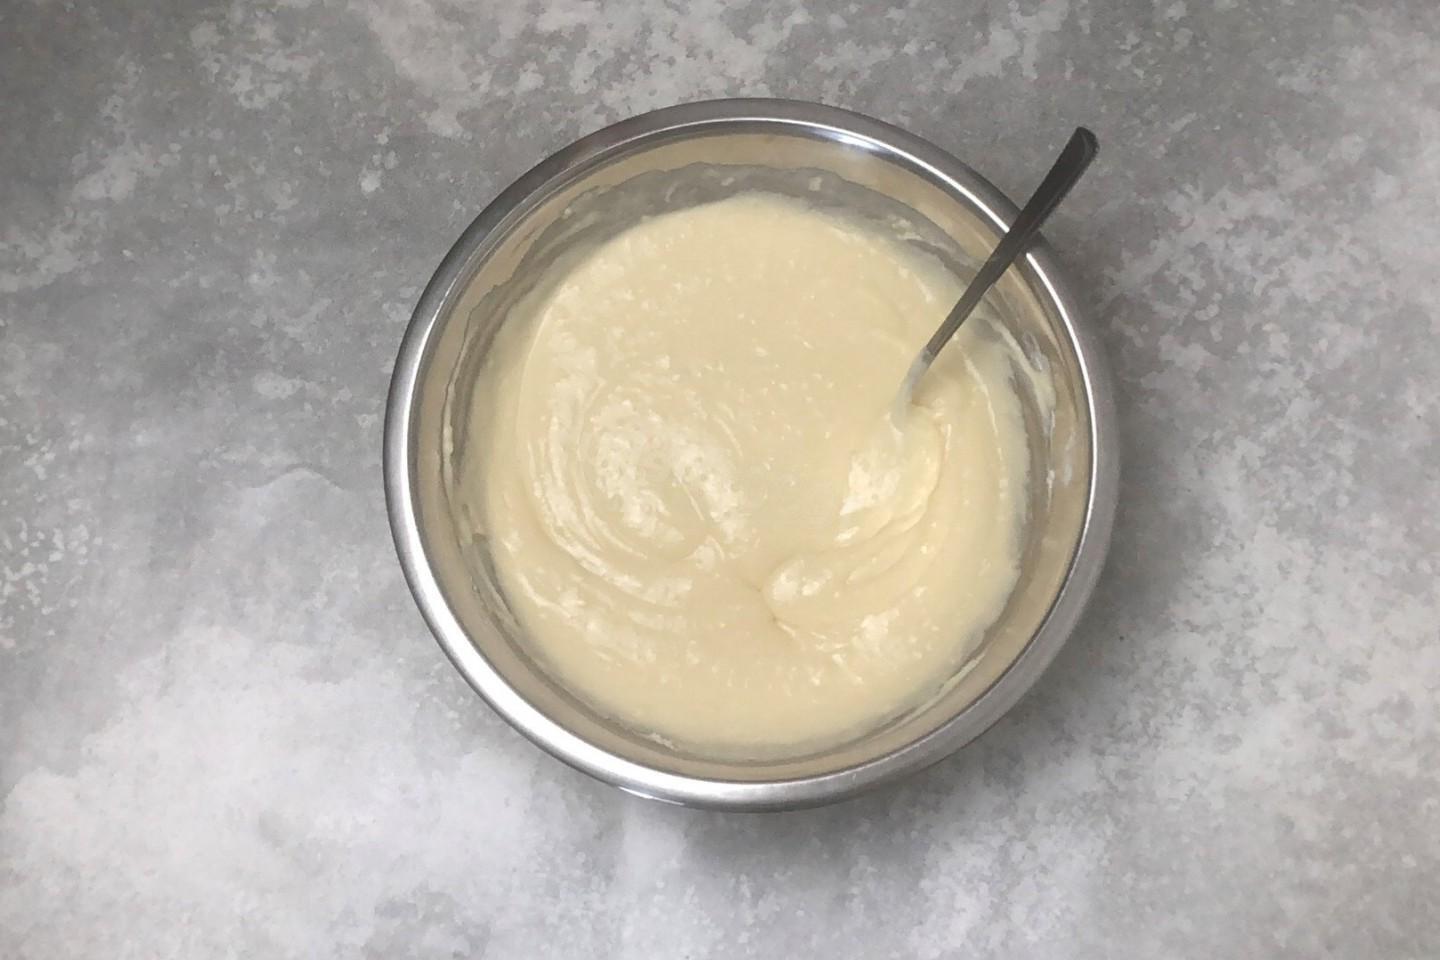
Pour the egg mixture into the flour. Using a spoon, carefully mix both mixtures. Stir until the lumps disappear completely. The dough should turn out like thick sour cream.

Step 7

Step 7
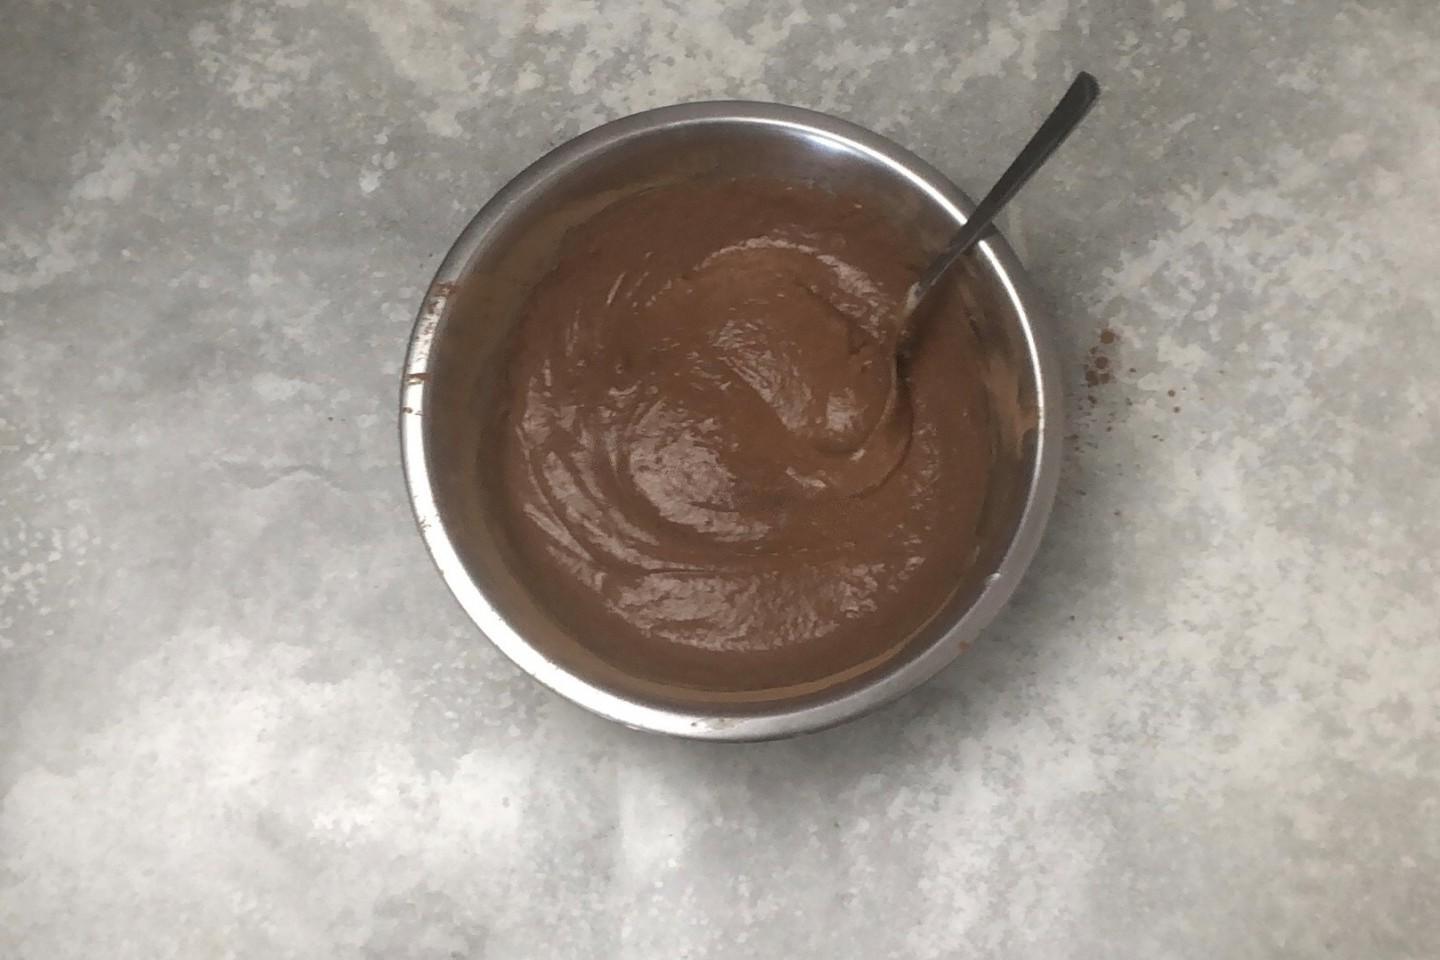
Divide the dough into two equal parts, pouring part into another bowl. Add cocoa to one of them. Stir.

Step 8

Step 8
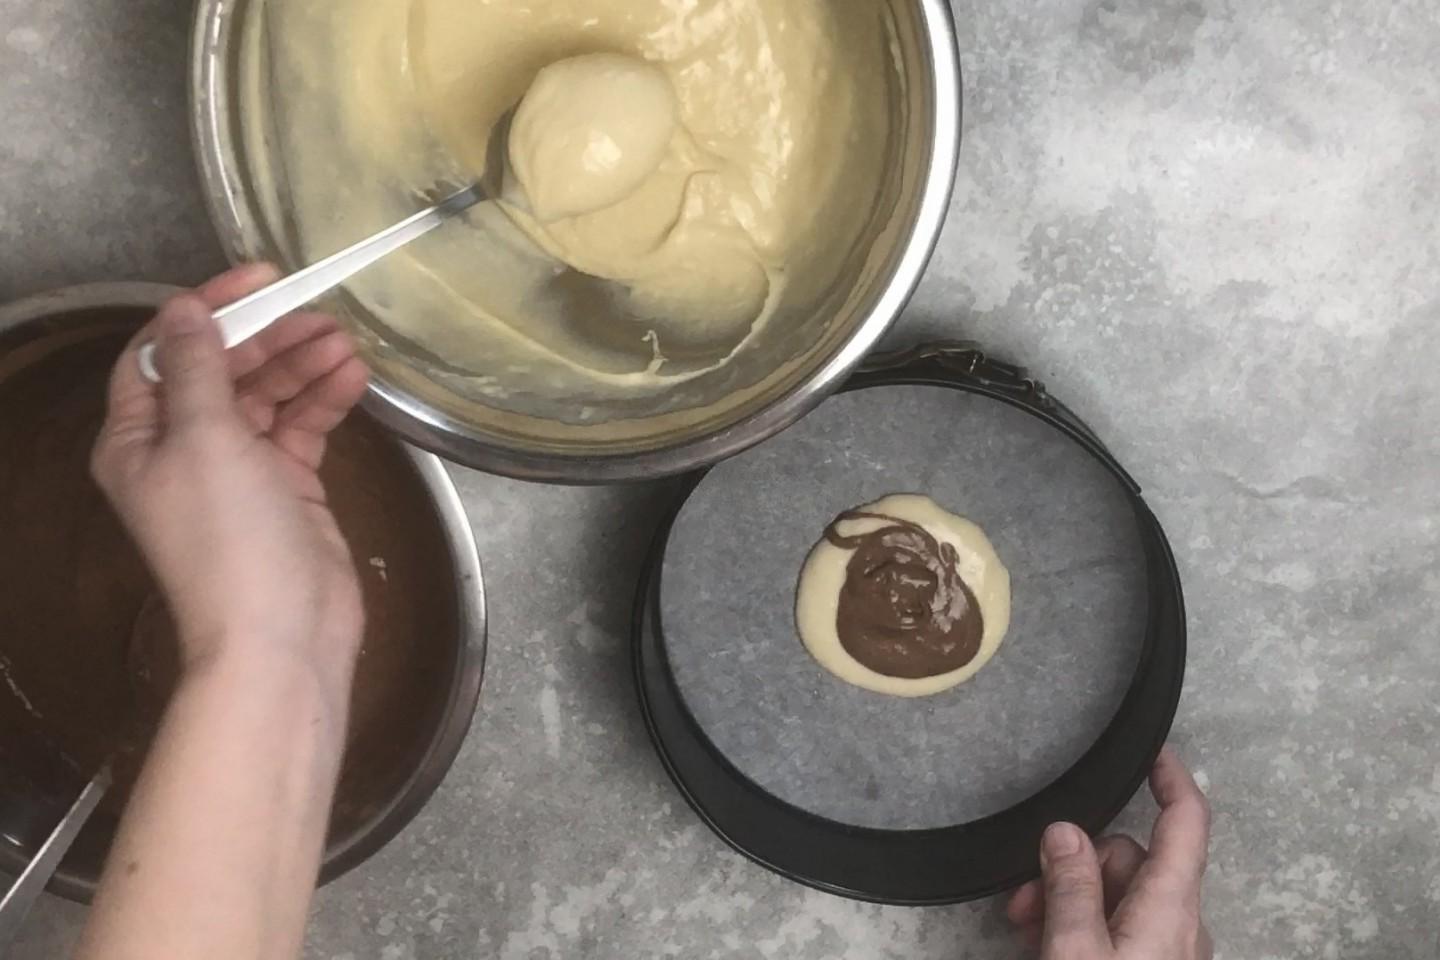
Take a baking dish. I have a detachable one, with a diameter of 20 cm. The cake turned out to be the perfect height. A wider pan will make the cake low. Grease the sides of the pan with vegetable oil and line the bottom with parchment. Start dropping the dough one tablespoon at a time into the center of the pan. A spoonful of light dough, then a spoonful of brown in the center of the light one, and so on.

Step 9

Step 9
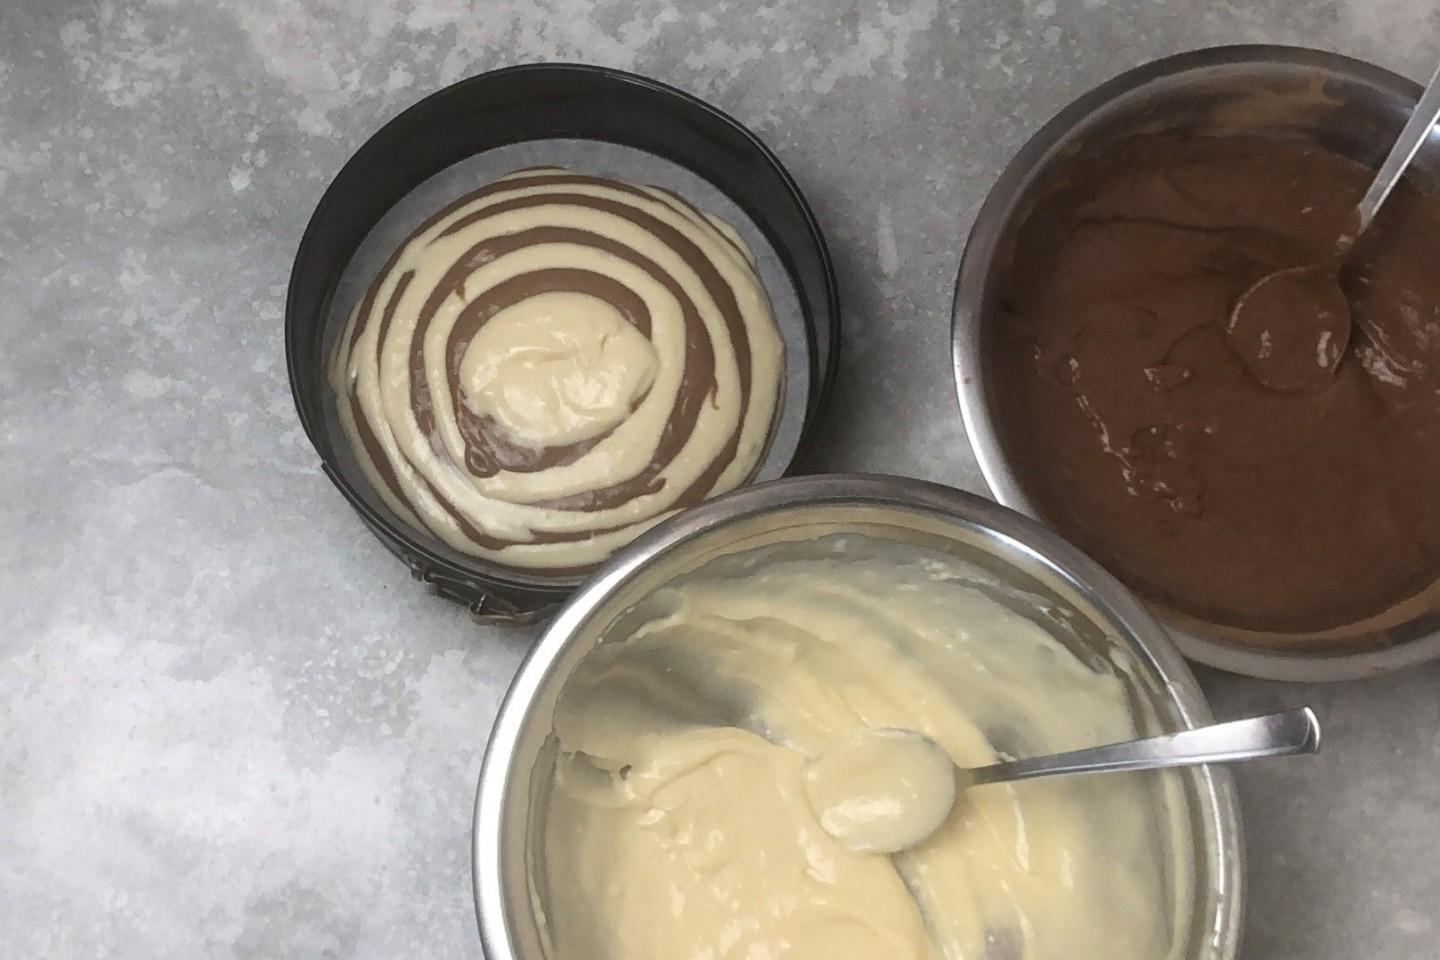
Gradually, the lower layers of dough will begin to spread and occupy the entire mold. You will see stripes begin to form. Continue adding dough until you run out of dough.

Step 10

Step 10
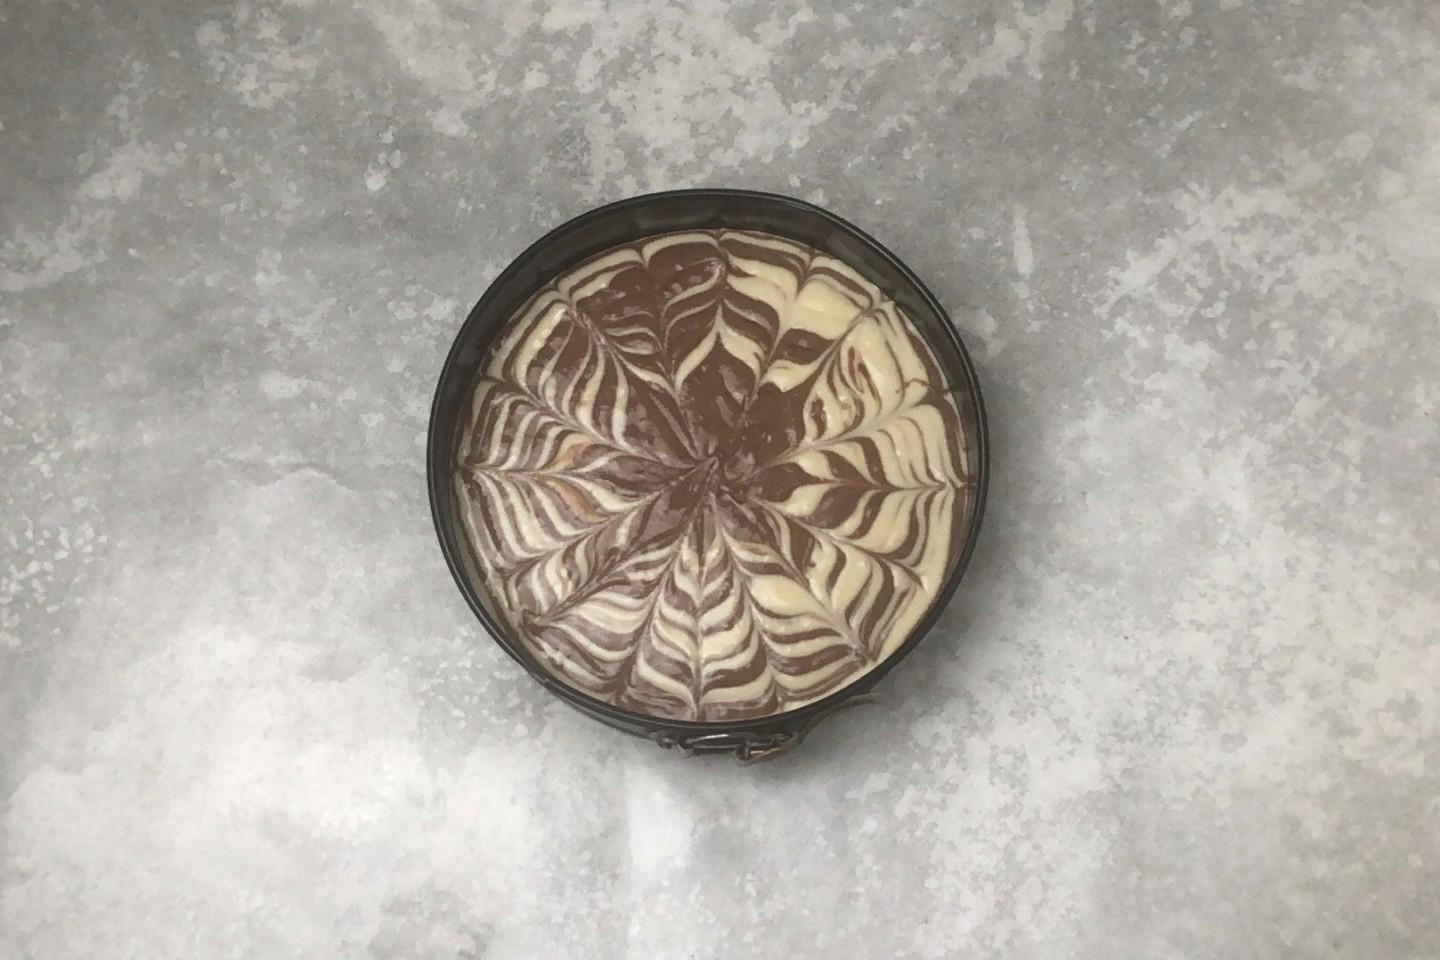
If you wish, you can make a design on the cake using a toothpick. To do this, draw it from the center to the edges, as if dividing the pie into 8 equal parts, and then vice versa, from the edges to the center, dividing the resulting 8 parts in half.

Step 11

Step 11
Bake the cake in the oven, top-bottom setting, at a temperature of about 200°C, for about 30-35 minutes. Time and temperature are approximate, use your oven as a guide. You can read more about how ovens work in the article; the link to it is at the end of this recipe. Determine readiness with a toothpick — it should come out dry. The cake rises a lot when baking, mine even cracked in the middle, but then it falls.