Fluffy, Airy Homemade Buns

Delicate, lush, airy, weightless! Very tasty! These buns turn out incredibly airy, light as feathers! The dough for them is prepared using the sponge method, which makes the baked goods more porous and fluffy. And it may take a lot of time, but all the efforts will be justified by the wonderful taste of homemade muffins!
cook time: 3h 15 min
Freya Ashford
Fluffy, Airy Homemade Buns

Nutrition Facts (per serving)

282
Calories
7g
Fat
41g
Carbs
8g
Protein

Ingredients (14 portions)

For the dough:

Sugar 1 tsp
Wheat flour 70 g
Water 100 ml
Dry yeast 5 g

For dough:

Salt 0.5 tsp
Sugar 65 g
Wheat flour 380 g
Butter 50 g
Milk 100 ml
Eggs 2 pc
Vanilla sugar 7 g

For lubrication:

Milk 1 tbsp
Egg yolks 1 pc

Recipe instructions

Step 1
Step 1
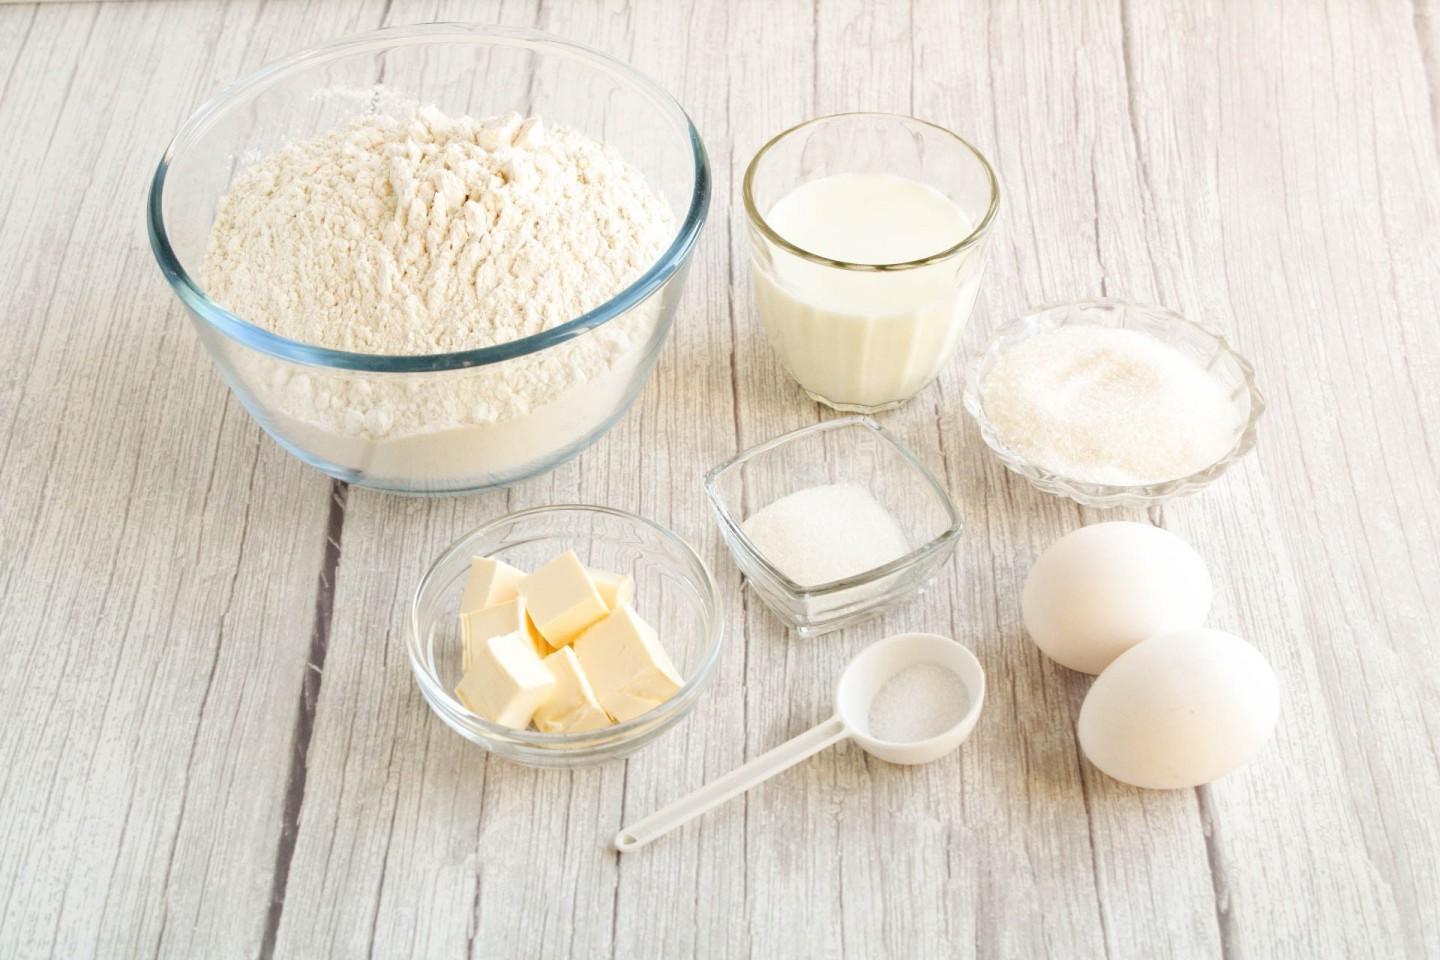
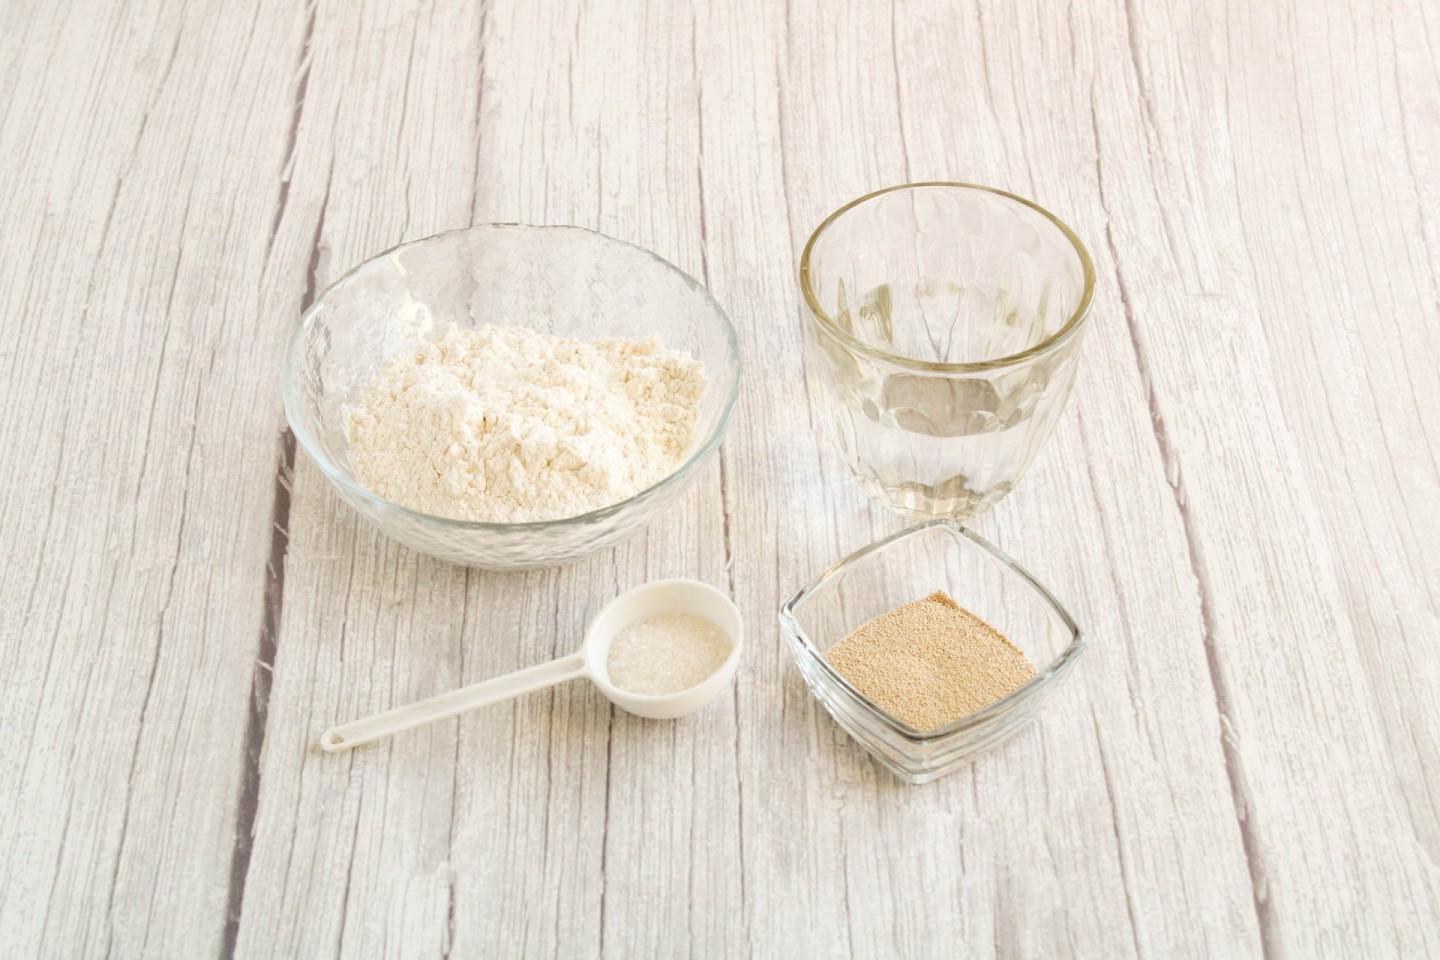
How to make airy buns like fluff? First, measure out the necessary ingredients to prepare the dough. Heat the water slightly. Use wheat flour of at least the highest grade (or extra). It is most suitable for baked goods.

Step 2

Step 2
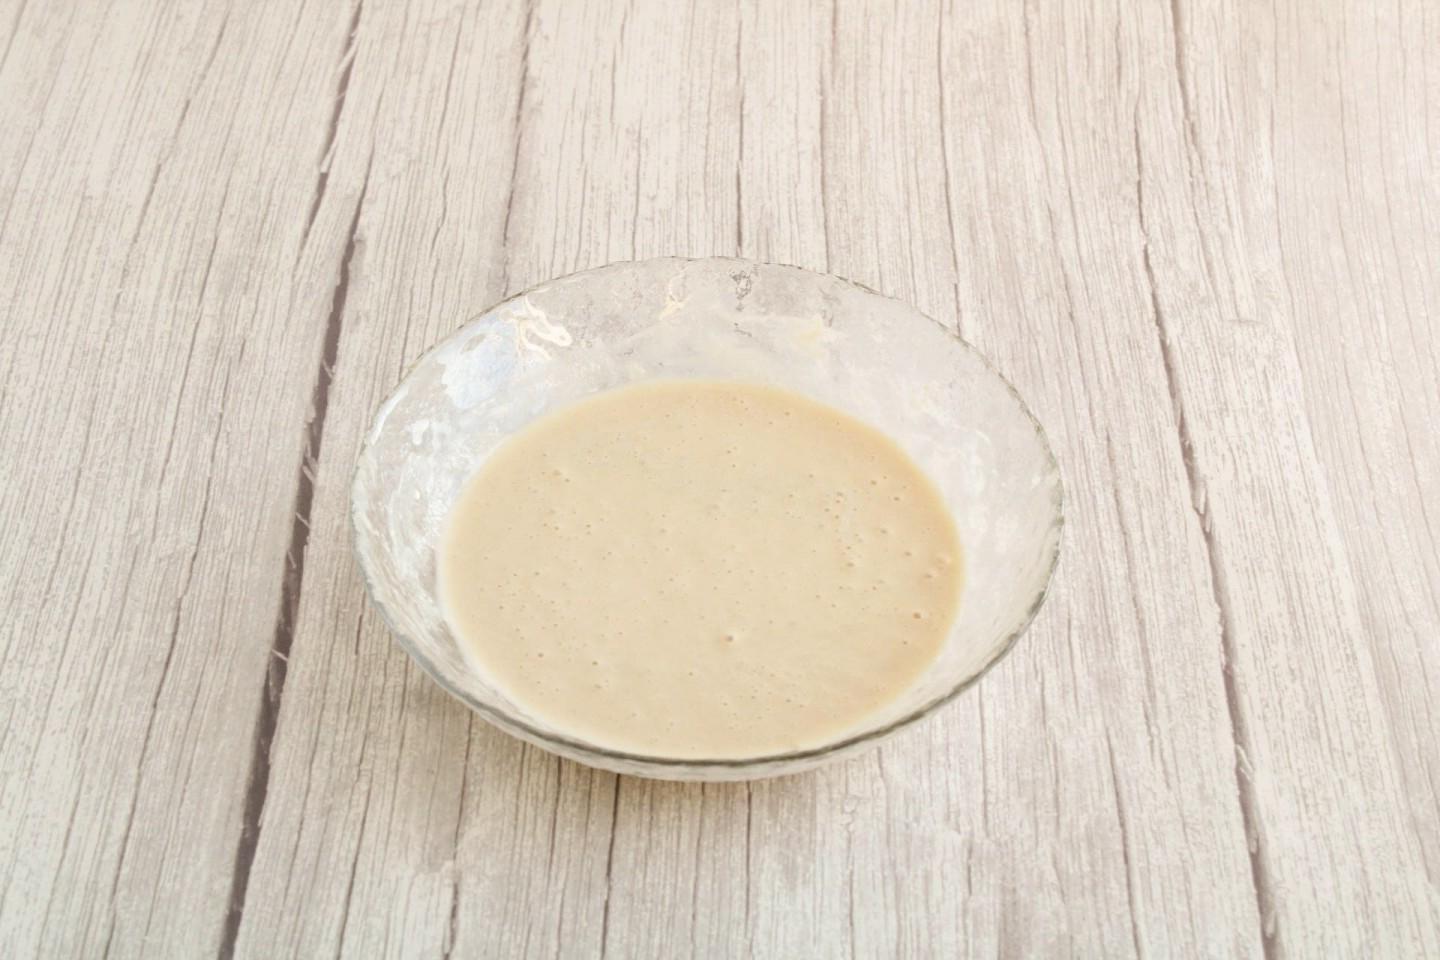
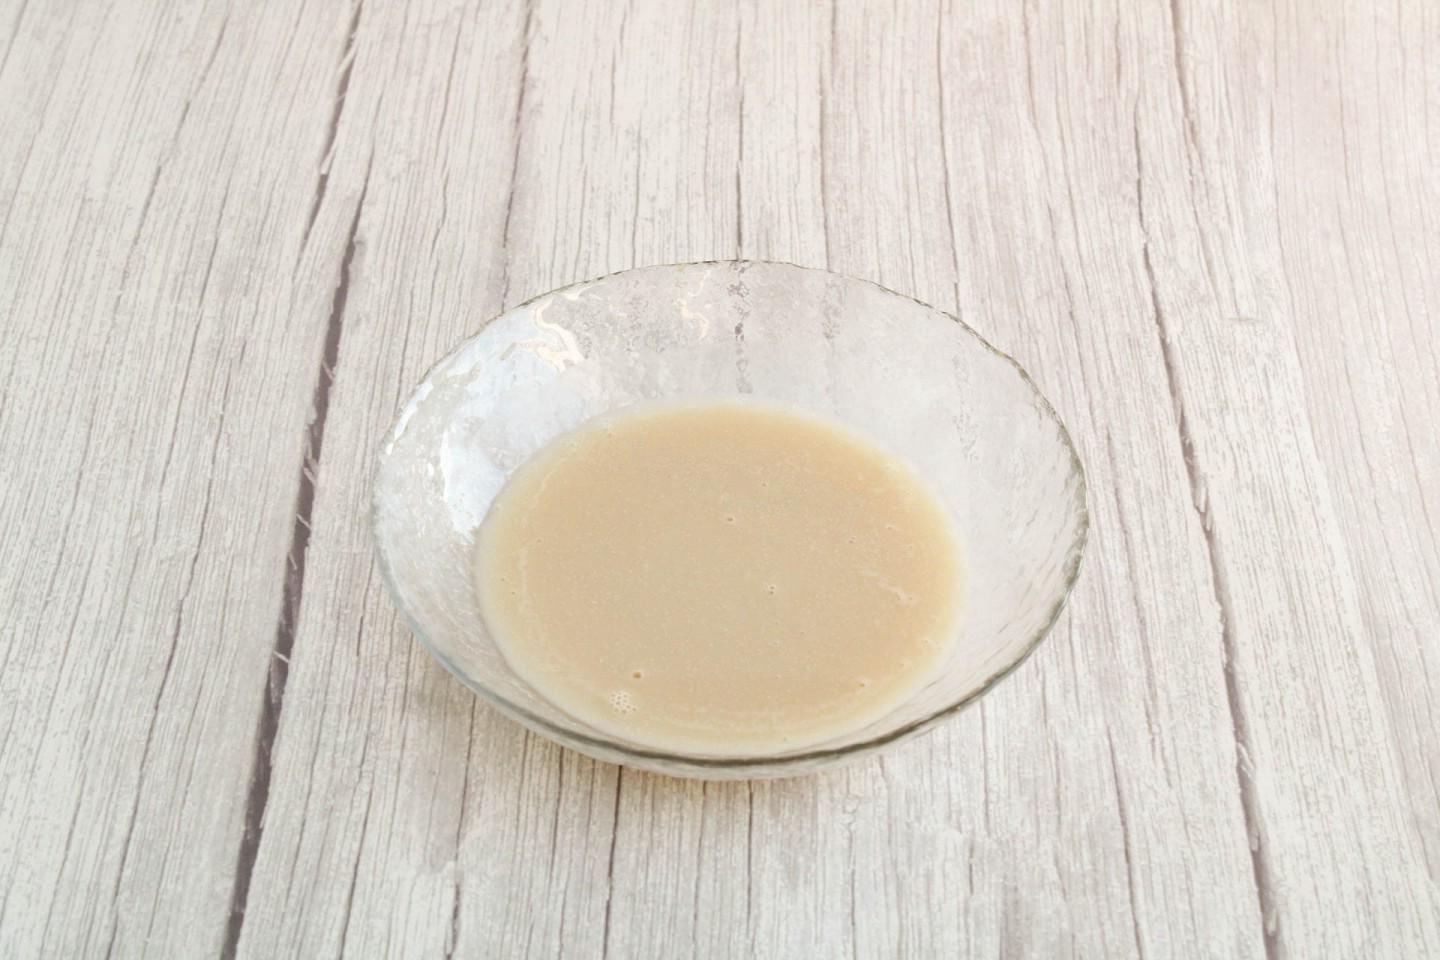
Dissolve yeast and sugar in lukewarm water and stir.

Step 3

Step 3
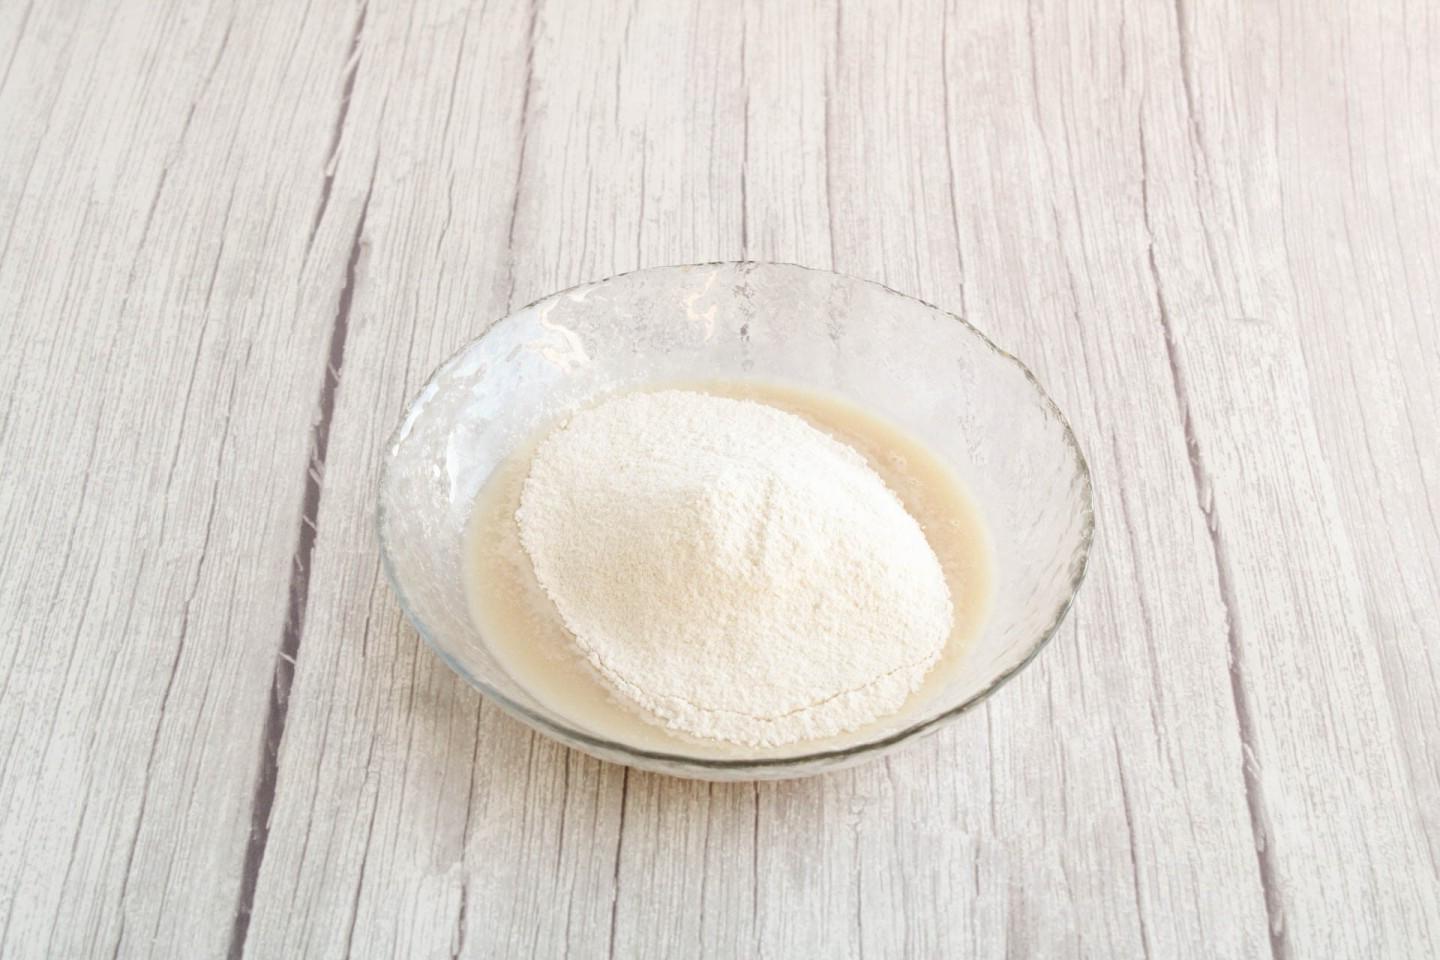
Add flour to the dissolved yeast, sifting it through a sieve.

Step 4

Step 4
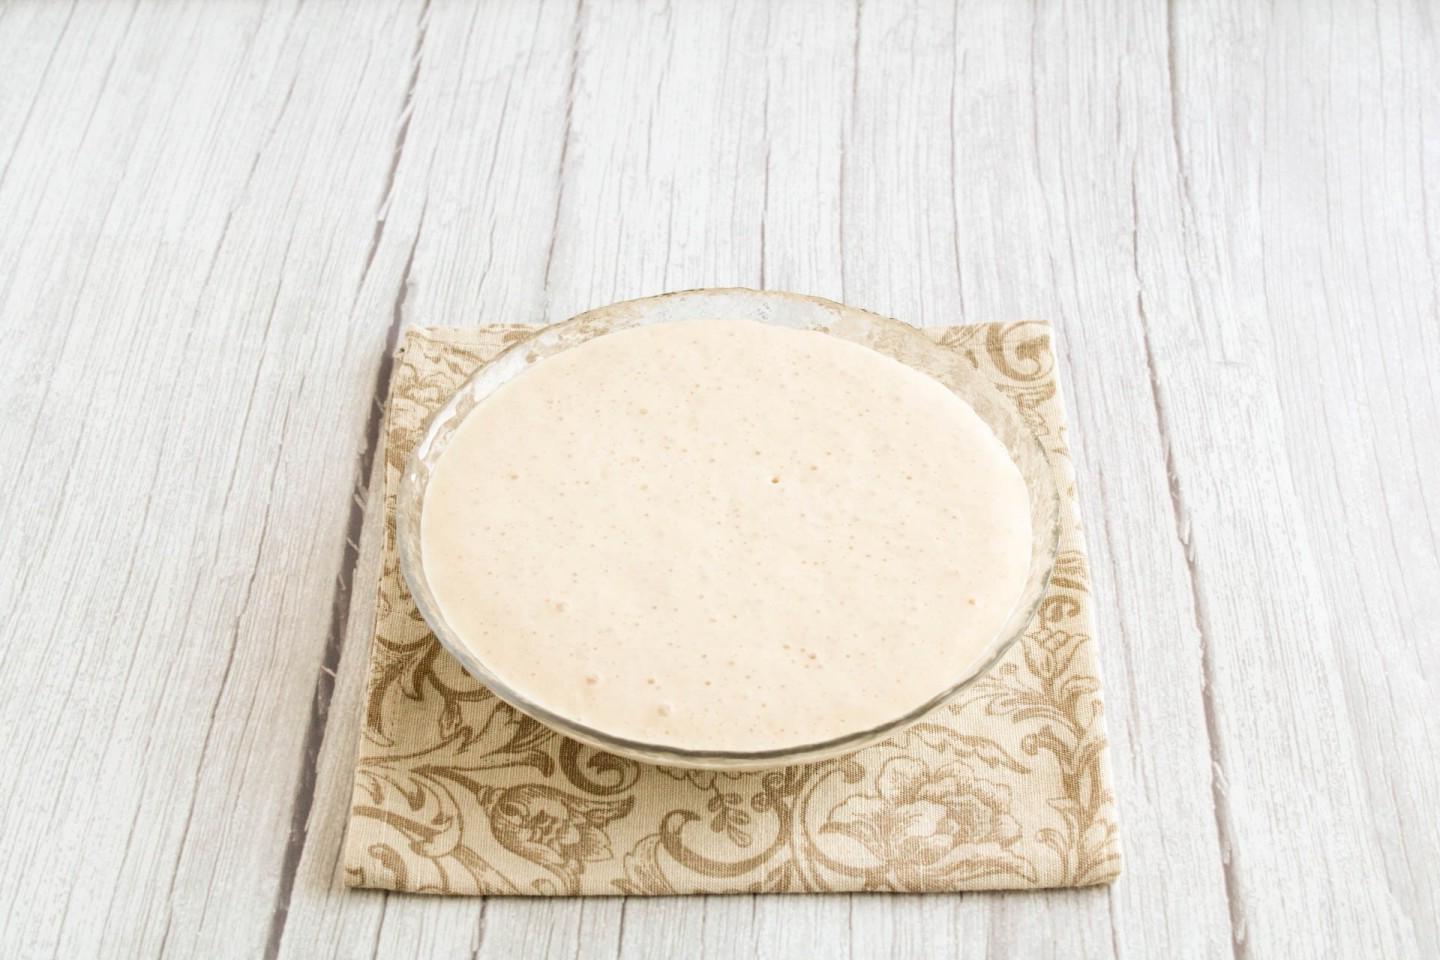
Mix everything with a whisk until smooth and without lumps. Cover the dough with cling film or a towel and leave in a warm place to rise for about 20 minutes.

Step 5

Step 5
Meanwhile, prepare the ingredients to make the dough. The butter must be taken out in advance so that it becomes soft. Warm the milk slightly.

Step 6

Step 6
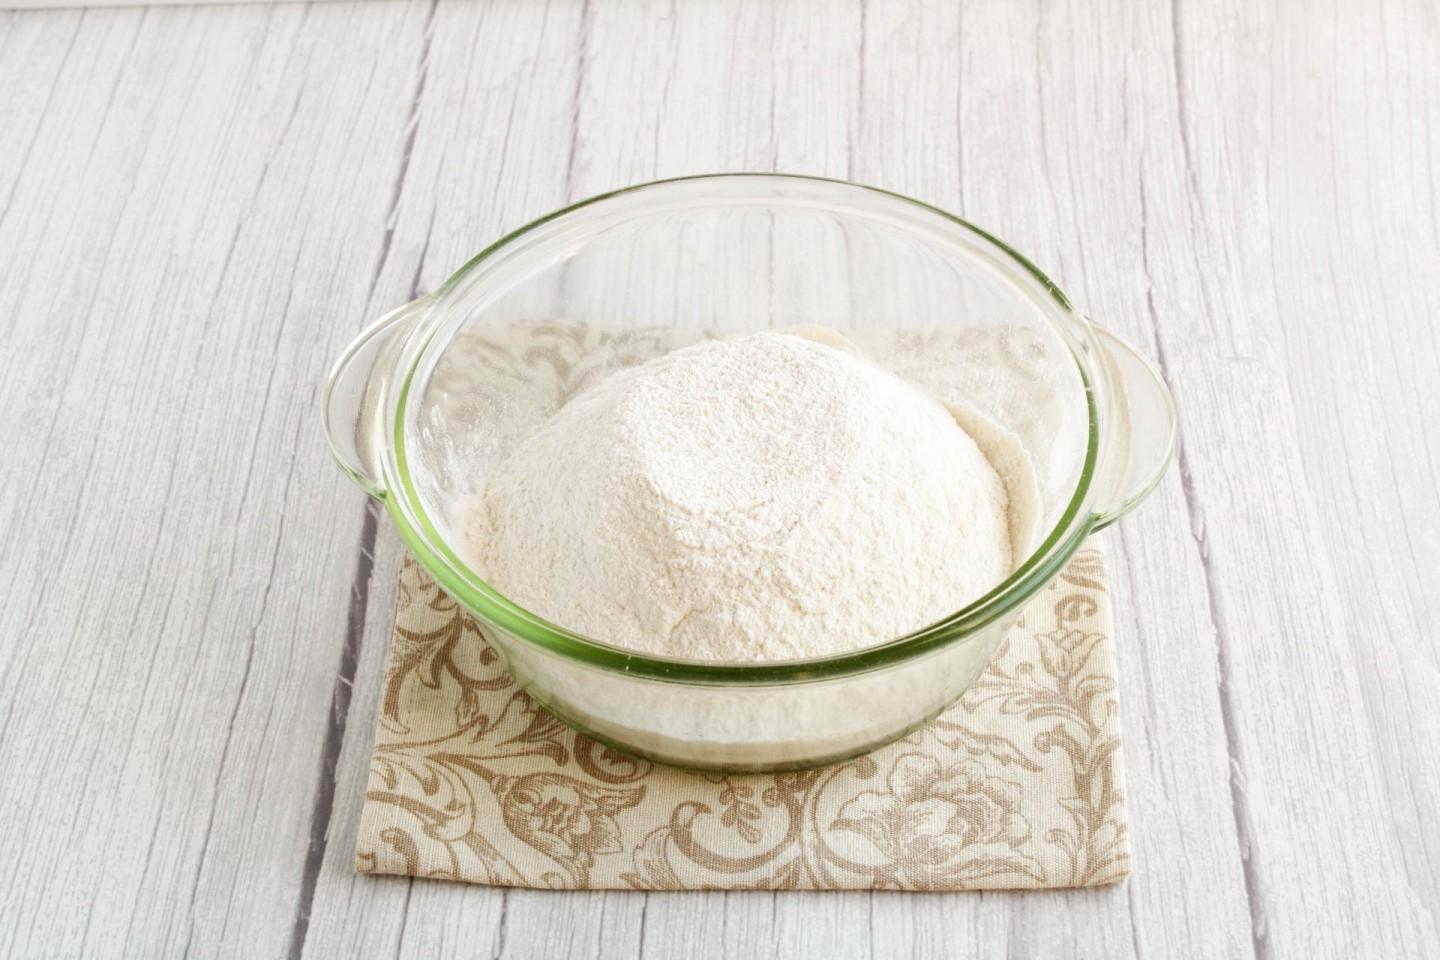
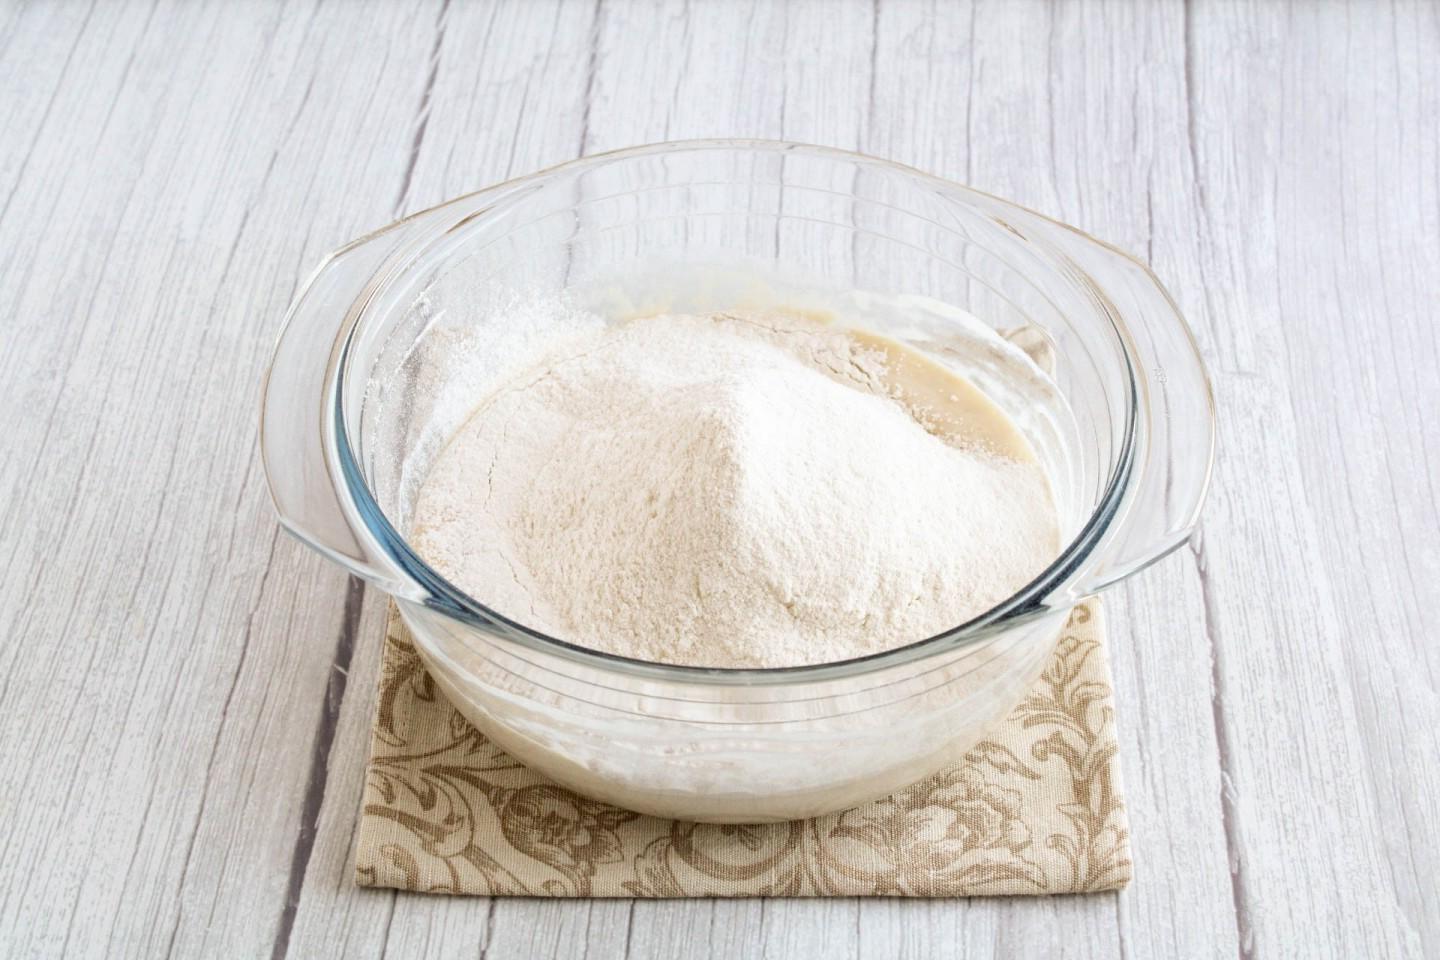
Sift the flour into a wide bowl with high sides until it is saturated with air bubbles. This will contribute to the full functioning of the yeast. The dough will rise faster and easier, and the baked goods will turn out fluffy and airy.

Step 7

Step 7
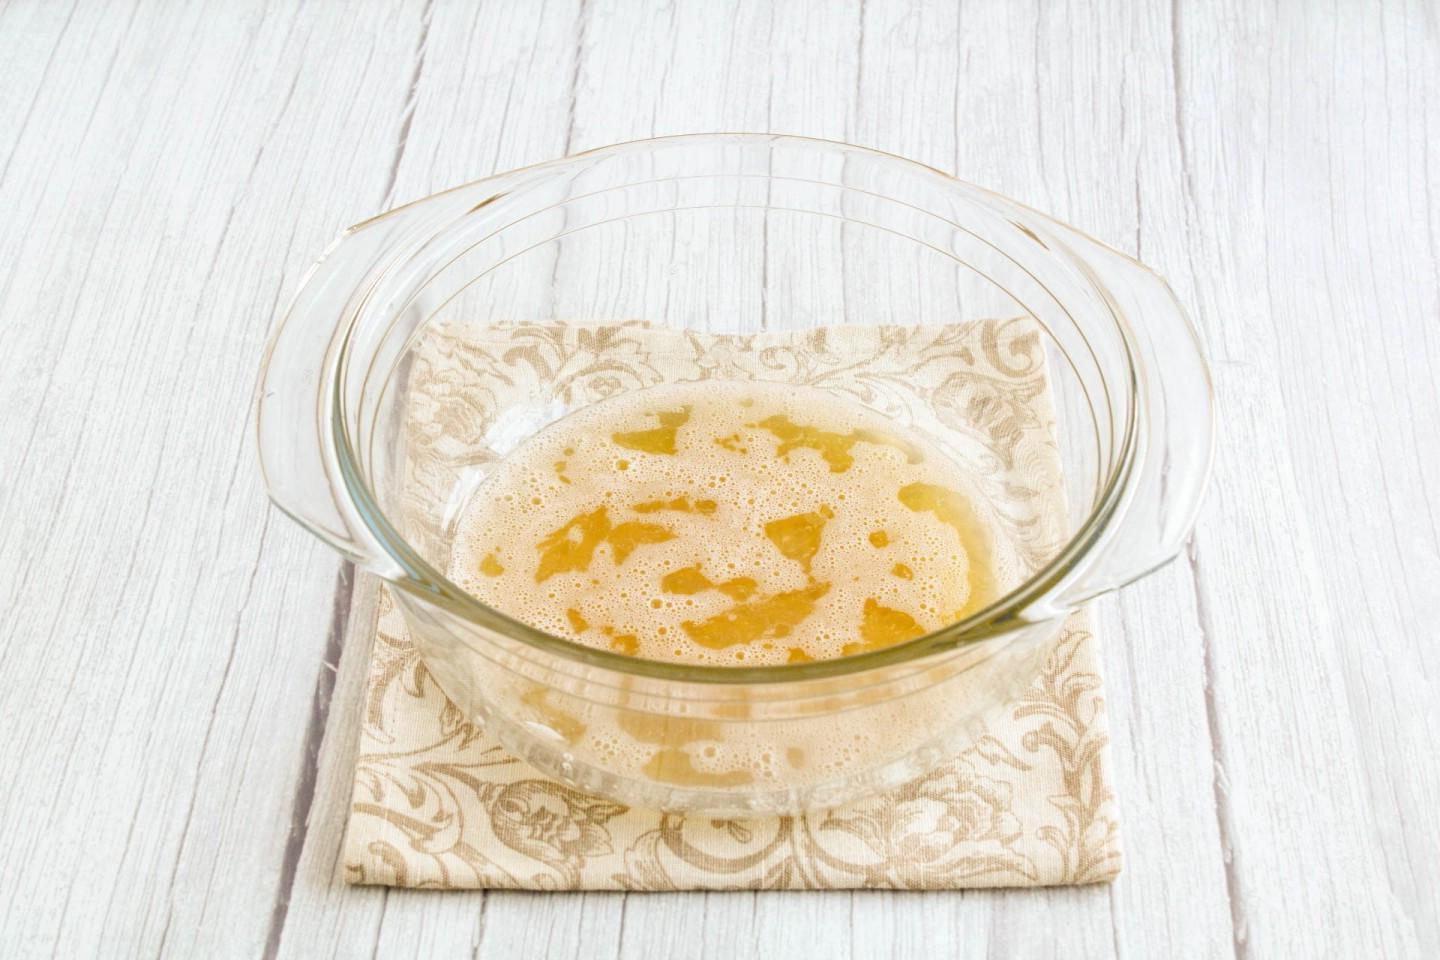
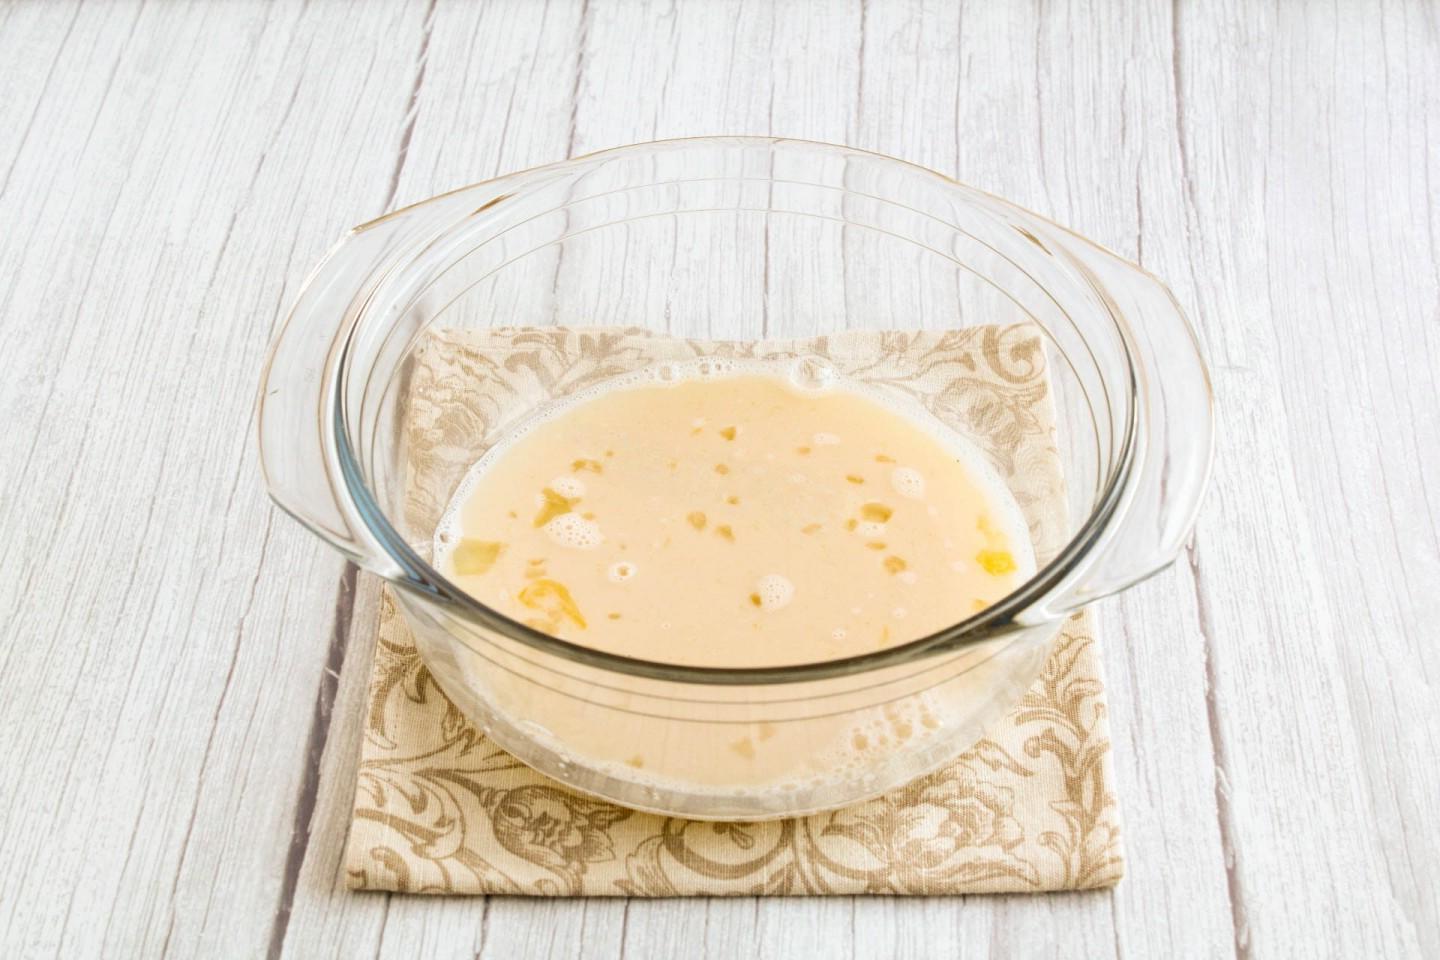
Combine all baking ingredients. Beat the eggs with a whisk with salt, sugar and vanilla sugar until smooth.

Step 8

Step 8
Pour in warm milk and stir.

Step 9

Step 9
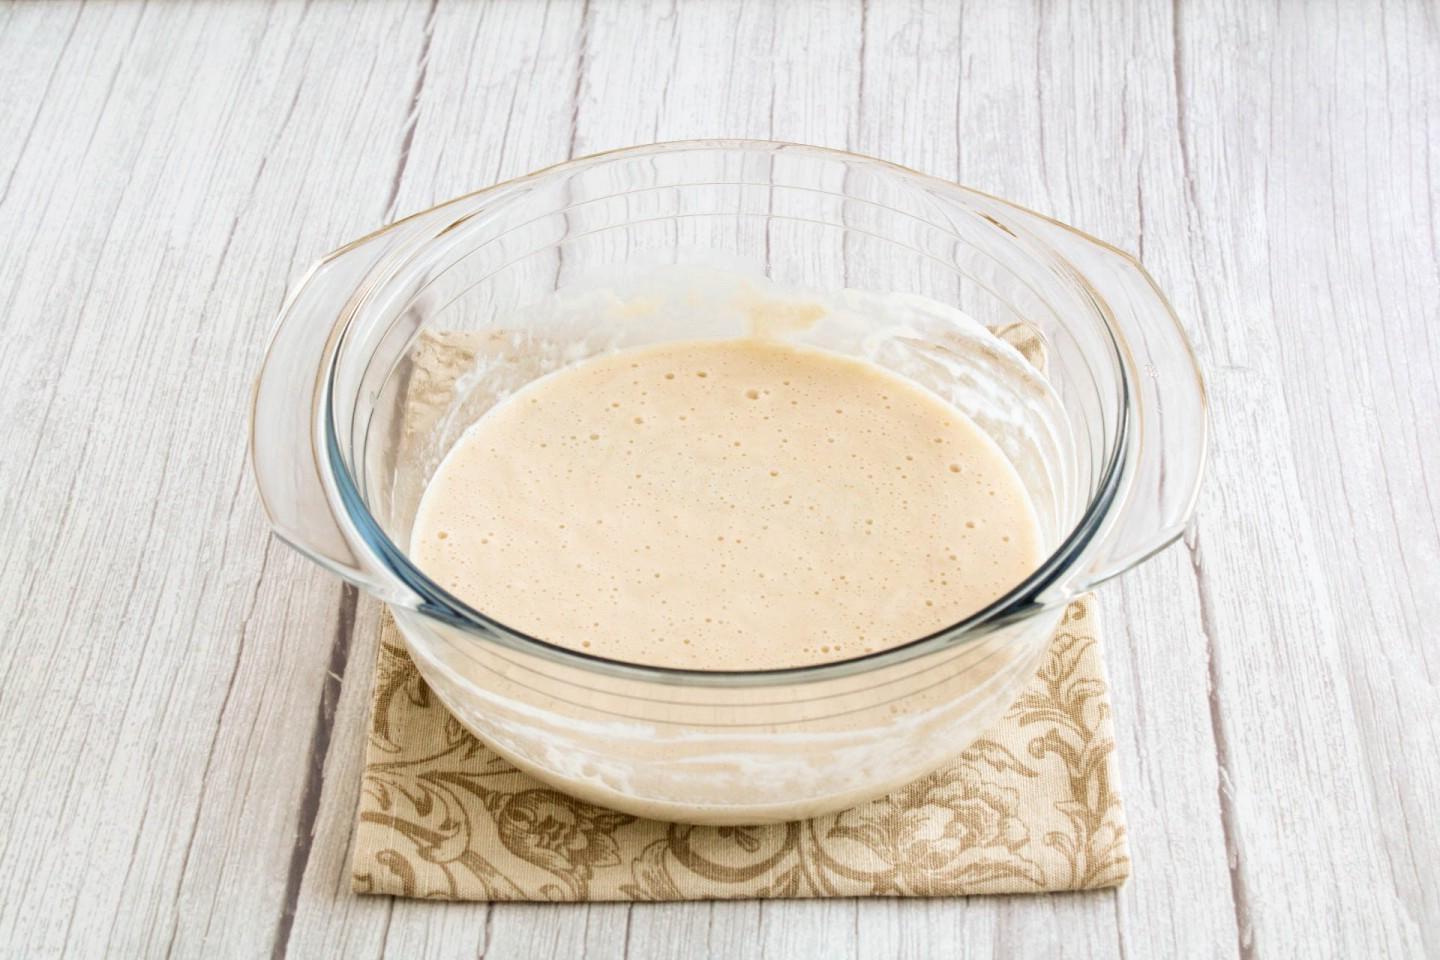
The dough rose well. Numerous “living” bubbles appeared on the surface.

Step 10

Step 10
Add the dough to the prepared butter mixture and mix.

Step 11

Step 11
Add about 3/4 of the sifted flour. Do not pour out all the flour at once; you may need less (or more) of the specified amount, since flour has different properties. We can make up for the lack of flour, but we cannot correct the excess. Steep dough will be difficult to rise and the buns will not be tender.

Step 12

Step 12
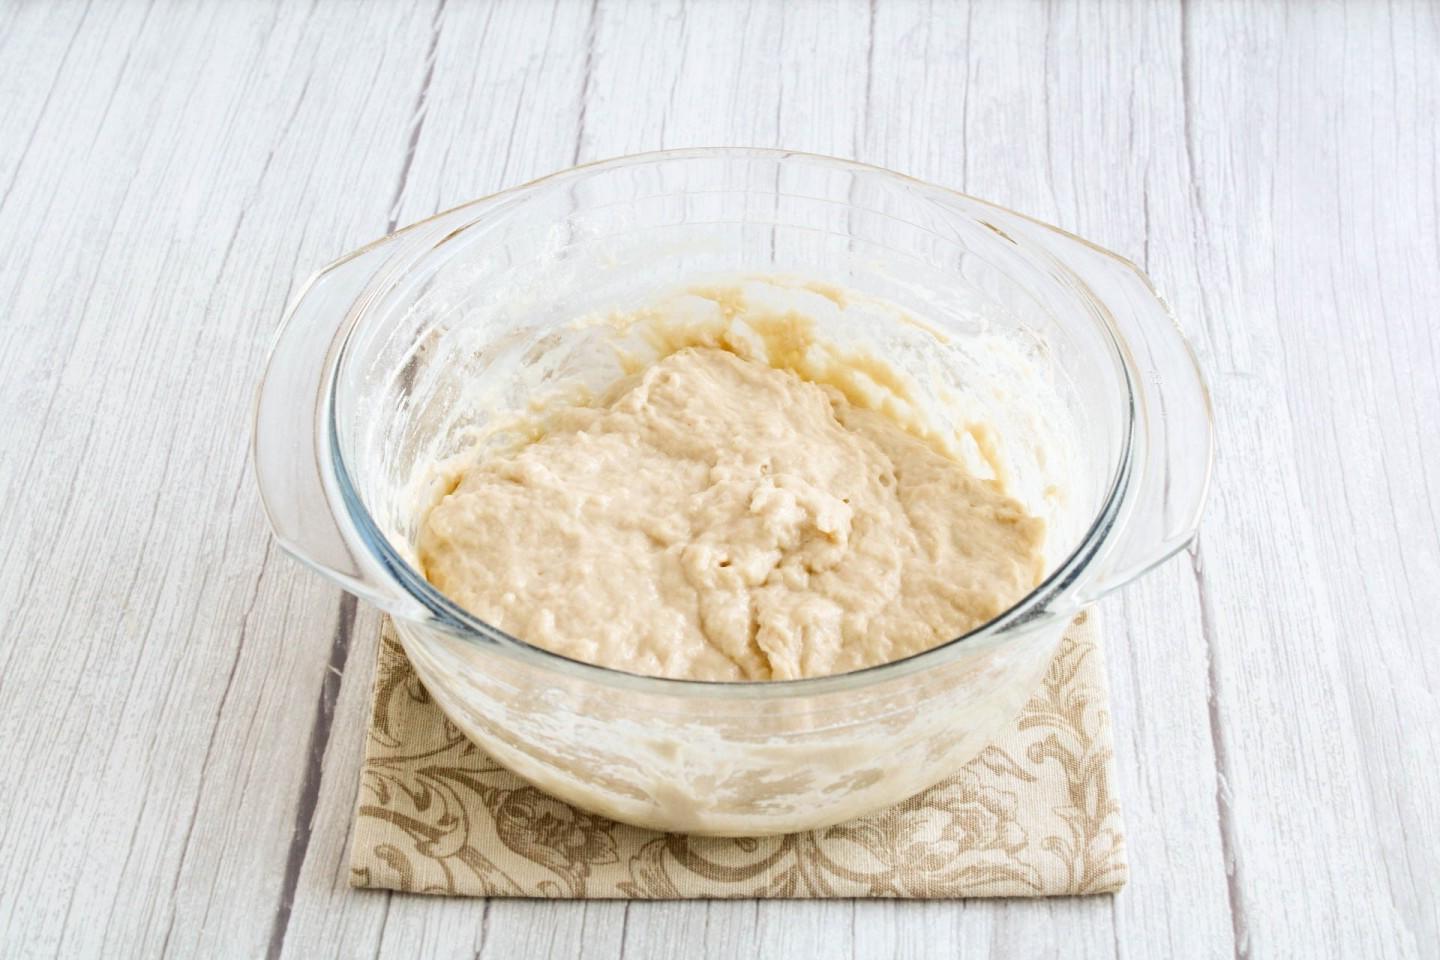
Mix the dough first with a spoon. It still turns out very viscous.

Step 13

Step 13
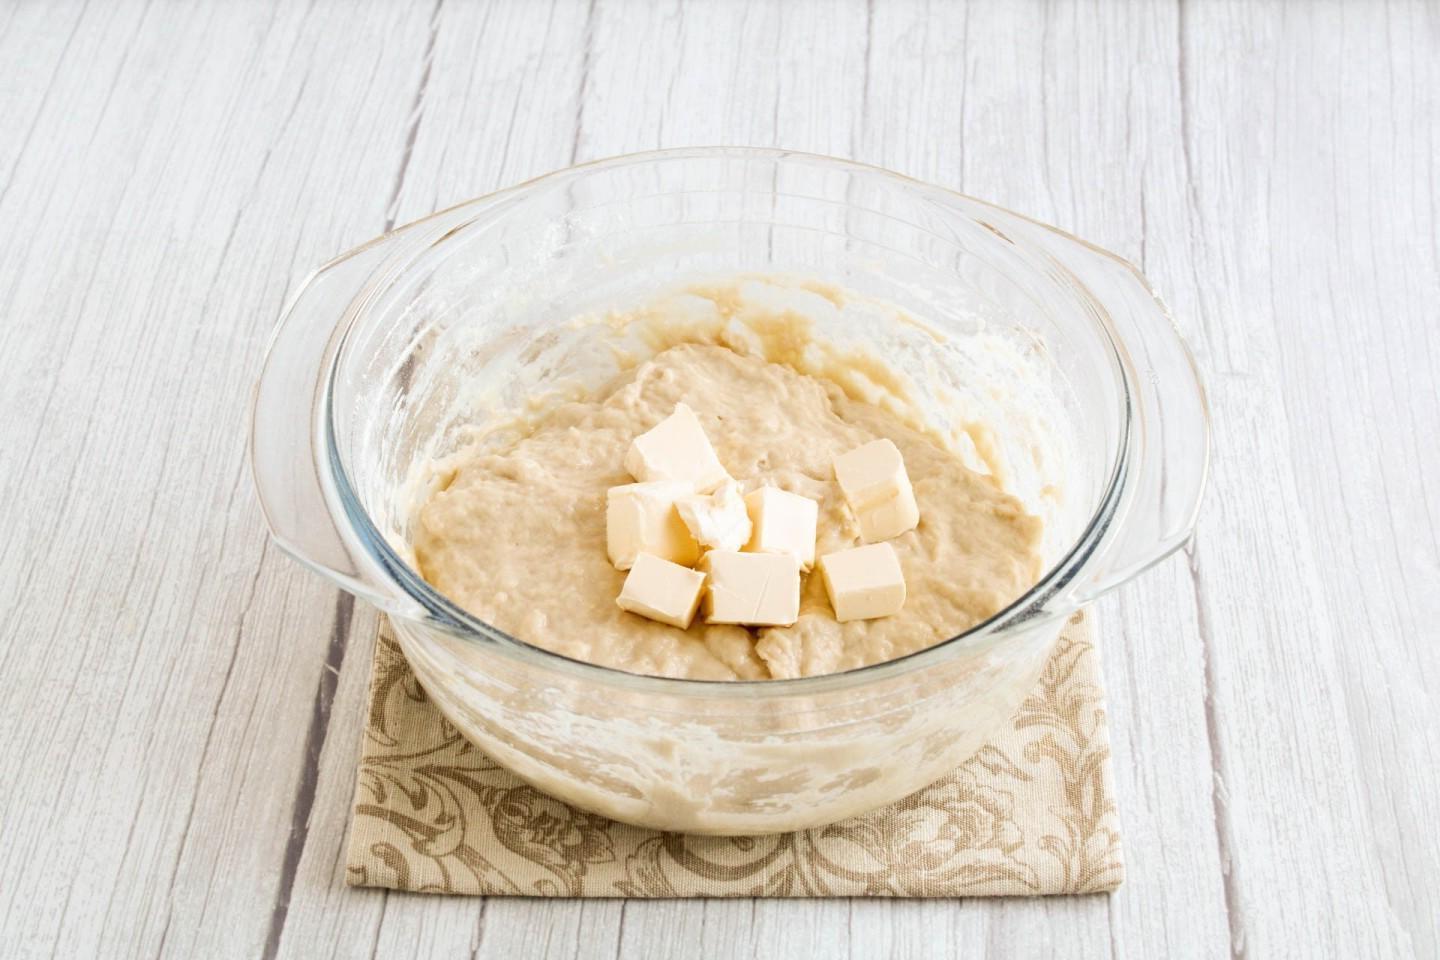
Stir soft butter into the dough.

Step 14

Step 14
Add the rest of the flour in small portions, mixing the dough with your hands each time. Watch its consistency. At first, the dough will noticeably stick to your hands, but as you knead, it will begin to lag behind the walls of the bowl better and become denser.

Step 15

Step 15
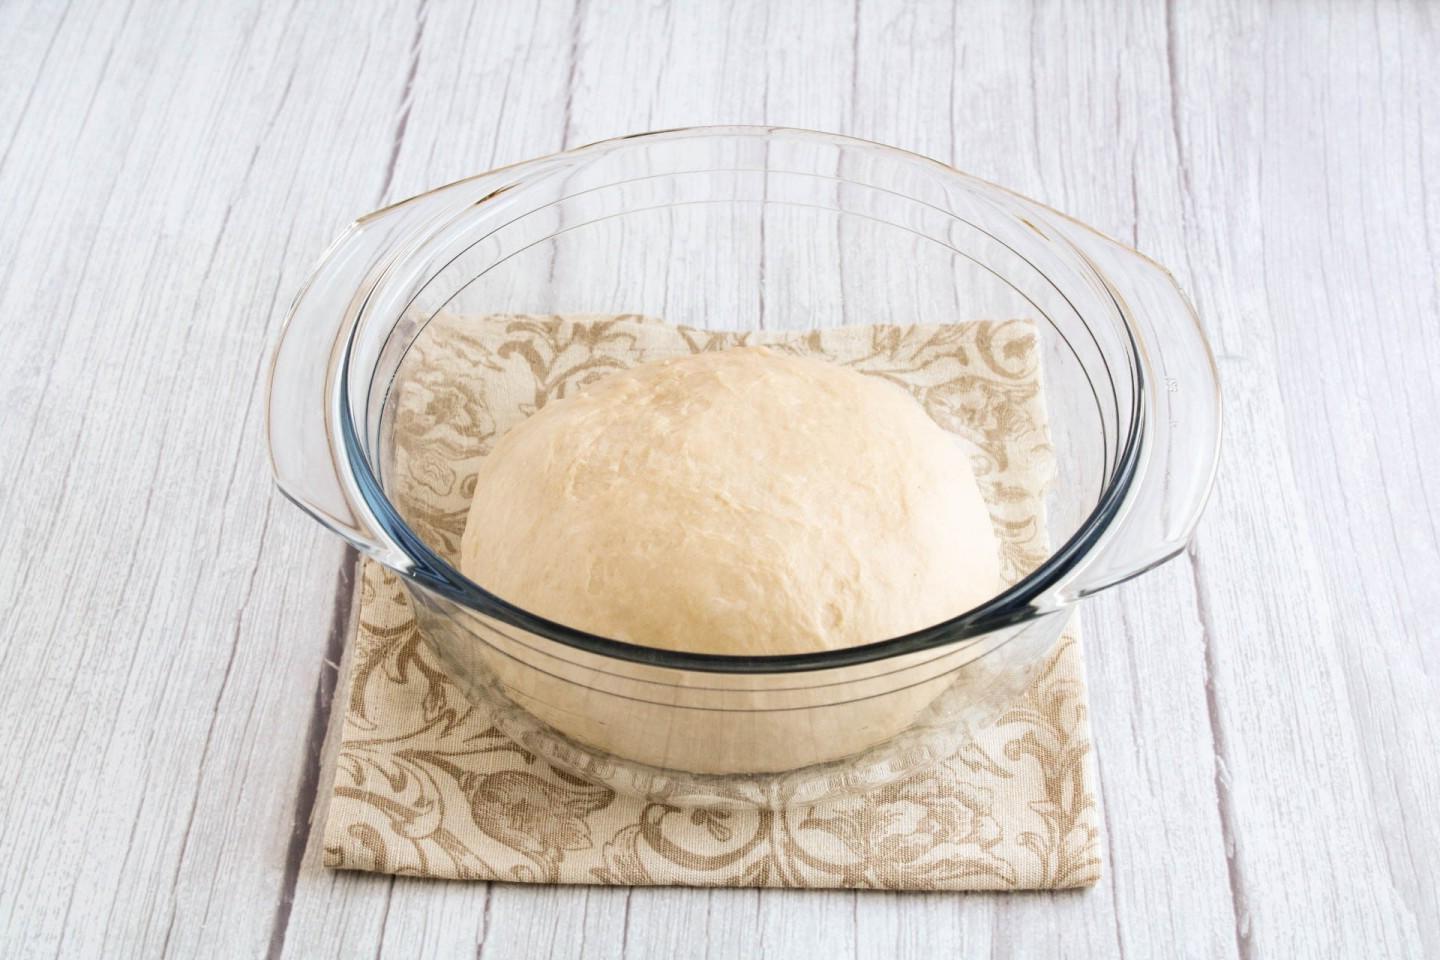
The dough turns out soft, sticking to your hands quite a bit. Grease the bottom and sides of the bowl with vegetable oil and lay out the dough. Cover it on top with a towel or cling film and leave it in a warm place to rise.

Step 16

Step 16
After 30-40 minutes, punch down the dough. I did this directly in the bowl, gently pressing the dough against the sides. Leave the dough to rise further for about 60-70 minutes.

Step 17

Step 17
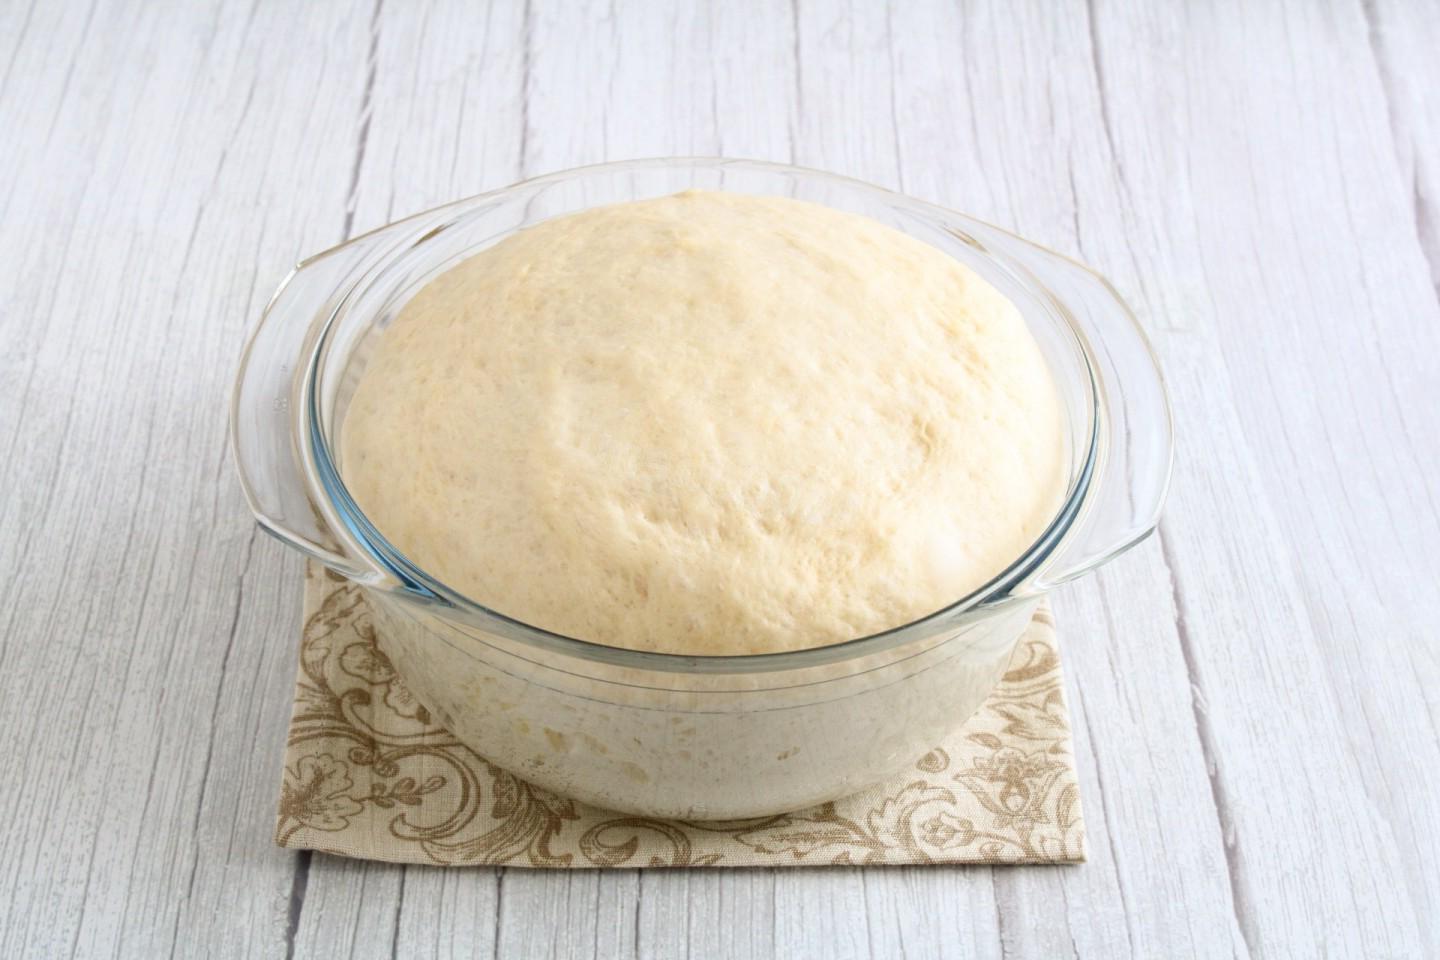
When the dough has increased in volume by 2.5 times, you can start cutting it.

Step 18

Step 18
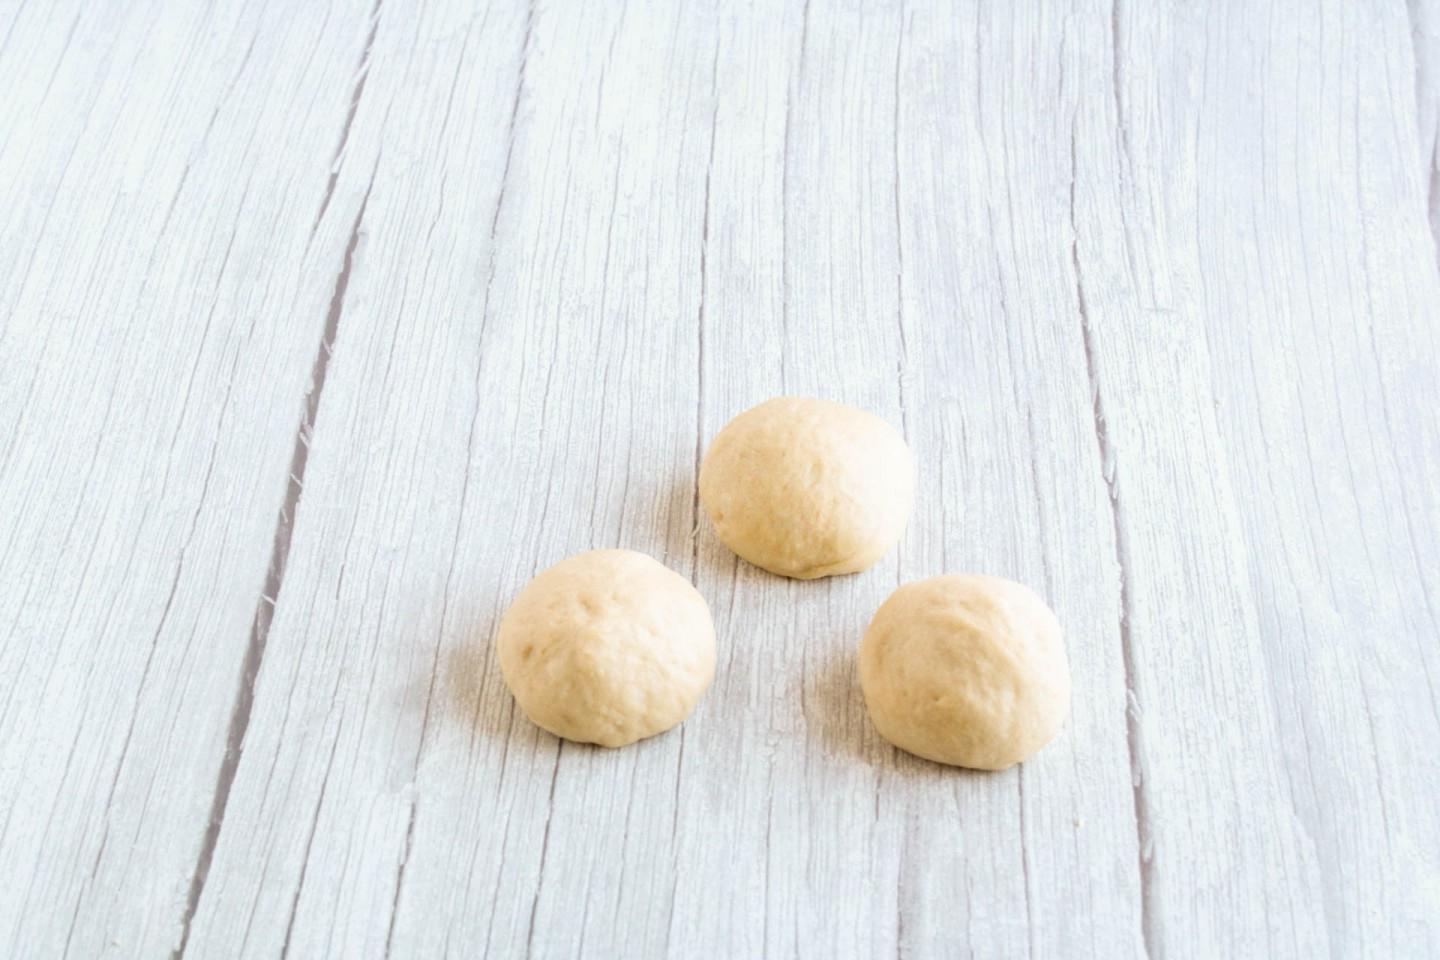
Place the dough on a table sprinkled with flour. Divide the dough into equal parts. Roll each piece of dough into a log. The number of pieces will depend on the desired size of the buns. I got 14 koloboks weighing about 70 grams each.

Step 19

Step 19
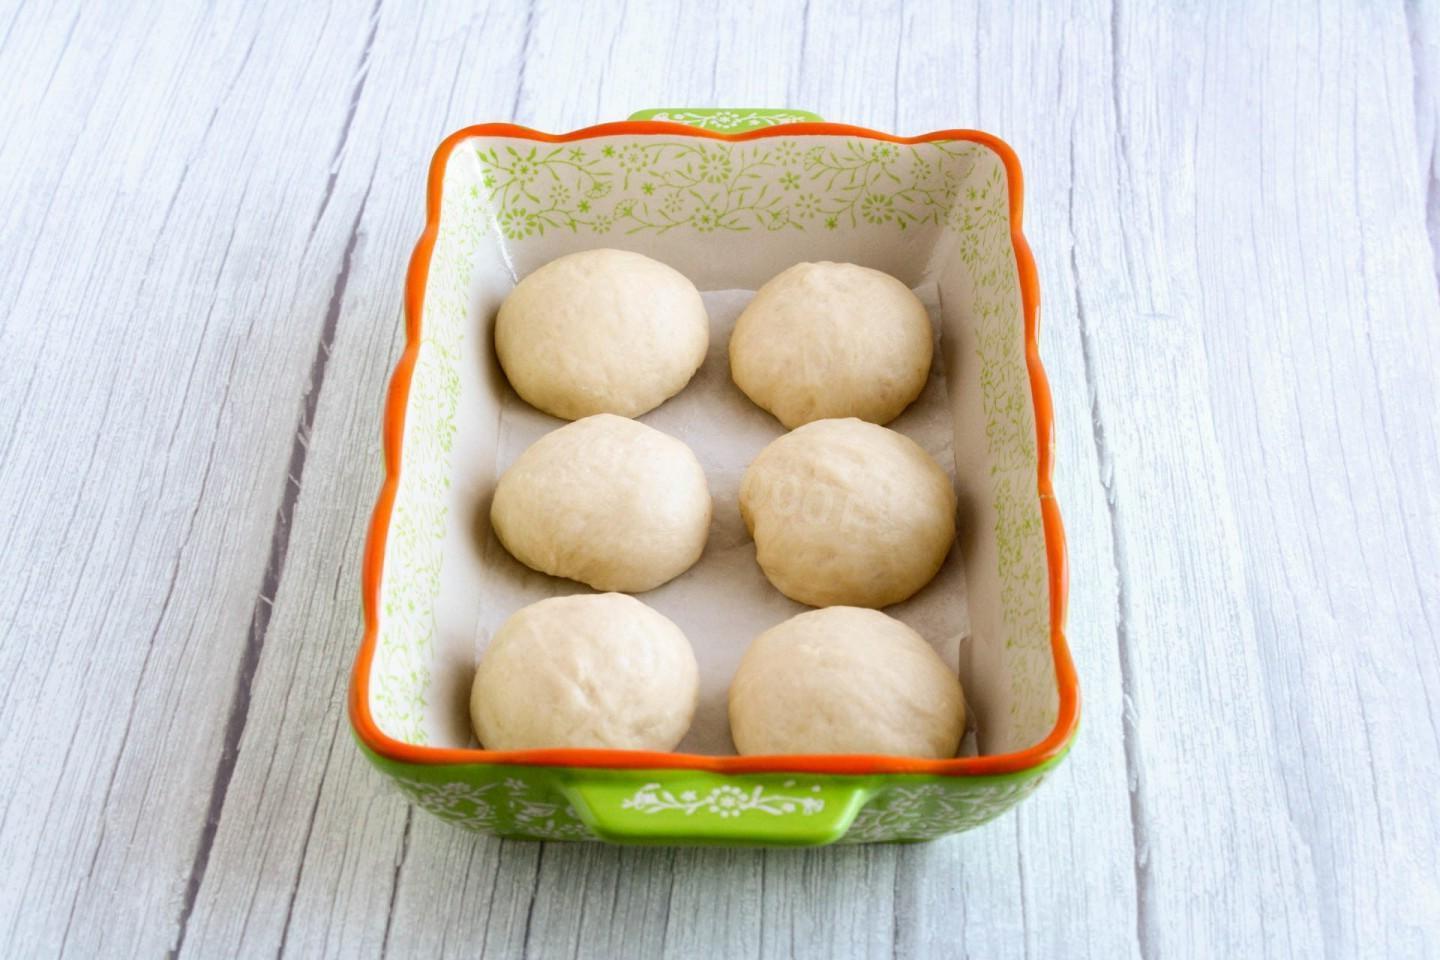
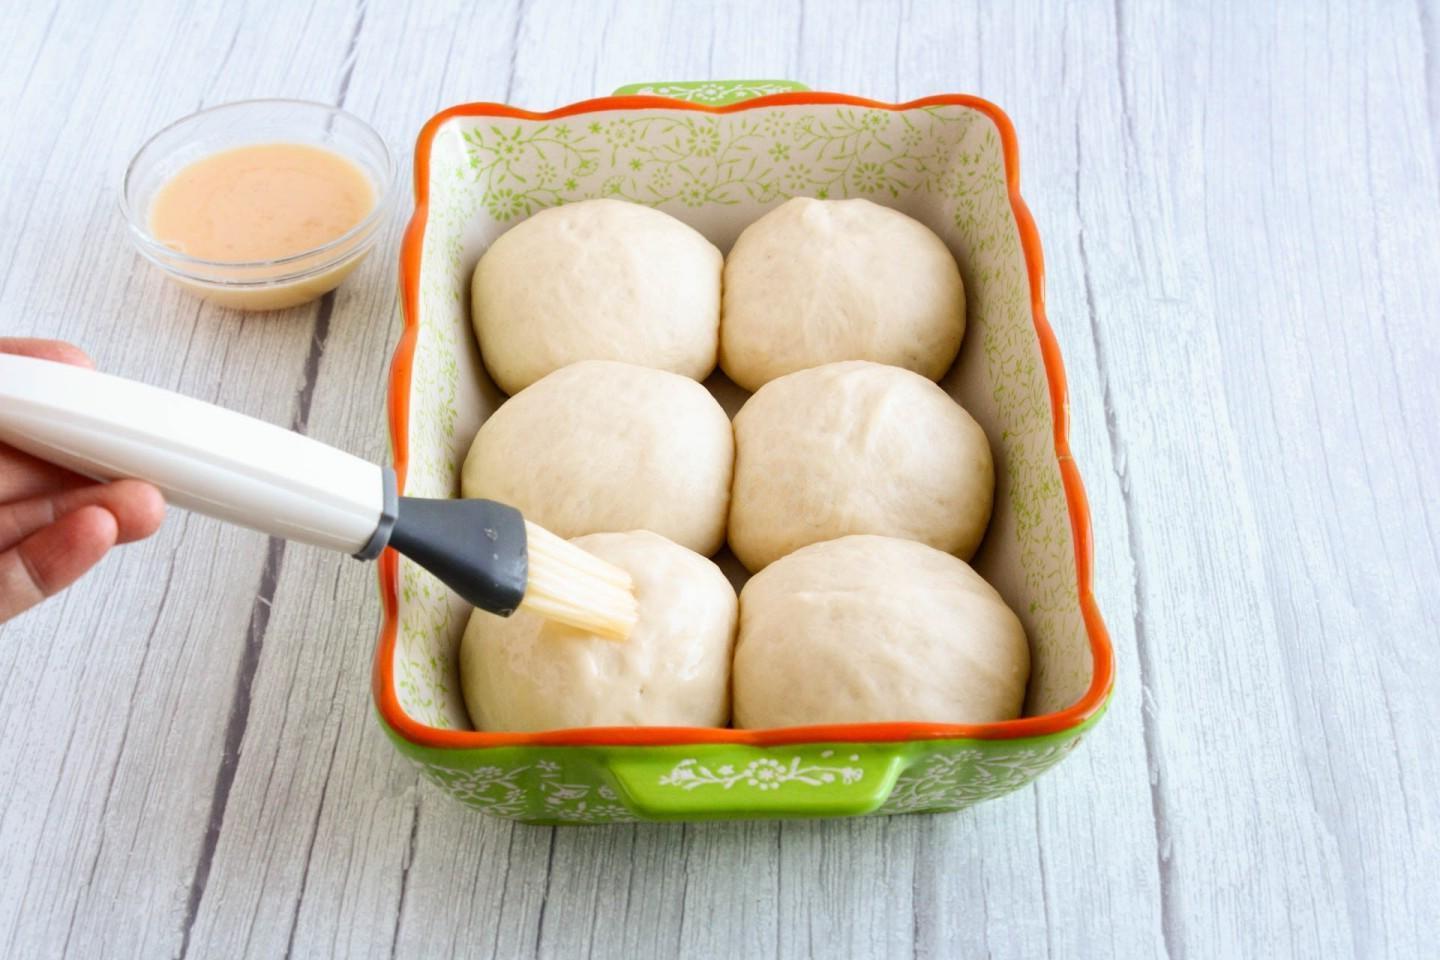
You can bake the buns on a baking sheet or in any convenient form. Cover the bottom of the baking dish with parchment and grease the sides with vegetable oil. Place the formed buns at some distance from each other. Leave the buns to proof for 20-25 minutes.

Step 20

Step 20
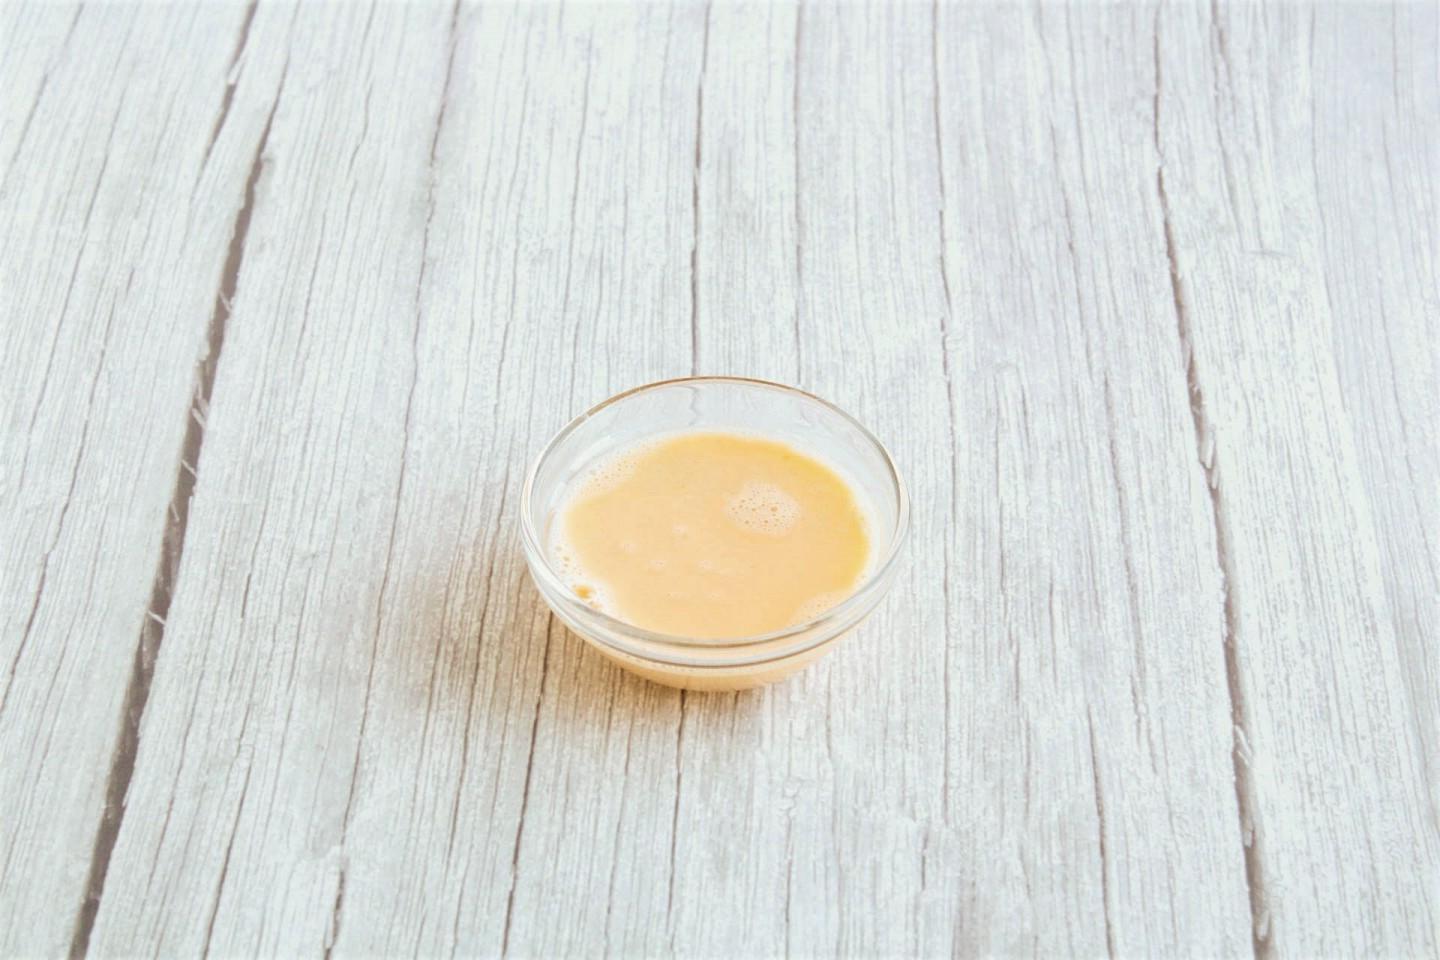
In a small bowl, beat the yolk with milk until smooth.

Step 21

Step 21
Brush the tops of the proofed buns with the yolk mixture.

Step 22

Step 22
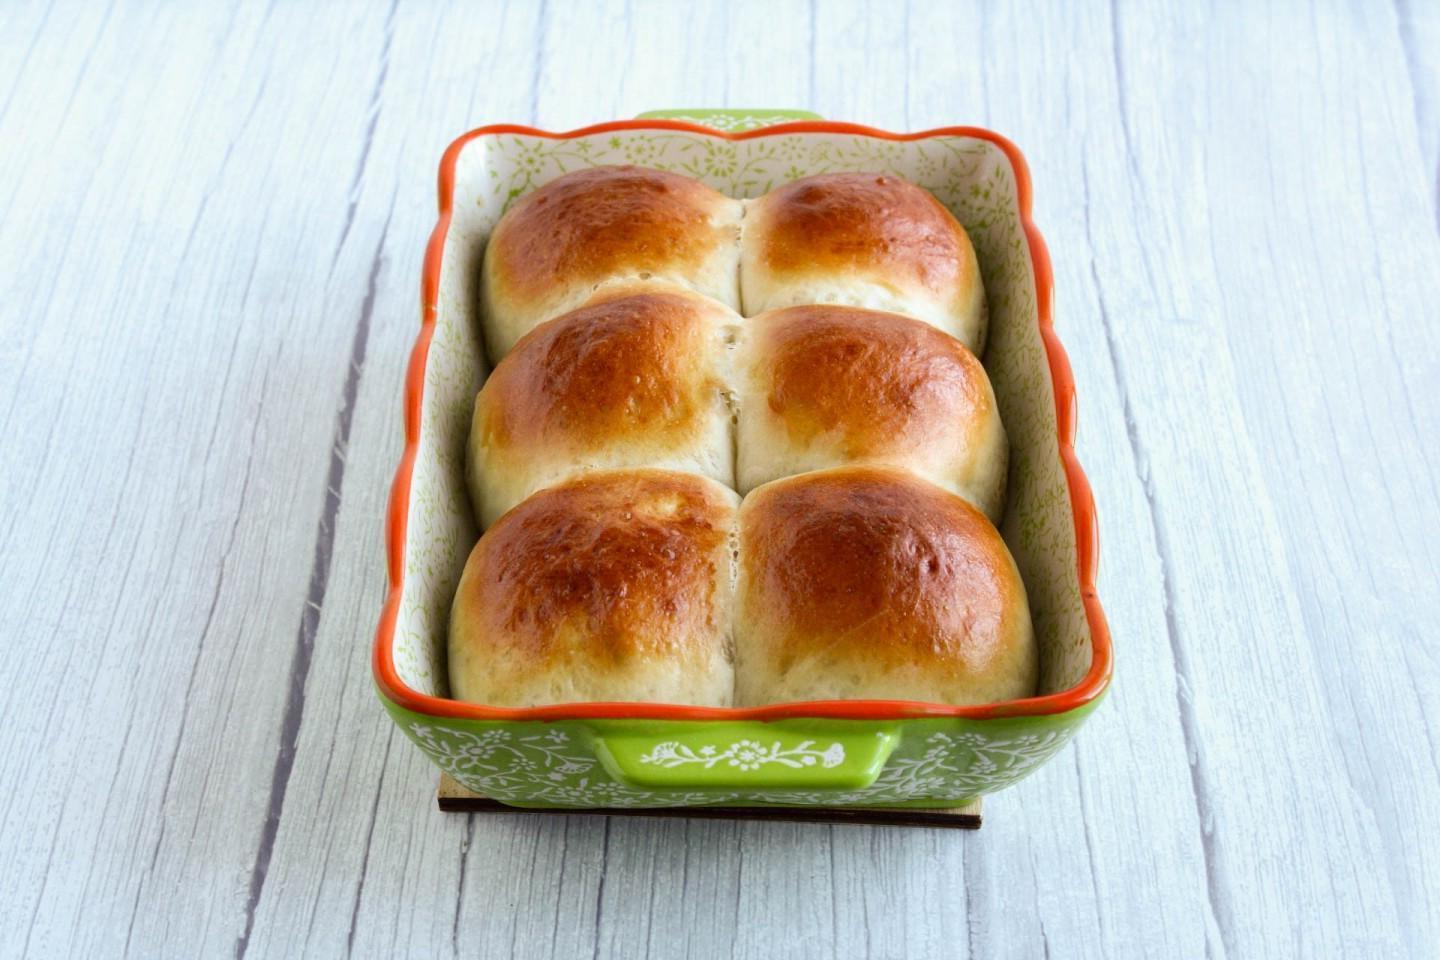
Bake the pastry in an oven preheated to 180C for about 20 minutes until golden brown on top.

Step 23

Step 23
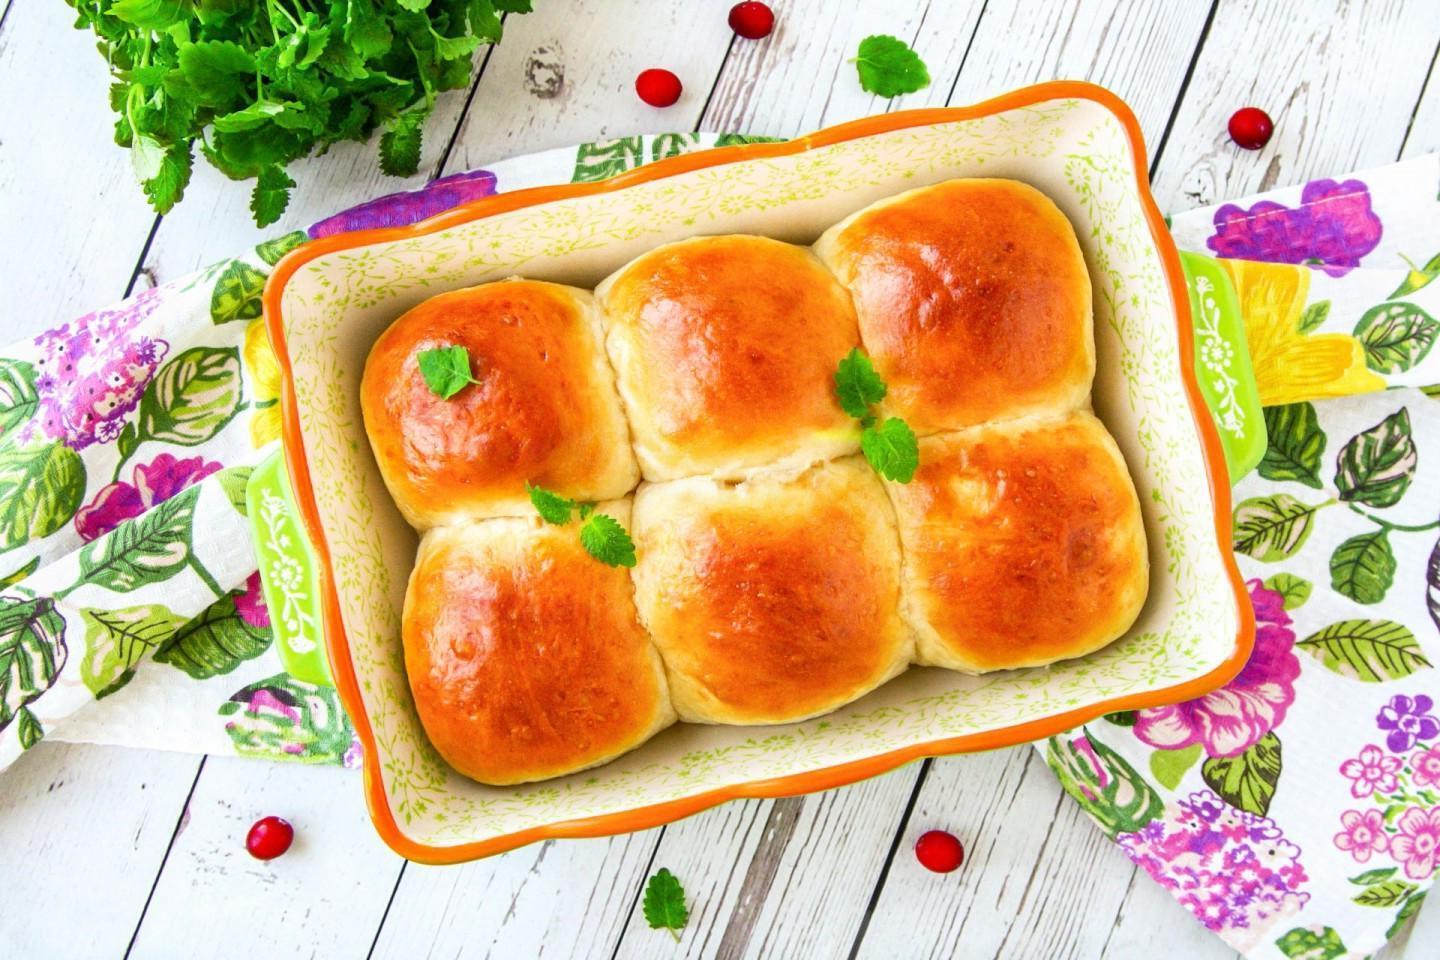
Cool the finished buns completely and serve. Bon appetit!

Additional rubrics