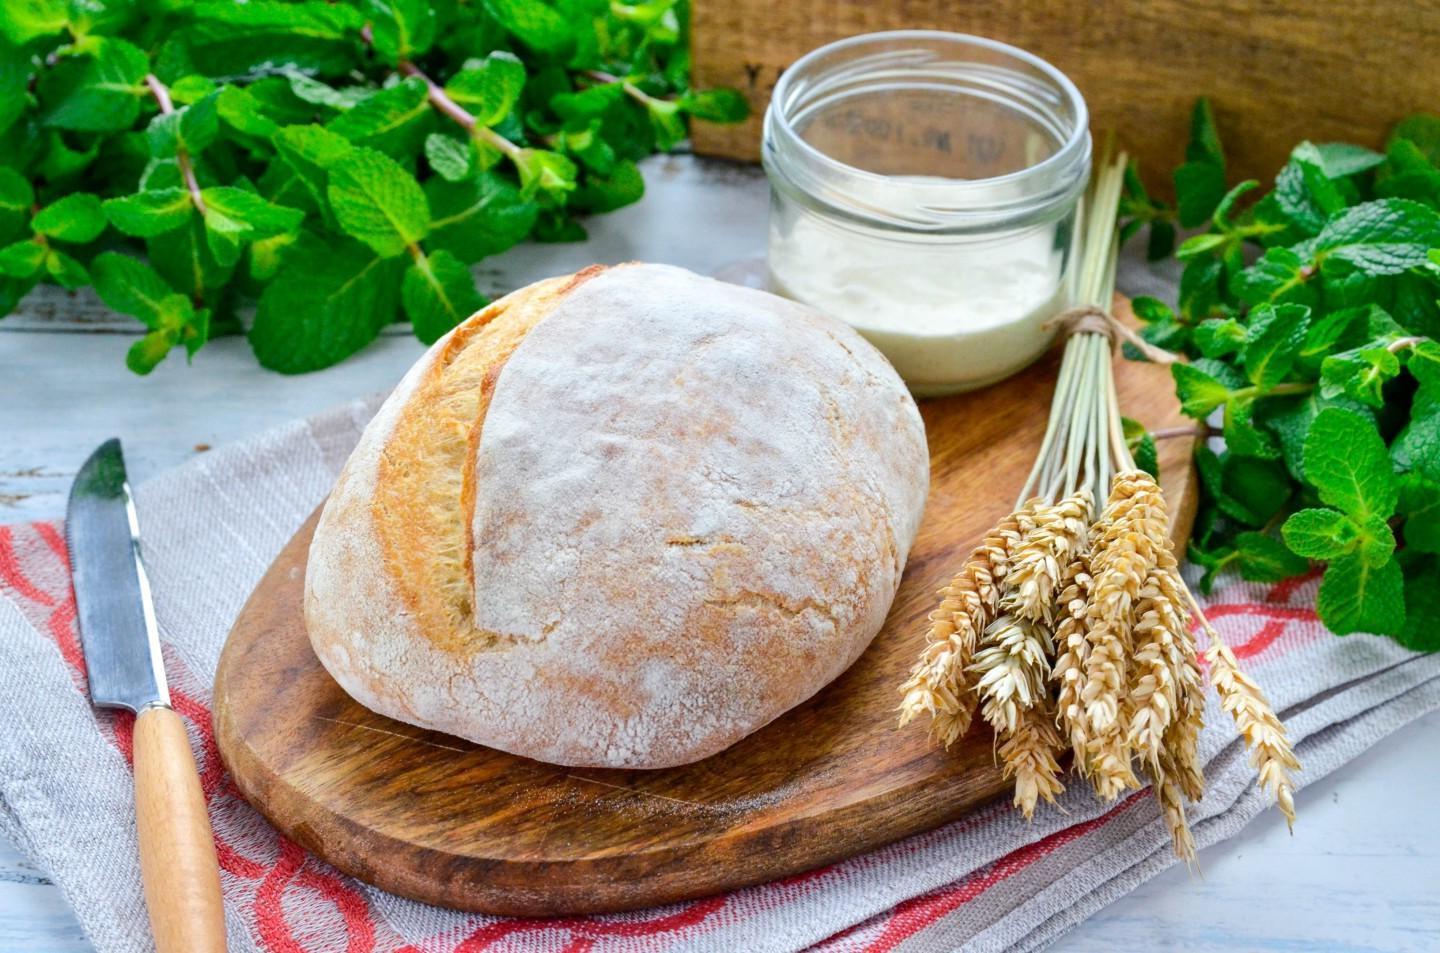
Homemade No-Yeast White Sourdough Bread

Youʼll ditch the store bought ones if you try this one! White sourdough bread is baked in the oven and without the use of yeast at all. It turns out healthy, with an indescribable aroma and taste. To bake such bread, you will have to be patient, although the process itself is very simple.
cook time: 24h
Noah Merrick
Homemade No-Yeast White Sourdough Bread

Nutrition Facts (per serving)

238
Calories
2g
Fat
41g
Carbs
7g
Protein

Ingredients (1 portion)

Basic:

Salt 6 g
Wheat flour 275 g
Butter 12 g
Water 140 ml
Honey 12 g

For the dough:

Wheat flour 50 g
Water 50 ml
Ready starter 10 g

Recipe instructions

Step 1
Step 1
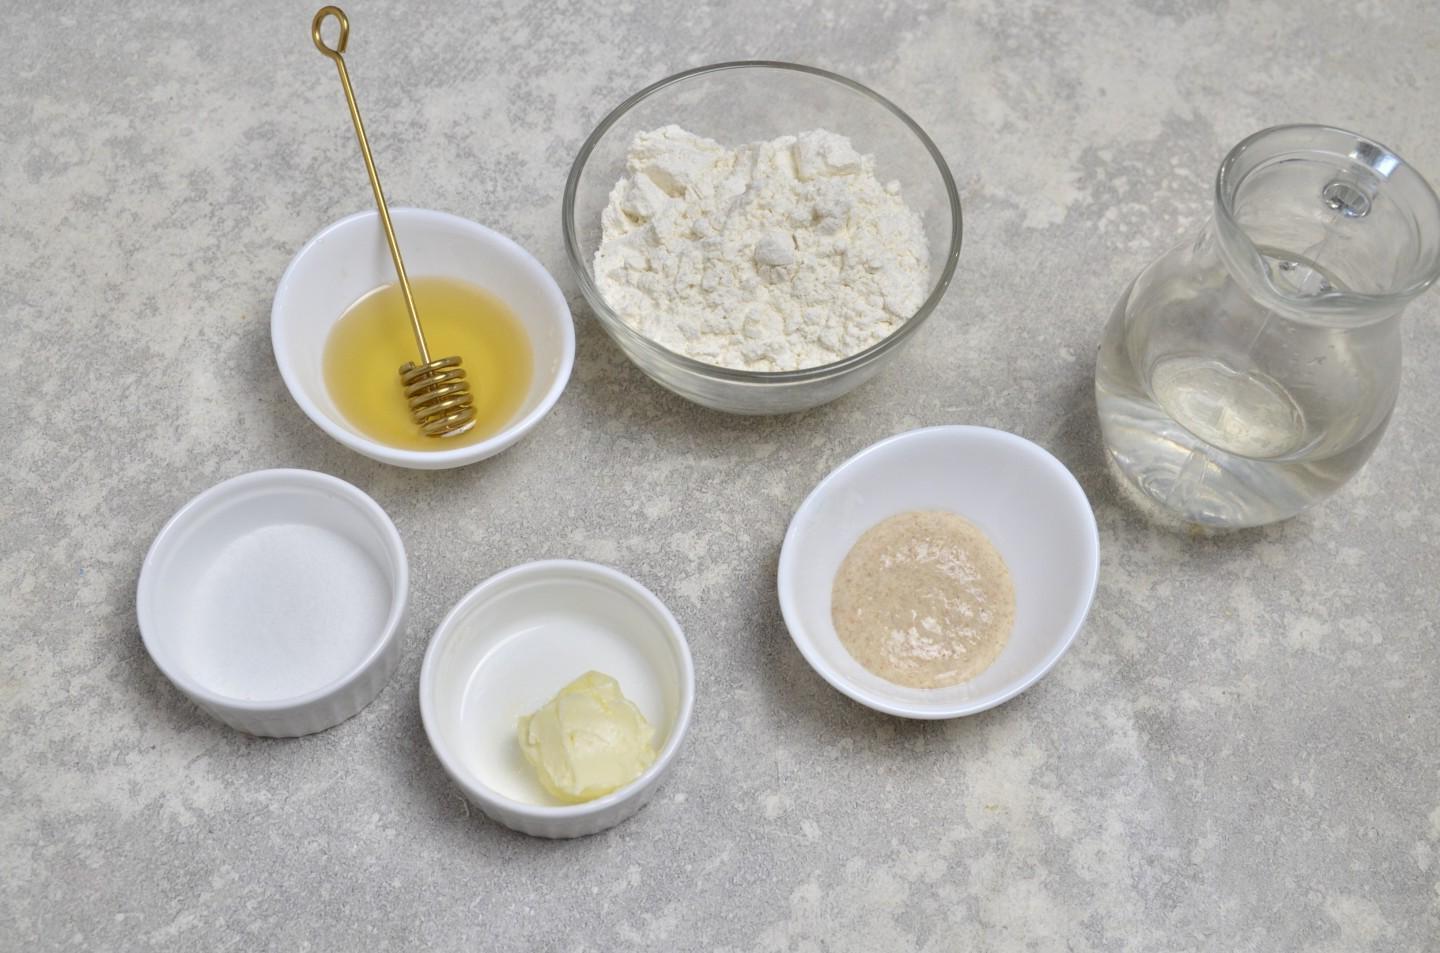
How to make white sourdough bread in the oven? Prepare your food. You can use any starter, both wheat and rye flour. Instead of honey, you can add sugar in the same amount.

Step 2

Step 2
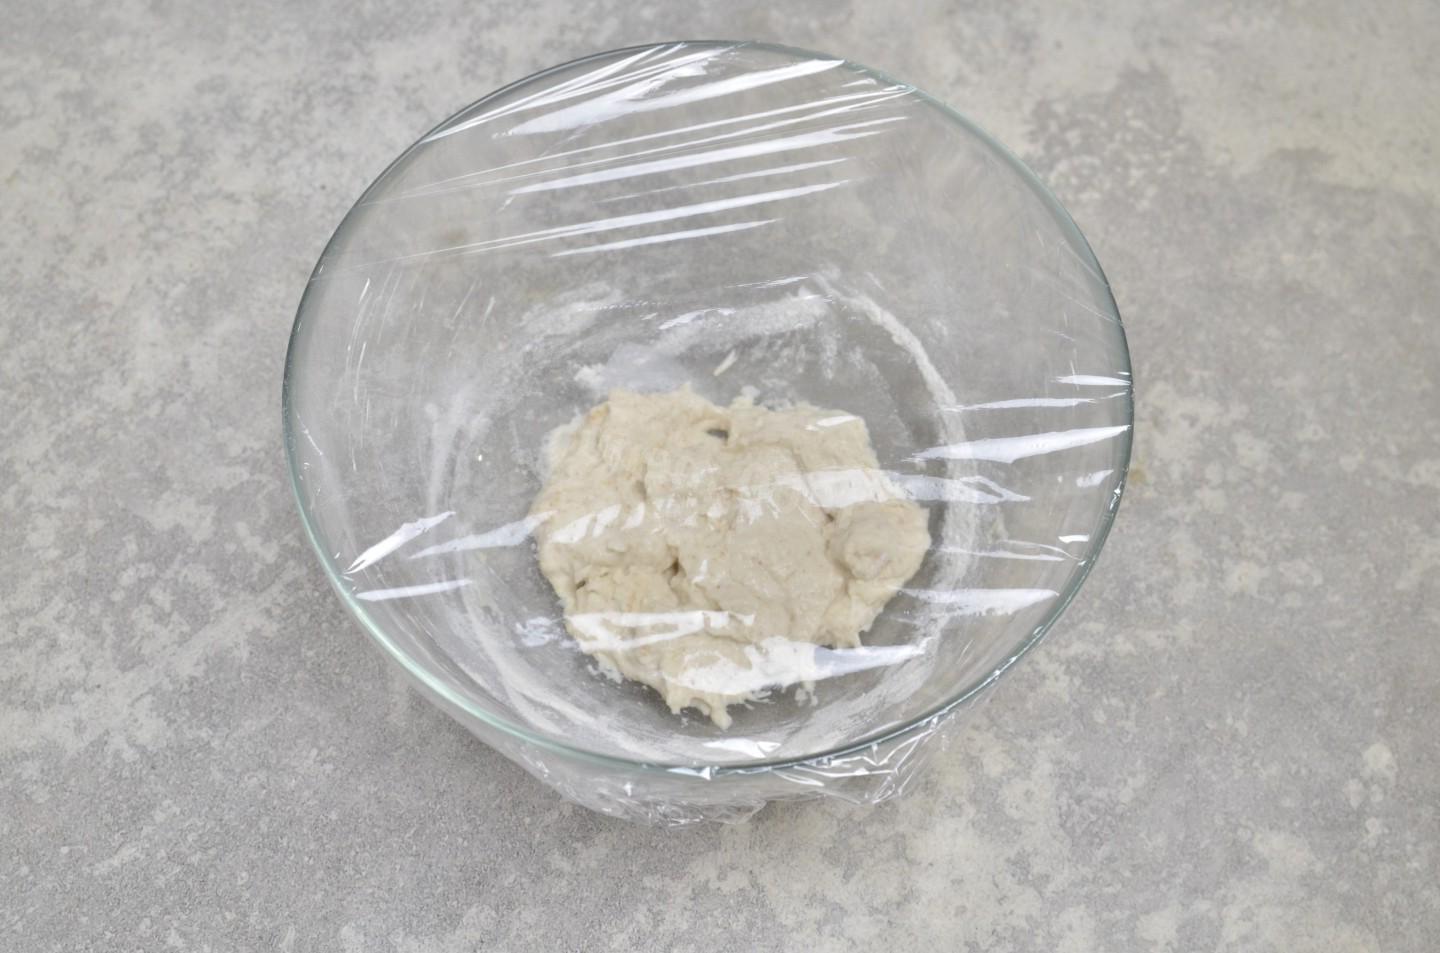
The preparation of bread takes place in two stages. First, the dough is placed, it needs 9-12 hours. And after that the bread is kneaded. The second stage lasts about 6 hours. I leave the dough overnight and bake bread in the morning. For the dough, take the required amount of starter, add 50 grams of clean water at room temperature and 50 grams of premium wheat flour. Stir, cover the bowl with cling film and leave to rise at room temperature for 9-12 hours.

Step 3

Step 3
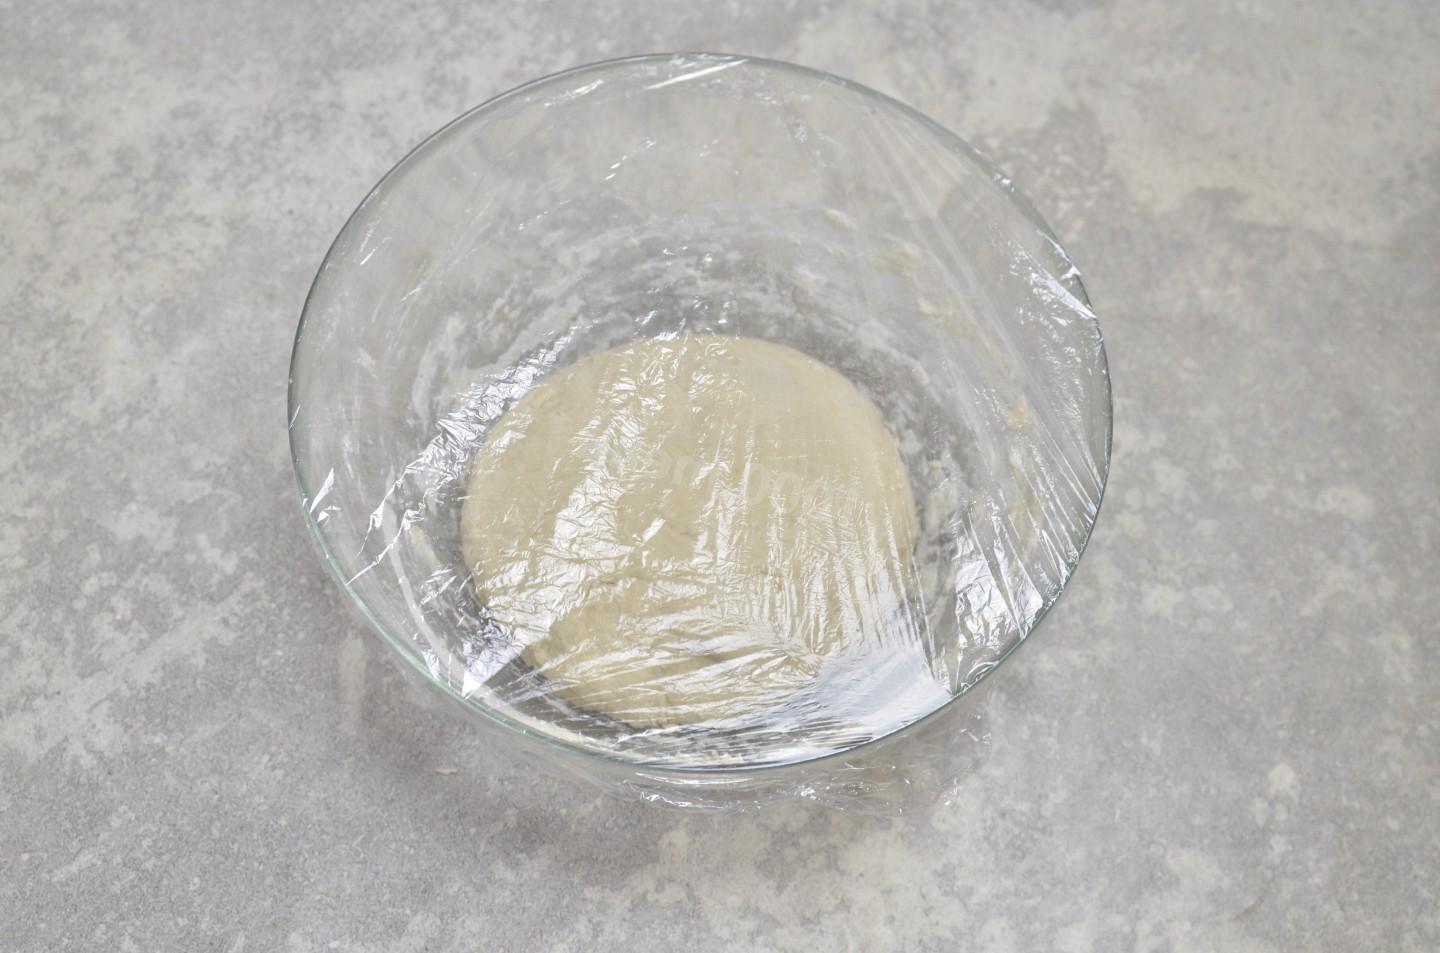
The proofing time will depend on the starter itself. Mine is quite young, it stood for 12 hours. The stronger one will be ready in 8-9. Readiness is determined by the presence of bubbles on the surface.

Step 4

Step 4
Now you can start kneading the dough. Pour 140 grams of water into the dough, add 275 grams of flour. Stir everything until smooth, cover the bowl again with cling film and leave to stand on the counter for 30 minutes. During this time, gluten will begin to develop in the dough, and it will be easier to work with. Remove the butter from the refrigerator to soften at room temperature.

Step 5

Step 5
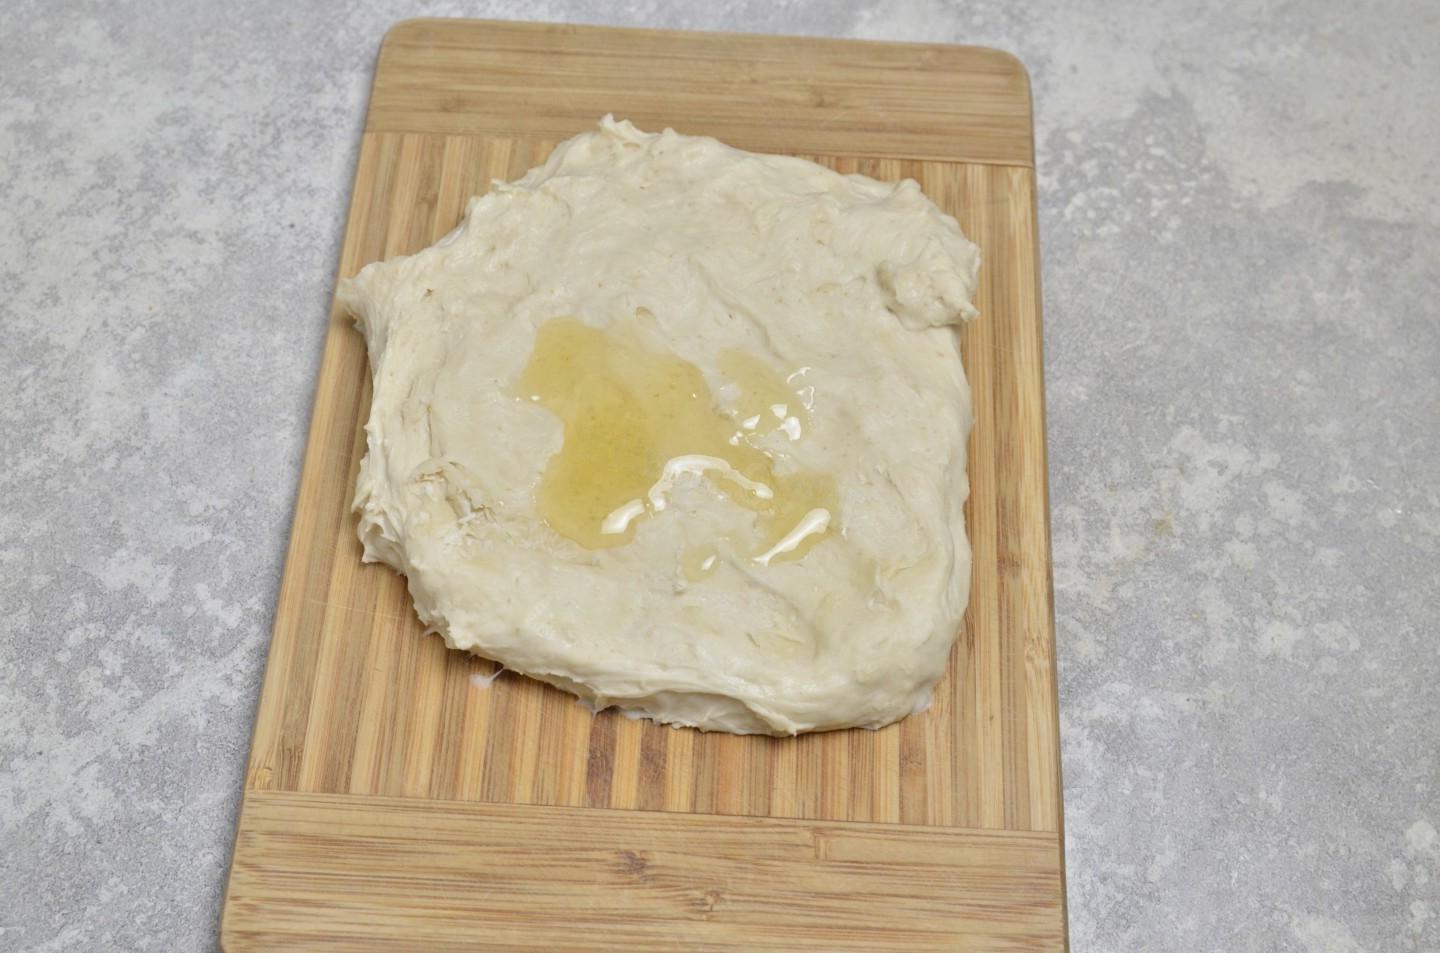
The rested dough is still quite sticky, transfer it to a work surface. But don’t add extra flour, just moisten it with water. Distribute the dough into a layer and put honey on it. Stir honey into the dough.

Step 6

Step 6
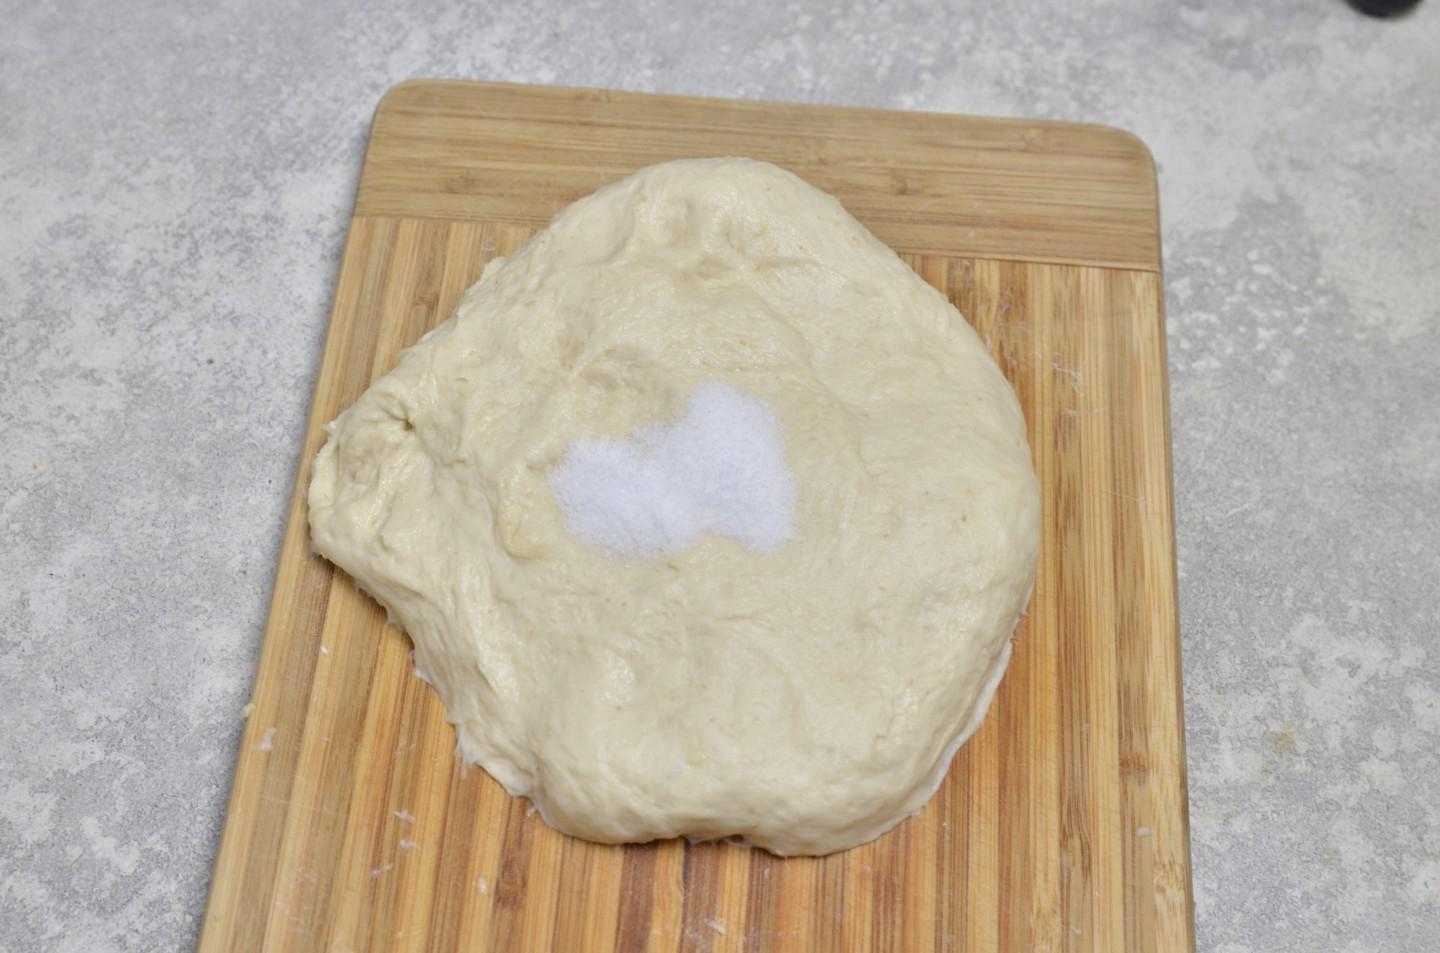
Then make a layer out of the dough again and sprinkle salt on it. Mix the salt back into the dough. It will gradually become less sticky.

Step 7

Step 7
Add soft butter to the dough in the same way. After adding the oil, knead the dough until completely smooth.

Step 8

Step 8
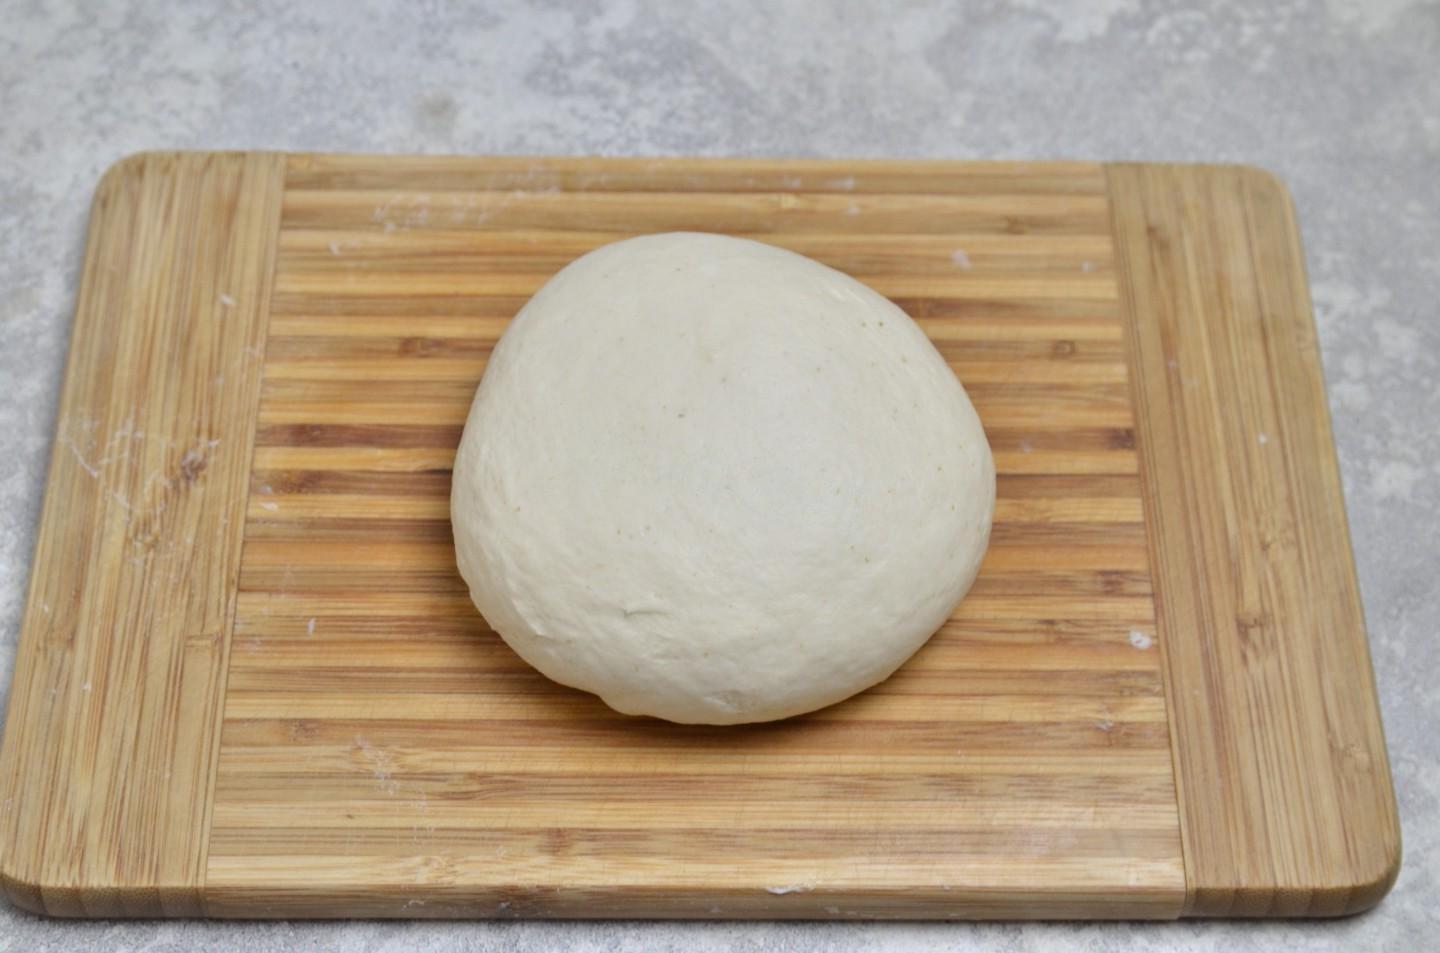
It will become smooth and practically stop sticking to your hands and surfaces.

Step 9

Step 9
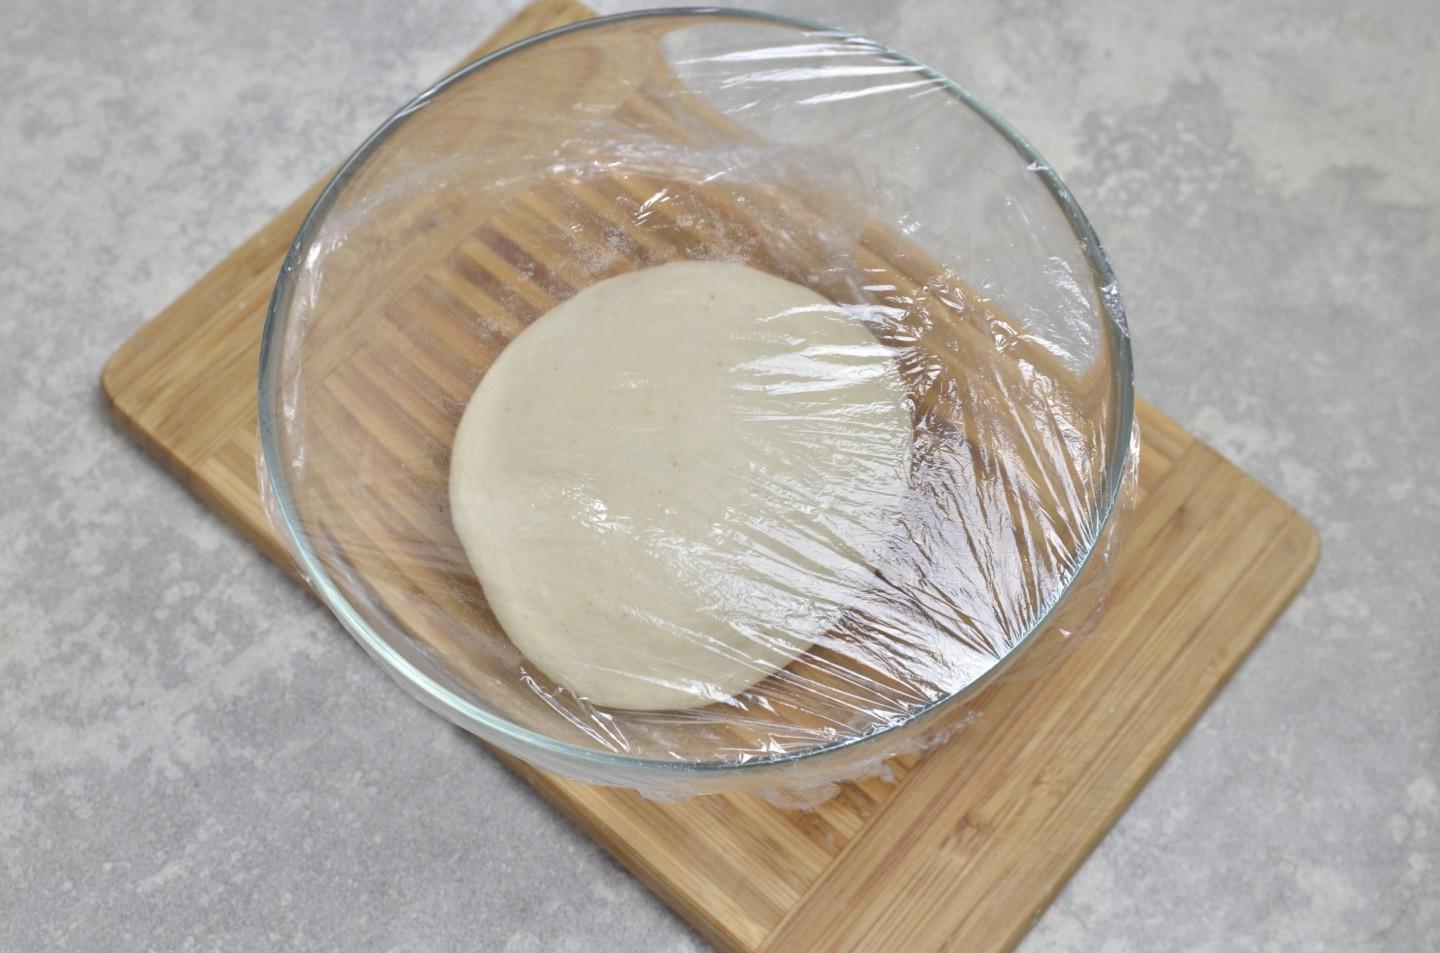
Gather the dough into a ball, place in a clean bowl and cover with cling film. Leave to ferment on the counter for 3 hours. During this time, the dough will need to be kneaded twice.

Step 10

Step 10
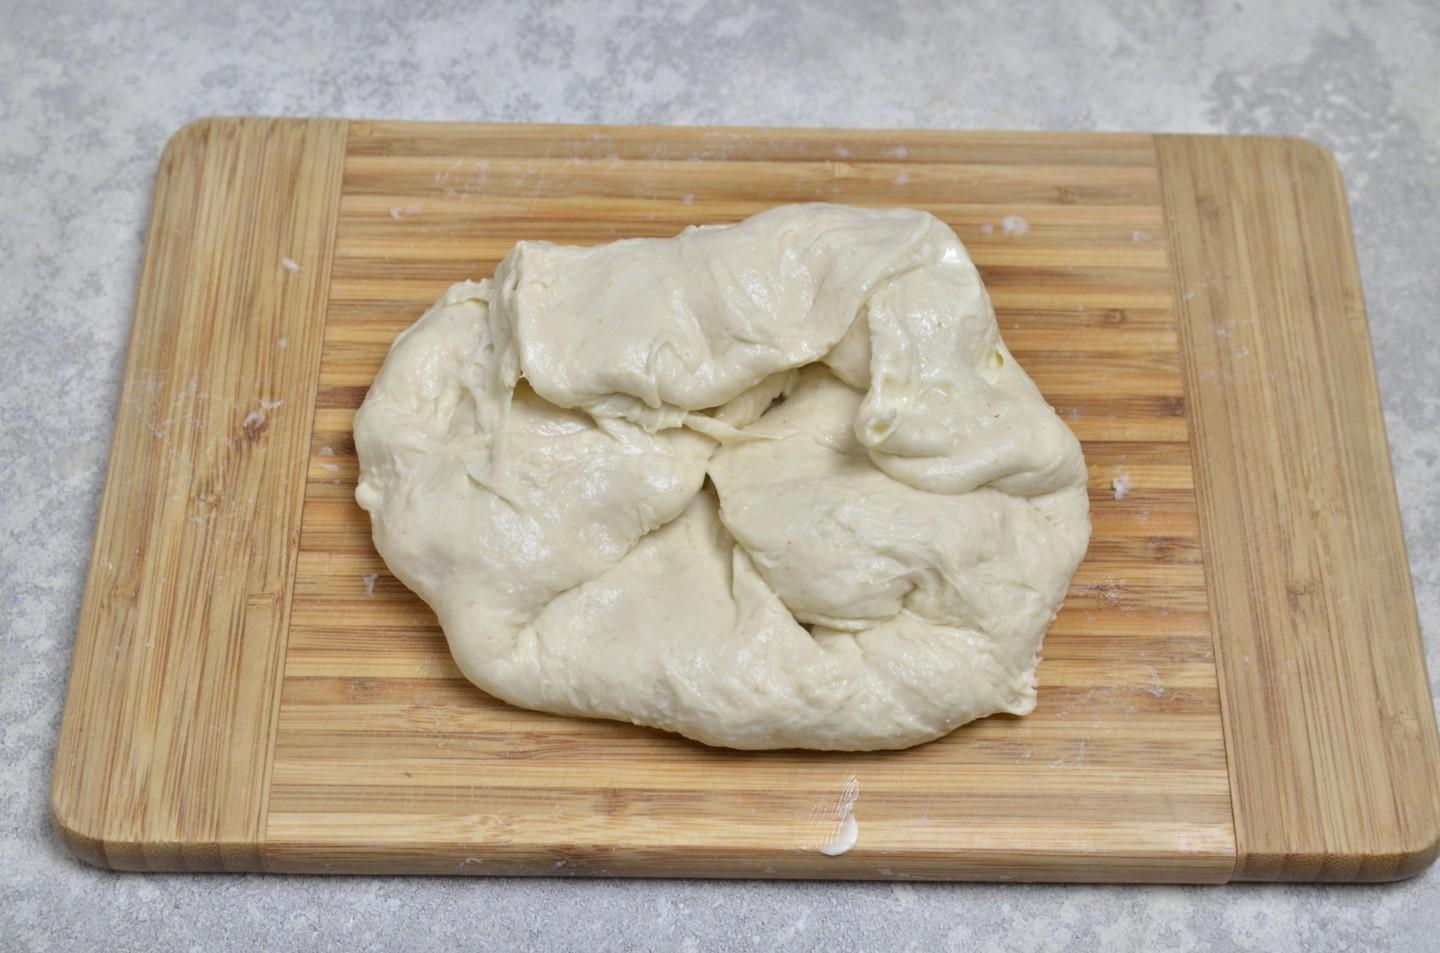
Do the first kneading an hour after the start of fermentation. The dough needs to be stretched out from four sides in turn. To do this, stretch the edge of the dough, then fold the extended edge into the center. Next, pull out the opposite edge and also place it on top of the dough. Extend the other two sides in the same way. Cover the bowl with cling film. After another hour, repeat the warm-up.

Step 11

Step 11
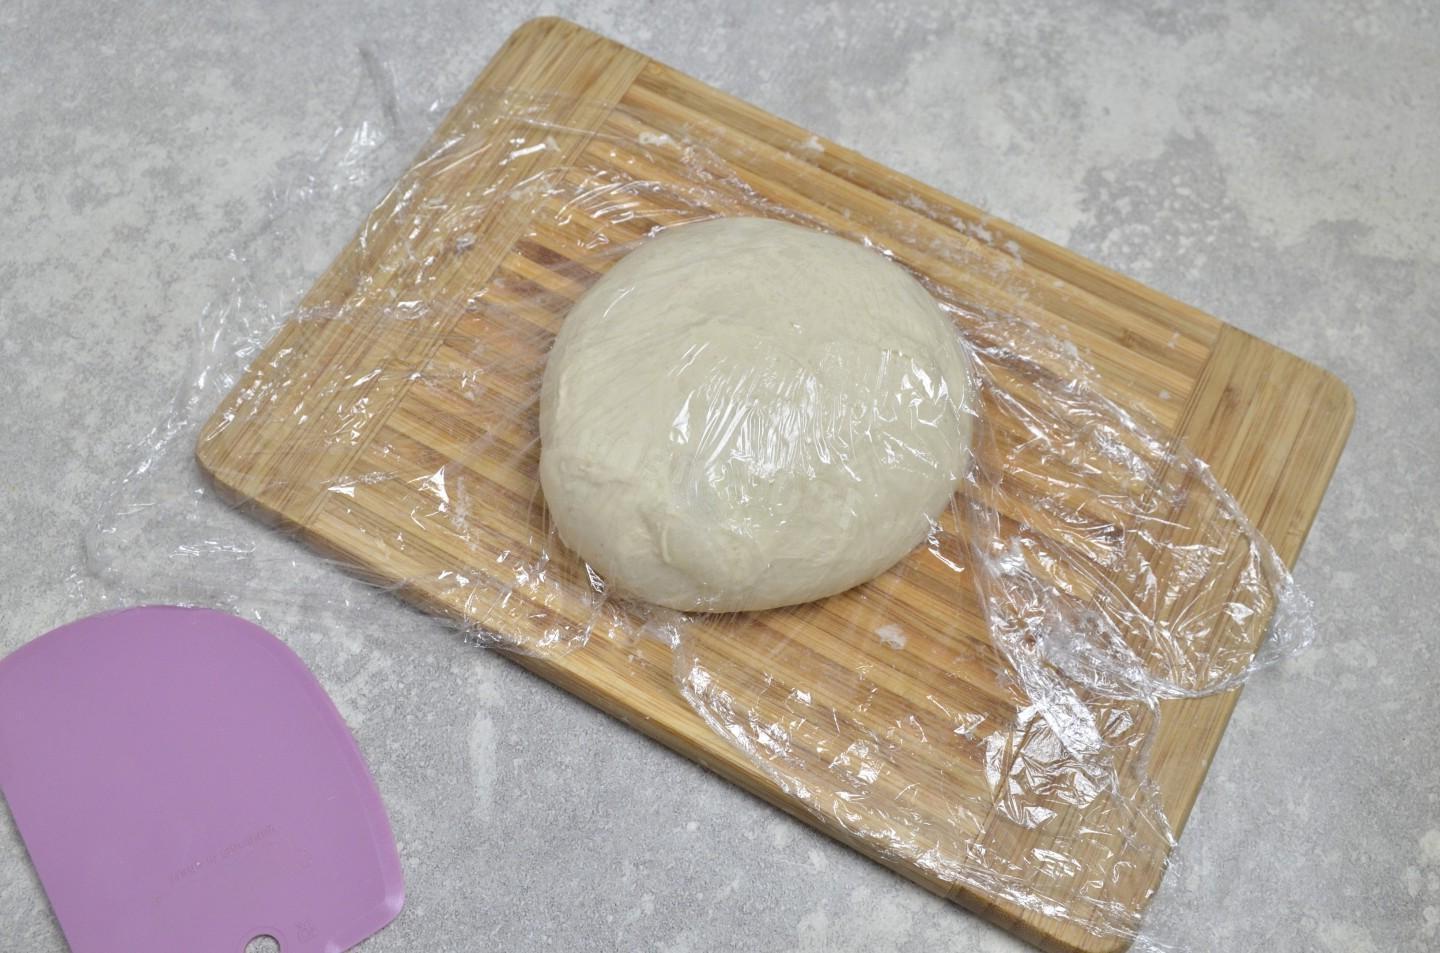
After three hours, turn the dough out onto your work surface and roll it out. To do this, gather the edges into the center, as if you were collecting a knot, and turn it over to the other side. Roll the resulting ball, pulling the surface, while helping with a spatula. Cover the ball with film and leave for 20 minutes.

Step 12

Step 12
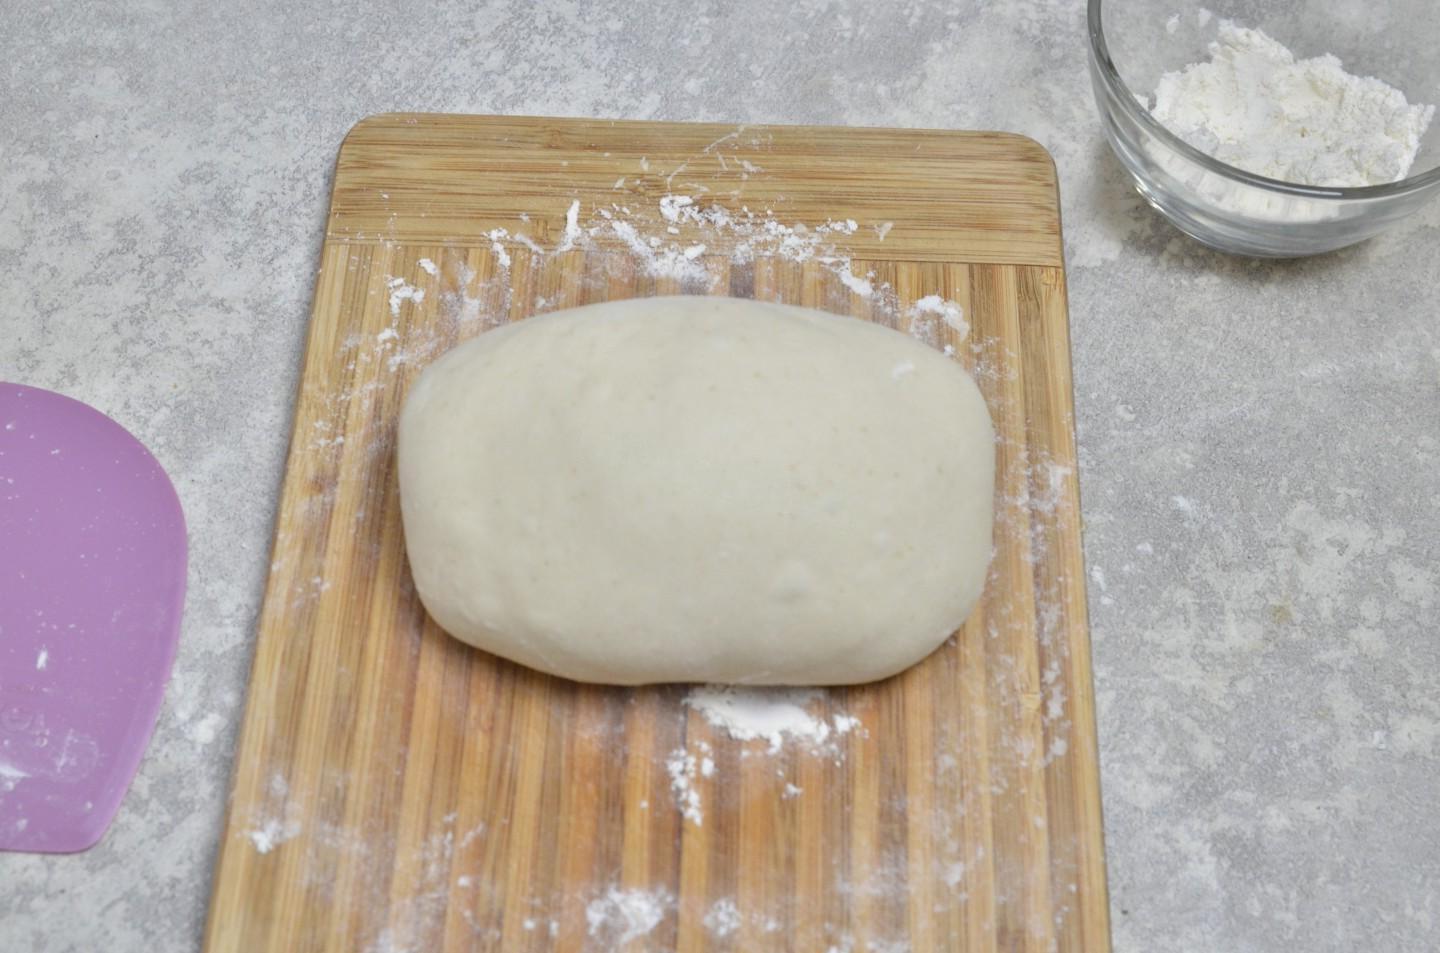
Form the workpiece. To do this, lightly dust the surface with flour and spread the dough onto it into a layer. Fold one side, tuck the two adjacent to each other. Start pinching the opposite one as tightly as possible. As a result, you will get a small loaf.

Step 13

Step 13
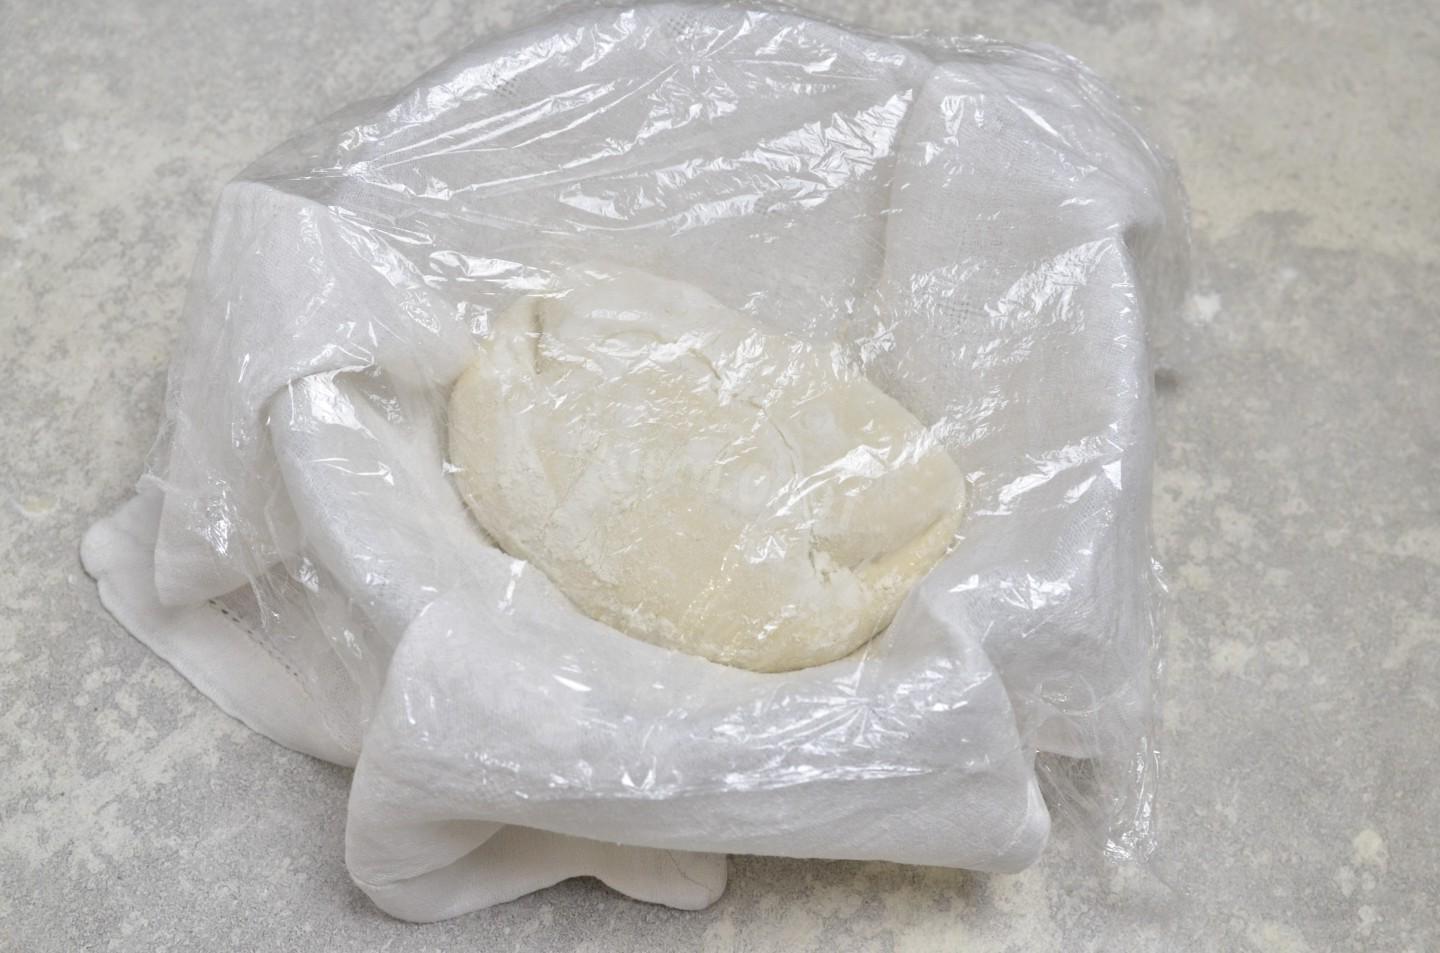
Line a bowl with a linen or cotton napkin and dust it with flour. Place the workpiece in a bowl, seam side up. Cover the bowl with film and leave for about 1.5-2 hours. The exact time depends on the activity of the starter and the room temperature. The dough should increase in volume, but when pressed it will be elastic and quickly regain its shape.

Step 14

Step 14
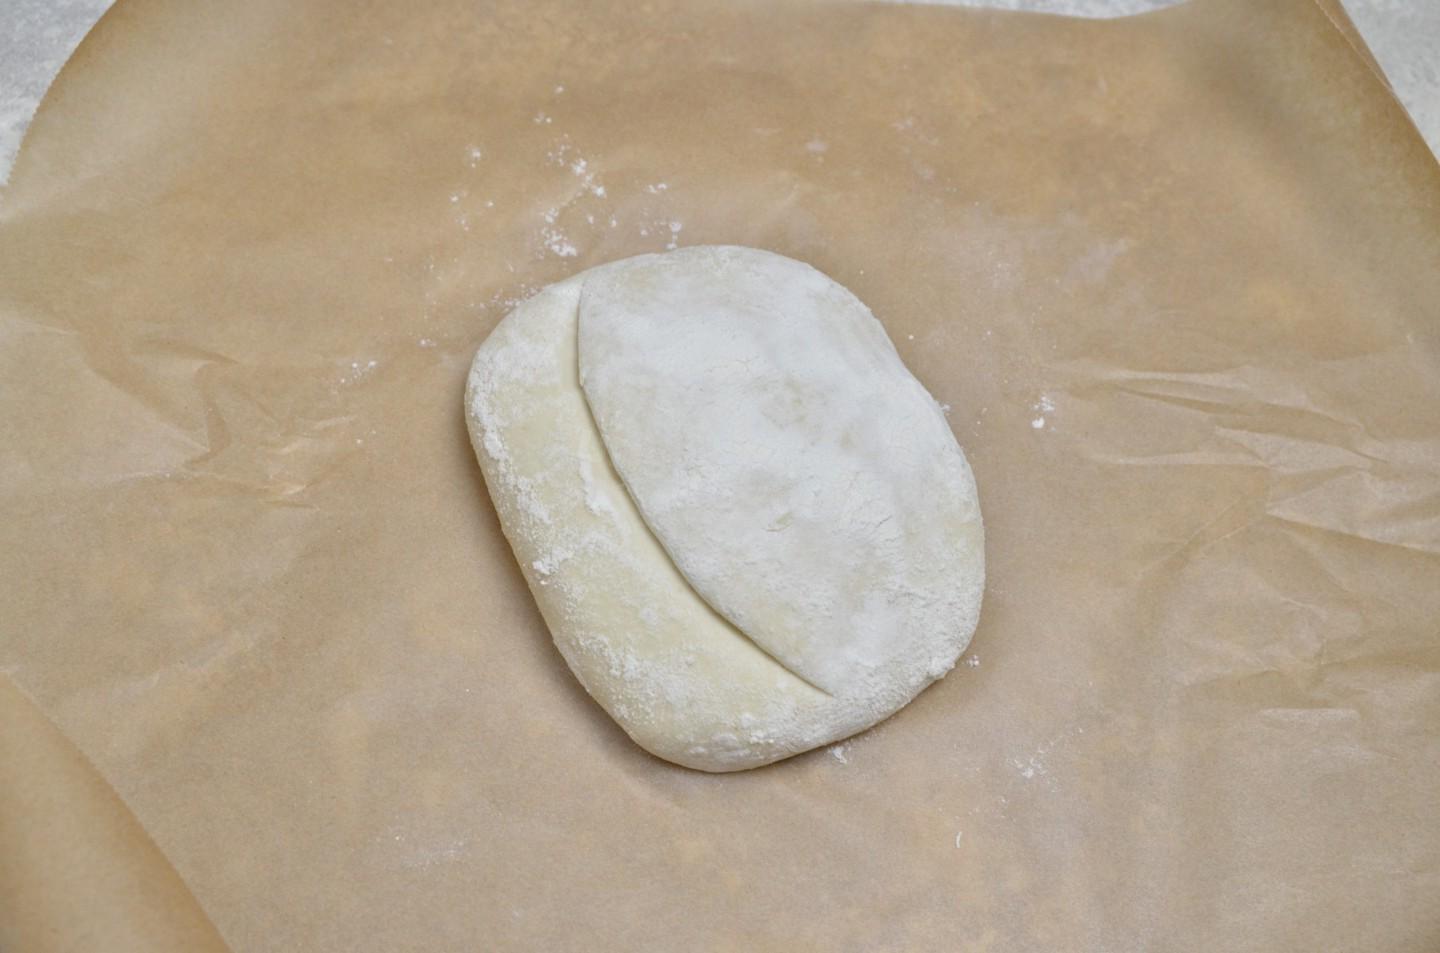
20 minutes before the end of the proofing, turn on the oven to preheat at 250°C, top-bottom mode. Place a baking sheet (or baking stone) in the oven on which you will bake the bread and a suitable-sized cap with which you will need to cover the top of the bread. Any fireproof bowl or cauldron will do. Place the loaf of bread on the parchment, seam side down. Use a blade or sharp knife to make an oblique cut. You can also cut out any pattern on the surface.

Step 15

Step 15
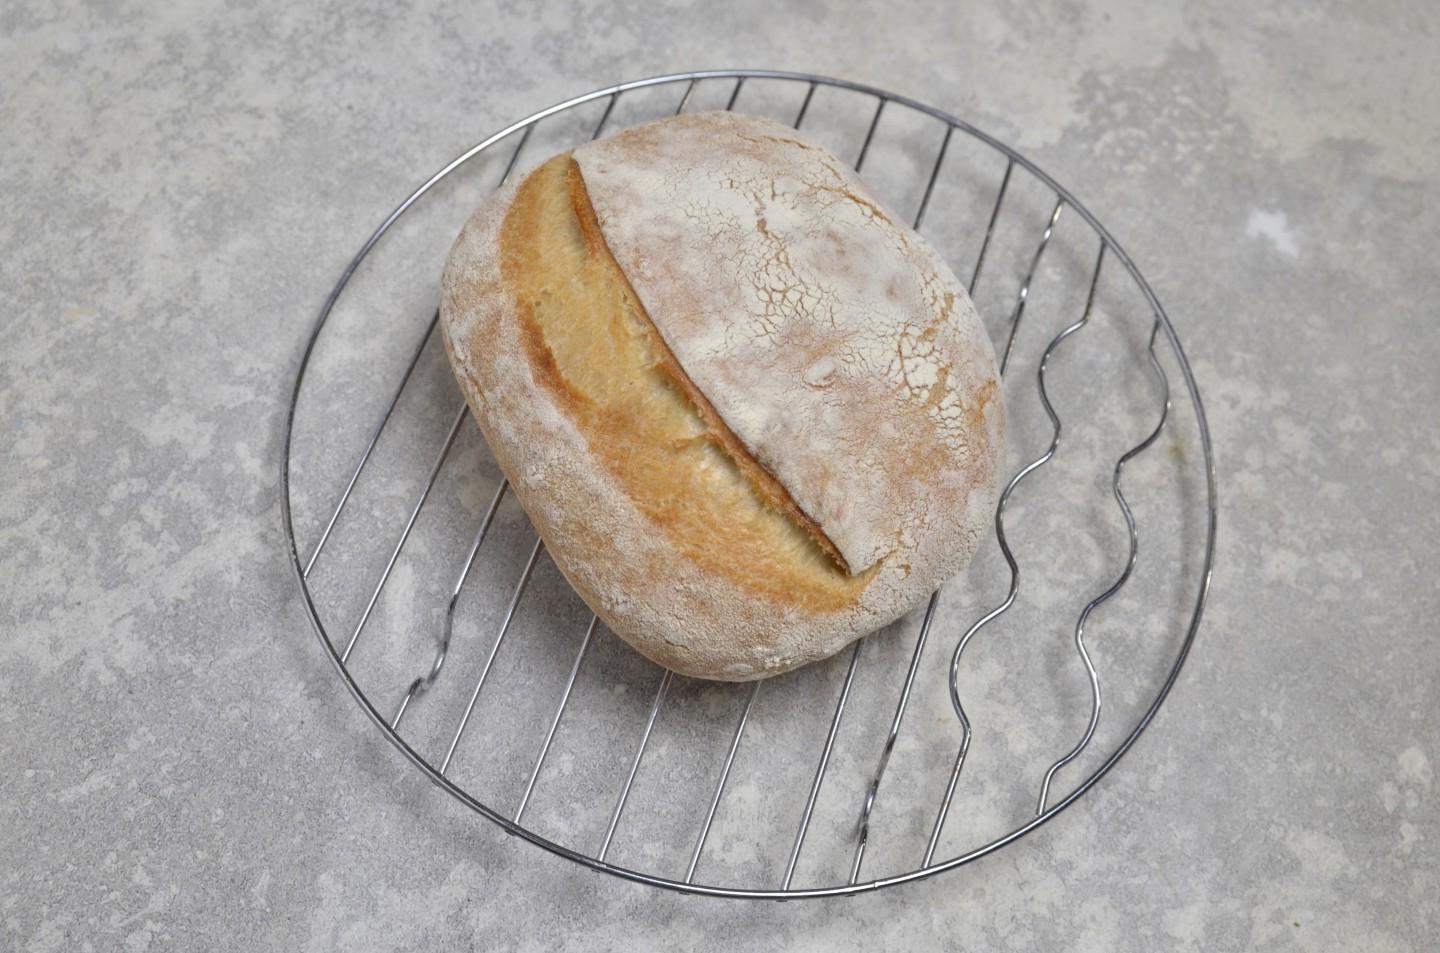
Transfer the parchment with the workpiece onto a hot baking sheet (or stone) and cover it with a hot cap (I have a cauldron). Bake the bread in this form for 15 minutes, then remove the hood and reduce the temperature to 200°C. Continue baking for another 15-20 minutes until golden brown. The exact time will depend on the features of your oven. Read more about this in a separate article, link at the end of the recipe. Carefully transfer the finished bread to a wire rack and cool completely.

Step 16

Step 16
Serve the bread to the table. Bon appetit!

Additional rubrics