Chocolate-Covered Prunes with Walnuts

A delicious and all-natural homemade delicacy! Chocolate covered prunes contain only three ingredients. In addition to the main ones, these are also walnuts. No harmful additives! The candies are prepared quite quickly and easily, and the result will pleasantly surprise both you and your loved ones!
cook time: 2h
Ivy Ramsay

Chocolate-Covered Prunes with Walnuts

Nutrition Facts (per serving)

468
Calories
32g
Fat
42g
Carbs
7g
Protein

Ingredients (12 portions)

Basic:

Chocolate (I have dark, but you can use bitter or milky, to your taste) 150 g
Walnuts 130 g
Prunes 150 g

Recipe instructions

Step 1
Step 1
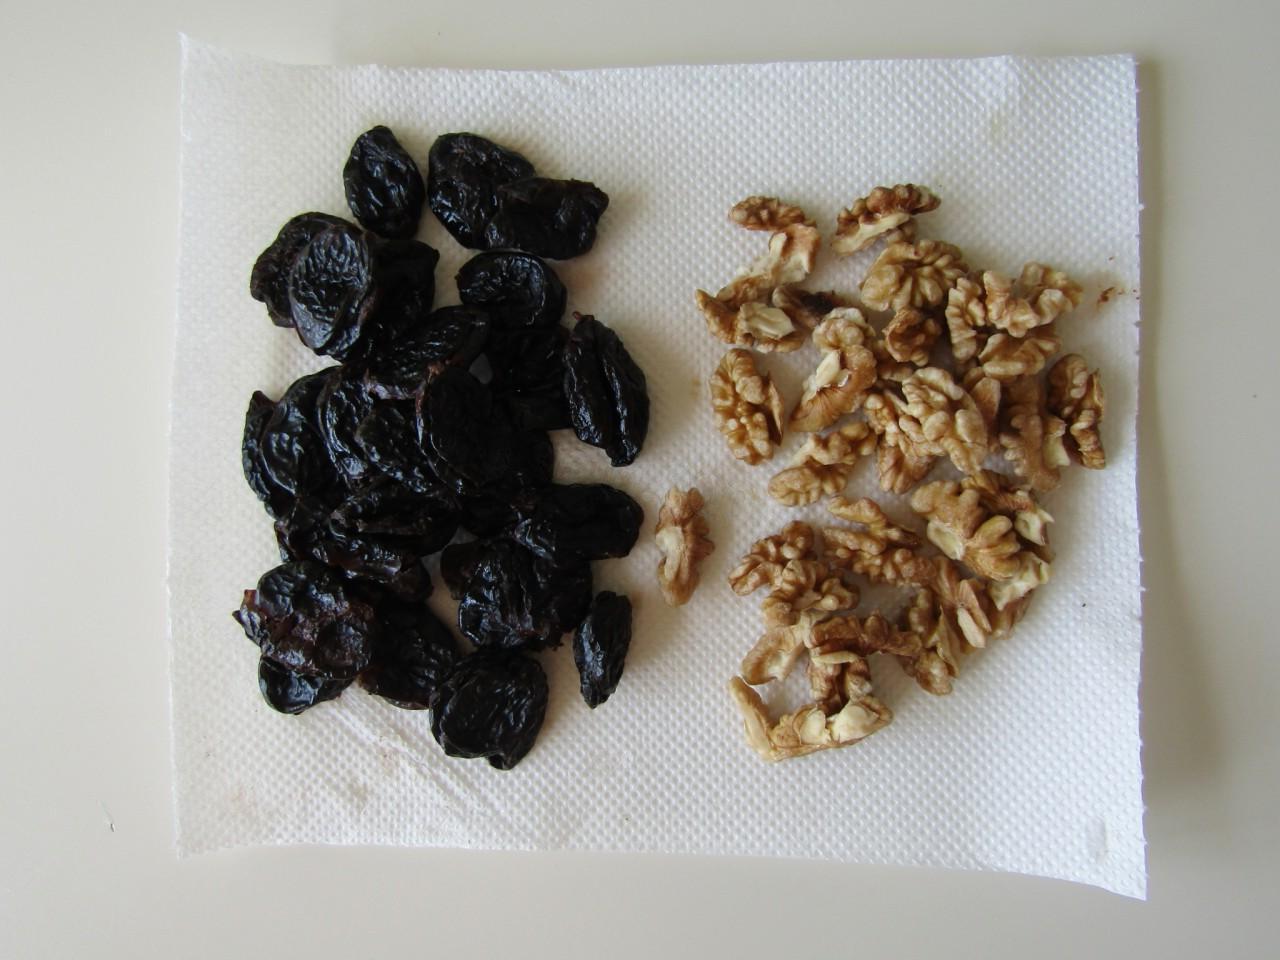
How to make prunes in chocolate? Rinse the prunes, soak in hot water for 5 minutes, then rinse again and dry on paper towels. Do not leave prunes in hot water for a long time, otherwise they will turn into mush and it will be impossible to form candies from them. Rinse the walnuts and dry them on paper towels.

Step 2

Step 2
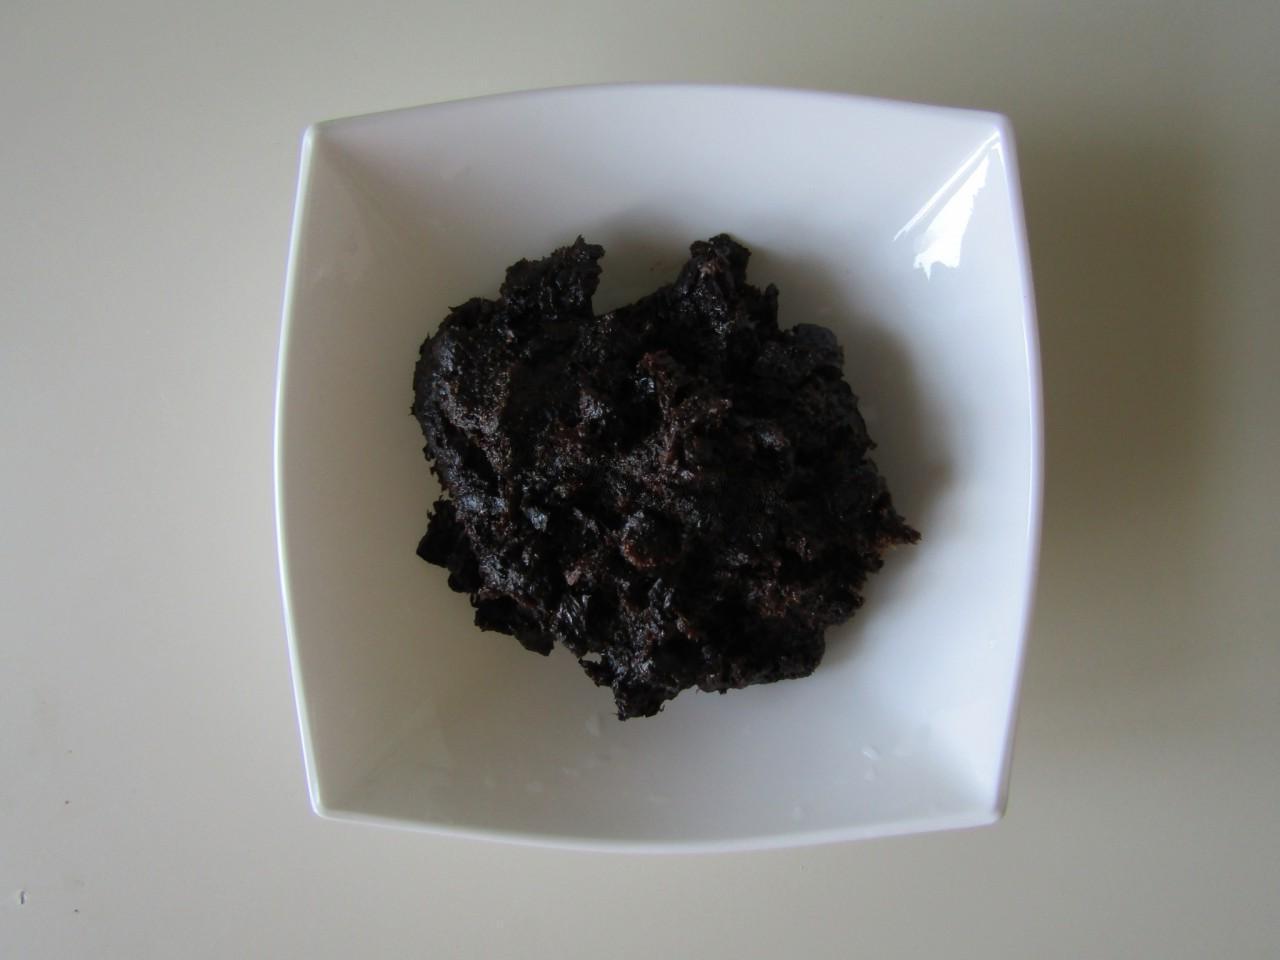
If you have a whole and large prune, inside which you can insert a piece of walnut, fill it with nuts. If, like me, your prunes are not large, use them to make “minced meat” for candies by grinding them in a blender.

Step 3

Step 3
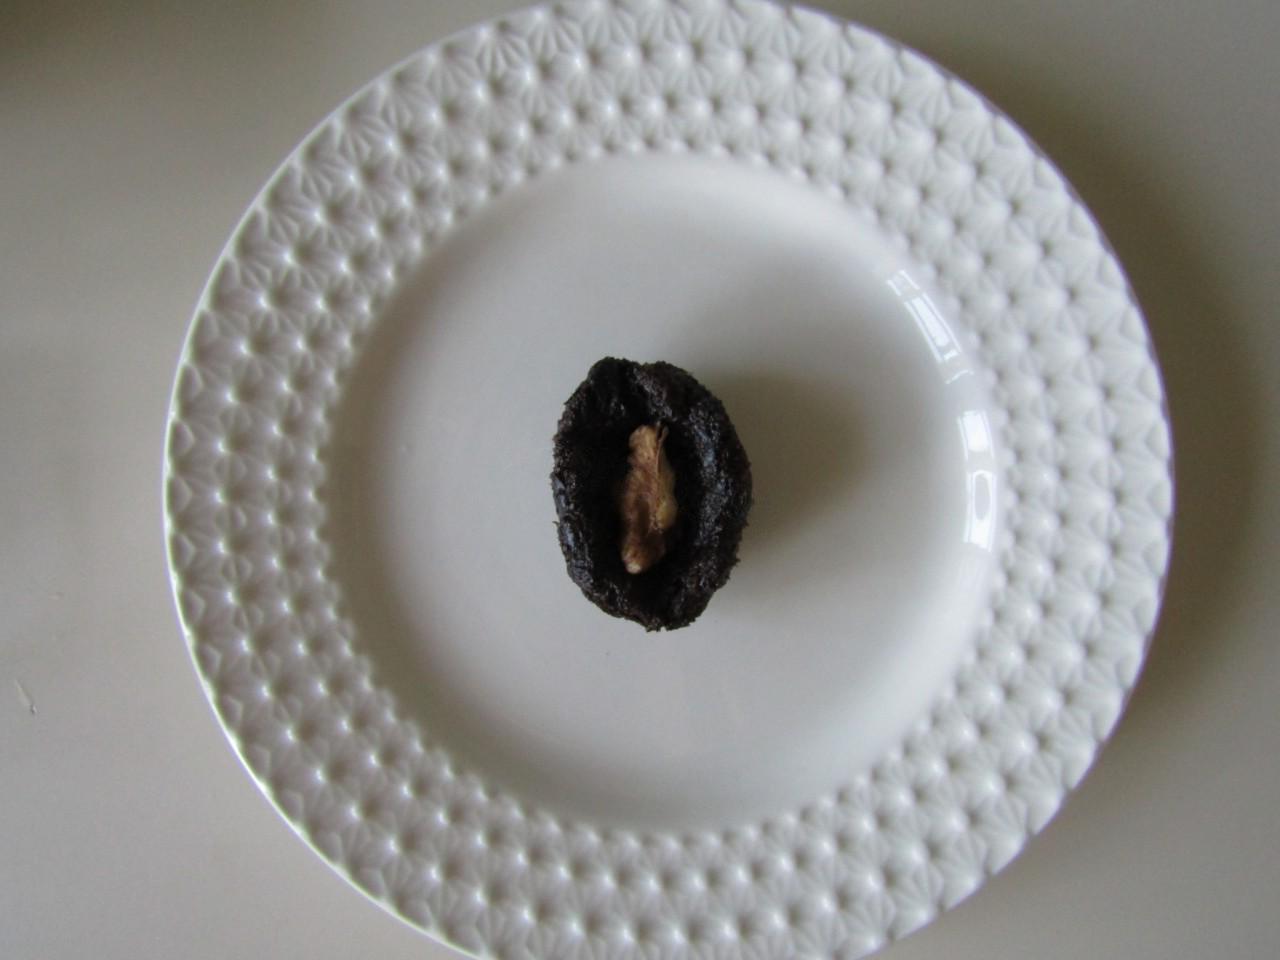
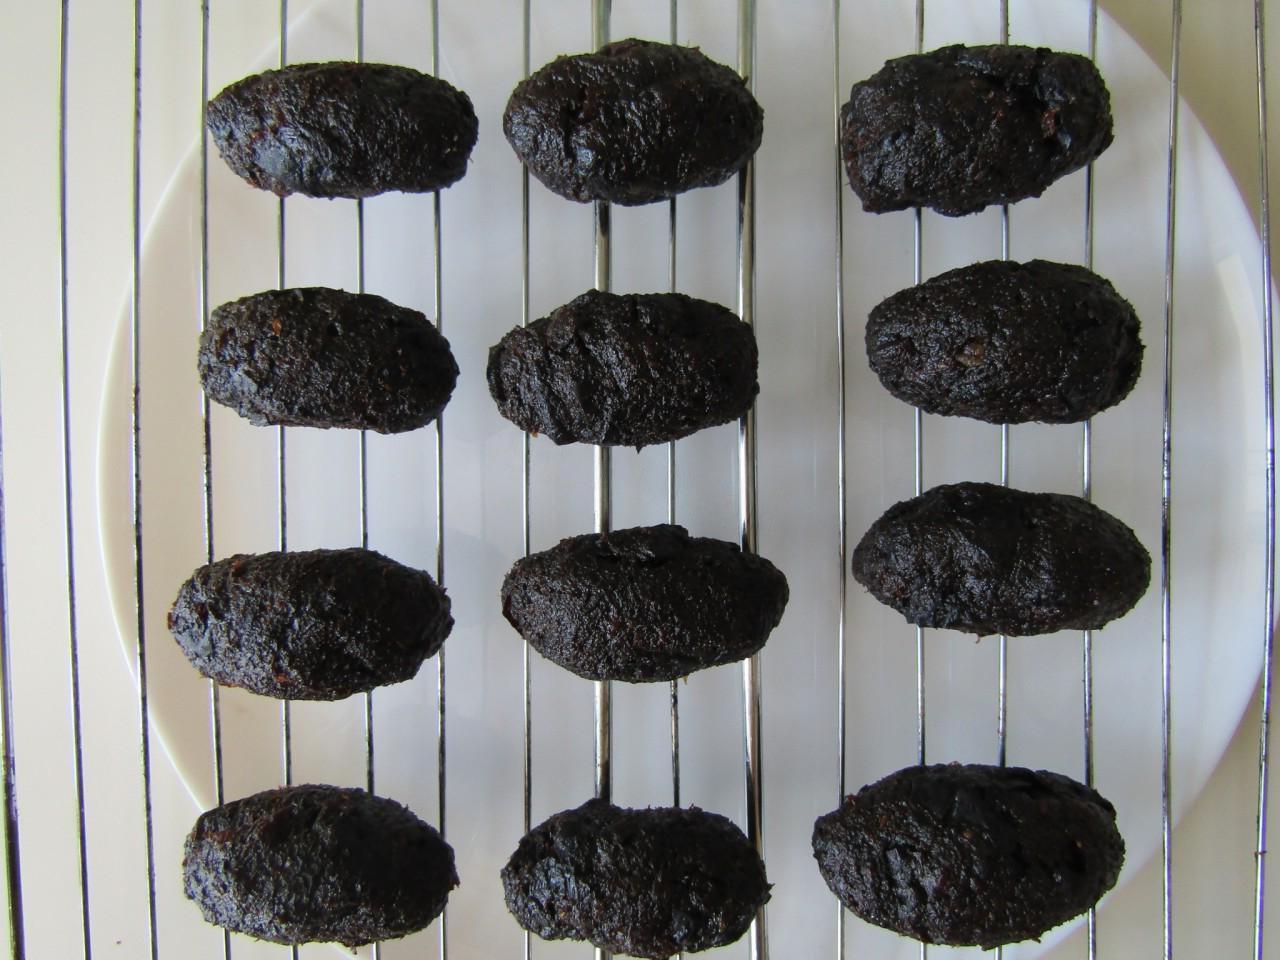
Form a small oval from the “minced meat” (wet your hands with water if necessary) as in the photo, make a depression in it and insert a nut into it, pinch it on top.

Step 4

Step 4
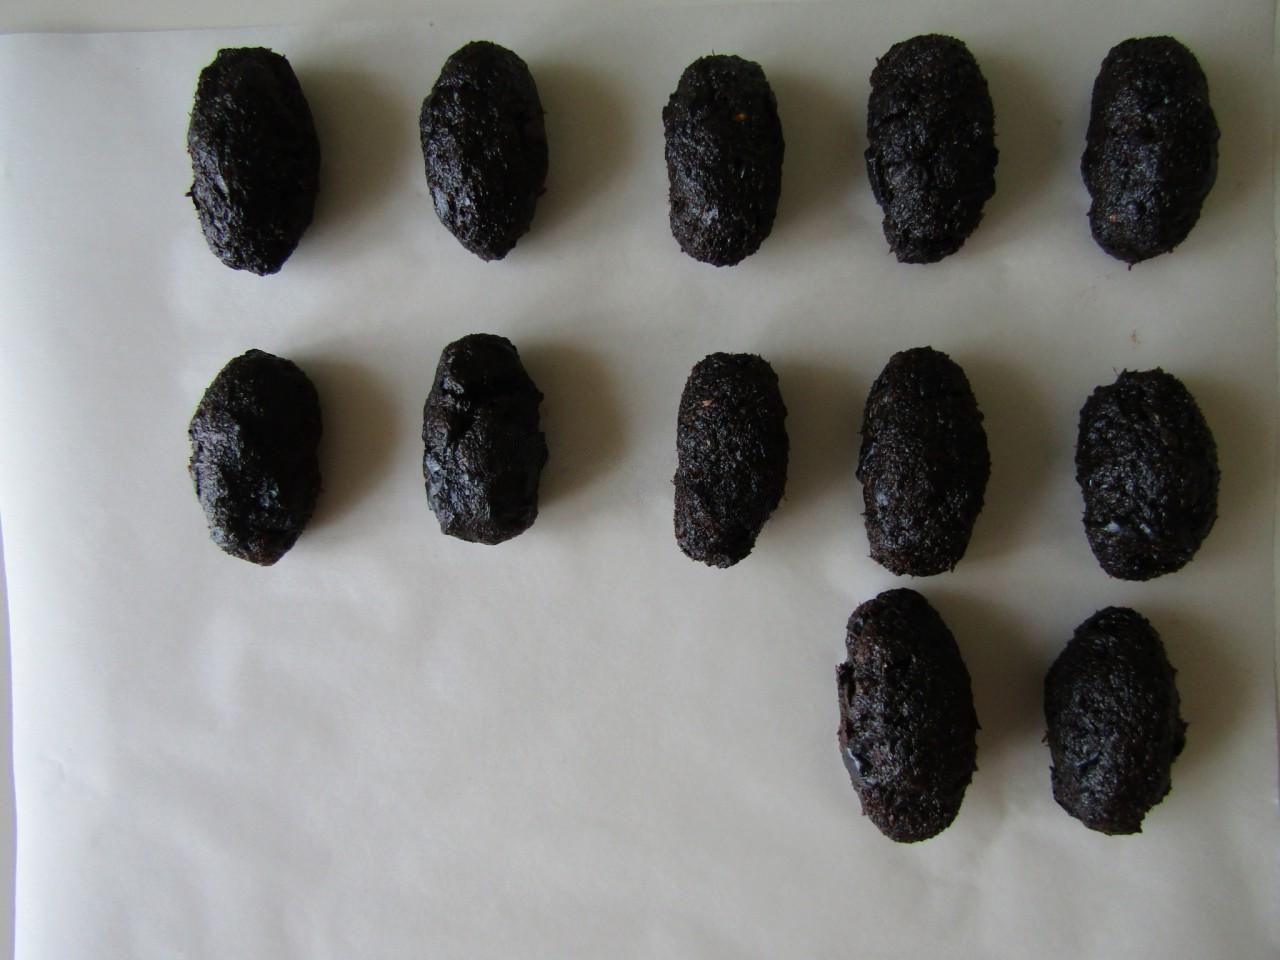
In this way, form all the candies, I got 12 pieces from the specified number of ingredients. Place the candies in the refrigerator (cold candies will be easier to frost).

Step 5

Step 5
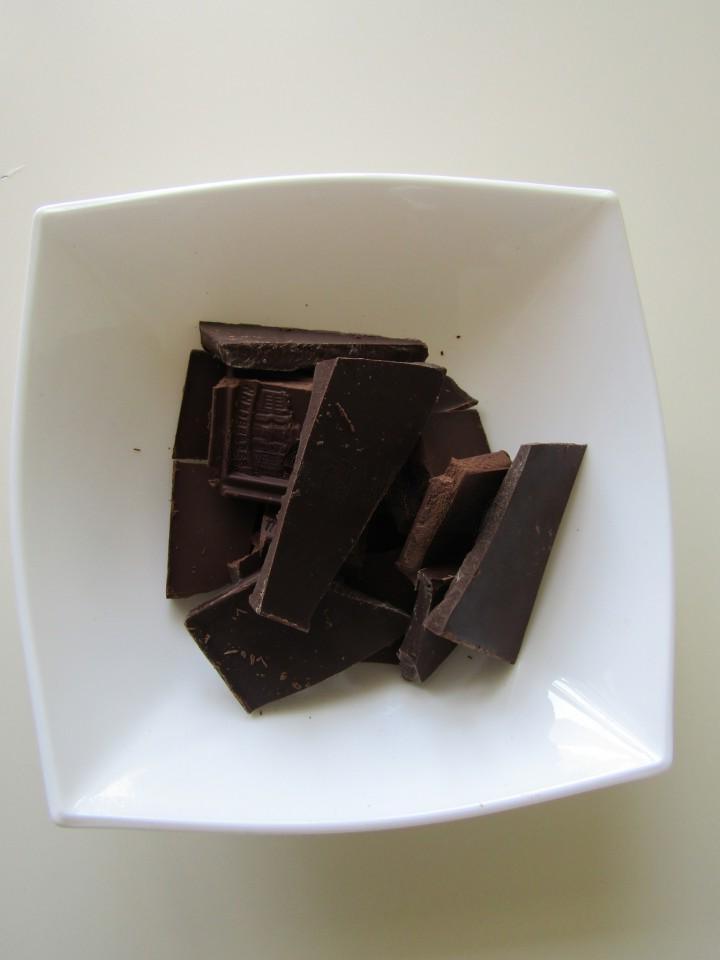
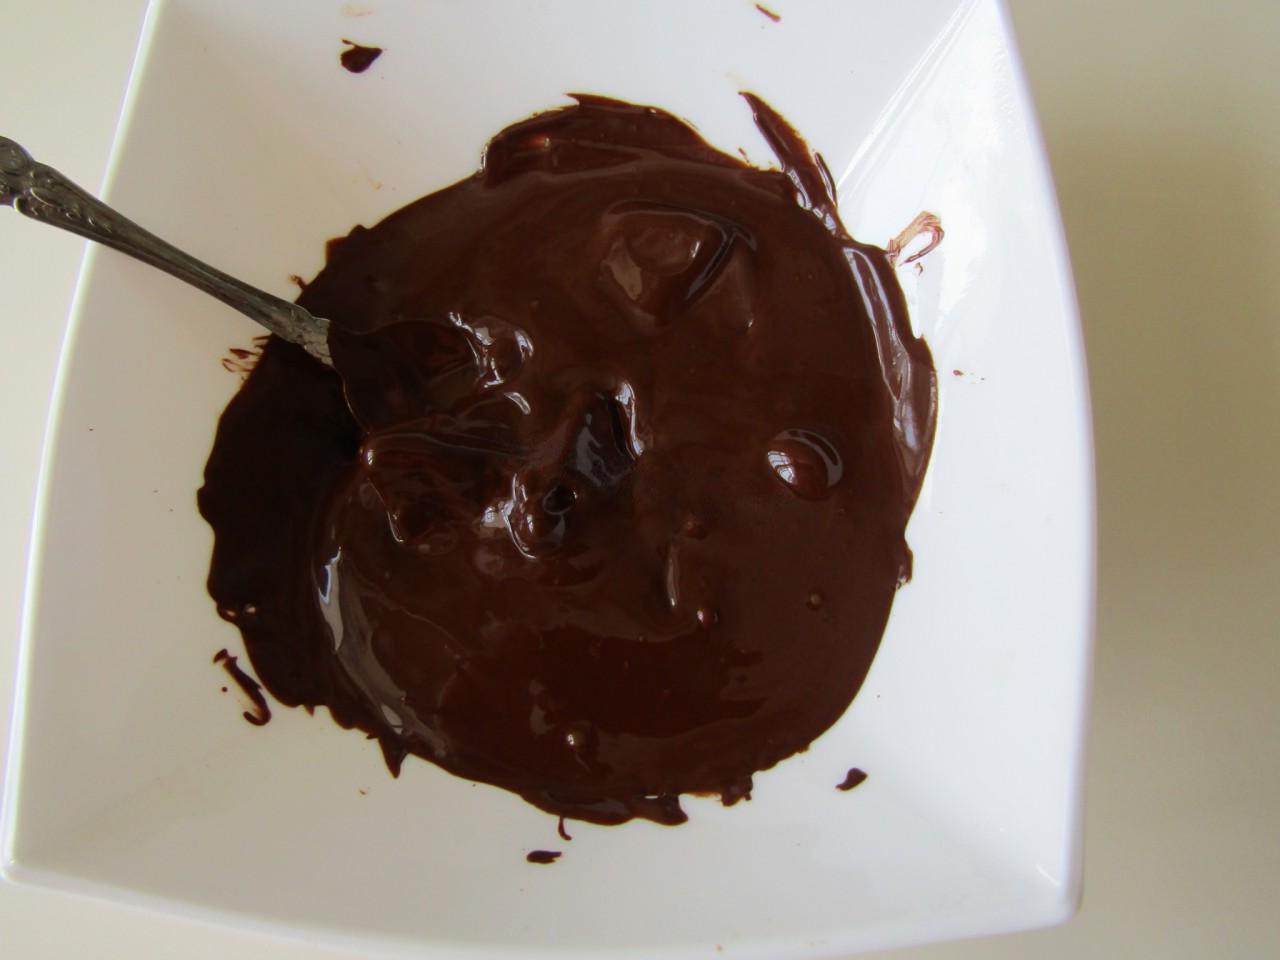
To make the glaze, break the chocolate into pieces, place in a microwave-safe ceramic bowl, and microwave. Select the "defrost" mode and set the time to 20 seconds.

Step 6

Step 6
Remove the bowl from the microwave and stir the chocolate, then microwave again for 20 seconds and stir until the chocolate is completely dissolved. If the glaze turns out too thick, you can add a tablespoon of butter to it and stir.

Step 7

Step 7
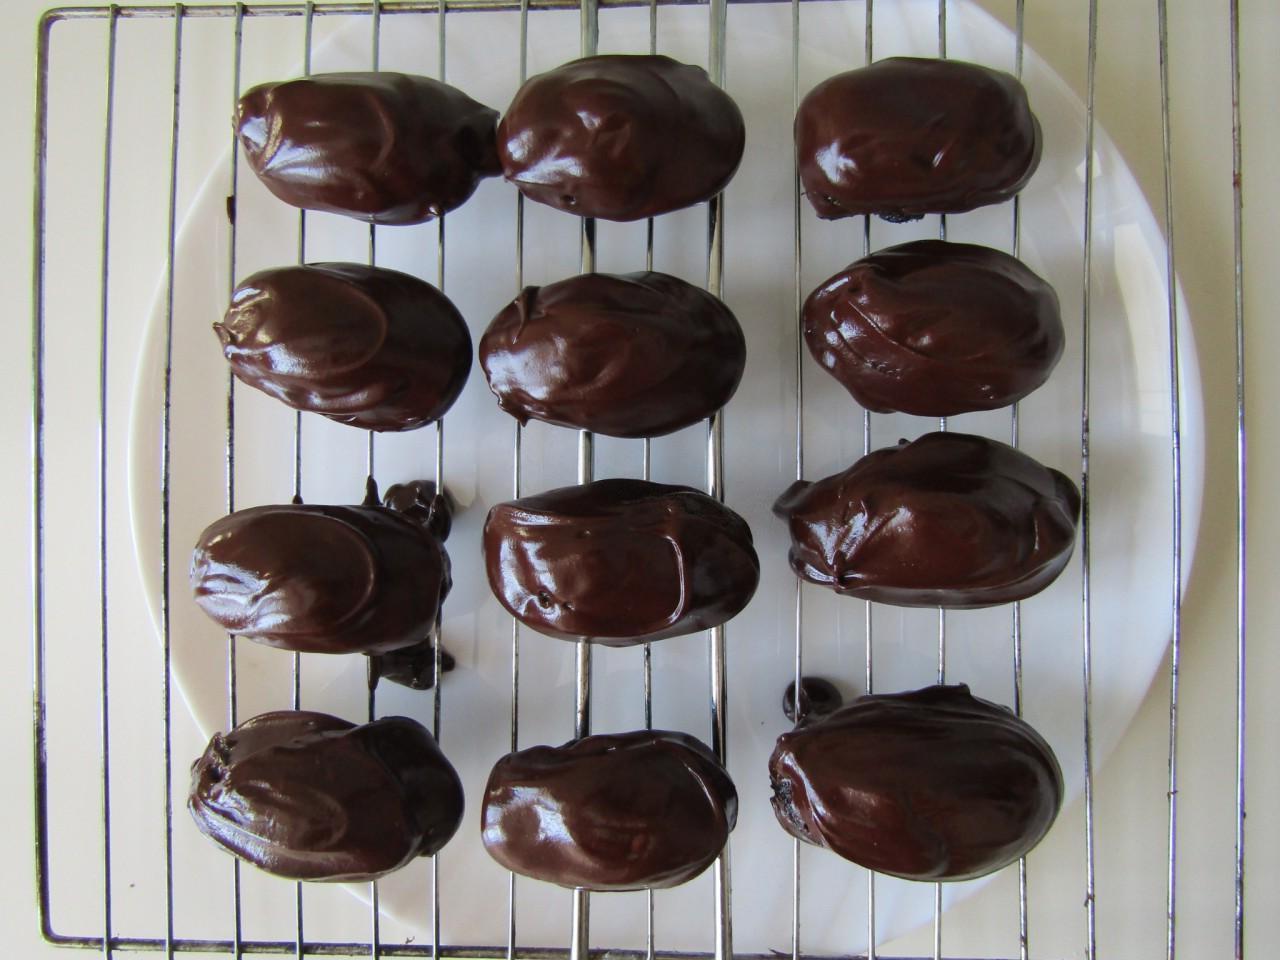
Take the candies out of the refrigerator and place them on a wire rack; place a dish or large plate underneath so that excess glaze drips onto them, which can then be collected and used for pancakes, pancakes, etc.

Step 8

Step 8
Pour glaze over each candy, spreading it evenly, I did it with a teaspoon. In this form, place the candies in the refrigerator until the glaze hardens. Thatʼs all the delicious and natural homemade sweets are ready, bon appetit!