Festive No-Bake Cornflake Cones

Just three products — easy, fast, simple, festive! A no-bake New Yearʼs dessert made from corn flakes with condensed milk and nuts in the form of snow-strewn cones will decorate the festive table on New Yearʼs holidays. It prepares very quickly, all that remains is to cool and decorate.
cook time: 3h 20 min
Caleb Huxley

Festive No-Bake Cornflake Cones

Nutrition Facts (per serving)

392
Calories
14g
Fat
55g
Carbs
8g
Protein

Ingredients (8 portions)

Basic:

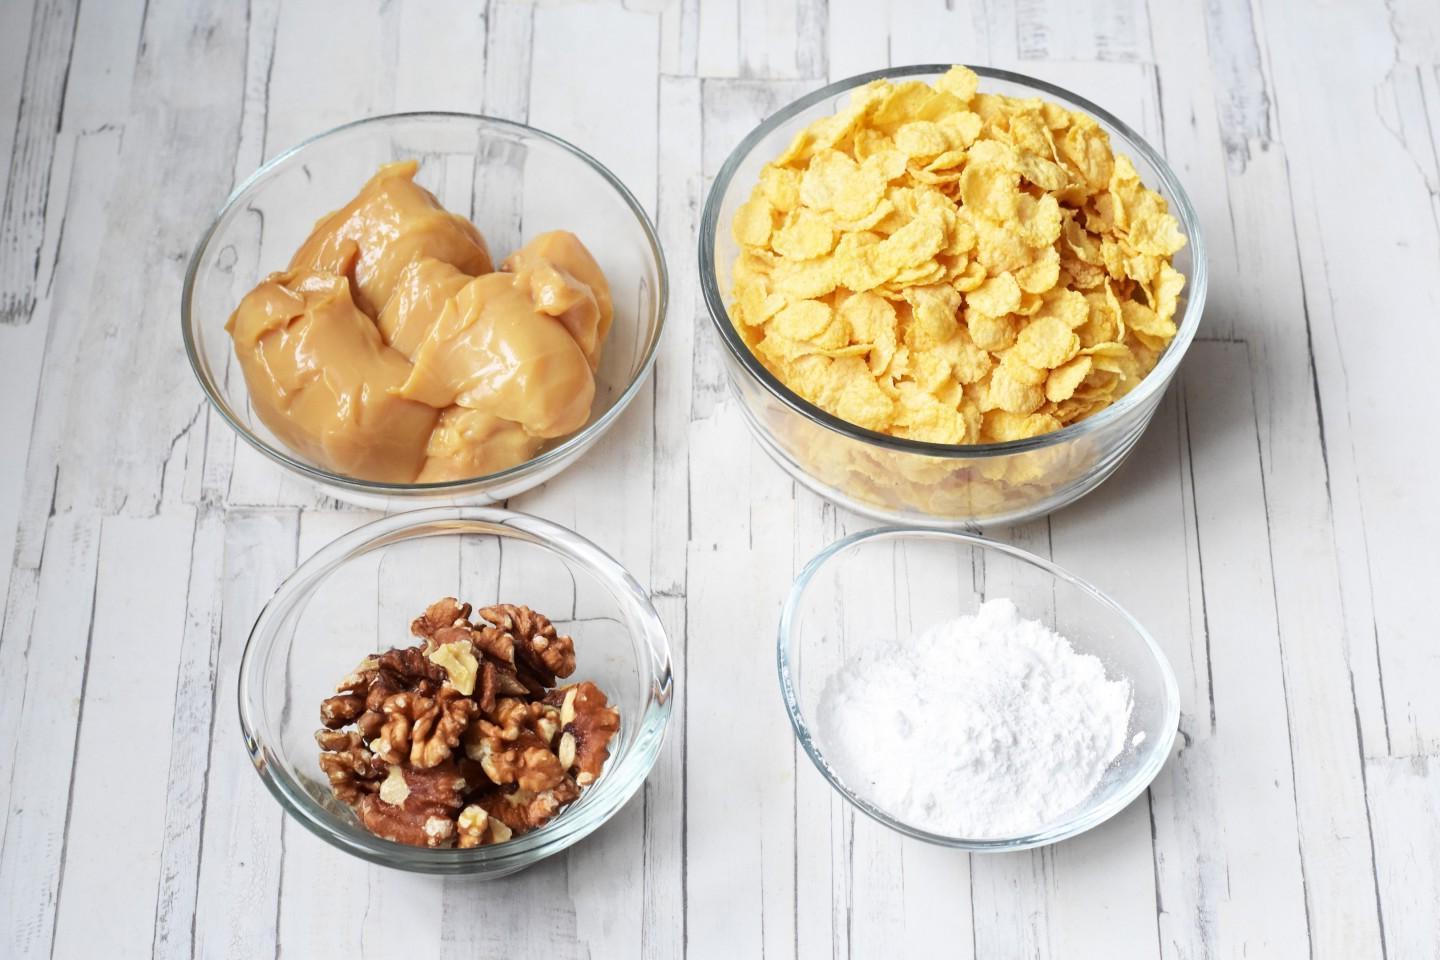
Boiled condensed milk 380 g
Cornflakes 200 g
Walnuts 100 g

Decoration:

Powdered sugar 1 tbsp

Recipe instructions

Step 1
Step 1
How to make a New Yearʼs dessert without baking quickly and tasty? Very simple! To begin, prepare the necessary ingredients according to the list. It is very important to choose the right boiled condensed milk. Nowadays they don’t sell anything. Good condensed milk should have a fat content of 8.5% and be thick. Shake the jar before purchasing — the condensed milk should not roll around in it. If you hear splashing, it means the condensed milk is of poor quality. I actually cooked my condensed milk myself* (see below the recipe).

Step 2

Step 2
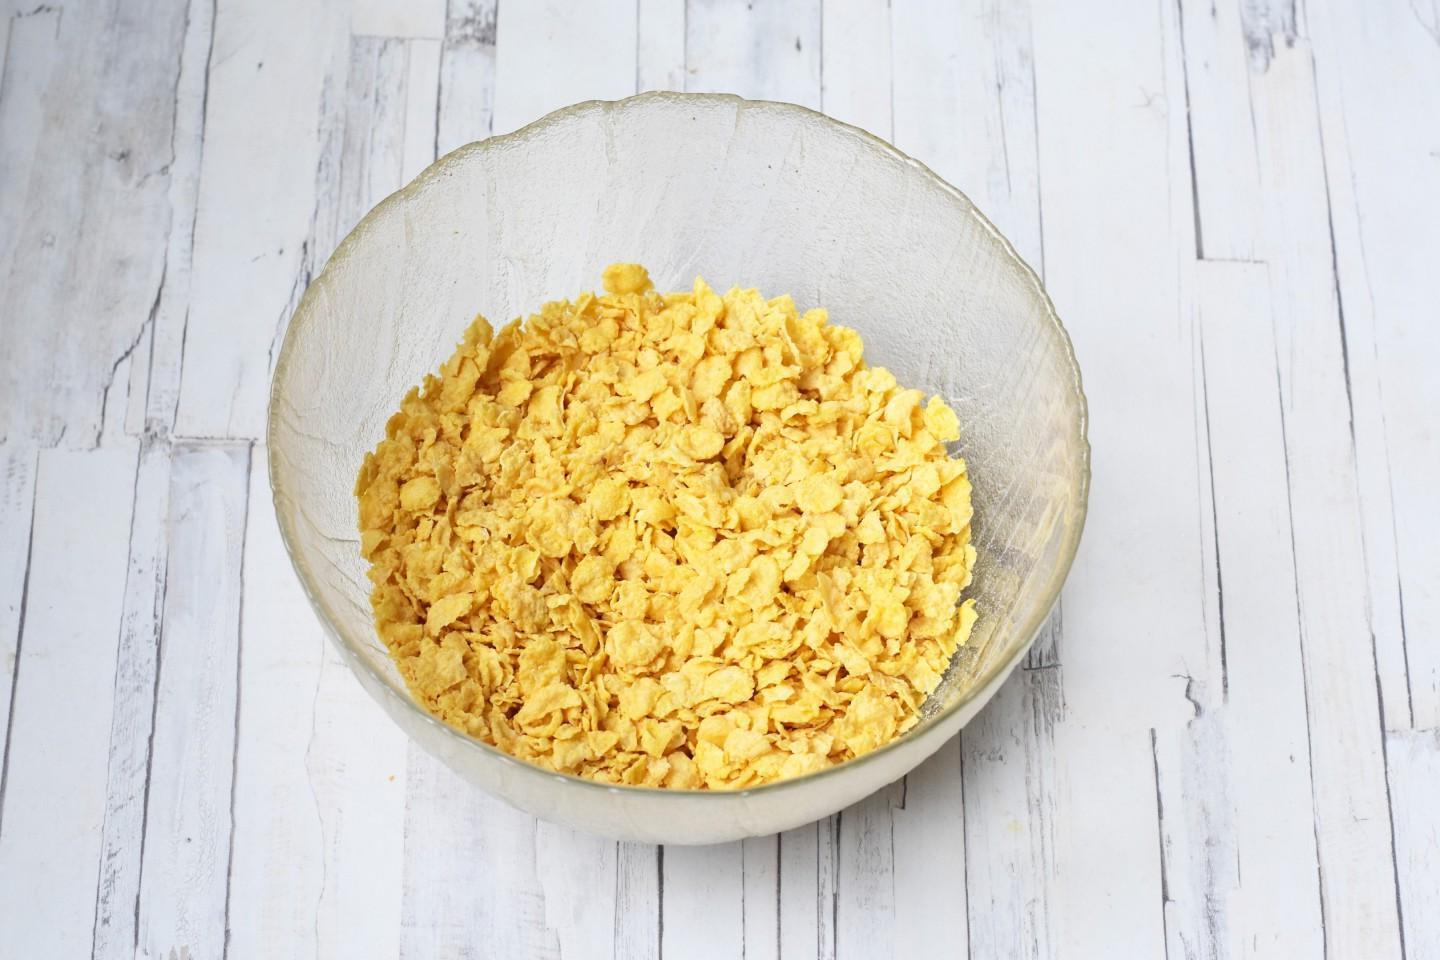
Place cornflakes in a bowl. If the flakes are large, crush them with your hands. Corn flakes come in glazed and unglazed varieties, thin and harder. Take the cereal to your liking, but keep in mind that the calorie content of a dish with glazed flakes will be higher, and the taste of the dessert in combination with condensed milk may turn out to be more sugary.

Step 3

Step 3
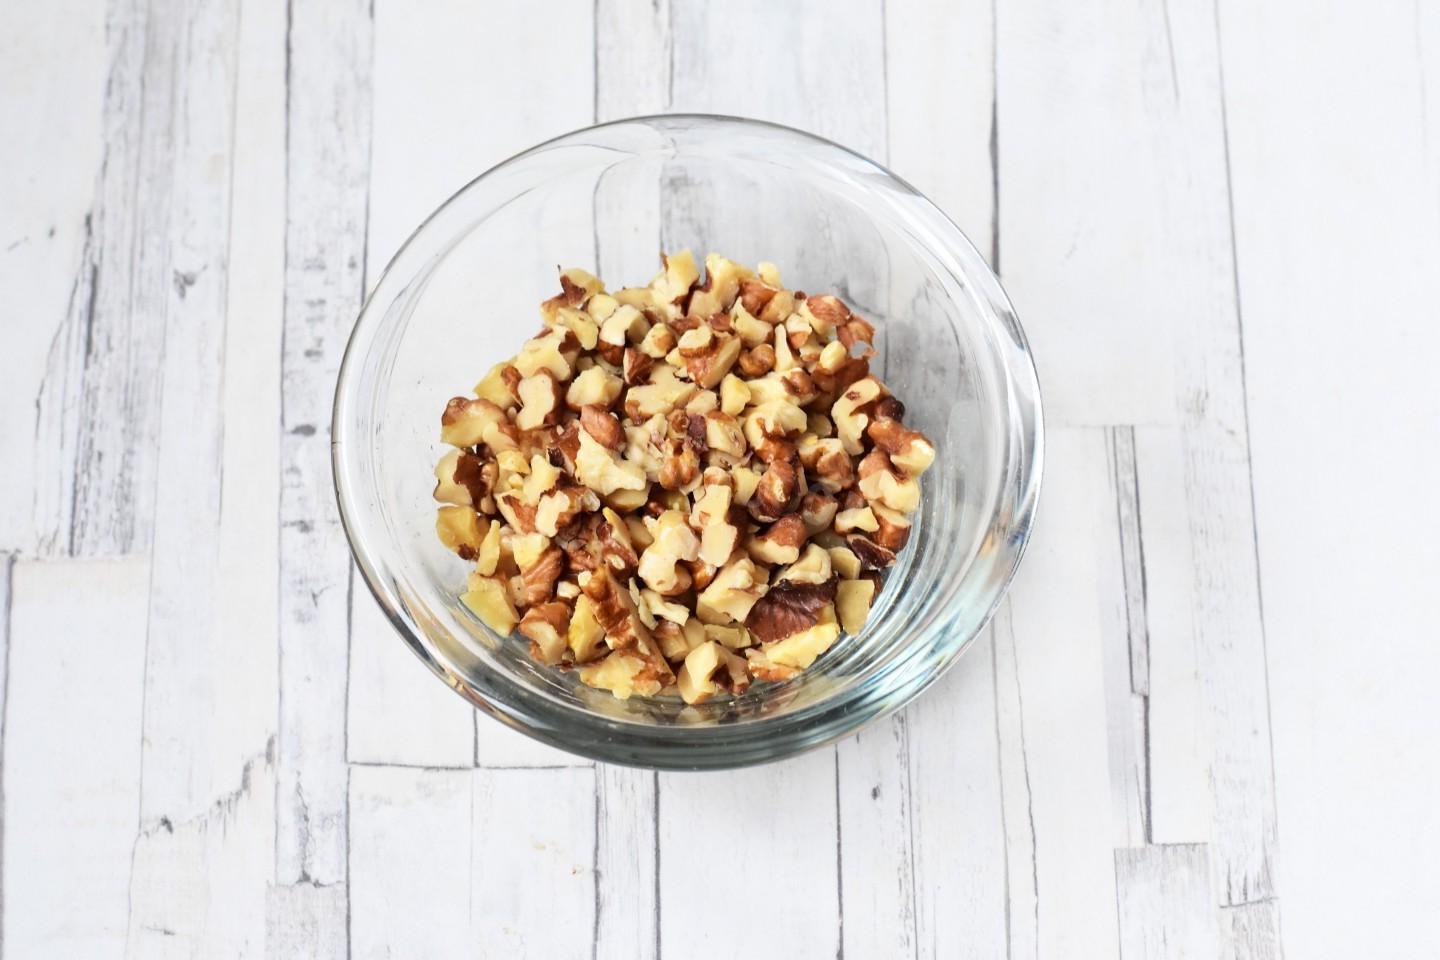
Finely chop the walnuts with a knife or grind in a blender. Instead of walnuts, you can use any others you like: hazelnuts, almonds, peanuts, pecans, etc. A very interesting combination is obtained from boiled condensed milk with salted roasted peanuts.

Step 4

Step 4
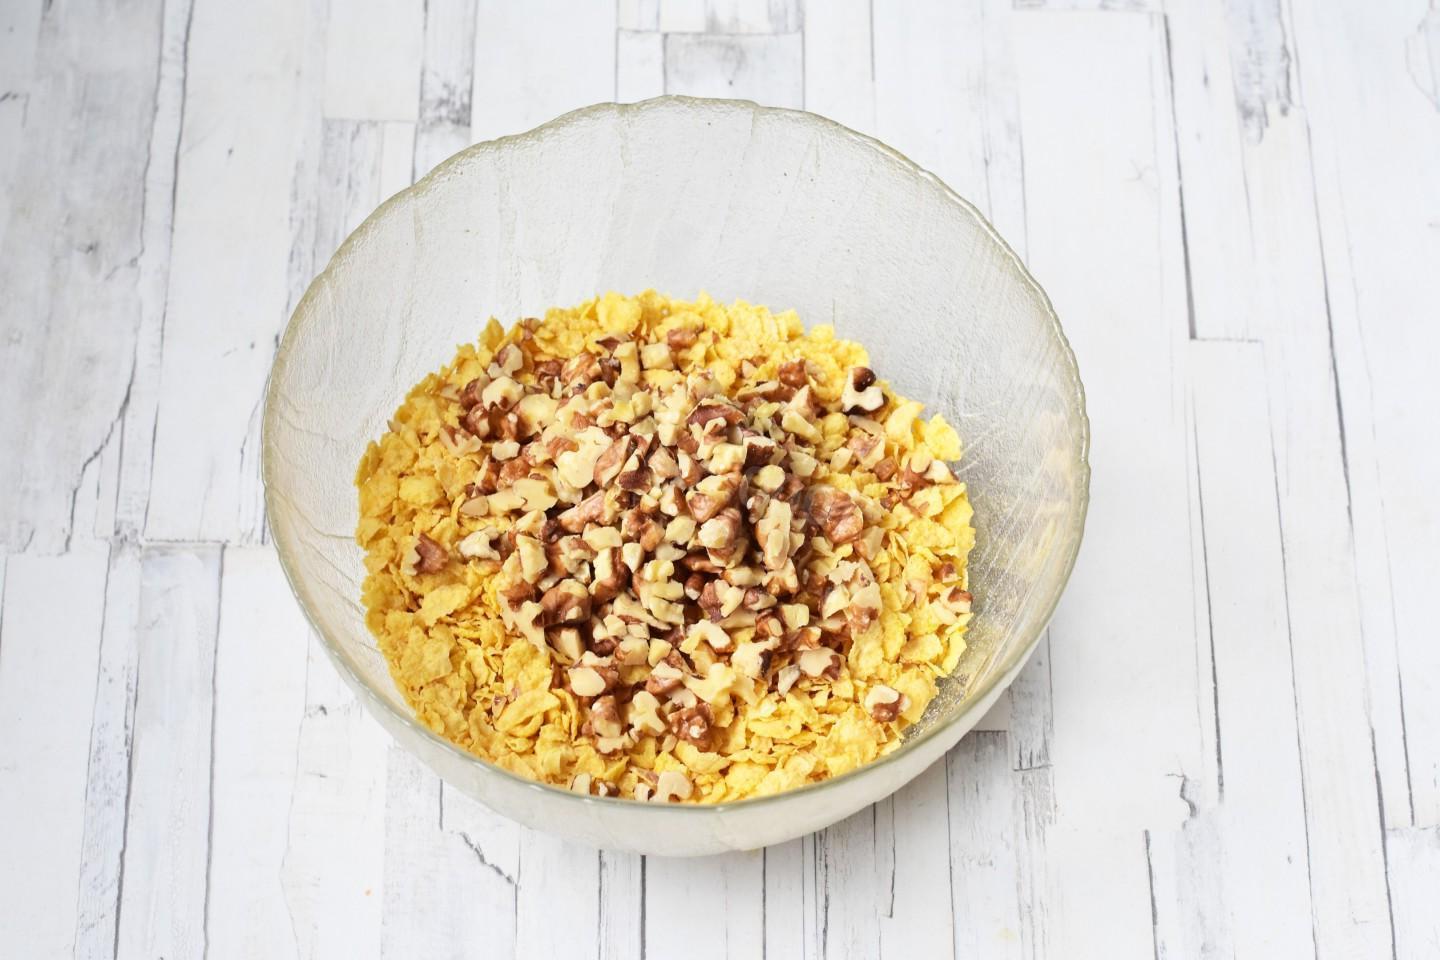
Combine corn flakes and chopped nuts in a bowl. Stir.

Step 5

Step 5
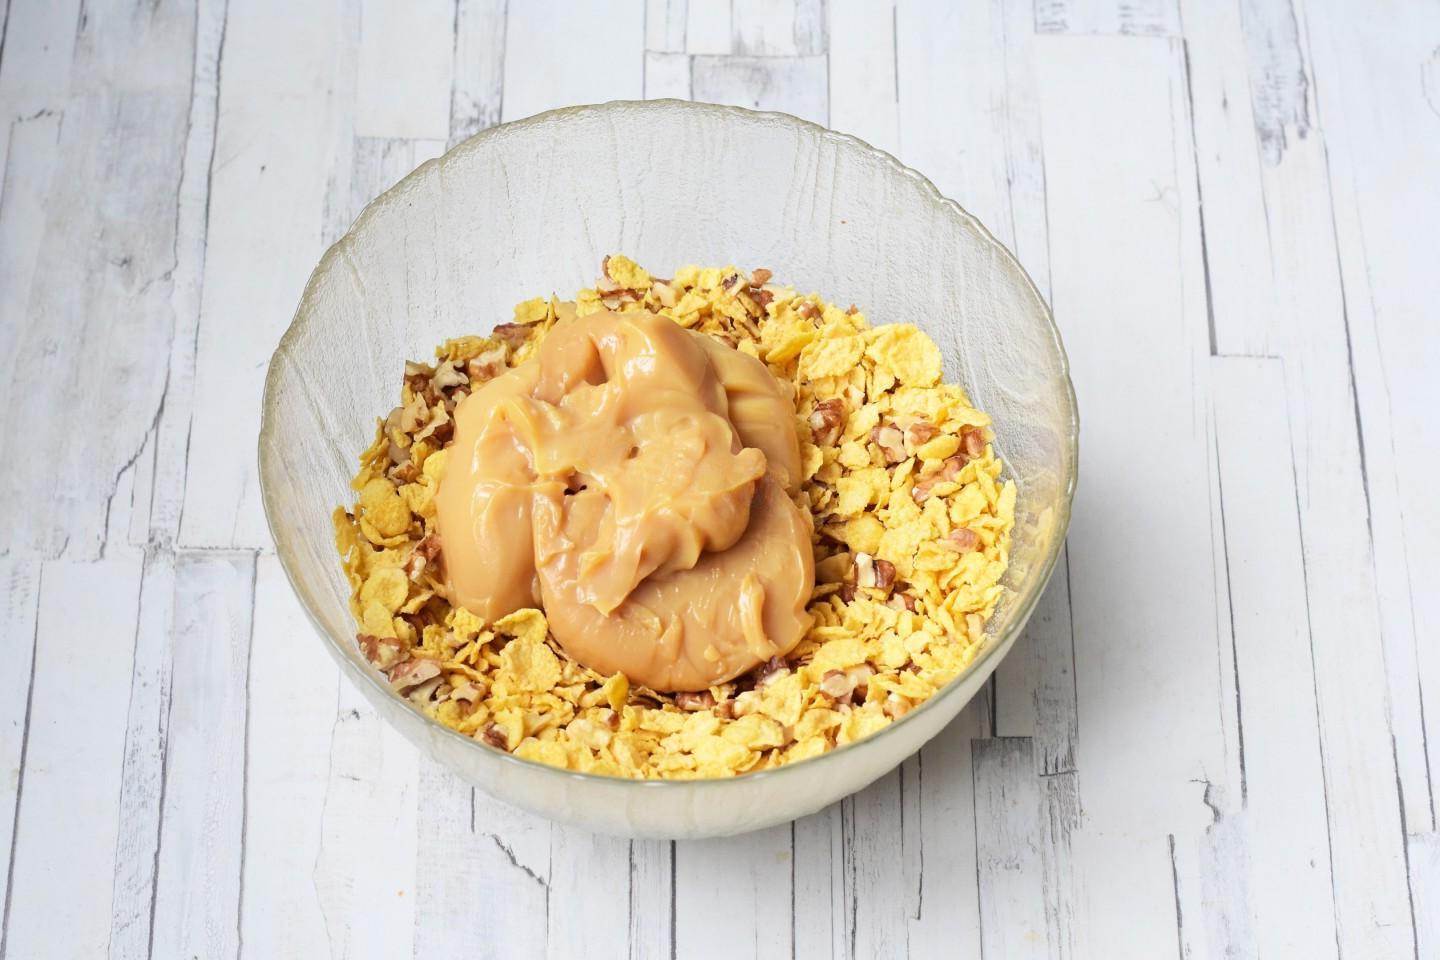
Add boiled condensed milk.

Step 6

Step 6
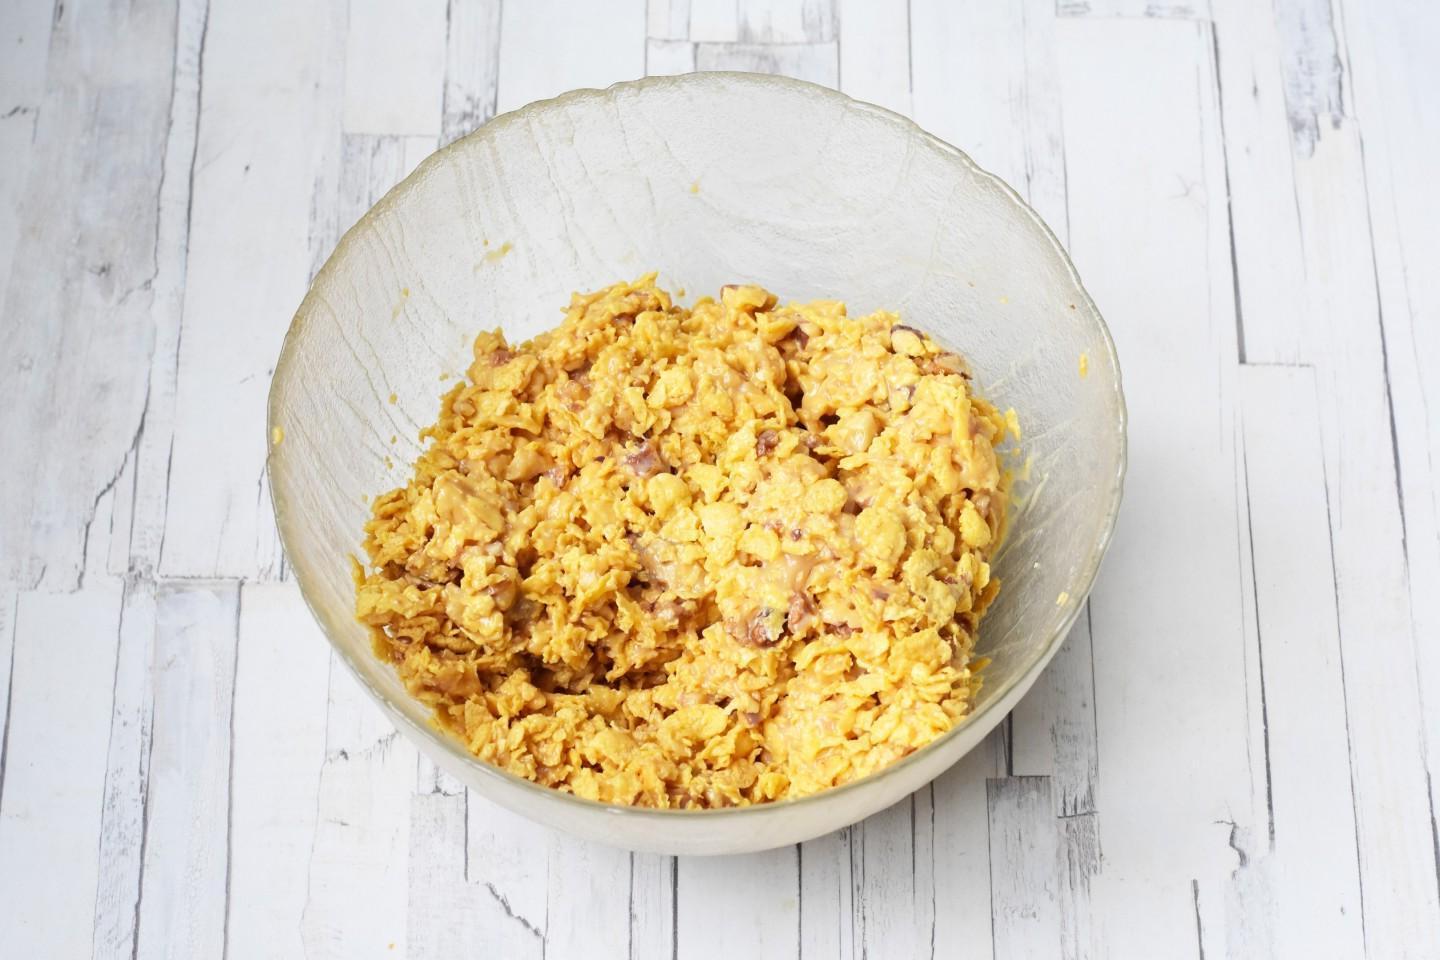
Mix the mixture thoroughly. The condensed milk should be evenly distributed over all the cereal and nuts.

Step 7

Step 7
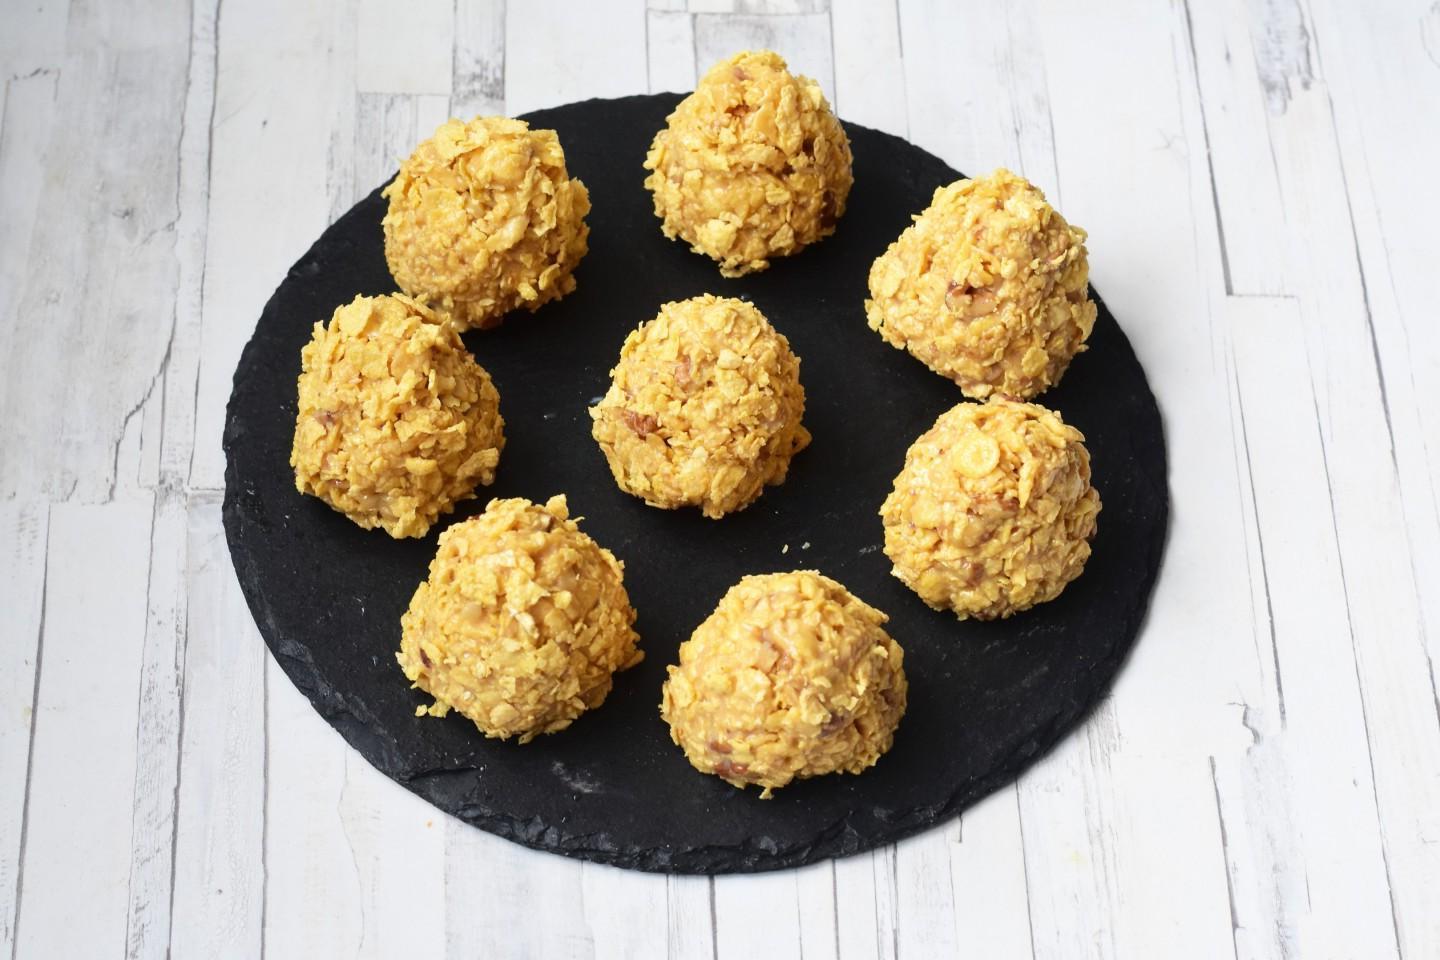
With wet hands, form the mixture into cone-shaped cones. You can form cones in suitable cone-shaped glasses: just fill them with dessert mixture and compact them well. I didn’t have such glasses, so I had to sculpt them by hand. Made 8 cakes. Place the resulting buds in the refrigerator for 3 hours. After the specified time has passed, if you formed the dessert using glasses, remove the cones to a dish.

Step 8

Step 8
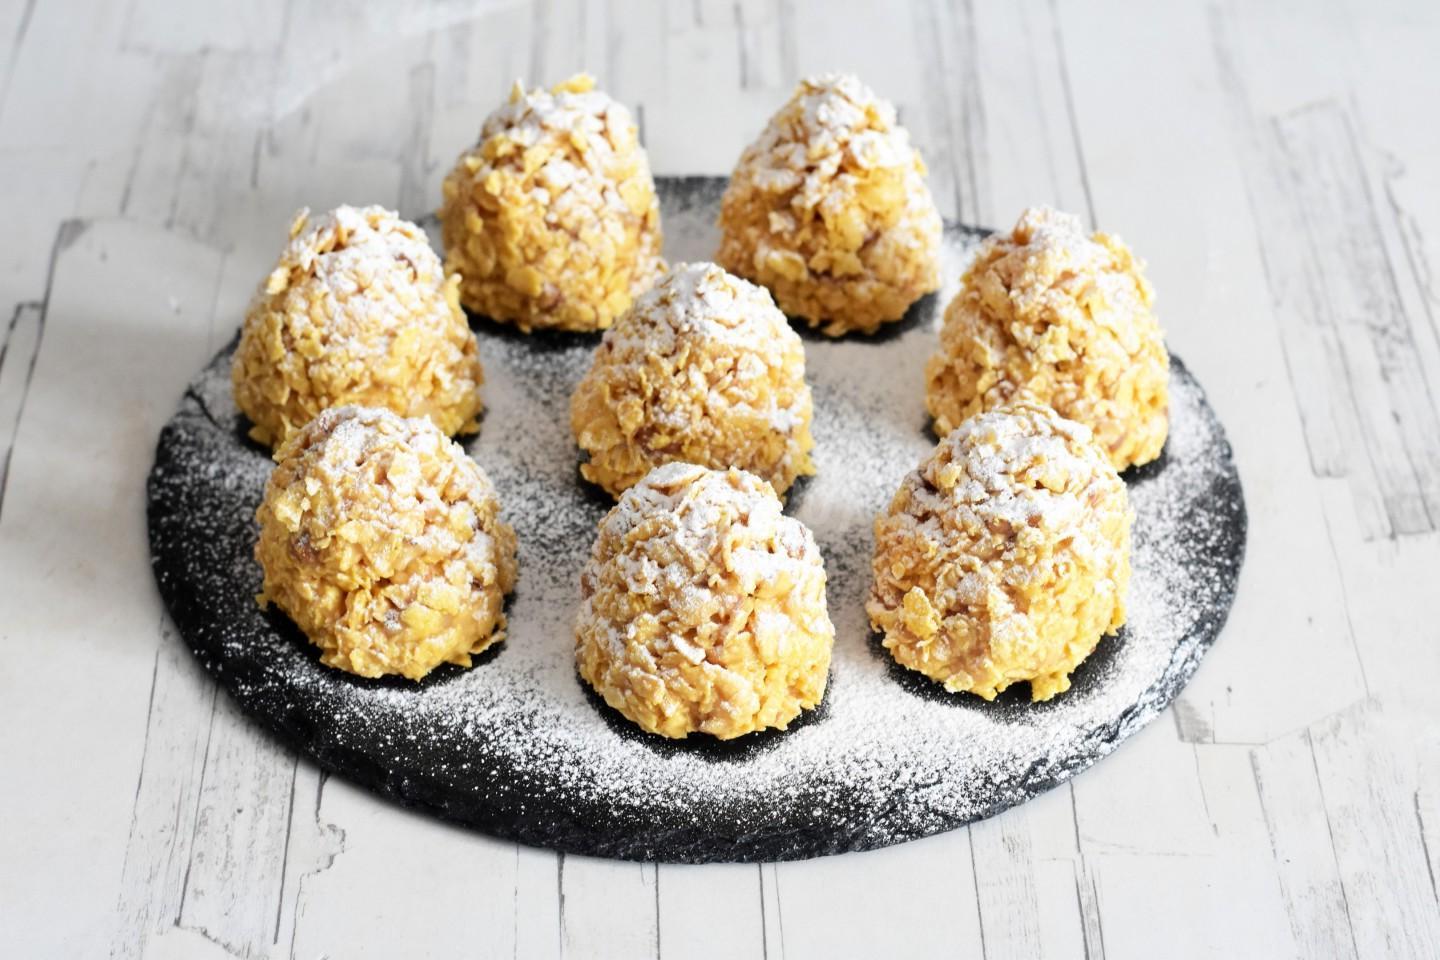
Lightly sprinkle the finished cones with powdered sugar and serve. Bon appetit!