Homemade Molded Lollipops for All Ages

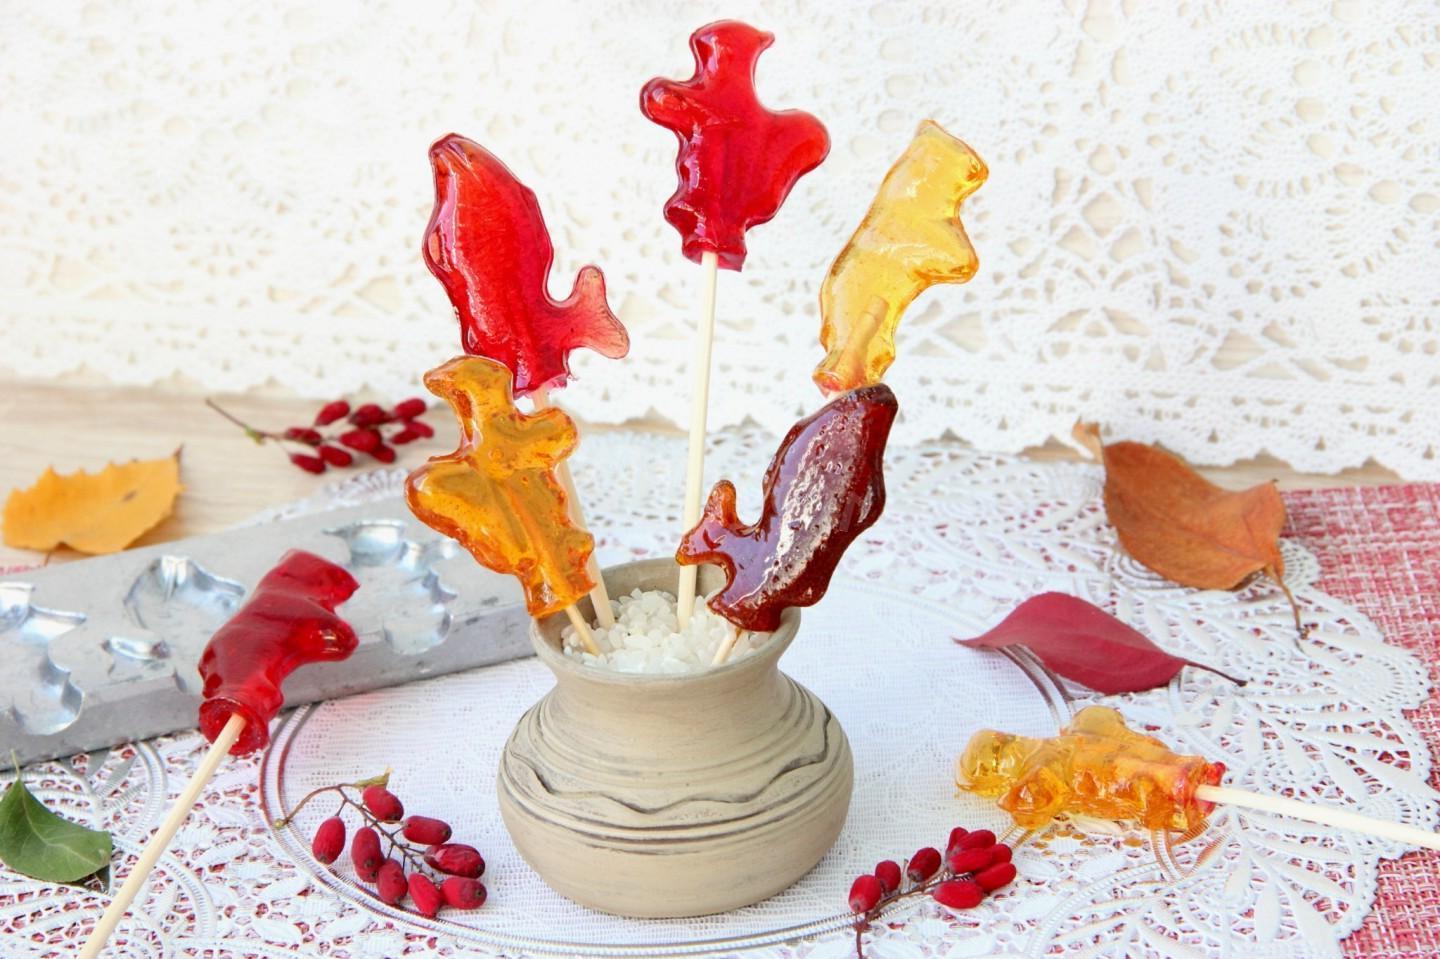
Beautiful, tasty, unusual, for children and adults! Homemade lollipops in molds are a wonderful alternative to store-bought lollipops. For some they will remind you of pleasant childhood memories, while for others they will be new. They can be prepared using herbal infusions, juices, milk, cream or coffee.
cook time: 30 min
Owen Truitt
Homemade Molded Lollipops for All Ages

Nutrition Facts (per serving)

303
Calories
3g
Fat
69g
Carbs

Ingredients (6 portions)

Basic:

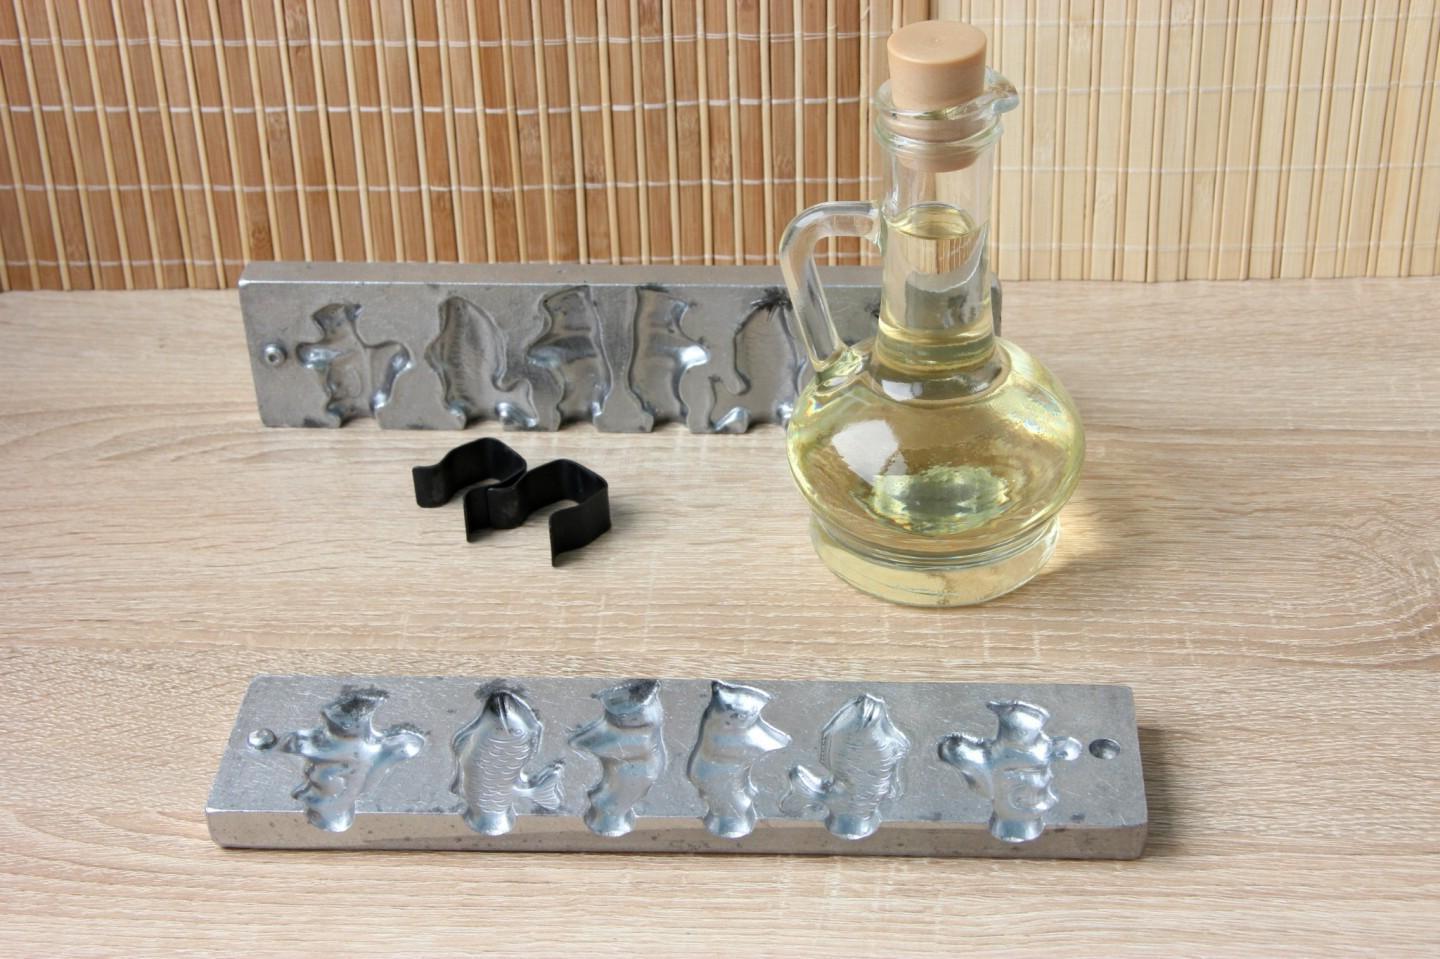
Sugar (Since the spoons are different, and everyone scoops up differently, I weighed it = 110g. Enough for a mold of 6 lollipops as in the photo. I scooped up a regular tbsp. with a slide, as before, when there were no scales — 5 tbsp.) 110 g
Water (= 23g) 2 tbsp
Table vinegar (9% or lemon juice or citric acid solution.) 0.75 tsp
Vegetable oil (for lubricating the mold) 1 tsp
Food coloring (At your request. Boiled beet juice and coffee were used during filming.) 1 g

Recipe instructions

Step 1
Step 1
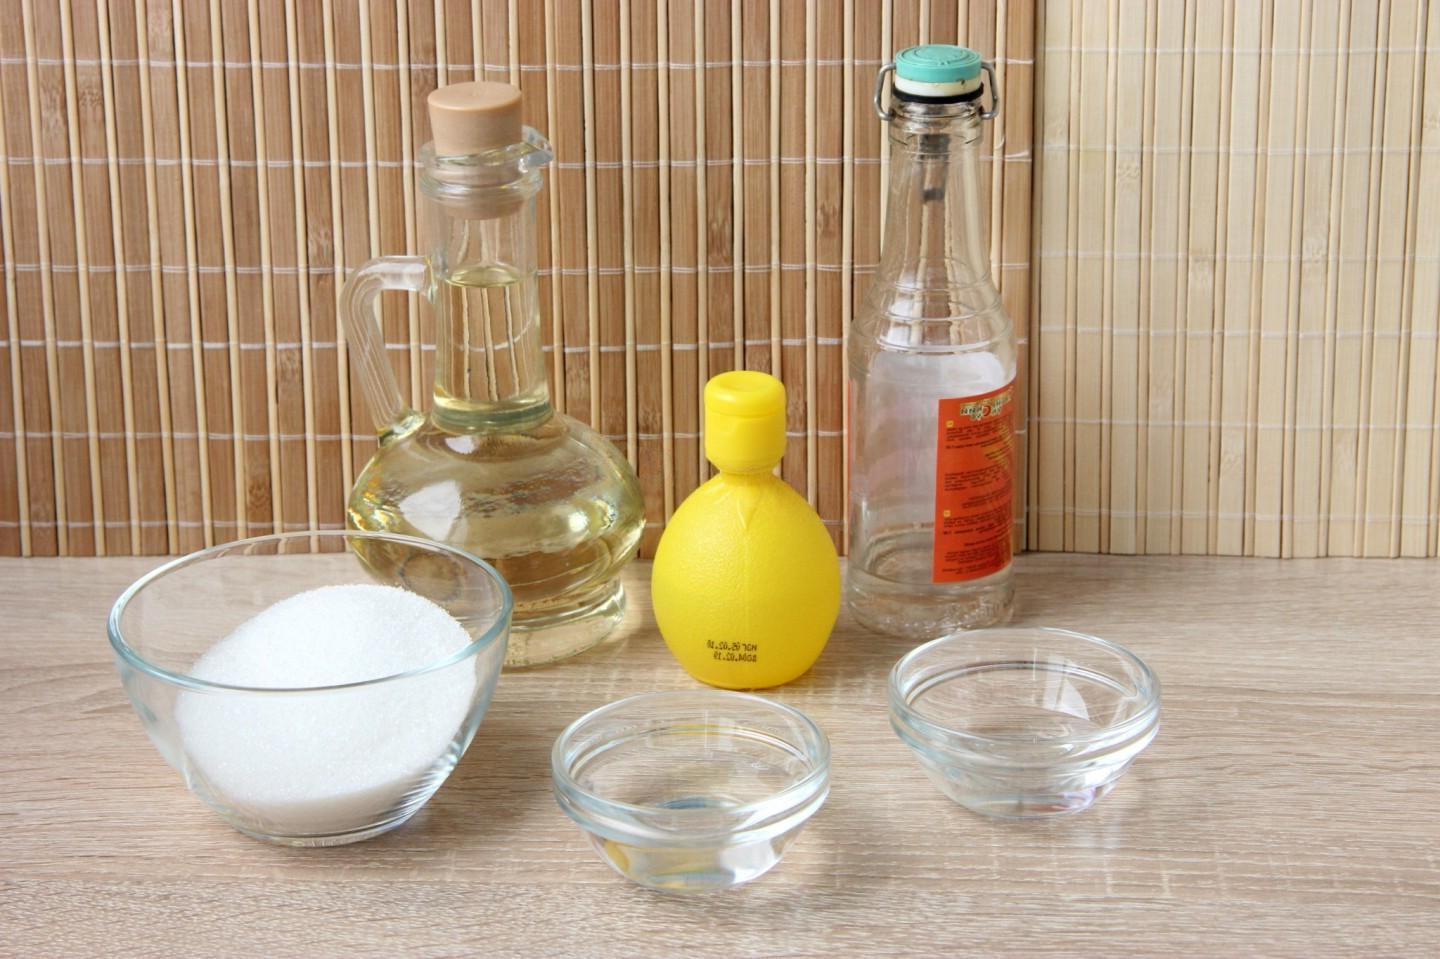
How to make homemade lollipops in molds? Prepare all the necessary products. Take clean, filtered water, as tap water can adversely affect the taste of the finished candies.

Step 2

Step 2
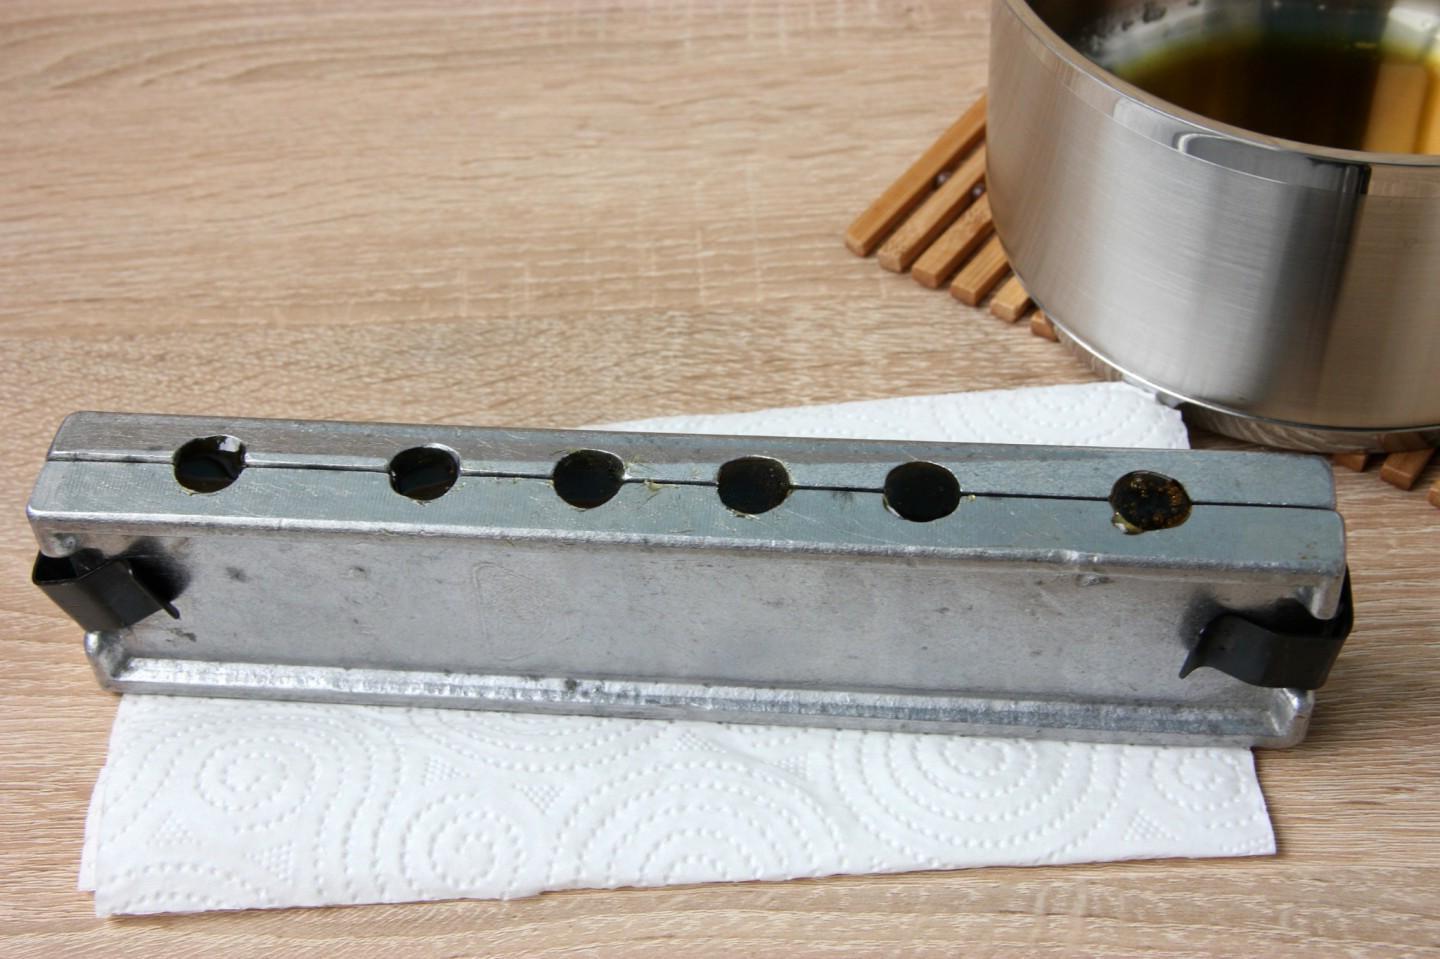
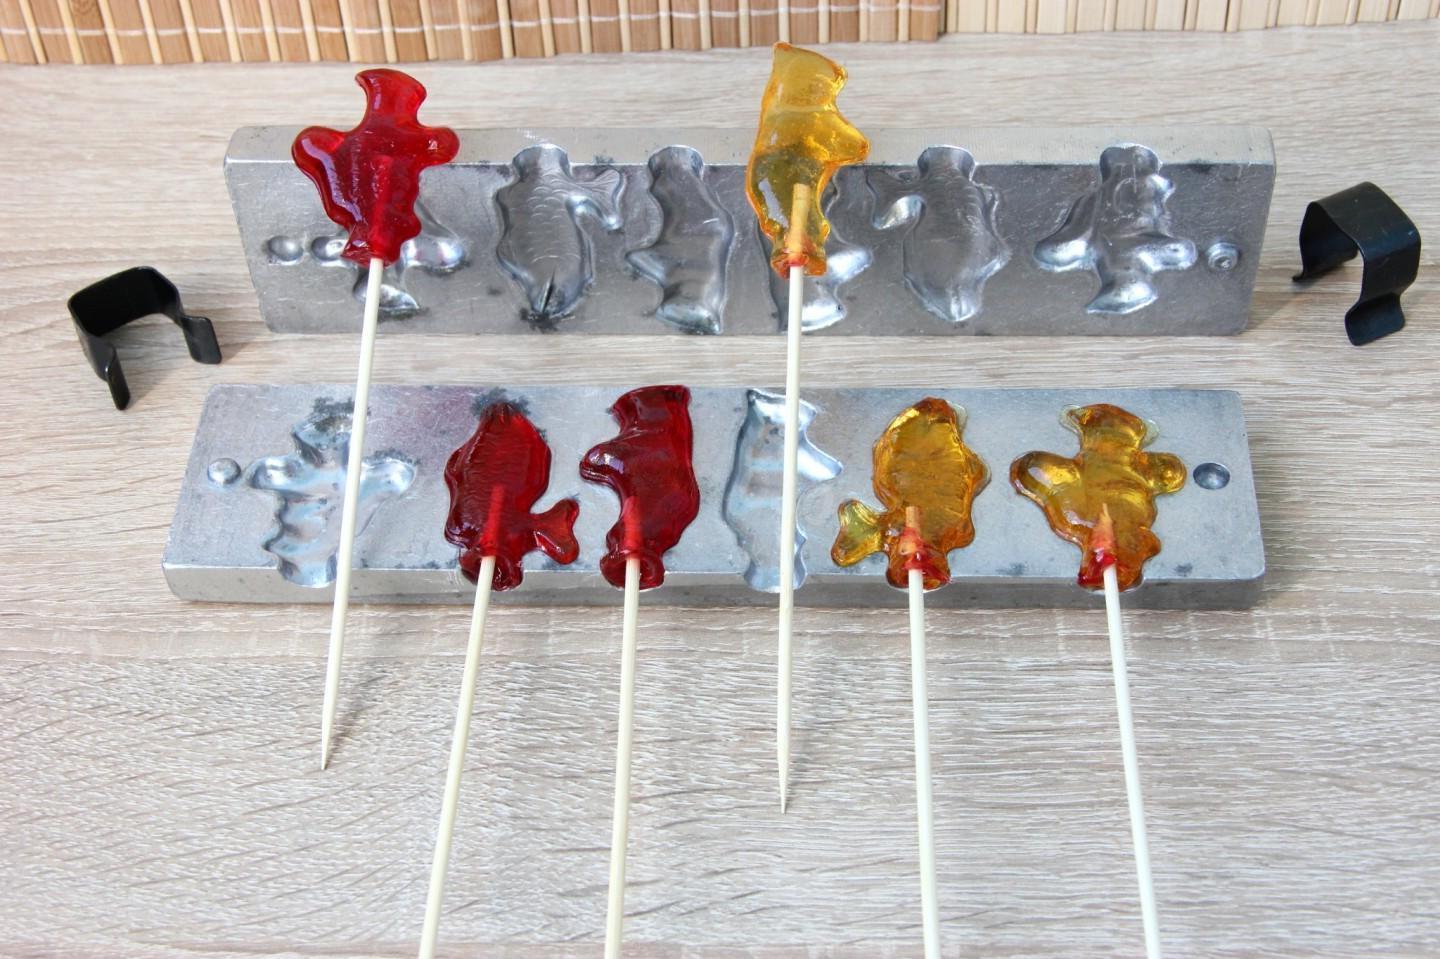
Take a lollipop mold and thoroughly grease it with unscented vegetable oil using a silicone brush. This will ensure easy removal of the candies. Have a saucer of cold water ready to test the caramel for doneness.

Step 3

Step 3
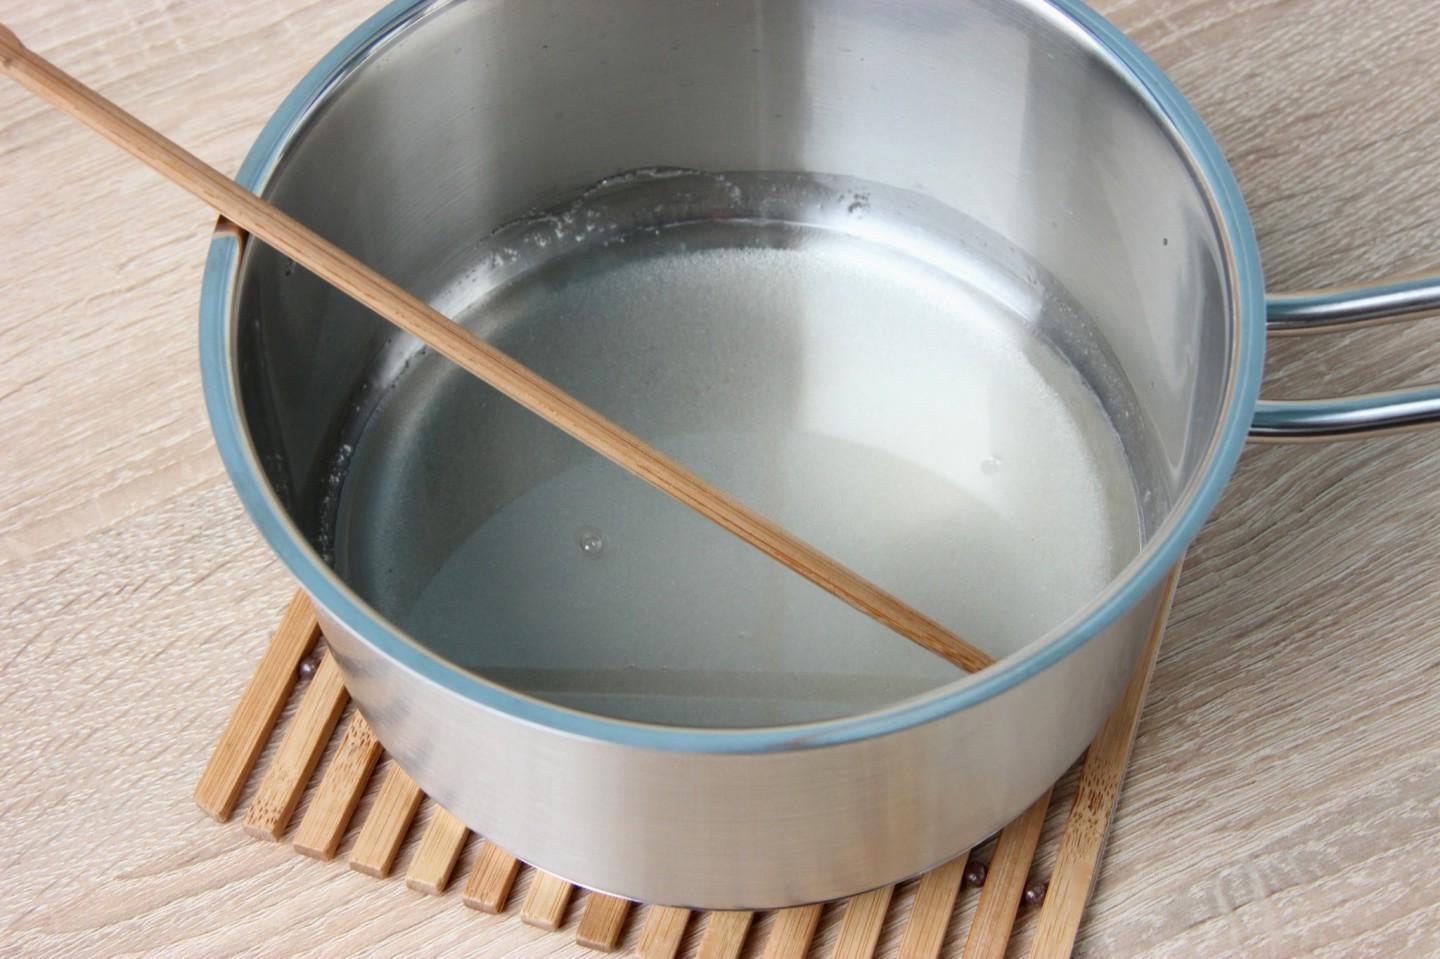
Pour sugar into the pan, then add water and stir. The water in the bowl should barely cover the sugar. You can also use a ladle, enamel mug or bowl for cooking. It is advisable that the dishes be light in color. This will allow you to check the readiness of the caramel and monitor its color to avoid overcooking and crystallization of sugar.

Step 4

Step 4
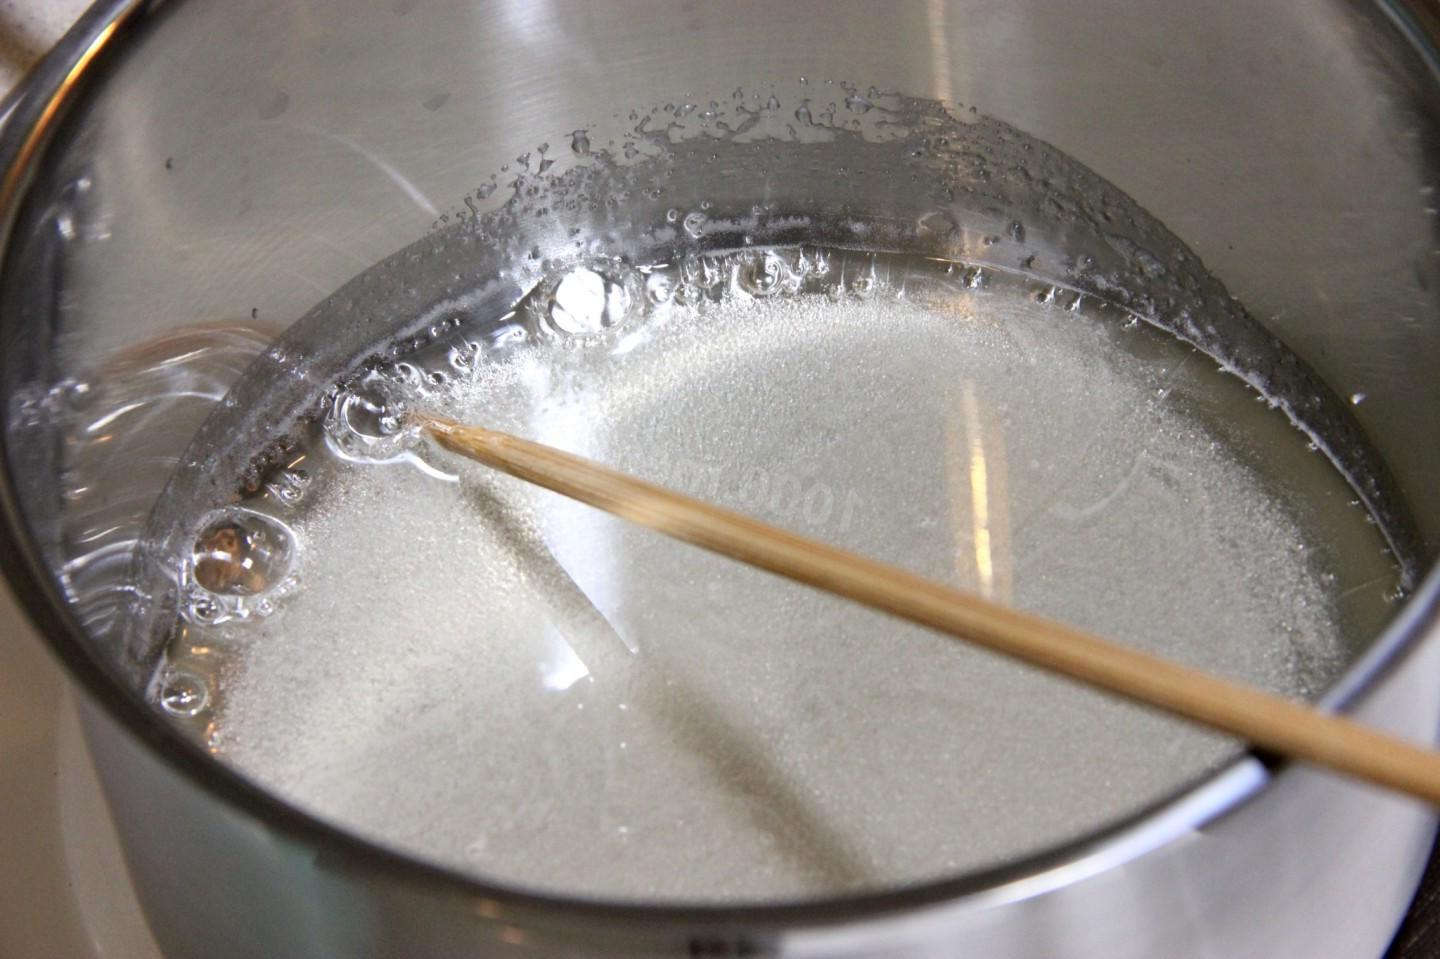
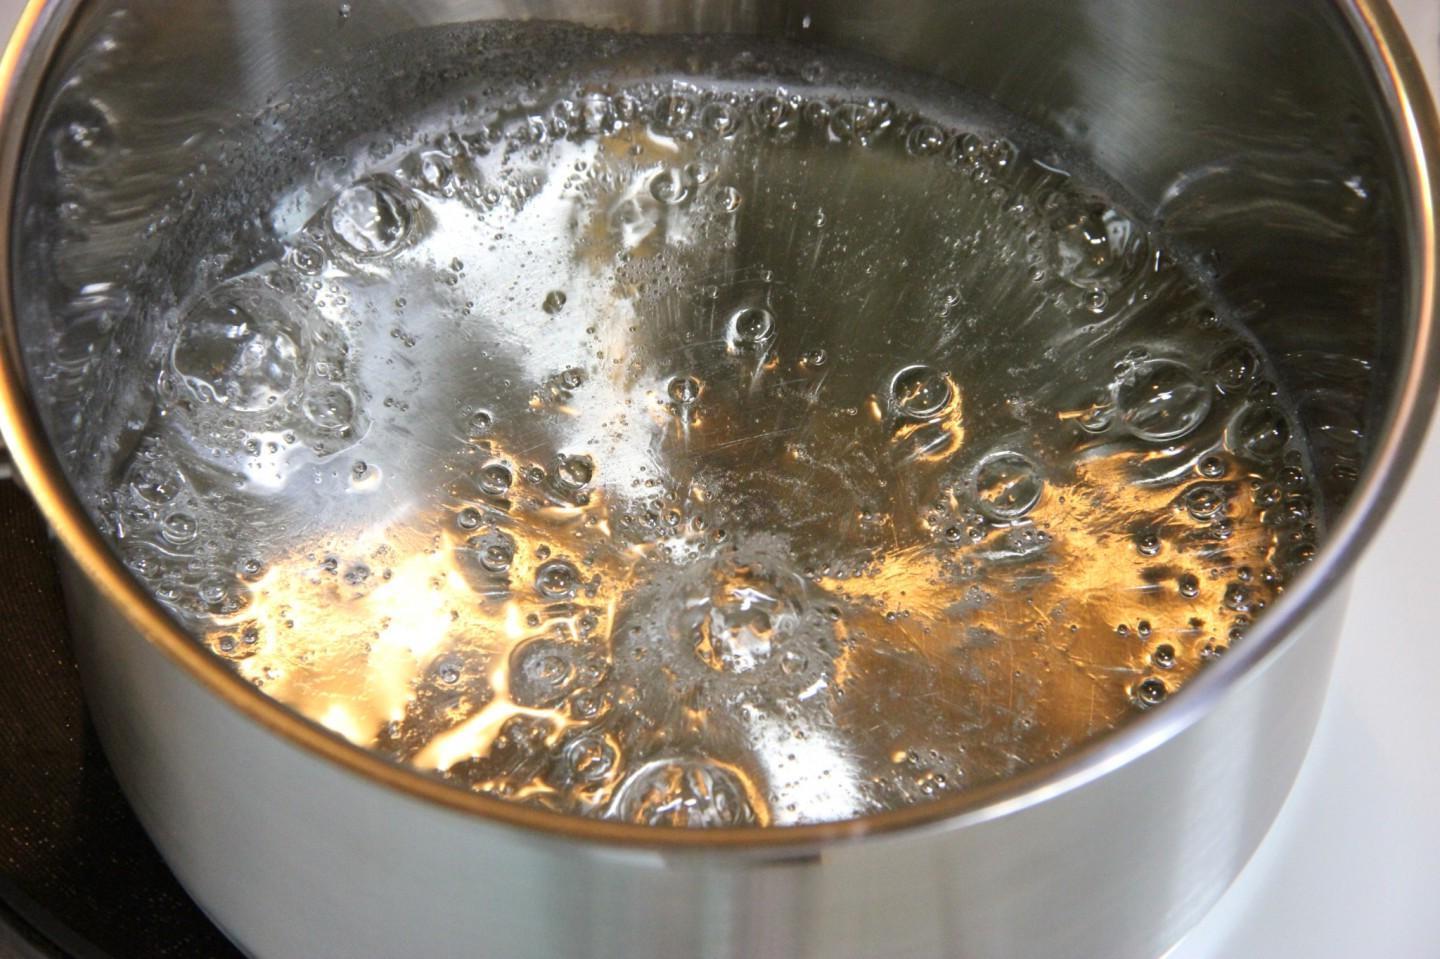
Place the pan over medium heat and bring the solution until the sugar is completely dissolved, stirring continuously.

Step 5

Step 5
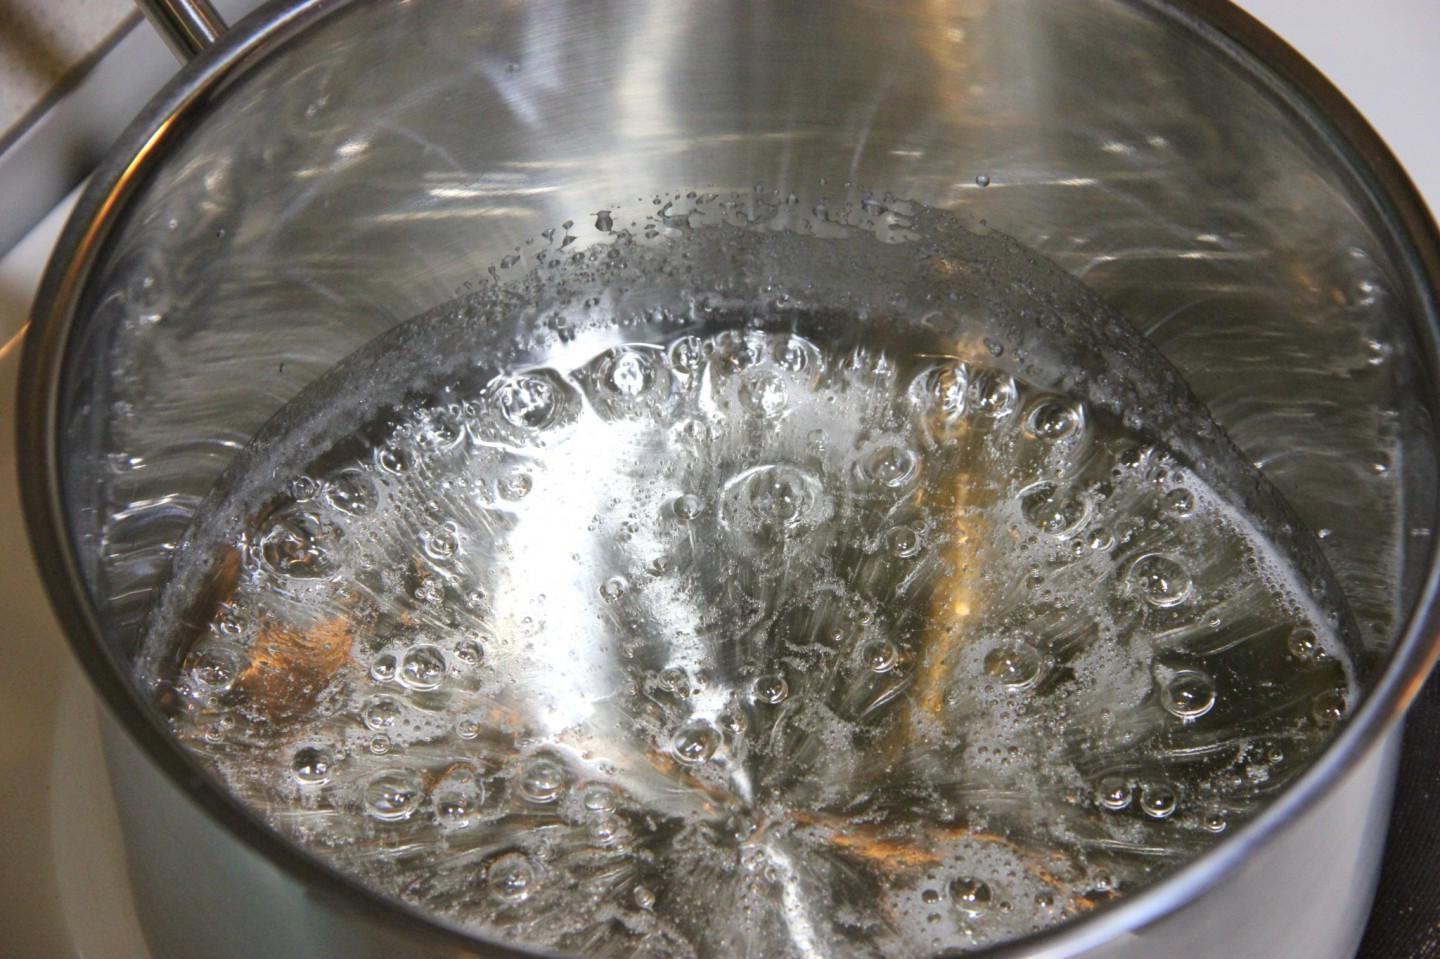
As soon as the syrup boils, pour in the vinegar. Vinegar is added to prevent sugar crystallization. If you are against vinegar, you can add lemon juice or make a solution of citric acid by dissolving a few crystals in a teaspoon, but Vinegar does a better job of this. In the finished caramel, the smell of vinegar disappears and the difference in taste is not noticeable.

Step 6

Step 6
Reduce heat and cook the syrup, stirring slightly, avoiding boiling.

Step 7

Step 7
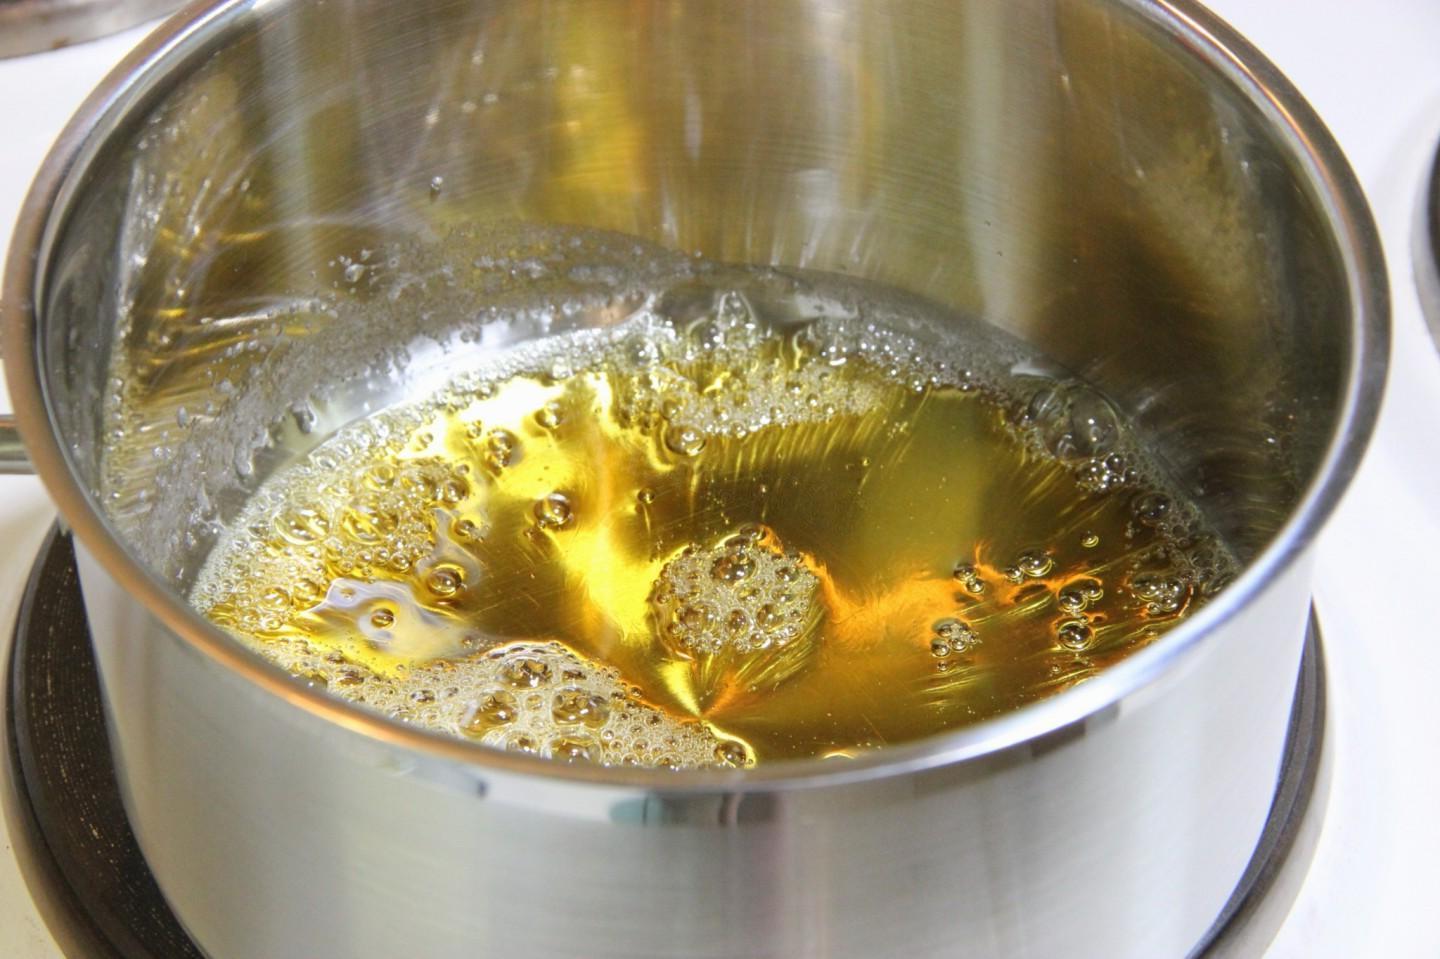
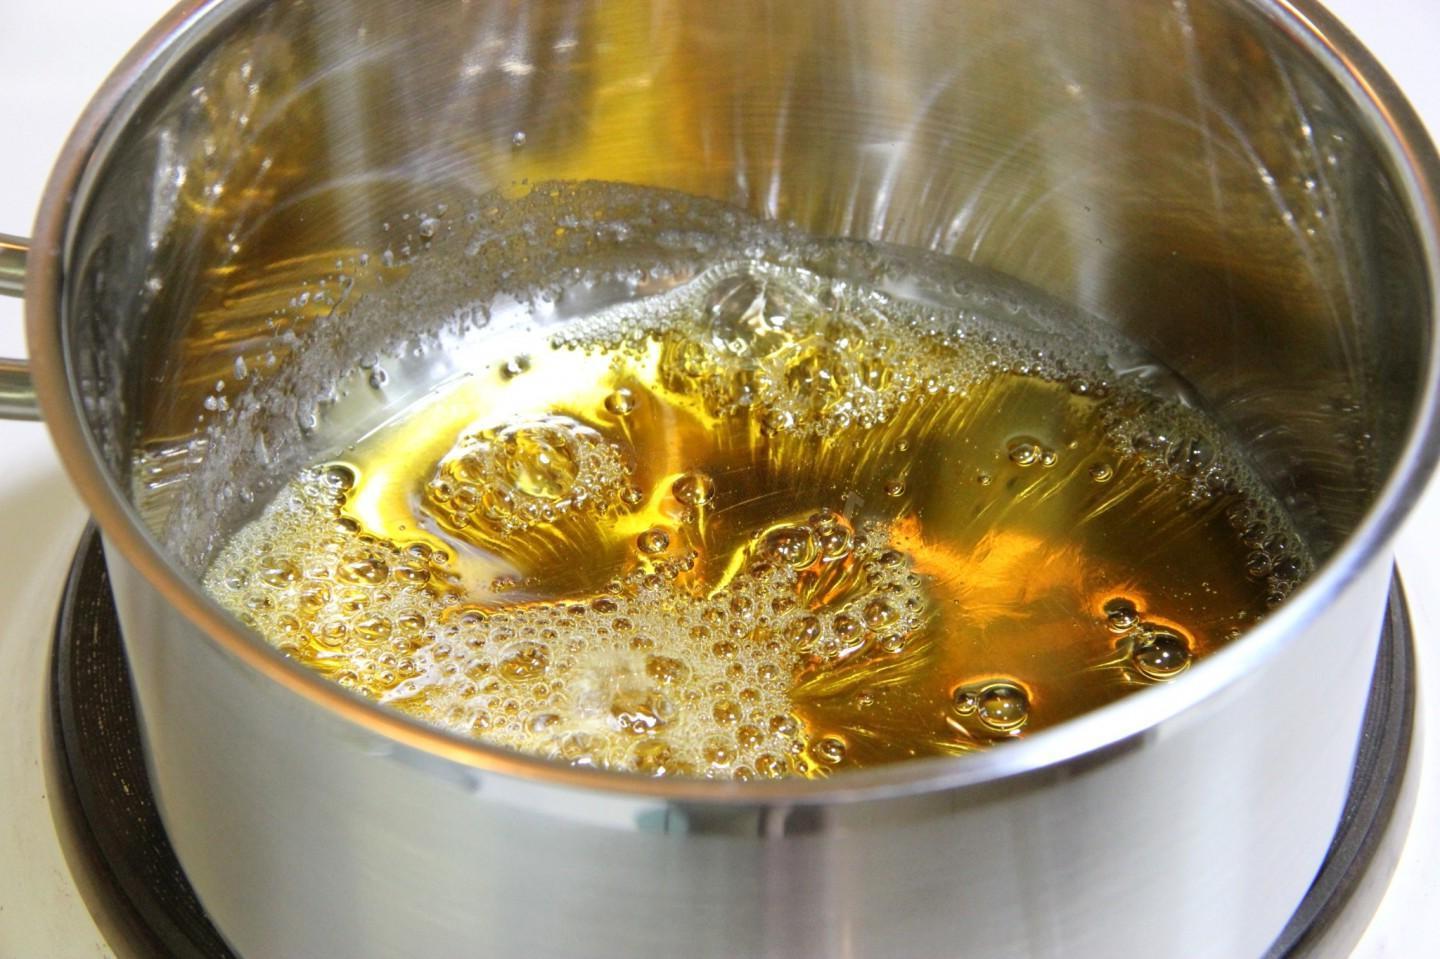
The syrup should simmer with stirring until golden brown. You can’t be distracted, because the sugar mass is very insidious; the difference between the two states: “won’t harden” and “burnt sugar” is only a few seconds. The caramel takes about 5-7 minutes to prepare. Check readiness by dropping the mixture onto a saucer with cold water — the drop should harden, and it will also crunch on your teeth — immediately remove the syrup from the stove.

Step 8

Step 8
This intense amber color is a borderline state. Attention! Donʼt overcook until it turns brown! Now you need to stir everything thoroughly so that every single bubble disappears. If you are using dye, add it now while stirring. I poured out 3 regular candies and added 0.25 tsp. beet juice, getting 3 more beet candies, also added instant coffee.

Step 9

Step 9
When the caramel becomes homogeneous, pour it into molds. This must be done without delay — the caramel hardens quickly! If this happens, return the dishes to the switched off, warm stove. Stirring, heat until liquid and continue pouring.

Step 10

Step 10
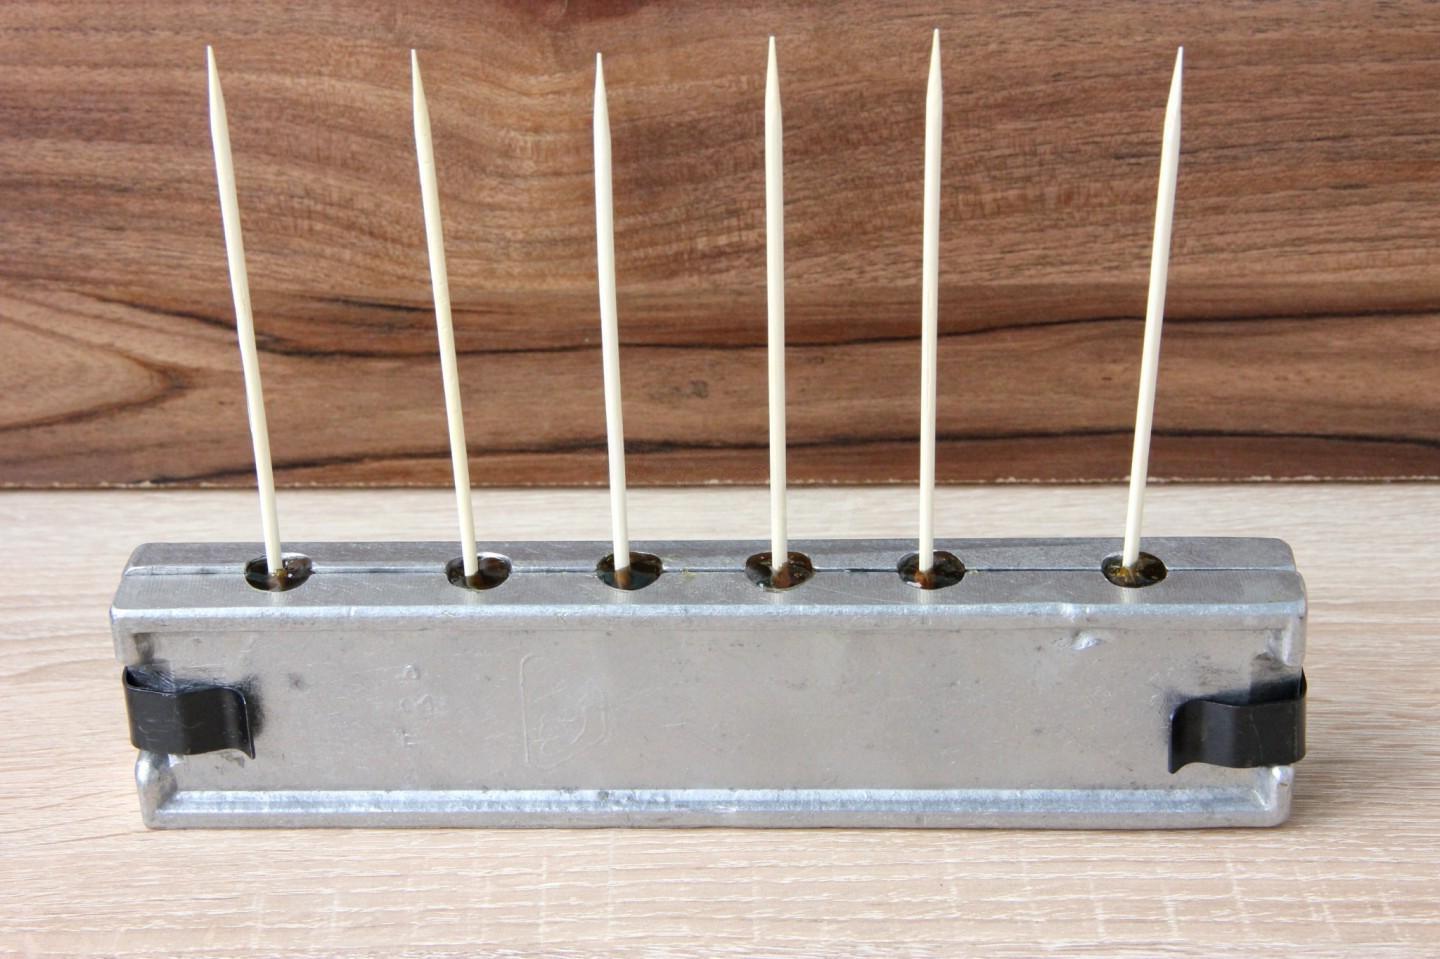
After a couple of minutes, the caramel will “set”; gently twist and insert skewers or other suitable sticks into the caramel.

Step 11

Step 11
After about 10 minutes the candies will harden. Open the mold and take out the finished candies. If you don’t cook the mixture enough, the candies simply won’t harden, and if you overcook, the candies will have a bitter aftertaste of burnt sugar.

Step 12

Step 12
For storage, lollipops can be wrapped in cling film. Enjoy it yourself and treat the kids!