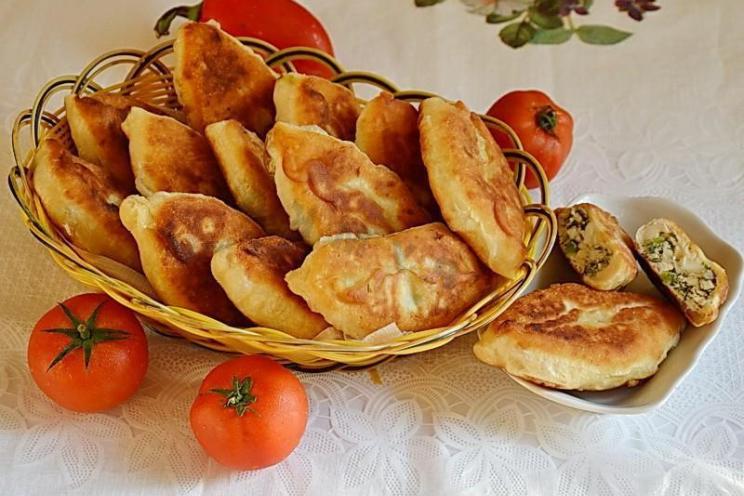
Soft Kefir Dough Fried Pies with Juicy Onion and Egg Filling

Delicate and soft pies with a tasty and juicy filling, piping hot! I love working with kefir dough. It is always tender and pliable. And this recipe is no exception! It is important that the filling is juicy and tender. Sour cream will help with this; it is very appropriate here. By the way, someone will say: wow, 10 pieces. eggs only for the filling! But the thing is that pies with kefir dough increase greatly in size when frying, and if you skimp on the filling, the finished pie will taste boring — a lot of dough, not enough filling... From the specified amount of products I got 18 pieces of pies. The finished pies turn out very appetizing, tasty, and filling. On the second day (I deliberately put it off for the sake of the experiment, otherwise they would not have survived :))))) — they do not become stale, which again pleases.
cook time: 1h 20 min
Elijah Stroud
Soft Kefir Dough Fried Pies with Juicy Onion and Egg Filling

Nutrition Facts (per serving)

268
Calories
16g
Fat
21g
Carbs
8g
Protein

Ingredients (9 portions)

For dough:

Wheat flour 600 g
Kefir 300 g
Eggs 1 pc
Vegetable oil 4 tbsp
Sugar 1.5 tbsp
Salt 2 tsp
Soda 1 tsp
Vinegar 0.5 tsp

For filling:

Eggs 10 pc
Sour cream 3 tbsp
Green onions 300 g
Dill 1 g
Salt to taste
Allspice to taste

For frying pies:

Vegetable oil 200 g

Recipe instructions

Step 1
Step 1
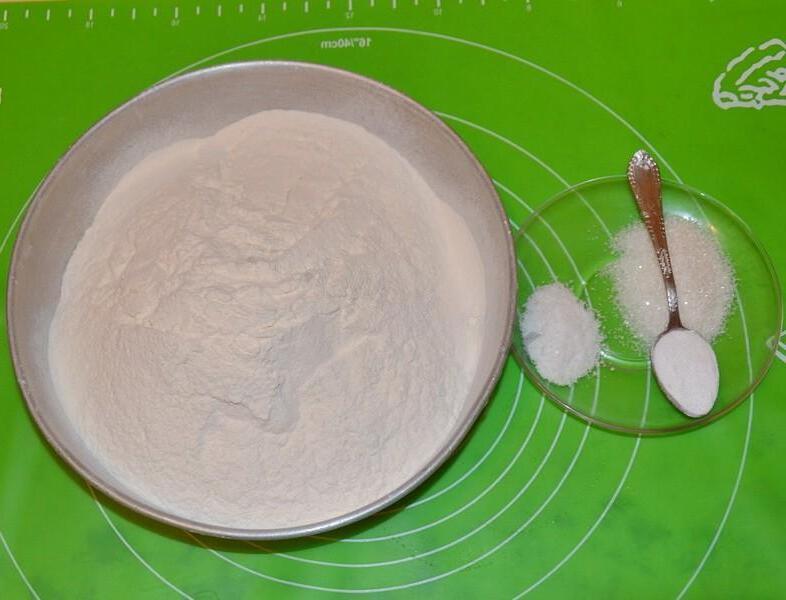
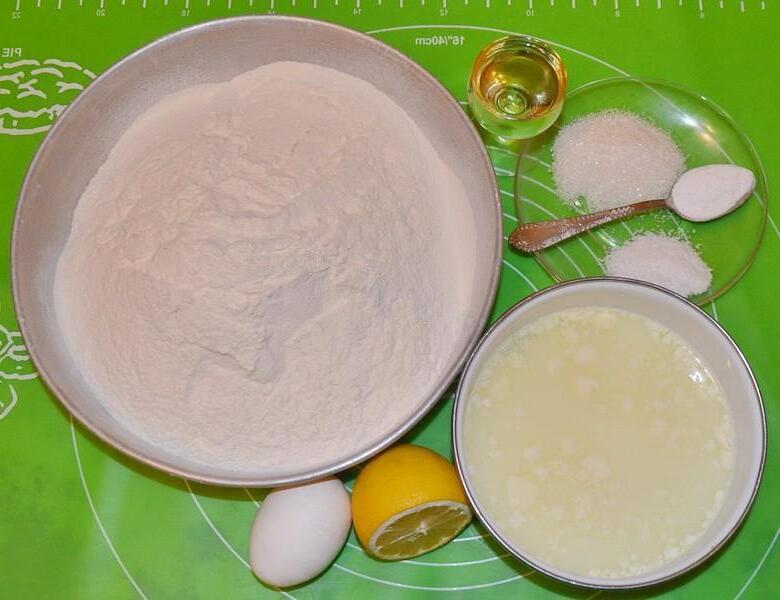
Products for making dough. If you measure flour in glasses, first measure out the required amount of UNSIFTED flour, and then just sift it! Kefir for the dough must be at room temperature. If you took it straight from the refrigerator, then warm it up slightly.

Step 2

Step 2
Sift the flour, add salt. If instead of soda you have baking powder, then you need to add it to the flour right now. Mix everything thoroughly.

Step 3

Step 3
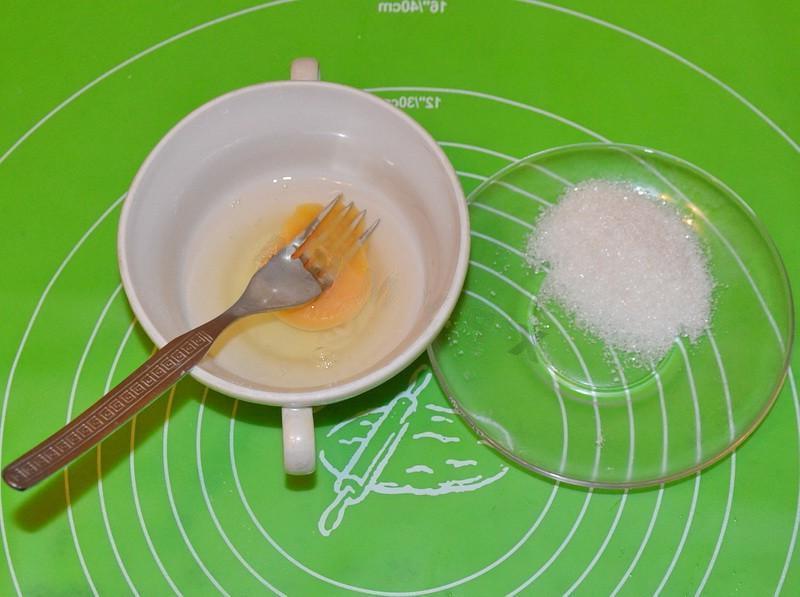
Grind the egg with sugar, you can just use a fork.

Step 4

Step 4
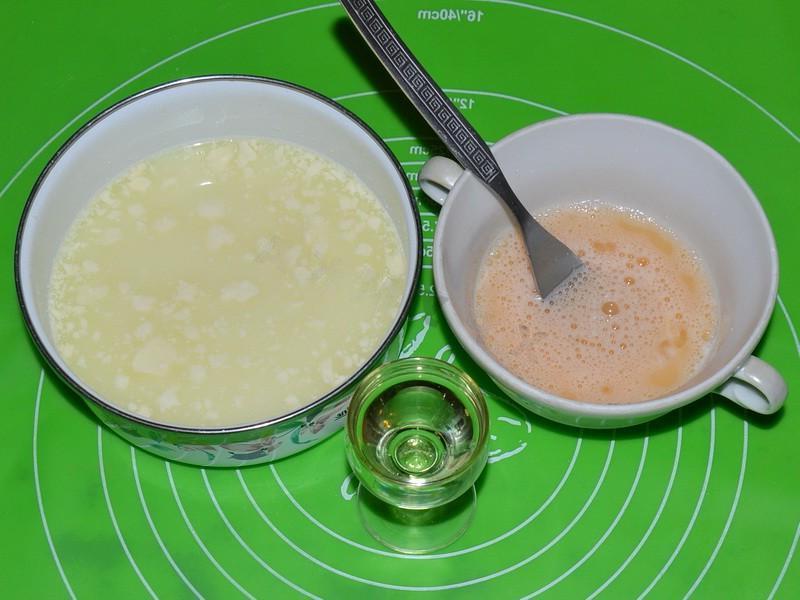
Combine the egg mass with kefir and 3 tbsp. l. (reserve 1 tbsp for later) vegetable oil, stir until smooth.

Step 5

Step 5
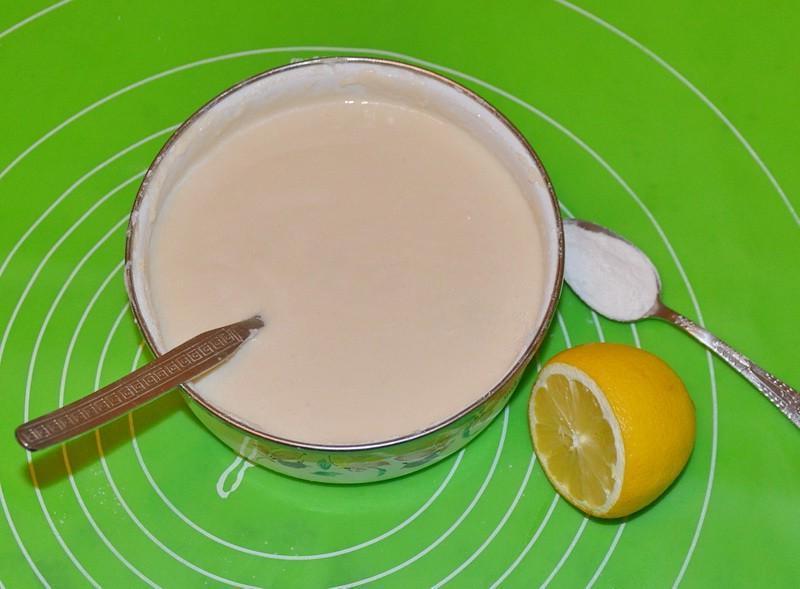
Add half the flour, mix thoroughly. You should get a batter with a consistency similar to 15% sour cream. If you decide to put baking soda in the dough rather than baking powder, quench it with lemon juice (or vinegar) and immediately add it to the dough. Still stirring everything with a fork. Add the remaining flour.

Step 6

Step 6
As soon as the dough begins to form a bun, transfer it to the table. Dust the table (in my case, a silicone mat) with the remaining flour. Place the remaining vegetable oil next to you — 1 tbsp. We continue kneading the dough with both hands. As soon as all the flour is collected from the table with dough, it will begin to stick to your hands. Coat your palms with vegetable oil and continue kneading until completely absorbed.

Step 7

Step 7
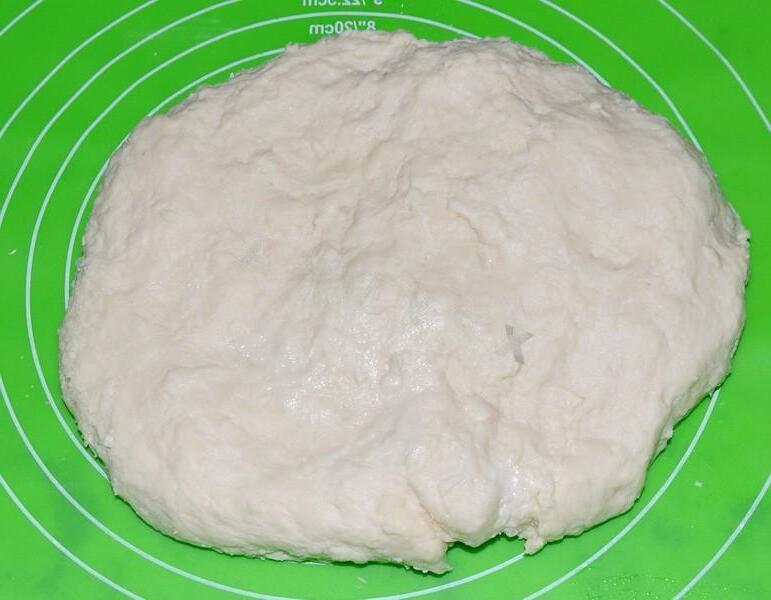
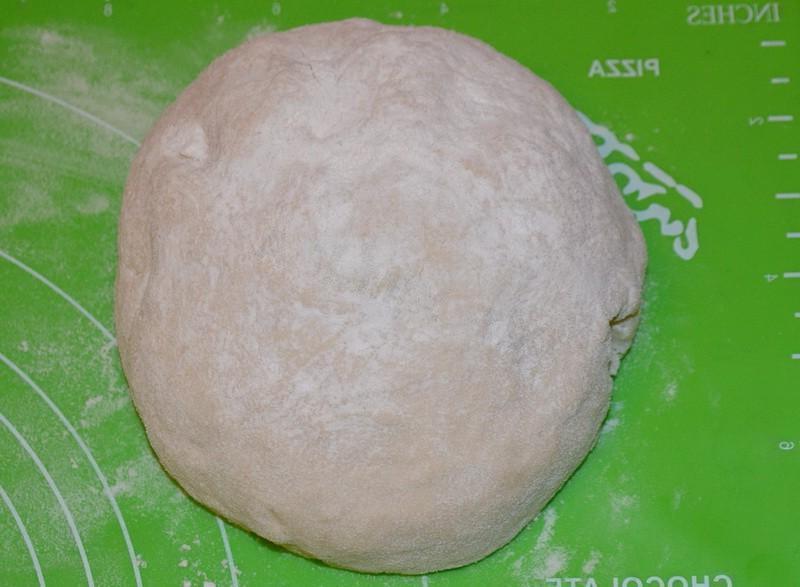
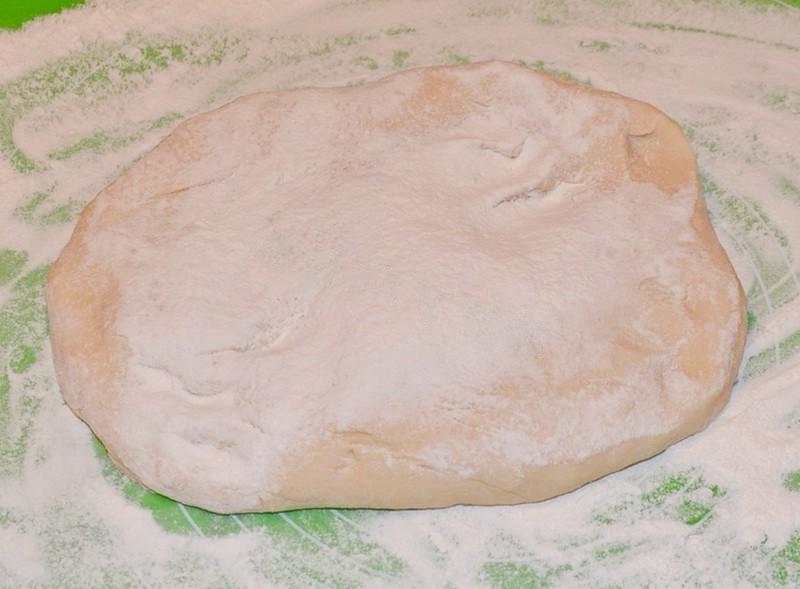
Knead the dough until smooth, for about 3 minutes, this is quite enough. You should end up with a homogeneous, very tender and very soft kefir dough. It can still stick to your hands. Do not add more flour under any circumstances — let there be less rather than more! Shape the dough into a ball, sprinkle with flour and place in a saucepan, cover with a lid, or simply in a bag. The kefir dough needs to rest for 20 — 30 minutes before frying.

Step 8

Step 8
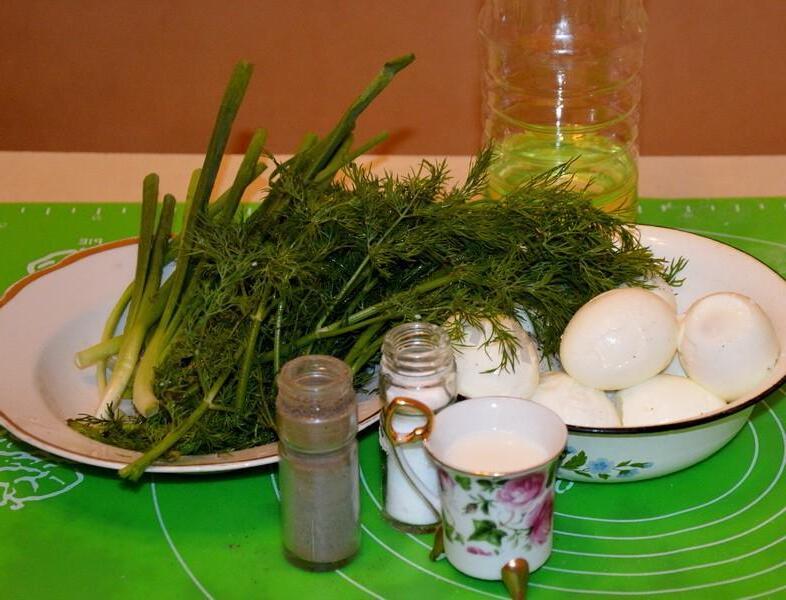
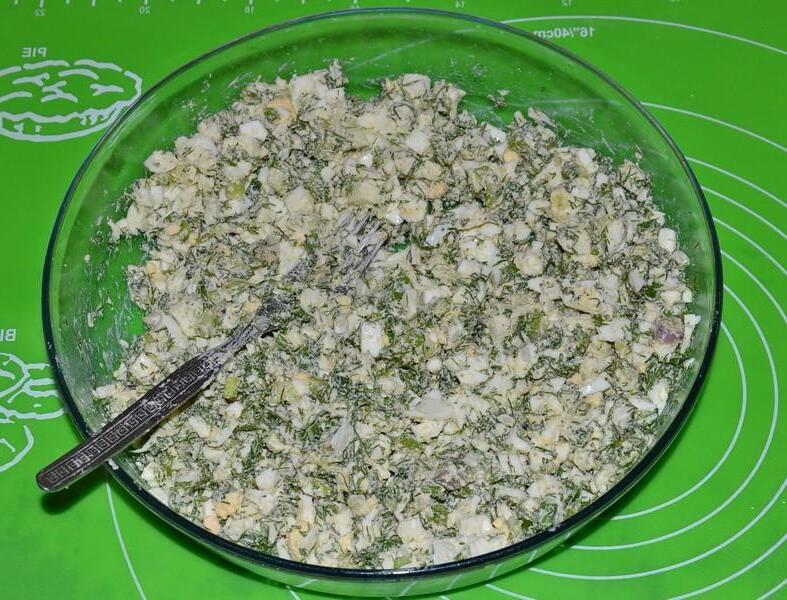
Products for preparing the filling. Chicken eggs are hard-boiled (after boiling, they should be cooked for no longer than 10 minutes, preferably 7-8 minutes, otherwise the yolk of overcooked eggs will have a gray rim) and shelled. The greens have been sorted and washed. The finished pies will be fried in vegetable oil.

Step 9

Step 9
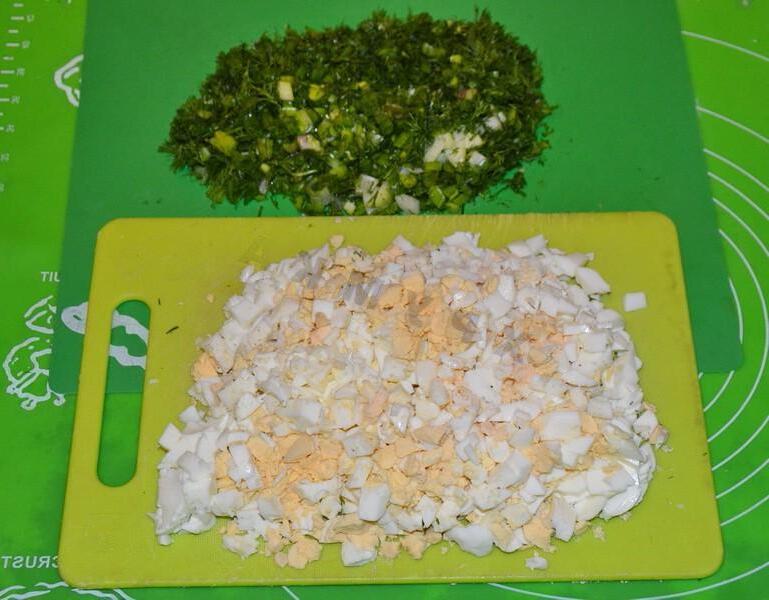
Chop the greens: green onions and dill. Cut the eggs into small cubes.

Step 10

Step 10
Transfer the greens and eggs into a deep container, add 2-3 tbsp for juiciness. l. fat sour cream. Salt, pepper, mix until smooth.

Step 11

Step 11
Letʼs return to the test. It became elastic and less sticky. Lightly dust a clean, dry table with flour. Transfer the dough to flour and dust the top with the same amount of powder.

Step 12

Step 12
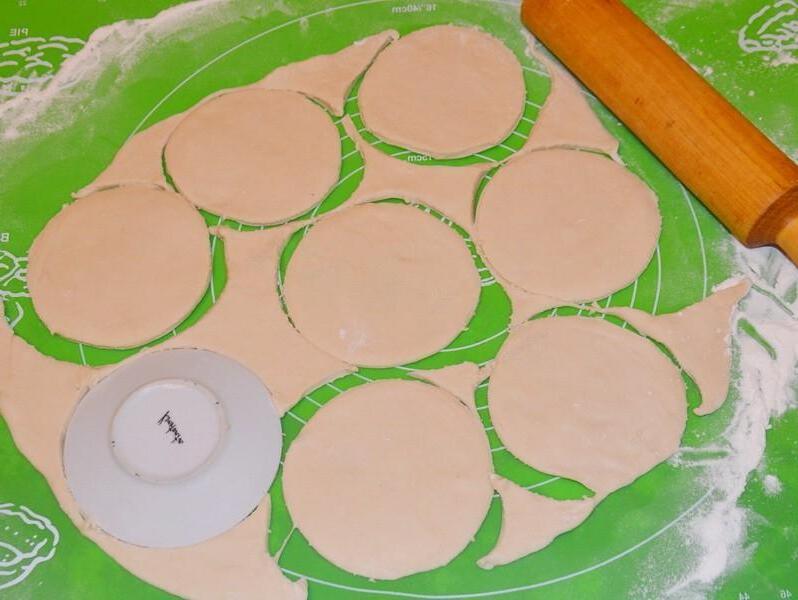
We roll out this dough on kefir from the middle to the edges, without going back with the rolling pin, making light movements, without jerking or effort, because the dough is very pliable and stretches easily. Roll out into a circle or oval, 6-7 mm thick, making sure that the dough does not dry out. Sprinkle with flour as needed. We select a small saucer for the stencil with a diameter of 8.5-9 cm. Cut out circles with a knife.

Step 13

Step 13
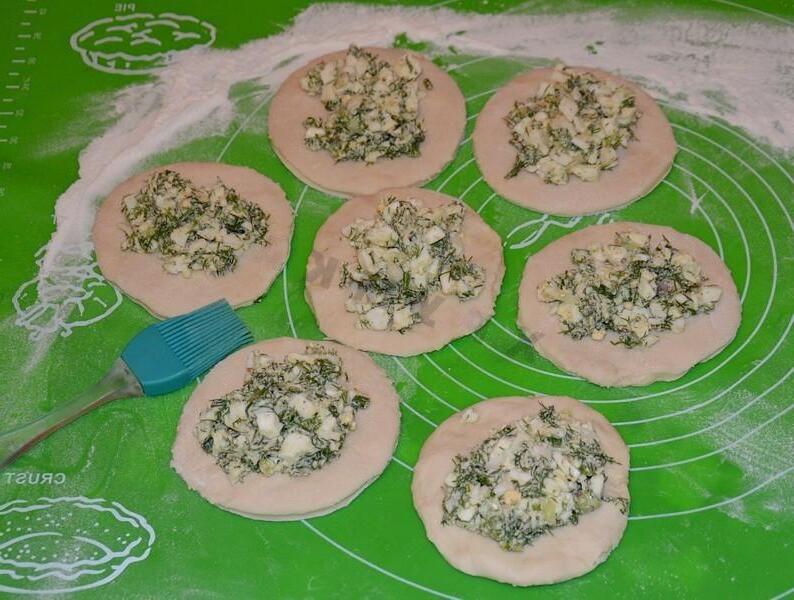
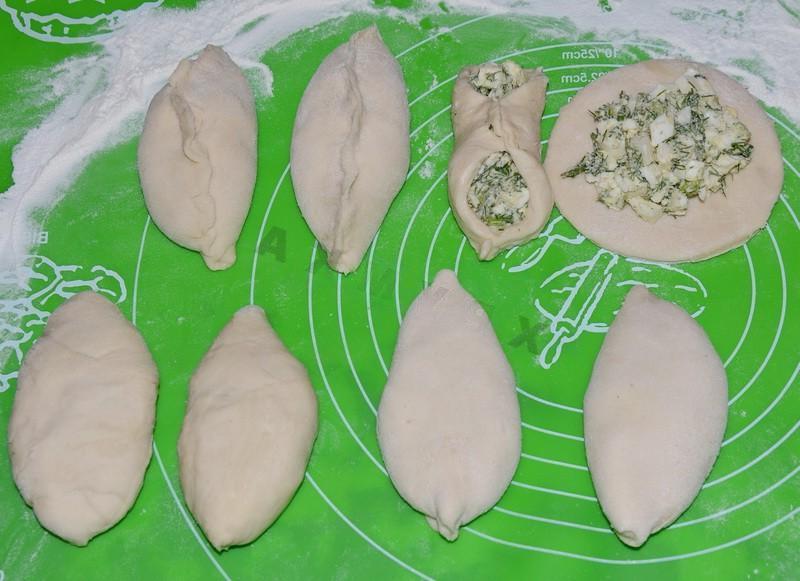
We take each circle, sweep away the excess flour with a brush, exactly on the side on which we decided to place the filling. Place 1.5 — 2 tbsp in the center of each circle. l. fillings.

Step 14

Step 14
The kefir dough does not stretch; it is no longer possible to stretch it further, it is already rolled out thinly. Therefore, we start assembling the pie from the middle. We connect the edges, carefully pinch and go in one direction to the end. Then from the middle we head in the other direction to the end. Turn the finished pie over, seam side down, fold the sharp edges inward and lightly, gently press the pie onto the table with your palm to evenly distribute the filling throughout the pie.

Step 15

Step 15
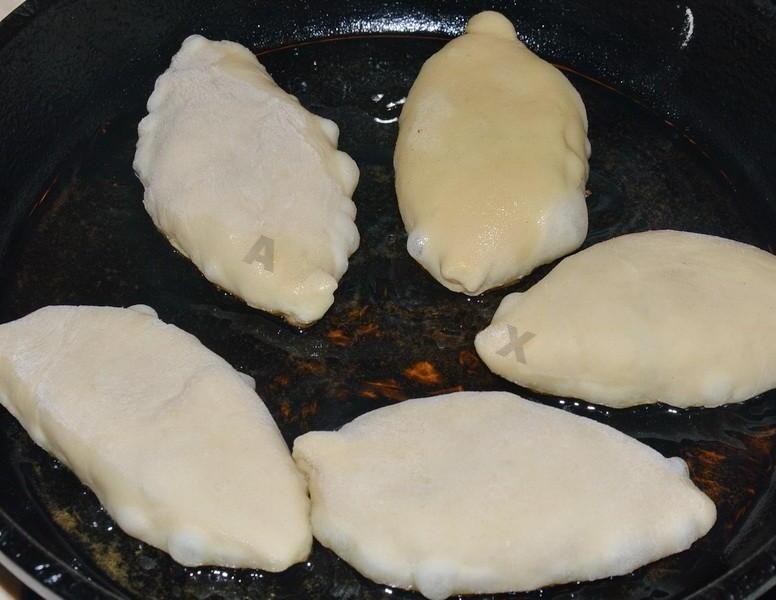
Heat the frying pan to a bluish haze, without oil! Then we reduce the heat, and only after the intense heat subsides, pour oil (exactly half the height of your pie before frying) and heat it up. The oil must not be allowed to smoke. It should fry, but not burn. You need to control the fire throughout the frying time. Pies made from kefir dough increase greatly in size, so they should be free in the pan.

Step 16

Step 16
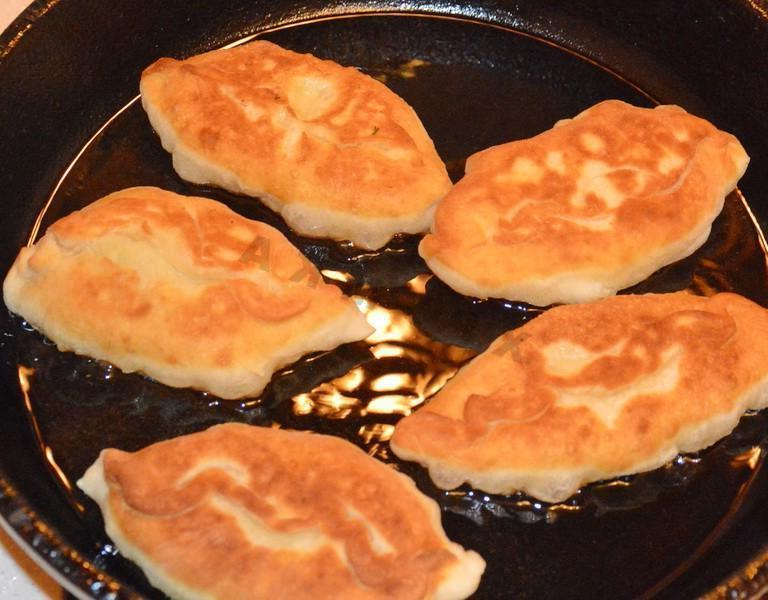
Fry the pies on both sides until golden brown. Remember that the dough continues to darken after frying, so do not overcook the pies. To be more confident that your pies are perfectly baked, break the first sampler in half. If you notice raw dough, reduce the heat, wait a little and continue frying. Freshly fried pie, usually with a rough crust. But as soon as it sits for 2 — 3 minutes, it becomes incredibly soft.