Homemade Sushi: Tastier Rolls and Nigiri

No one will make rolls and sushi tastier for you than you yourself! I have never tasted sushi that tastes better than homemade sushi in any Japanese restaurant. And this despite the fact that I am not a sushi master, and I prepare sushi rolls no more than once a month, or even less often. Homemade sushi rolls have more filling, and you can be sure that the fish is fresh. And it takes less time than it might seem. We just need to start
cook time: 40 min
Lucas Halstead
Homemade Sushi: Tastier Rolls and Nigiri

Nutrition Facts (per serving)

194
Calories
9g
Fat
27g
Carbs
9g
Protein

Ingredients (8 portions)

Basic:

Rice (round grain) 400 g
bell pepper 1 pc
cucumbers (fresh) 3 pc
Salmon (You can take either lightly salted or raw. I actually salted it myself) 200 g
Cream cheese (you can use Philadelphia, but I saved money and bought Russian Violette) 200 g
Nori 7 g
Rice vinegar (rice dressing) 50 ml

Recipe instructions

Step 1
Step 1
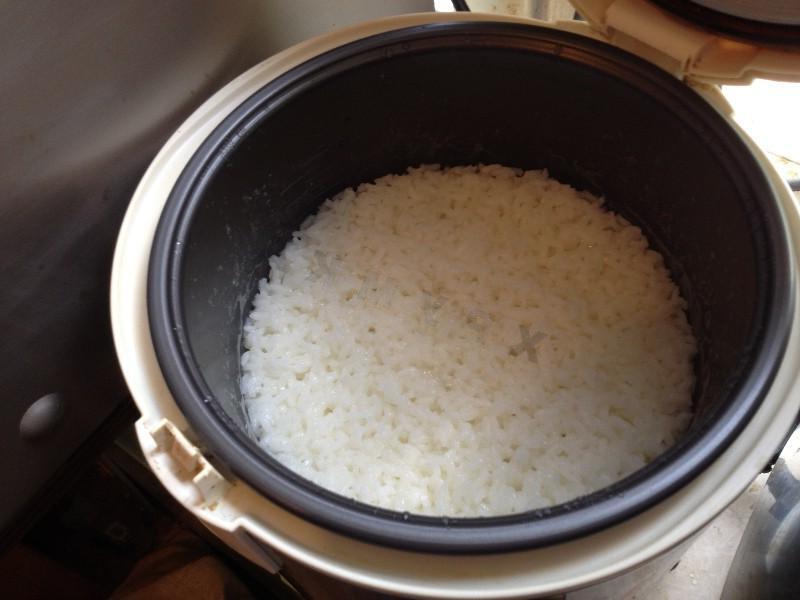
First, cook the rice. Fill 400g of rice with 600ml of water and cook according to the usual program in a multicooker

Step 2

Step 2
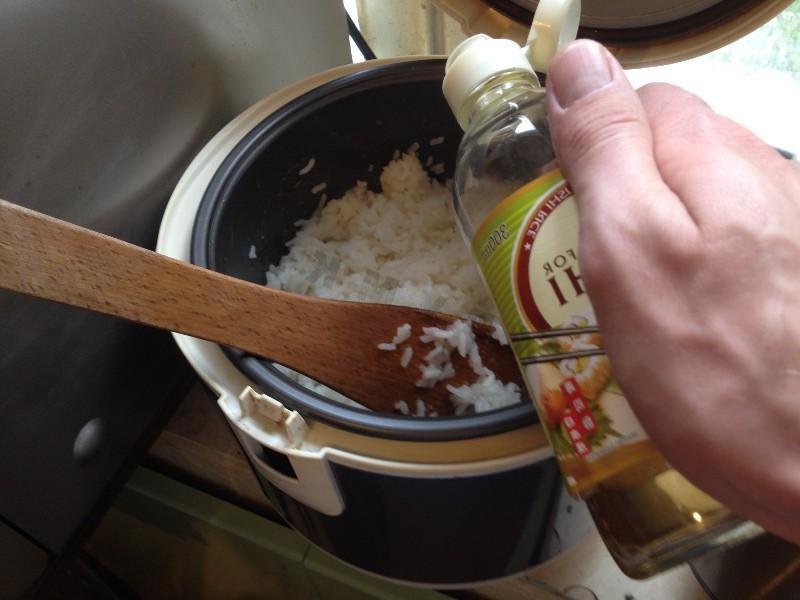
When the rice is cooked, add 50 ml of rice vinegar (available in any large store). If you don’t have rice vinegar, you can prepare a seasoning for rice from sugar, table vinegar and salt, but I haven’t tried it myself — it’s easier to buy it, it’s not that expensive. After adding the vinegar, mix the rice thoroughly so that it is evenly saturated with our dressing. The dressing is the main secret of sushi rice. After we have mixed the rice, we need to let it cool a little.

Step 3

Step 3
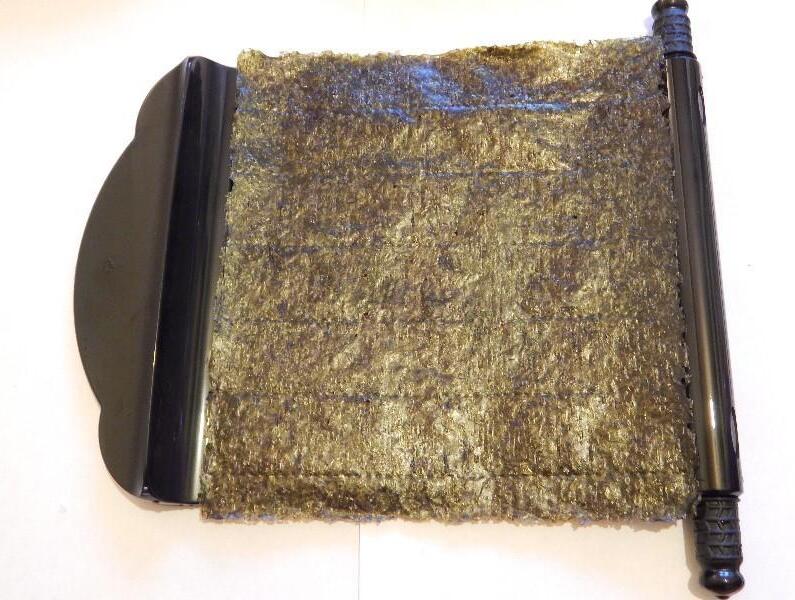
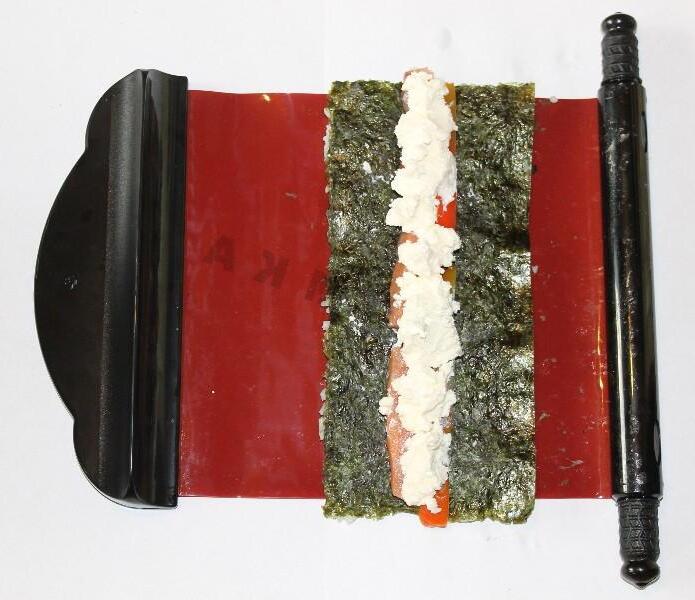
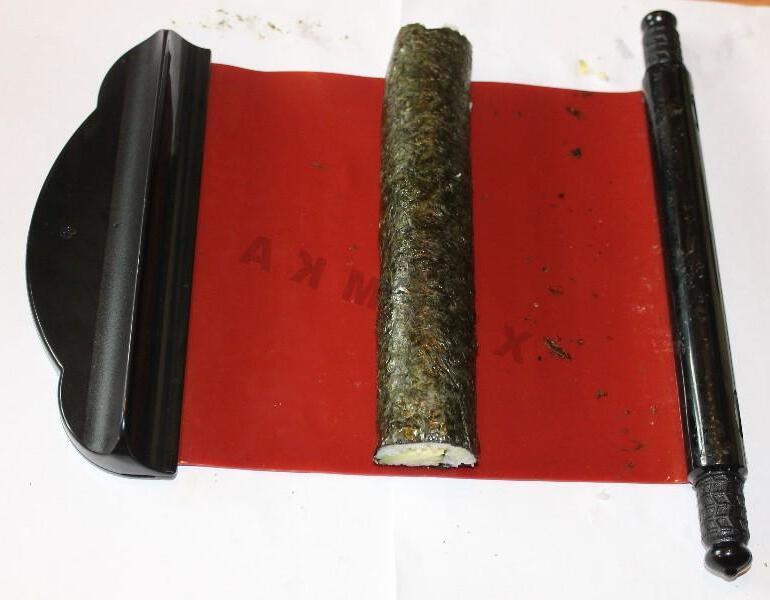
Previously, I always rolled rolls with a mat, but friends gave me a special set — Sushi Magic. Now I only use it. Therefore, instead of a mat, we place a sheet of nori on the mat

Step 4

Step 4
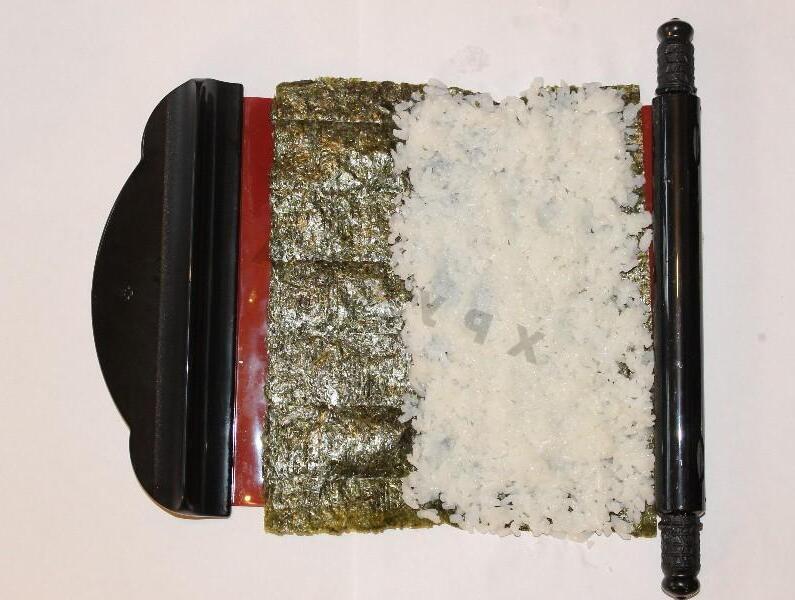
We spread the rice, but not over the entire area of the sheet — as shown in the photo. To prevent the nori sheet from puffing up, its dry end can be slightly moistened with some water. To prevent rice from sticking to your hands during cooking, I also recommend preparing a bowl of water — rice practically does not stick to wet hands and it is convenient to lay it out

Step 5

Step 5
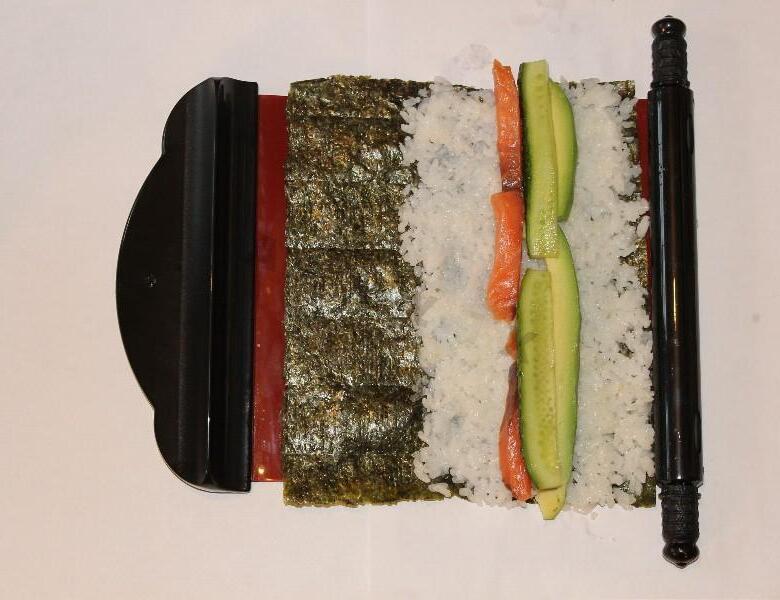
Place the filling on the rice. Combinations of salmon, cucumber and bell pepper — to your taste. Some people add avocado, but it’s hard to find it ripe here. I like there to be more filling, so I usually add everything :) By the way, it’s better to use cucumber without seeds. It tastes better this way

Step 6

Step 6
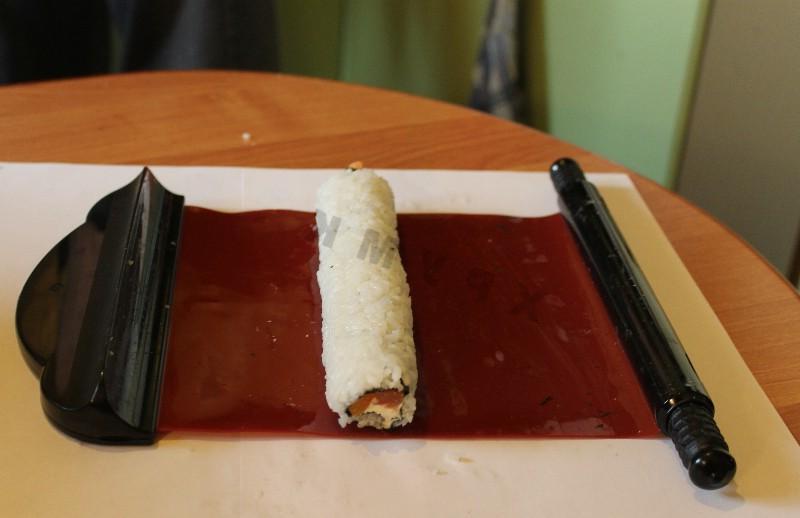
We roll up our mat and get a neat, even roll, which all that remains is to cut

Step 7

Step 7
To roll a roll with the rice facing out (for example, Philadelphia), you need to cut a sheet of nori, spread the rice on it and turn it over along with the rice, and then lay out the filling. If you roll with a mat, you will need cling film and the operation will be somewhat more complicated, but it will turn out no less tasty :)

Step 8

Step 8
After rolling the roll with the rice facing out, it will need to be wrapped in thinly sliced salmon slices (to get Philadelphia), or sprinkled with sesame seeds, or garnished with tobiko caviar

Step 9

Step 9
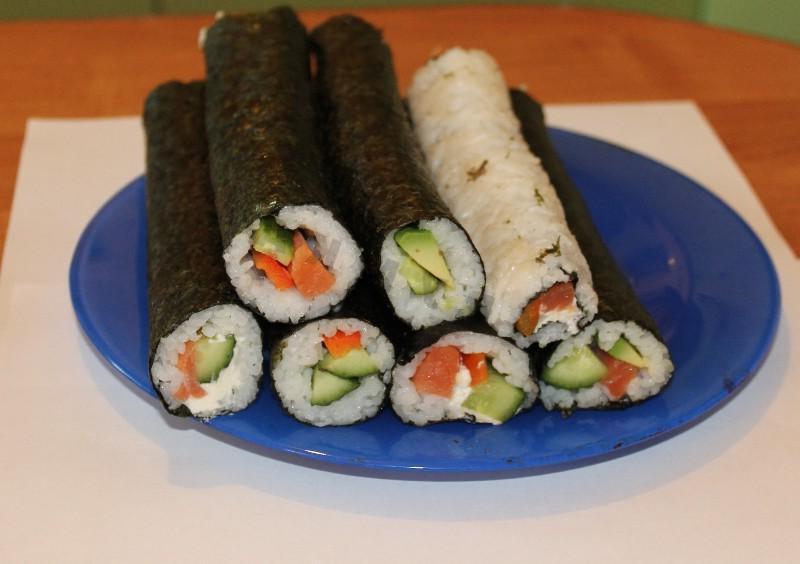
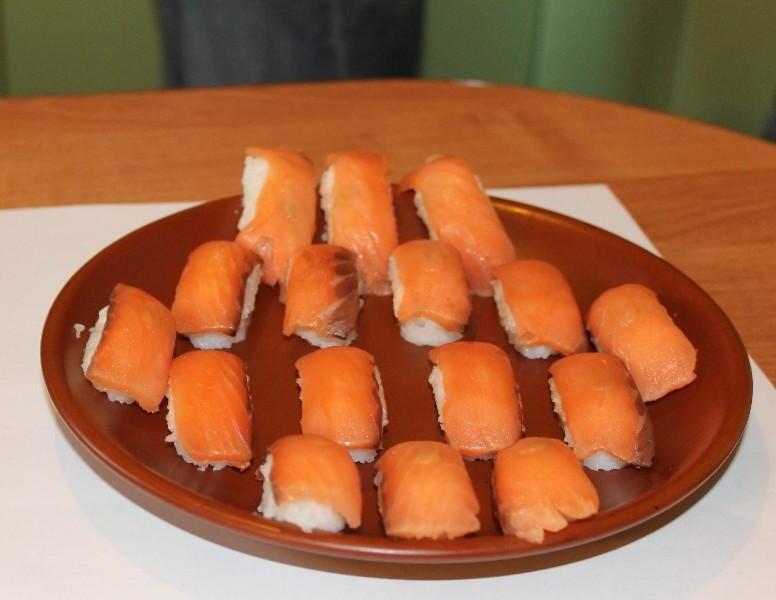
From 400g of rice I got 8 rolls (one didn’t make it into the frame because it was quickly eaten by domestic predators led by my husband :) ) + from the rest of the rice I made 16 nigiri sushi

Step 10

Step 10
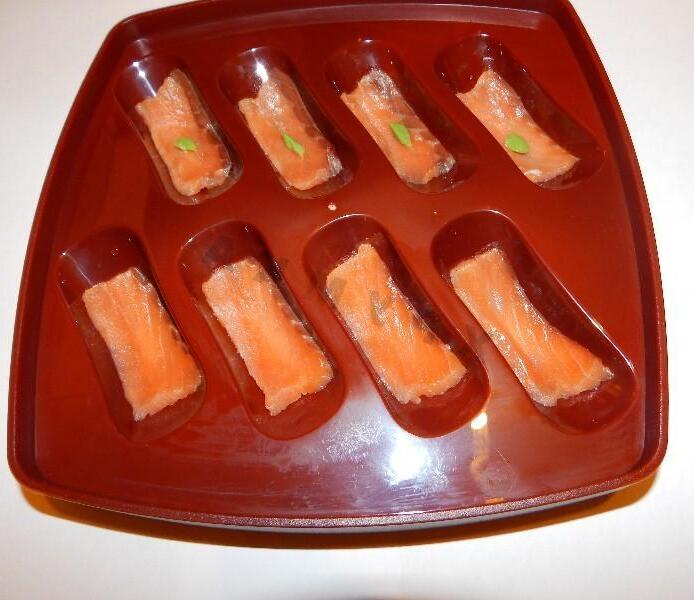
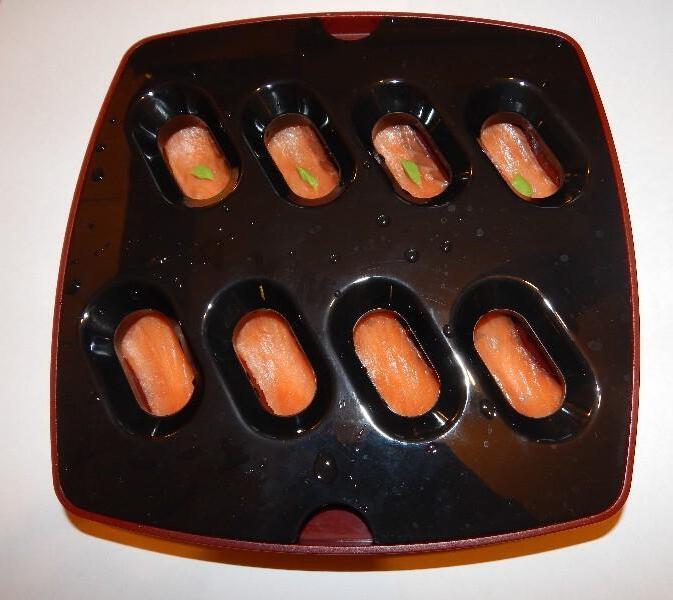
If you want variety, you can make nigiri sushi using molds from the same set. To do this, place pieces of salmon in a mold; if you want it spicier, you can add a little wasabi. If there are no molds, then you need to make rice balls with your hands and place the same pieces on top of them

Step 11

Step 11
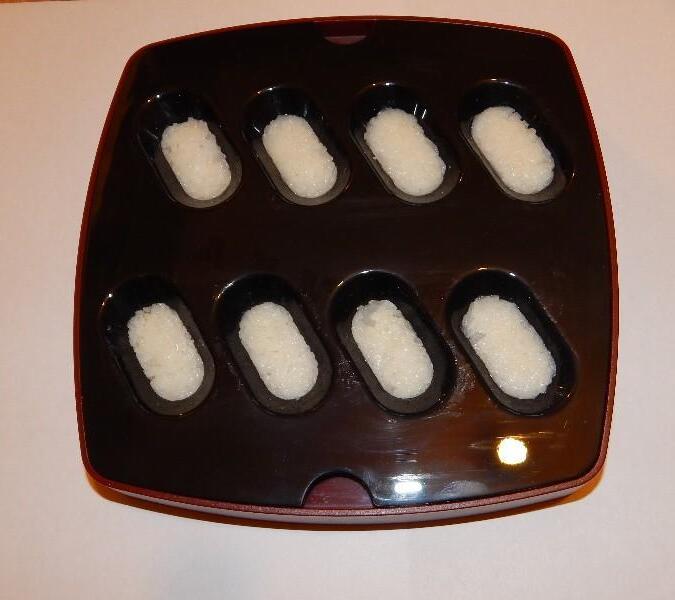
Place the second mold on top

Step 12

Step 12
Place rice in the resulting holes

Step 13

Step 13
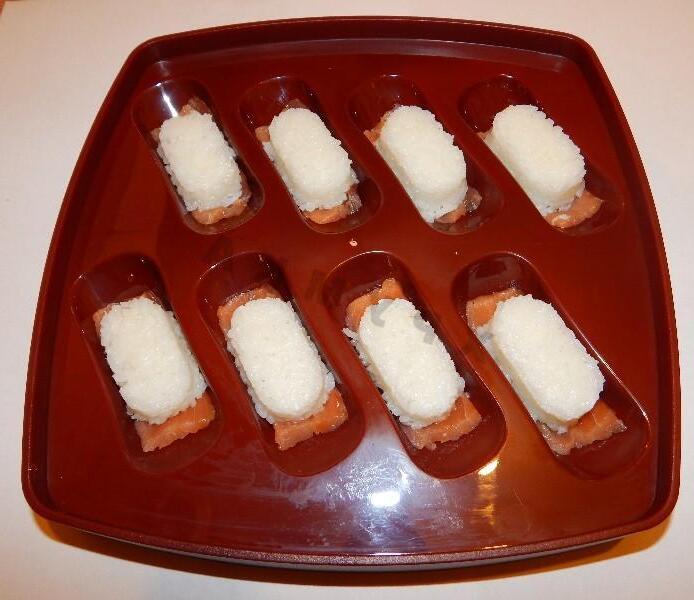
Remove the top form and turn over the remaining structure with rice balls and salmon on them

Step 14

Step 14
This is what our resulting nigiri sushi looks like. 2 rounds of 8 pieces = 16 nigiri